Building a Bike / Tool Shed - Roofing and Painting

UKworkshop.co.uk

Help Support UKworkshop.co.uk:

This site may earn a commission from merchant affiliate links, including eBay, Amazon, and others.

Mcluma

Established Member
Joined
2 Feb 2005
Messages
1,858
Reaction score
4
Location
Pyrford - Woking
Bike / Tool Shed

Camera’s on phones are getting better, and better, so there is less reason as to not having pictures. In the past I always had to get the camera, and you never want to leave it lying around, just to have it ready for that one picture moment, whereas you always have a phone with you. So there will be more photo’s to share

My sweet wife has asked for a bike shed. We looked around for ready made ones, however, and I have to admit some of them are really nice looking, they would not give the same feel as our carport, and this shed is going to be next to the carport.

So I will build one from scratch, and I will share the pictures of the build as we go along.

Currently I am using the 3 bay carport also as tool storage, - this was a necessity as we were refurbishing our house, and now the house is finished the wife doesn’t want any tools in the house. The solution is to make the bike shed a bit larger so it can take my 3 large tool racks, workbench, and the table saw

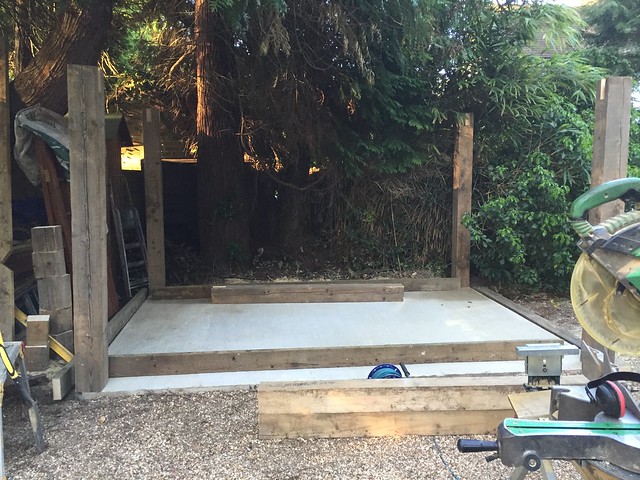
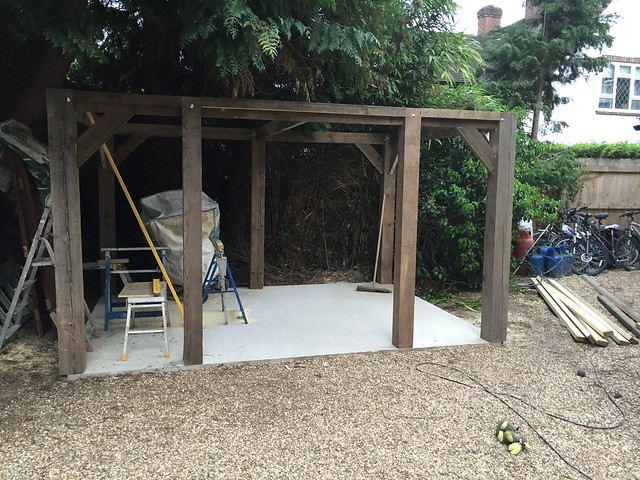
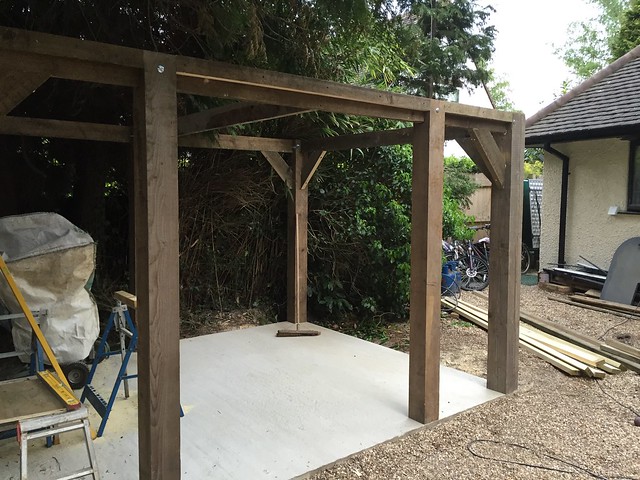
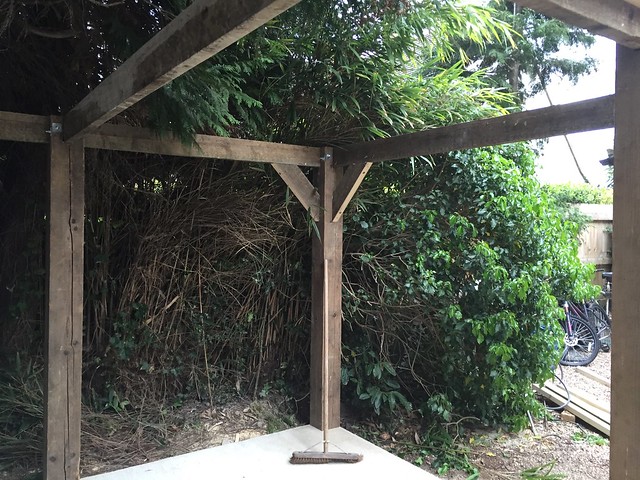
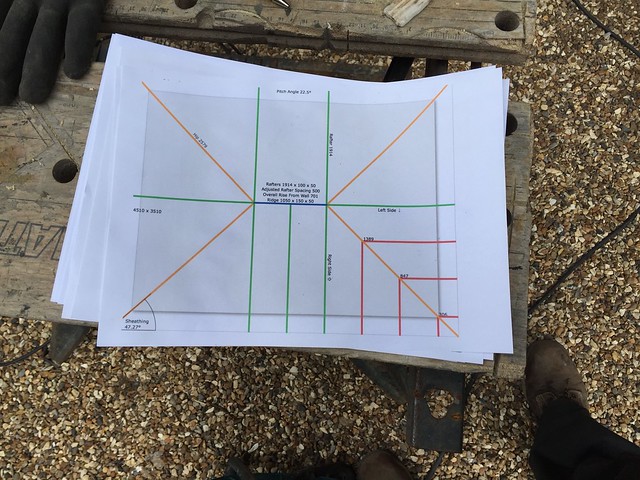
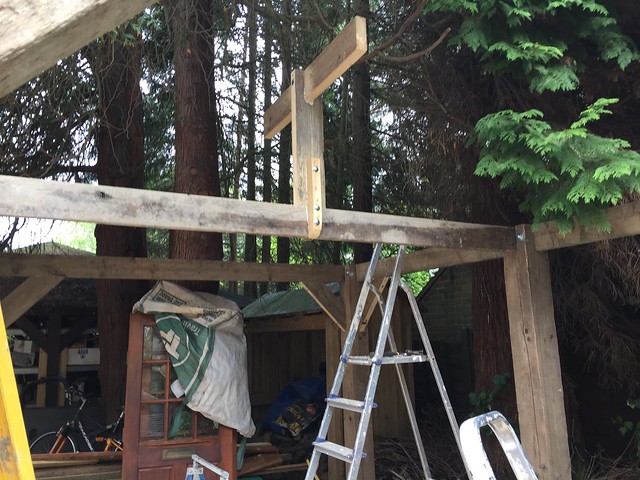
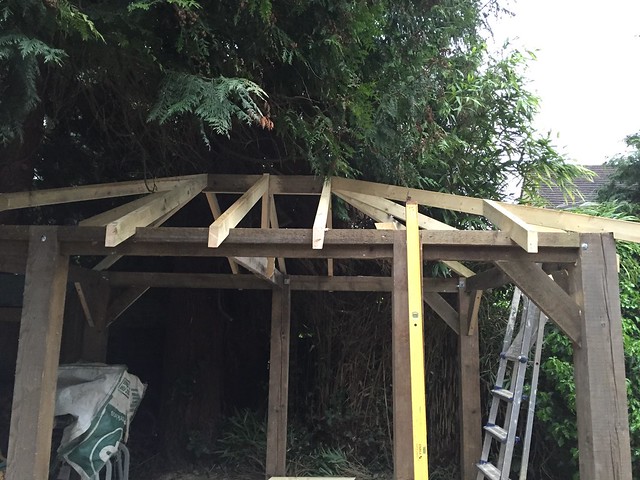
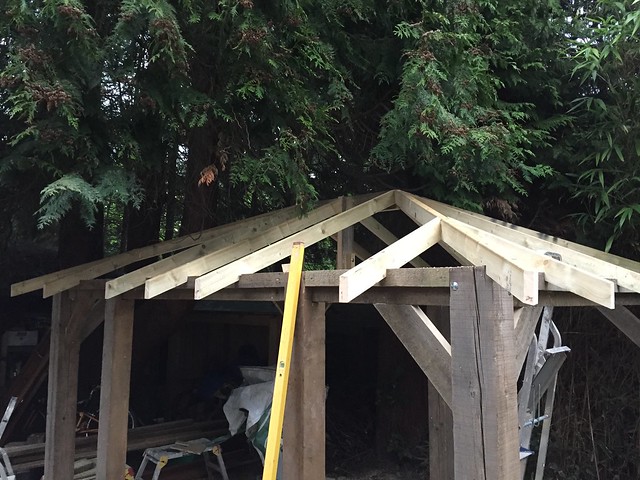
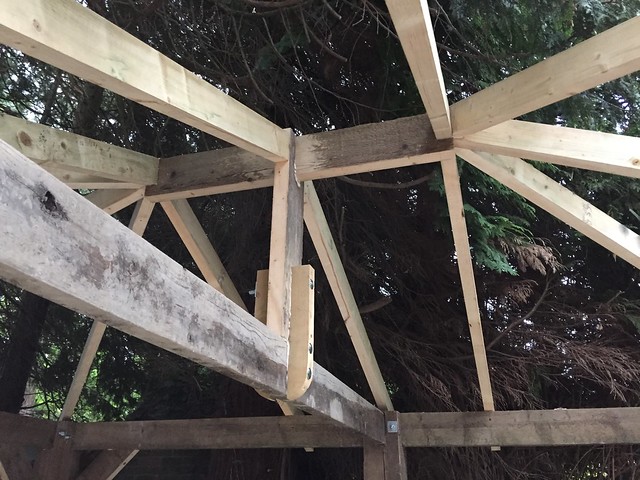
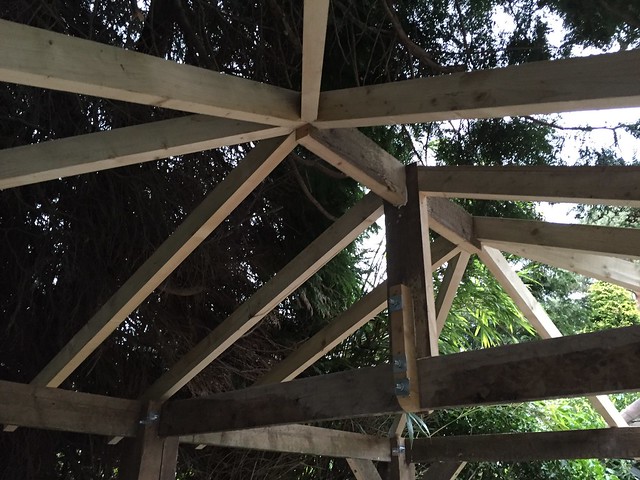
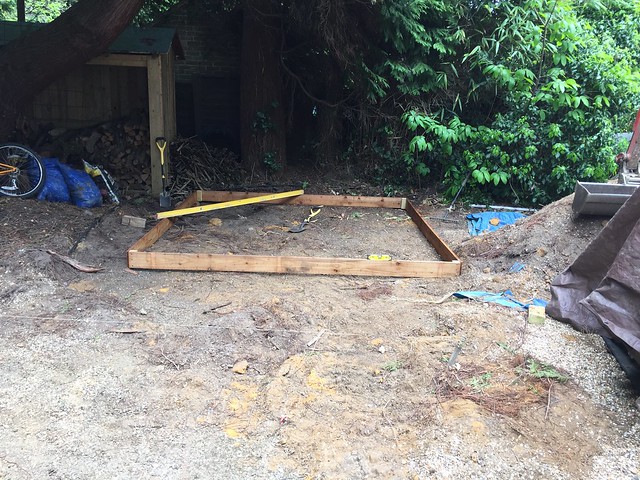
The dimensions will be 3m * 3m with a hipped roof, construction will be very similar to the carport

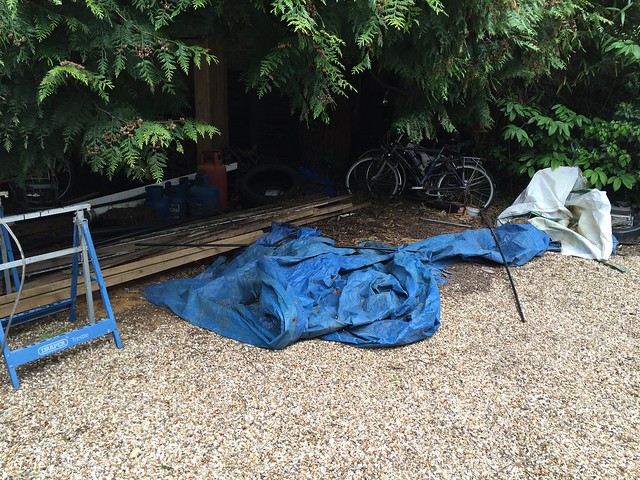
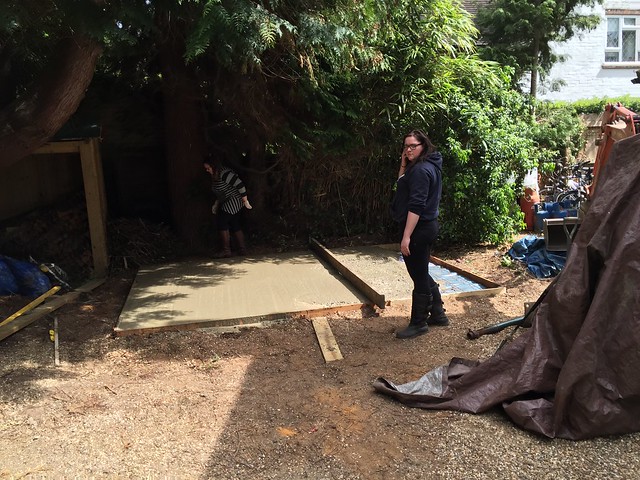
This is were it needs to be going, it will be half going underneath the tree, and sufficiently away from the fence so there will be ample means for maintenance


Untitled by mcluma, on Flickr


Picked up the digger from storage, hence the canopy is missing, which makes it a bit easier to work underneath the tree


Untitled by mcluma, on Flickr


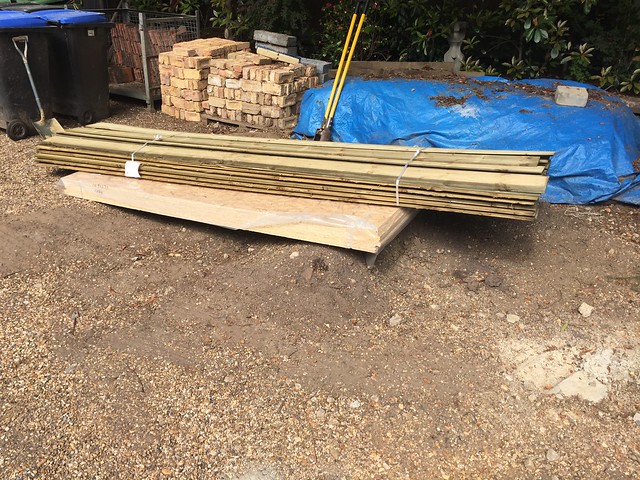
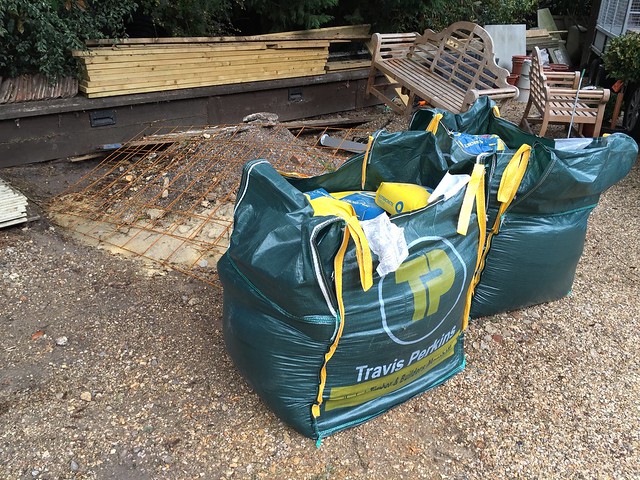
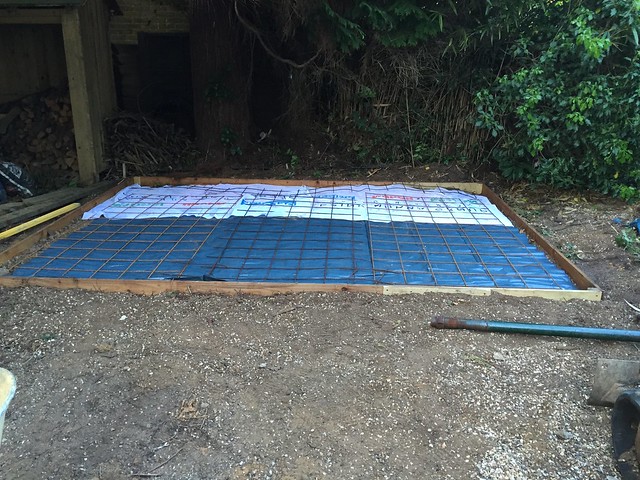
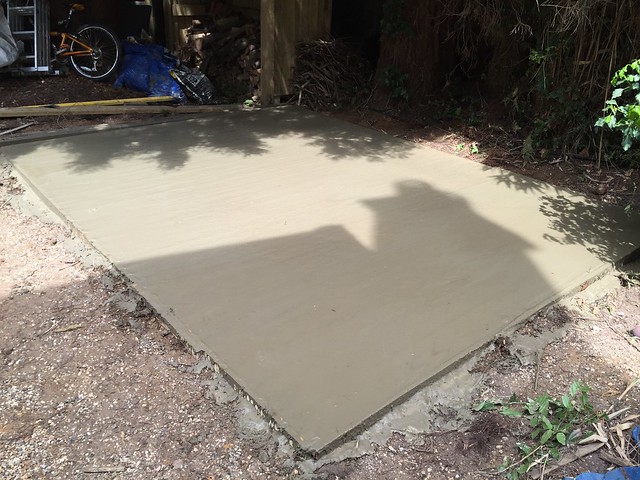
First building material is in for the base, still have enough hardcore, so that was a saving, and will clear up the drive


Untitled by mcluma, on Flickr

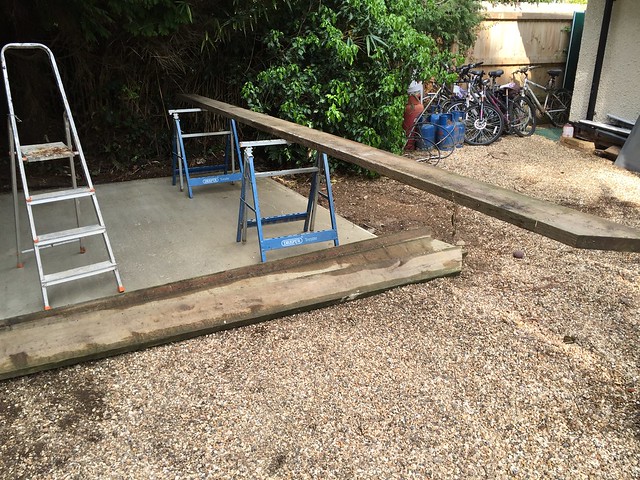
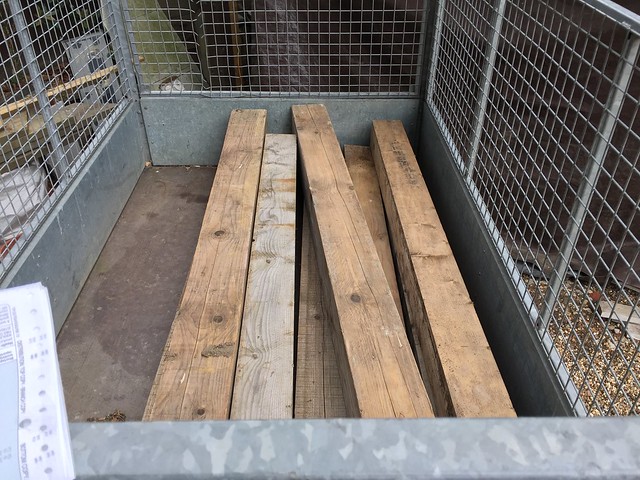
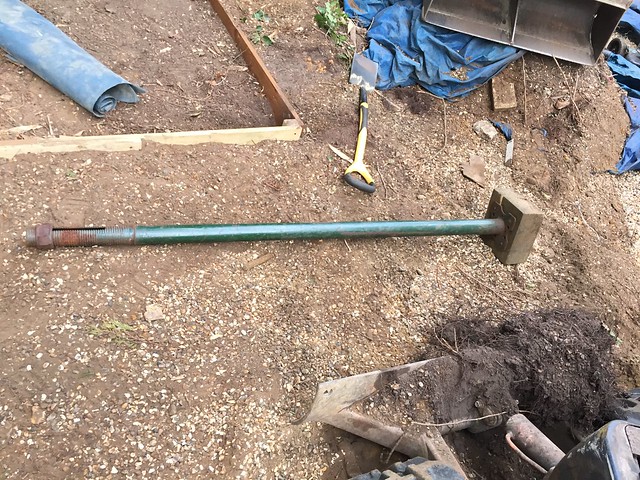
Also picked up some posts


Untitled by mcluma, on Flickr

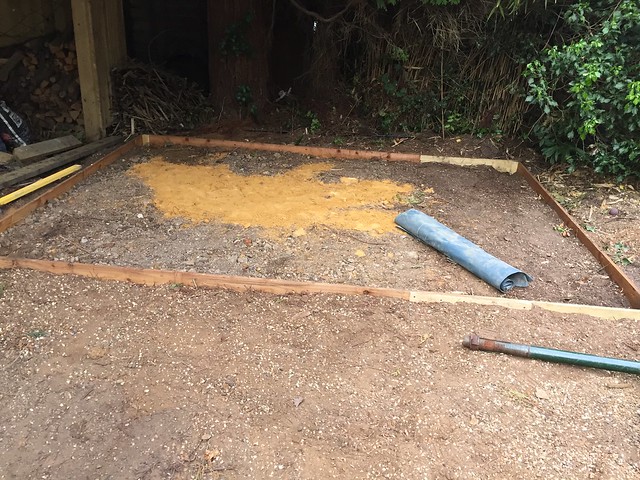
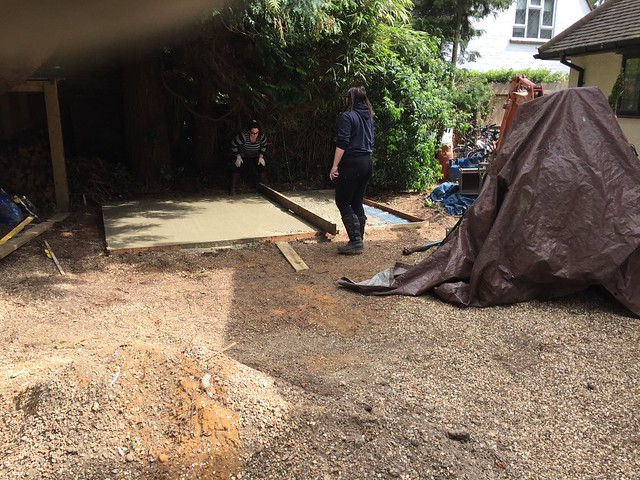
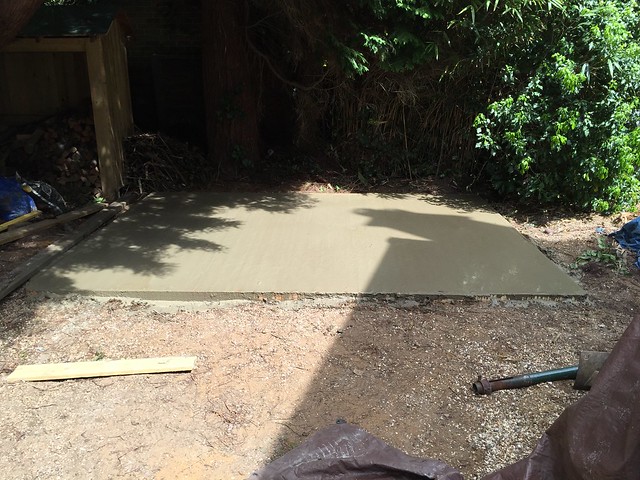
Tomorrow its preparation of the ground and with a bit of luck putting the base down, otherwise it will be Sunday
 
Had an early start (not to early, otherwise the neighbor’s could complain) on Saturday morning before the usual lunch at the in-law’s. Did a bit of scraping and a bit of tree trimming, but quite happy with how its was looking. Levels are spot on, and the tree clearance is perfect to get my roof on with at least a 50cm overhang (I probably will do a 30cm overhang)


Untitled by Chris, on Flickr
 
Houston we have a problem

I had already my doubts, on paper it all looks so good, but when you have set it all out it just doesn’t work, my wife confirmed it:

IT’S TO SMALL

This is not going to work for us, why doing all the work when it’s just not going to serve its purpose.

So out with the digger and make it bigger.

Took me another hour or so, and then it was a reasonable size 3m * 4m.

Levels ok, and in with the hardcore and a bit of sand to smooth it all off.


Untitled by Chris, on Flickr


Had to compact it all by hand as the whacker plate is still in storage, and couldn’t get it out.


Untitled by Chris, on Flickr

Its going to be build from lots and lots of left overs, so had a piece of membrane left and a piece of Detra matting and to top it off a view flags – had even some extra mesh laying around.


Untitled by Chris, on Flickr


Had to do a minor repair to the mixer. Have this thing for 20 years (and bought it second hand) and is still going great, had to tighten the belt up as it was slipping, even found a strap to keep the lid down


Untitled by Chris, on Flickr


Now I just hope that I have enough concrete
 
2 hours and 24 wheelbarrow loads later, the concrete is in.

The wheelbarrow had a flat tire and on my BIL recommendation replaced it with one of these airless tires. Big mistake. Ok you will have never have a puncture again, but there is no bounce in these wheels, it just makes it so much harder to push over uneven ground

Now that I increased the size, there was the chance that I was going to be short of ballast. And yes I was short, fortunate I had still some sand and gravel laying around, which needed to be cleared up anyway. Other than that, it was plain sailing, even had the wife and daughter helping out

Untitled by Chris, on Flickr

Untitled by Chris, on Flickr

Untitled by Chris, on Flickr


Untitled by Chris, on Flickr
 
The slab looks a bit thin so maybe a risk of some cracking especially with the mesh at the bottom, but that's probably OK if you have a good substrate. Keep it wet for a few days to allow the cement to hydrate and gain some strength, and so reduce risk of shrinkage cracks.

It's a decent size - bigger than my shed. Good luck with the rest of the build.

John
 
John15":3po2dmlh said:
The slab looks a bit thin so maybe a risk of some cracking especially with the mesh at the bottom, but that's probably OK if you have a good substrate. Keep it wet for a few days to allow the cement to hydrate and gain some strength, and so reduce risk of shrinkage cracks.

It's a decent size - bigger than my shed. Good luck with the rest of the build.

John


I made it 100mm thick, in the corners I went for 150mm as there the big poles will be seated

When pouring the concrete I pulled up the mesh, so that it doesn't sit on the bottom. You are right about wetting the concrete, I did that in the afternoon, I felt the concrete this morning and there was no heat in it
 
Mcluma":338nt7zu said:
now the house is finished the wife doesn’t want any tools in the house. The solution

.... is explain to the sweet wife that bike sheds don't get built by magic - tools are to be treasured like any other valuable items, which may include storing / cleaning them etc, indoors!!

good luck with that! :lol:
 
No actual work on the Bike / Tool shed got done, other then resourcing stuff, bought screws and brackets and 2 doors

Debbie didn’t want the ordinary shed doors but something a bit more “upmarket” and in keeping with the house and carport.

She found locally (I just do not want to drive miles and miles anymore to pick up stuff – those days are gone) just 5 minutes from where I live these doors – they are oak bow fronted glazed doors.


Untitled by Chris, on Flickr


That one as a letter box and all the hardware doesn’t bother me, I will replace the letterbox with an air vent cover, and the doors will be painted black.


However, I didn’t pay enough attention to the description and one door is shorter and a bit narrower then the other.

That one door is narrower isn’t a problem, but one door is 100mm shorter. They have cut down the top and bottom. As you can see on these pictures.

Untitled by Chris, on Flickr

Untitled by Chris, on Flickr

The top is 30mm shorter and the bottom 70mm shorter

I do not want to make the other shorter as well, as I think that 1870mm is just to short. I need those 100mm back

My question is what is the best way of getting this fixed, remember they are going to be painted black, and I have enough oak to repair it
 
Hi Chris,
Re-reading my post it sounded a bit critical and I apologize for that. My estimation of the depth was wrong - 100mm is fine and you were able to raise the mesh which will act as anti-crack steel. Good luck with the rest of the build.

John
 
John15":1topuhka said:
Hi Chris,
Re-reading my post it sounded a bit critical and I apologize for that. My estimation of the depth was wrong - 100mm is fine and you were able to raise the mesh which will act as anti-crack steel. Good luck with the rest of the build.

John

Don't worry about it - critic is good, keeps me on my toes
 
No skills":1mih6pg1 said:
As a suggestion, for the door bottom add on the extra material and make up a pair of extra deep weather bars to put on the door bottoms and hide the joint.


That is a great idea
 
The doors have to wait, I roughly know what I’m going to do with them, and more importantly I know what width the opening is going to be. Important so I can put the posts at the right place.

Last year my BIL gave me a few joists, which he had left over from his own house refurbishment, and were no good to him, so he dropped them off at my place.

Untitled by Chris, on Flickr

As you can see with almost 9” or 230mm they are way to big for use on the shed. But if I re-saw them I get 2 very useable pieces of wood out them. I want joist measuring 150mm, so out with the saw and cut them to size

Untitled by Chris, on Flickr


Next job for tomorrow is to get these posts into shape


Untitled by Chris, on Flickr
 
Had a late start this morning, first had to accompany my wife to the Kesterport furniture sale, which was a bit of a disappointment, followed by a visit to Homebase were we bought this nice barbeque, which first had to be put together before I could start on the bike shed.

Untitled by Chris, on Flickr

After that, it was back on the bike / tool shed, first task up was to make a jig for cutting out the mortises.

Untitled by Chris, on Flickr

Next, had to take my heavy router out of the routerlift, as this is one takes ½ router bits

Untitled by Chris, on Flickr

Result after a bit of routing

Untitled by Chris, on Flickr

Just want to show this rasp, which is a very handy tool, my dad had and identical rasp about 45 years ago.

Untitled by Chris, on Flickr

An hour or so later all the mortises done, and posts cut to length

Untitled by Chris, on Flickr

A bit of a dry fitting

Untitled by Chris, on Flickr

And with the help of my wife and son we put it all together, didn’t took longer than 5 minutes

IMG_1423 by Chris, on Flickr

For now I have put straps around it, as it was getting late and wanted to spend a bit of time with my kids who had come over for a visit. Tomorrow I will bolt it all done and make a start on the roof.
 
Bit of a slow day, started off with doing a number of errands, followed by a special occasions, we picked up my daughters new car for when she will be 17 in a couple of months, car is a gift from her grandfather who has changed his car and gave his old one to my daughter – which was a total surprise to her. That is enough of excuses, certain things just take a bit longer.

Had the whole glued up and bolted together, not yet bolted to the floor, which will be one of next week jobs. Put the cross braces in. The whole feels very solid.

Untitled by Chris, on Flickr
 
It’s a bank holiday weekend and with the Friday off, it would mean double building time. Unfortunately not, a late change of plans, my brother is coming over for a weekend visit. So most likely all my building time is done.

However, today was not to bad, was able to put most of the rafters up, still a few more to do, but that won’t take me long, I have already cut them. And yesterday had a delivery of the feather edge boards and OSB boards for the roof. Yes I had it all planned out for this weekend.

Thursday’s delivery

Untitled by Chris, on Flickr


When I build the carport, I was made aware of this program called http://www.blocklayer.com, a brilliant online program that makes light work of setting out your roof, with all the cuts set out. Here you can see a print out of the program

Untitled by Chris, on Flickr

Untitled by Chris, on Flickr

With this information, I was able to set out the roof

Untitled by Chris, on Flickr

Untitled by Chris, on Flickr

Untitled by Chris, on Flickr

Untitled by Chris, on Flickr

Untitled by Chris, on Flickr
 
Before starting on the roof, I better fix the posts to the concrete; this should by now have hardened enough to put the screws in.

I decided against using chemical anchors (something I used with success on the carport and other projects) but instead will be using concrete screws – a more cost effective solution

Untitled by Chris, on Flickr

Pre-drill with a 6mm stone drill and then drive them in with an impact driver – result – rock solid

Each post will be secured with 2 heavy duty angle plates – they will not move any more

Untitled by Chris, on Flickr

After this job is done, I can start on the roof
 
Back
Top