Building a Bike / Tool Shed - Roofing and Painting

UKworkshop.co.uk

Help Support UKworkshop.co.uk:

This site may earn a commission from merchant affiliate links, including eBay, Amazon, and others.
Billy Flitch":1c3xl64m said:
BTW I`ve never been allowed to put a post on concert without a damp prof membrane under it, Just something to think about.The capillary grove at 1/8" is not really wide enough the water will spring over it you need at least 1/4". Complements man your doing a top job.
.

The posts are standing on a thin piece of slate (ok manmade slate), which you can, or maybe cannot see on the pictures, this is also what they did on our 100 year old house. And yes the tile battens (roof battens) are straight fixed to the concrete. would have been nicer to have some dpm under them.

Concrete is laid on a plastic, so that will not pull moisture up from the ground. the roof has a 30cm overhand, with gutters around 40cm, it is sheltered by trees. so i hope and fingers crossed it will last. I also do not believe there will ever be water/rain agains the featheredge boards. (that is based on the experience with the carport)

About the capillary grove - that is a shame, had not thought of that

And thanks for the compliments
 
Was not able to spend any time on the bike shed on Saturday, as I had to help my FIL to build a 3 new paddocks, followed later in the afternoon by installing a new radio in my daughters car. However Sunday (fathers day) was a bit different.

So I have do something with these doors!

Untitled by Chris, on Flickr

When I bought them, I stupidity thought they both where identical- they came from the same person, it came from the same building (his London workshop) when it was pulled down.

I only realized they both were different when I had them standing next to each other. Dammit, nothing is the same about these doors, they may be looking the same, but that is all

Doors are not the same size, stiles are not equal, windows are not identical etc etc. My options are: sell them, and take the loss, or fix them as much as possible so they may be looking the same, or it’s not to obvious that they are different.

Well I do like a challenge, so it will be option 2. –

So on we go with stripping down the door to its original form

Untitled by Chris, on Flickr

Of with the drip strip and draft excluder (nice one though, made out of wood!)

Untitled by Chris, on Flickr

This door had a small problem, in that the stile had slightly come away.

Untitled by Chris, on Flickr

Had to open it a bit more, so I could clean it out, as there was a lot of rubbish in the opening. After cleaning it out, I clued it up and closed it up again

Untitled by Chris, on Flickr

So this door is to short on both ends, luckily I have loads of oak laying around from doing my staircase, and so I found a number of oak spindles which are the correct thickness and length.

Untitled by Chris, on Flickr

Untitled by Chris, on Flickr

But before I can glue these one on, I have to clean up the bottom, as well as the top

Untitled by Chris, on Flickr


Untitled by Chris, on Flickr

I was originally thinking of putting a spline in, but, as there hardly will be any force on the bottom part of the door, and I will be putting a large drip board on it, I decided to just use biscuits

Untitled by Chris, on Flickr

Untitled by Chris, on Flickr

and strapped up
Untitled by Chris, on Flickr

The other door, also needed some TLC, especially on the top

Untitled by Chris, on Flickr

No idea what happened here, I think, it has been attacked by squirrels when I had them temporarily standing against the tree, as the tree trunk looks very much the same

Untitled by Chris, on Flickr

The doorframe where they had originally been fitted in, must have been really out of whack, as I had to trim about 7mm from the lower part of the stile to get the door even

Untitled by Chris, on Flickr

I have sized up the bottom part of the door, what remains is trimming down the top of the door, however that is where I had to stop for the day, as its time to sit down for a nice steak dinner.

Untitled by Chris, on Flickr
 
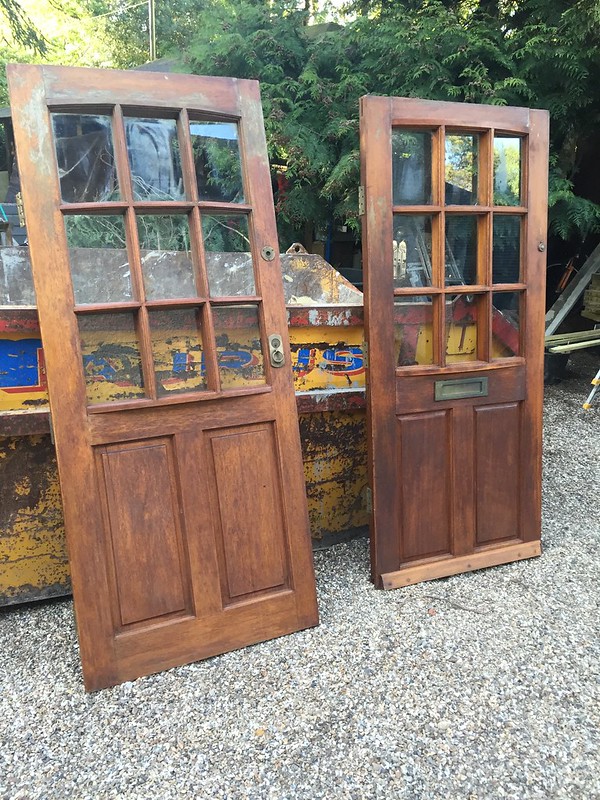
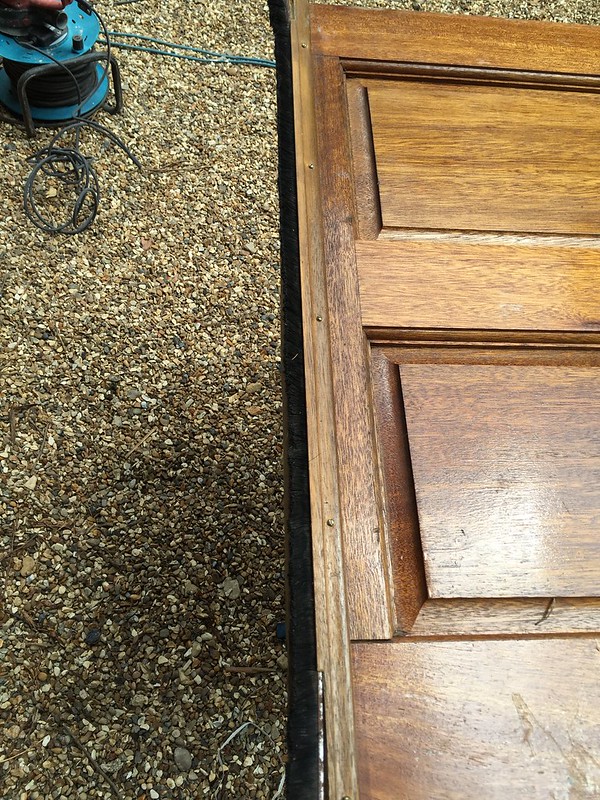
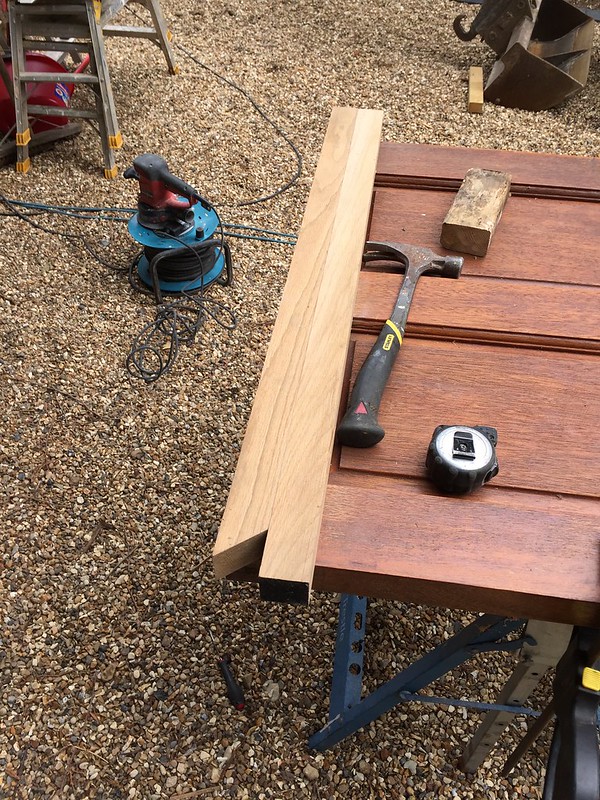
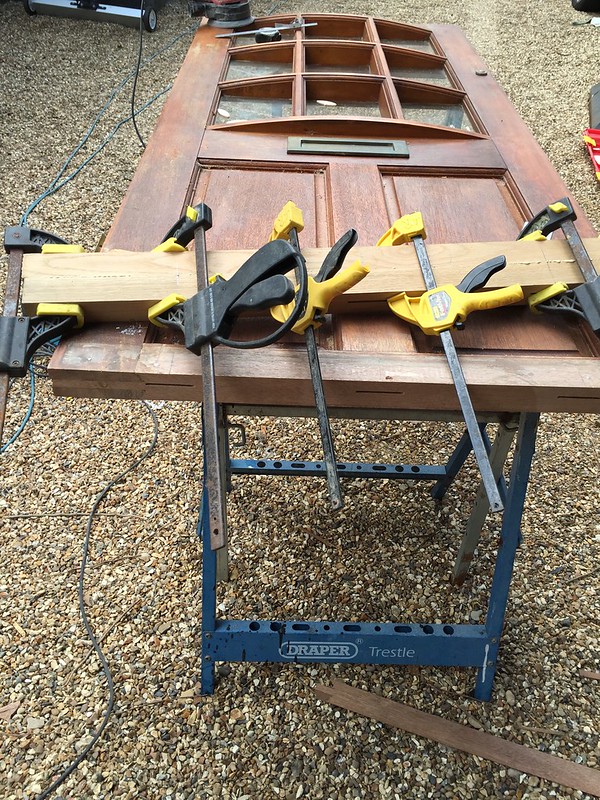
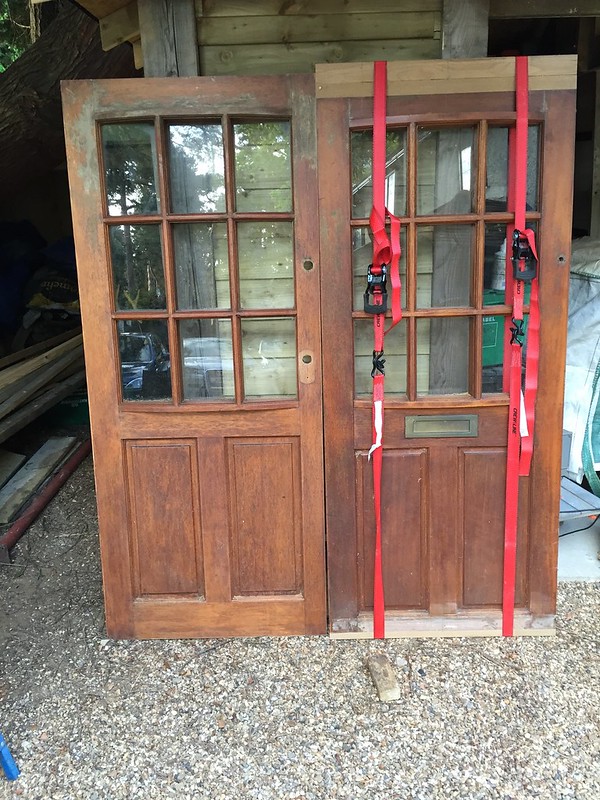
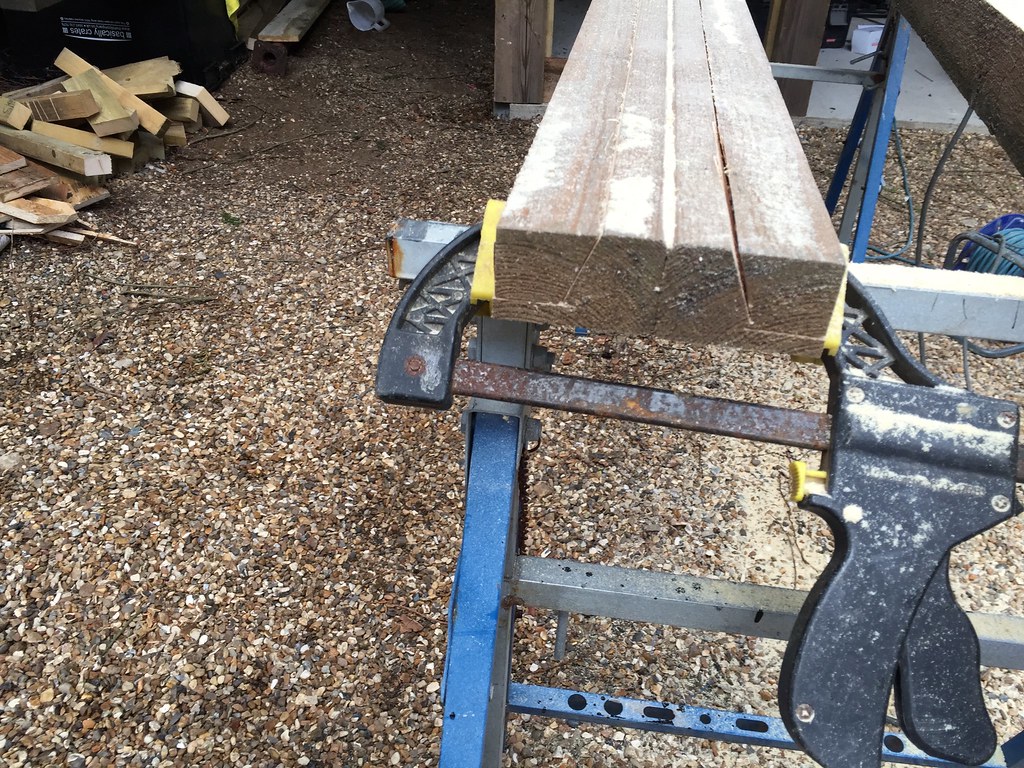
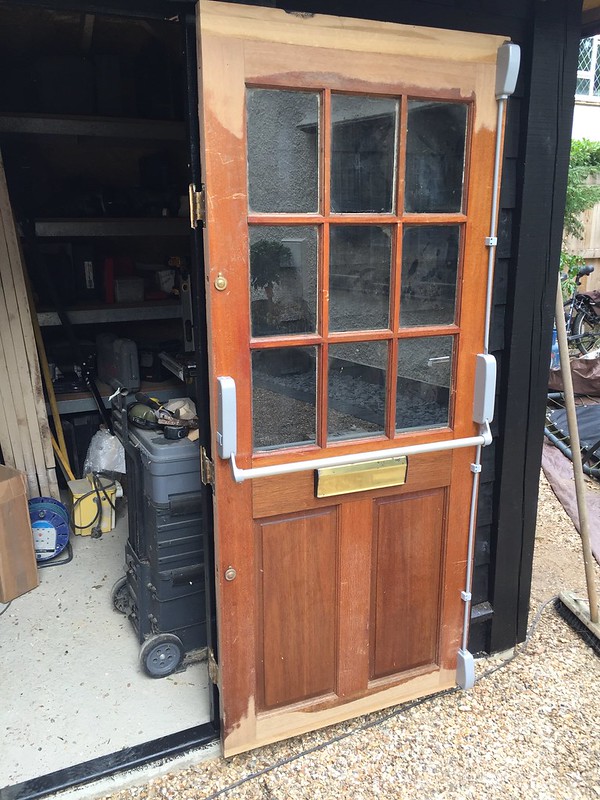
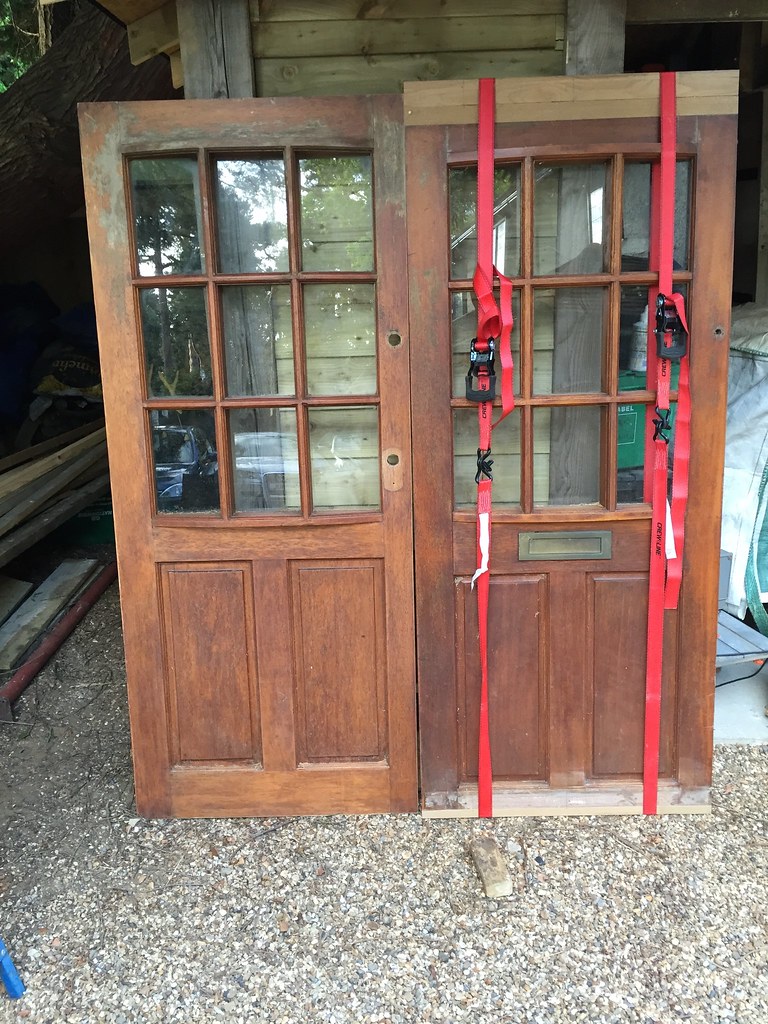
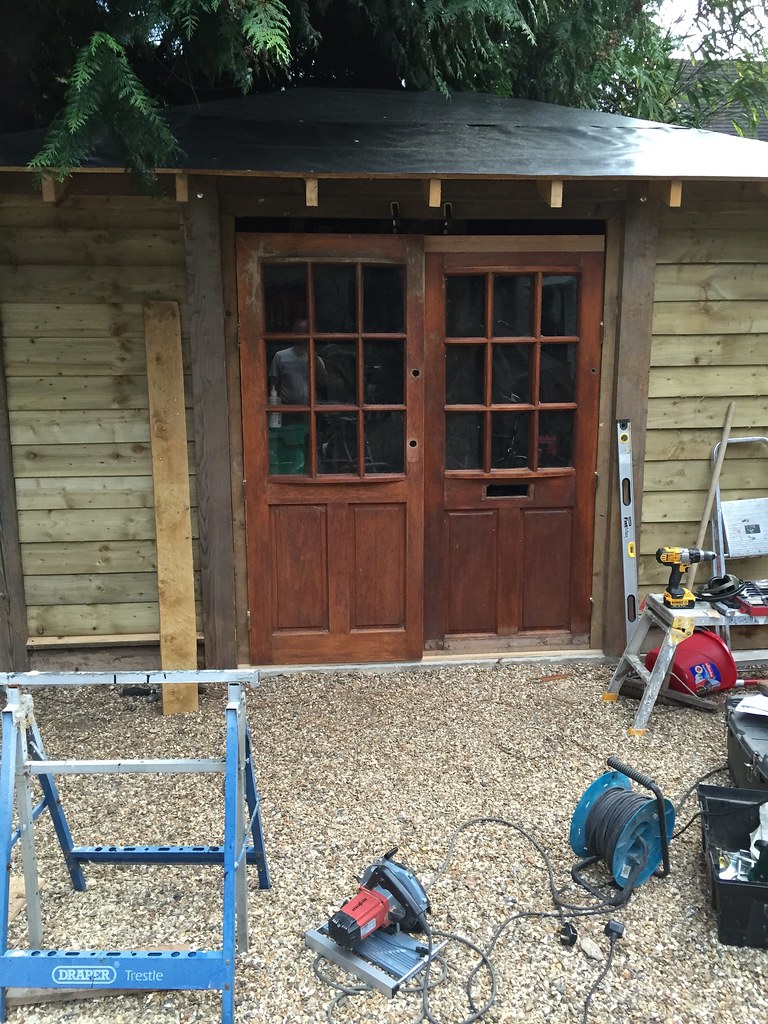
Had a fun day with fitting the doors, first up was to reducing its overall size to match the other door, which I did by cutting down the top rail.

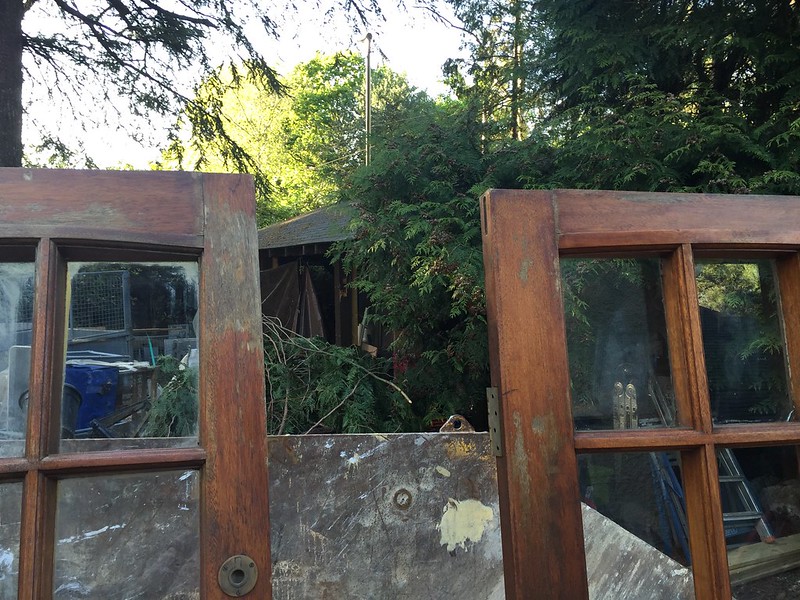
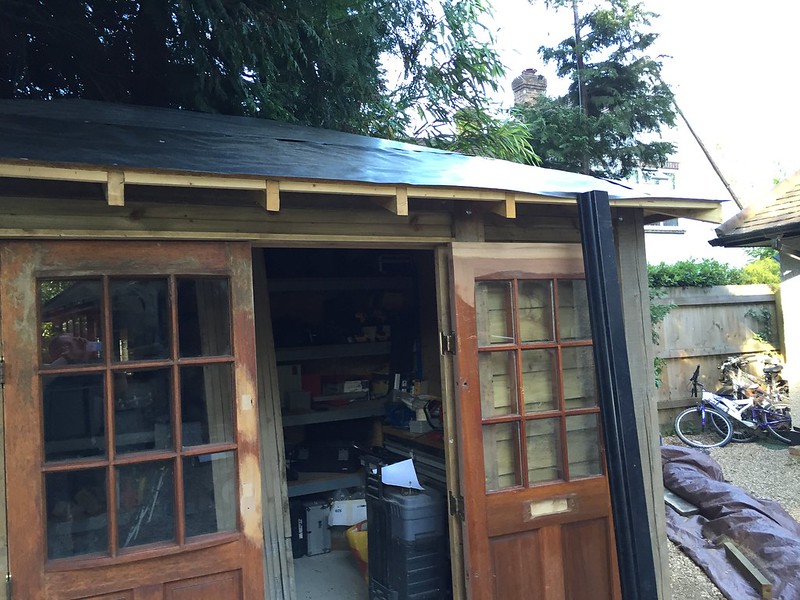
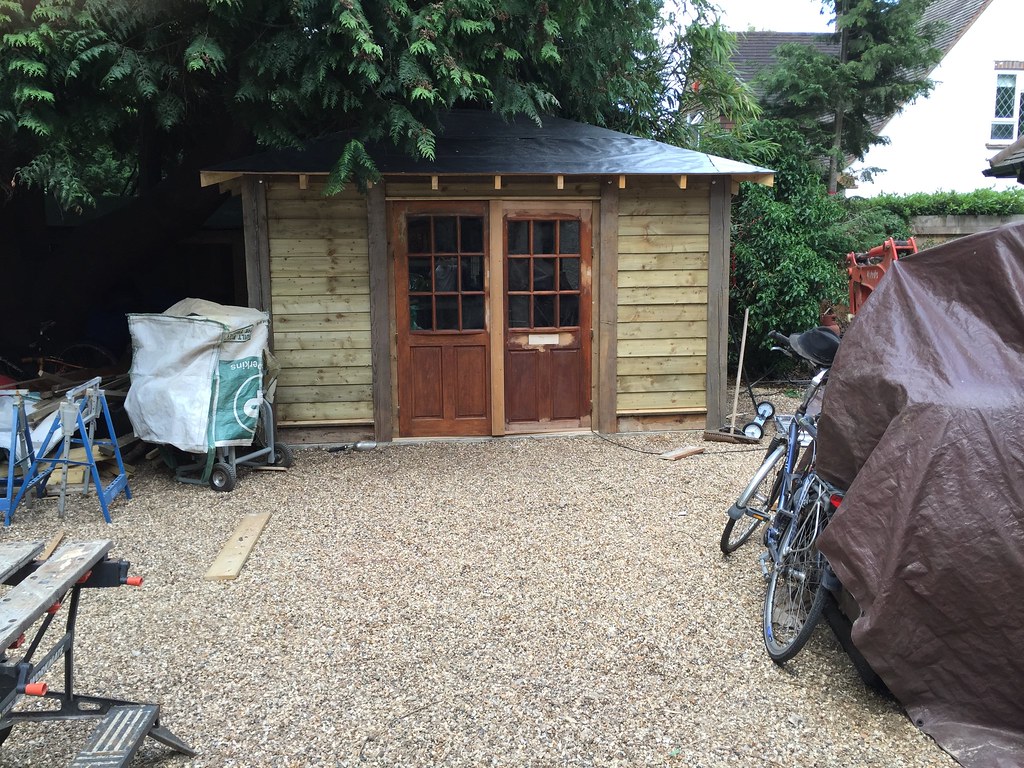
This is how I left it last week

Untitled by Chris, on Flickr

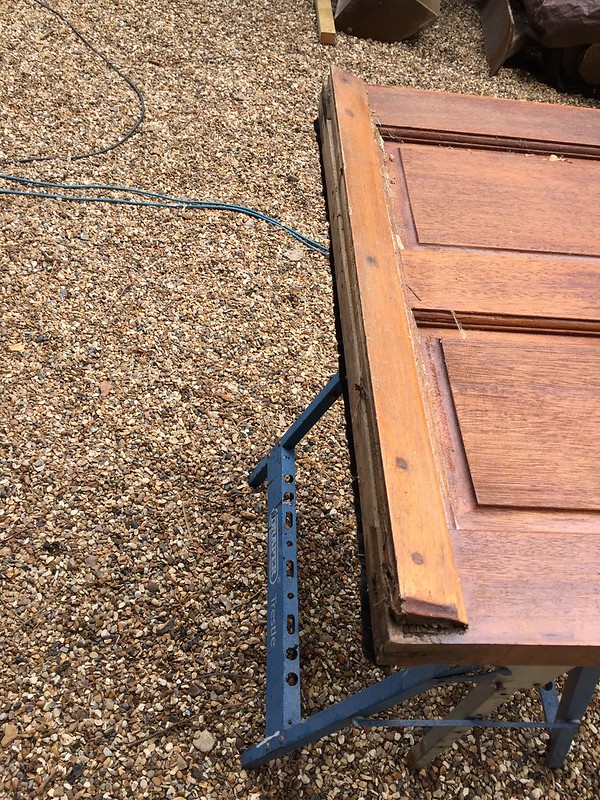
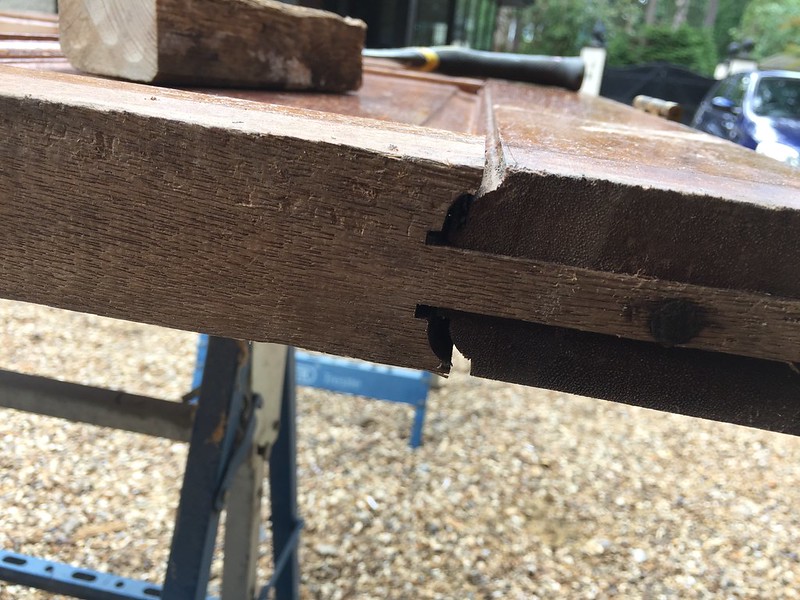
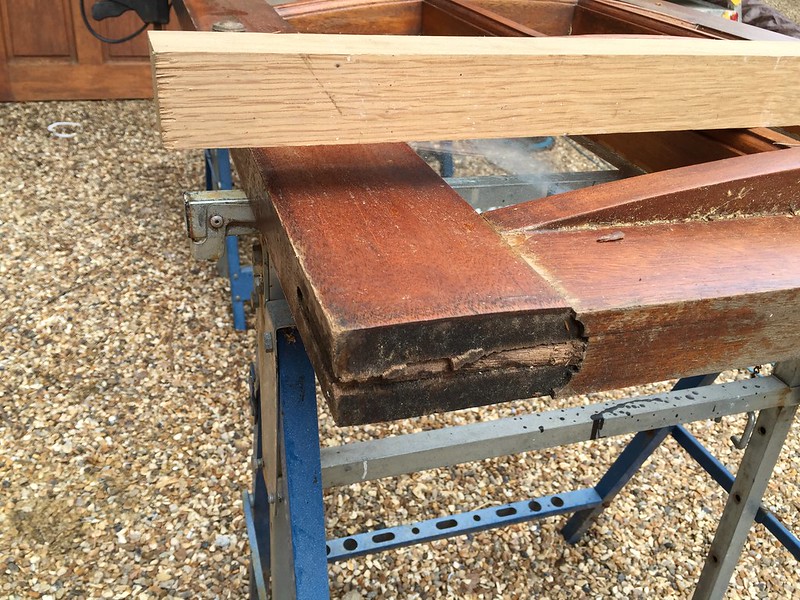
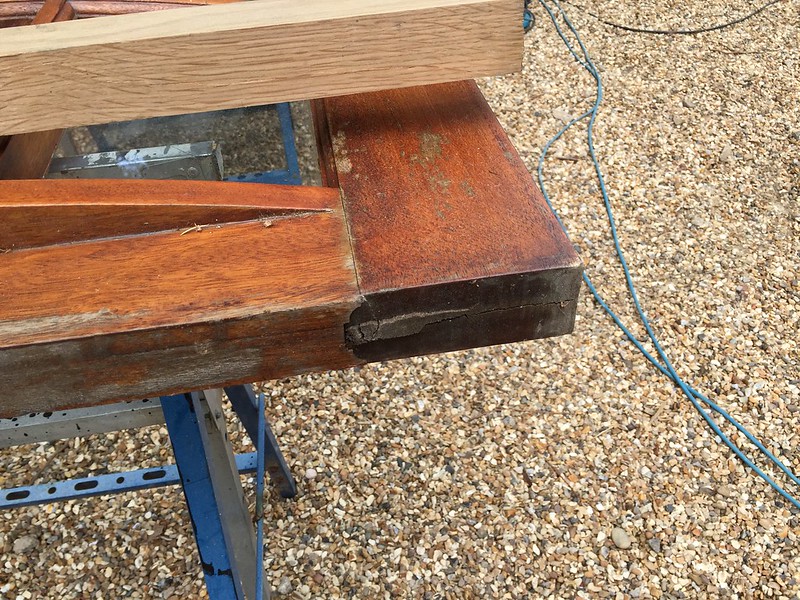
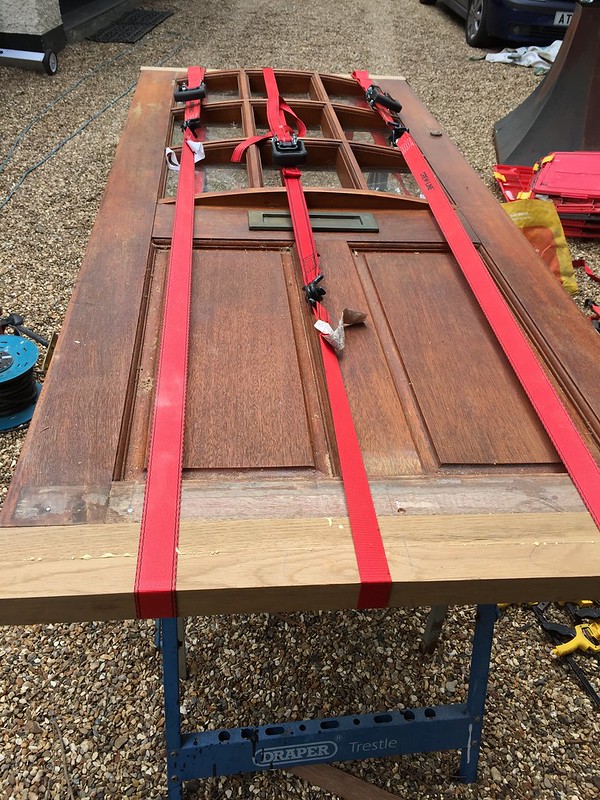
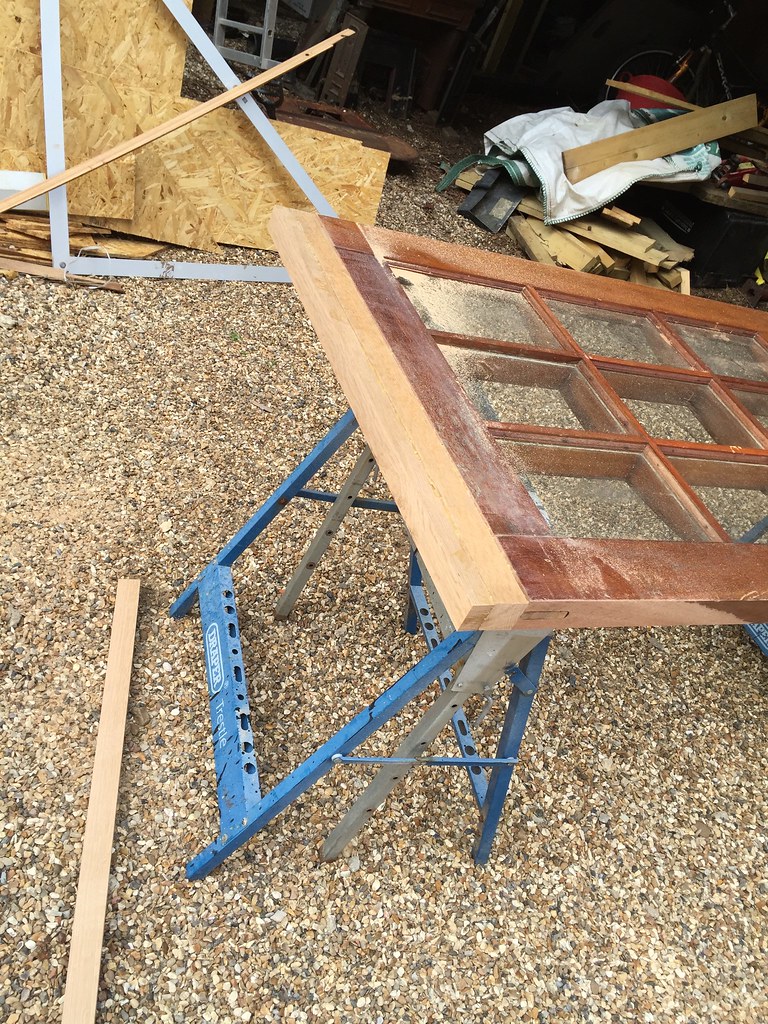
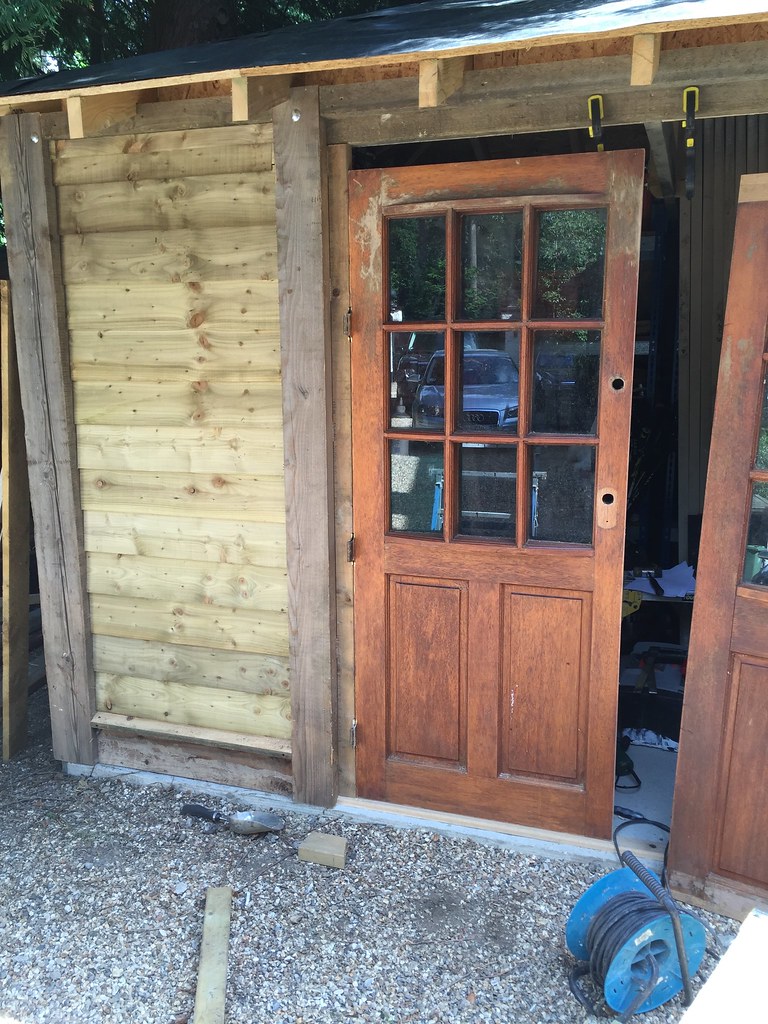
And after cutting down the top rail

Untitled by Chris, on Flickr

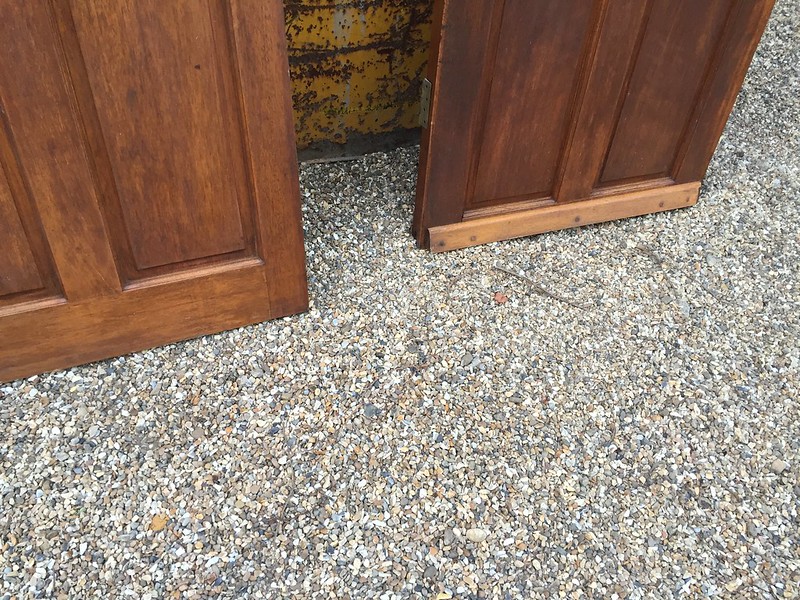
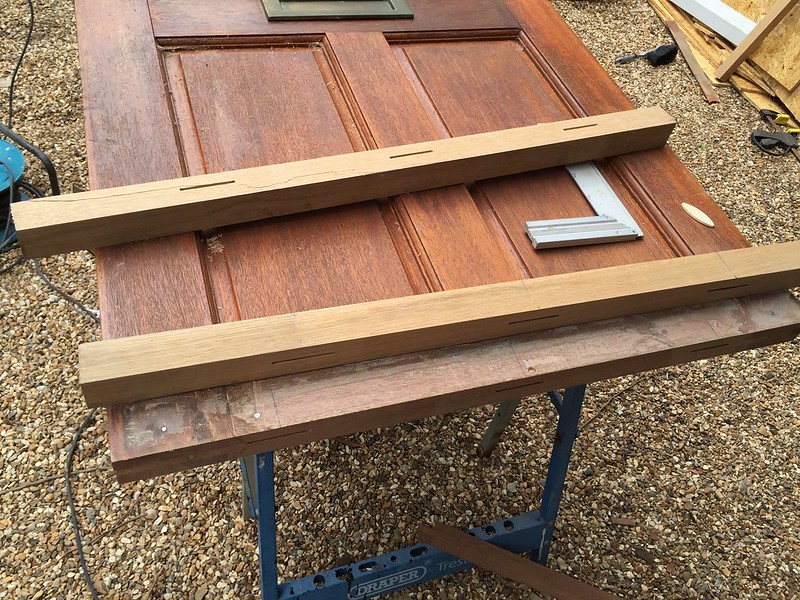
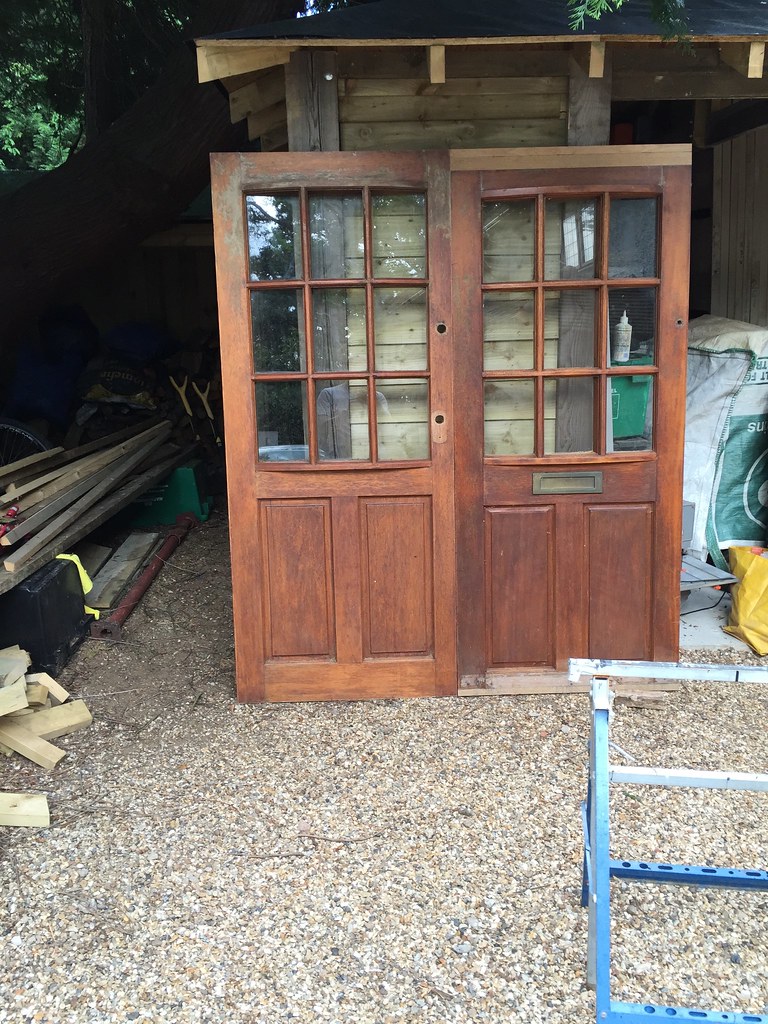
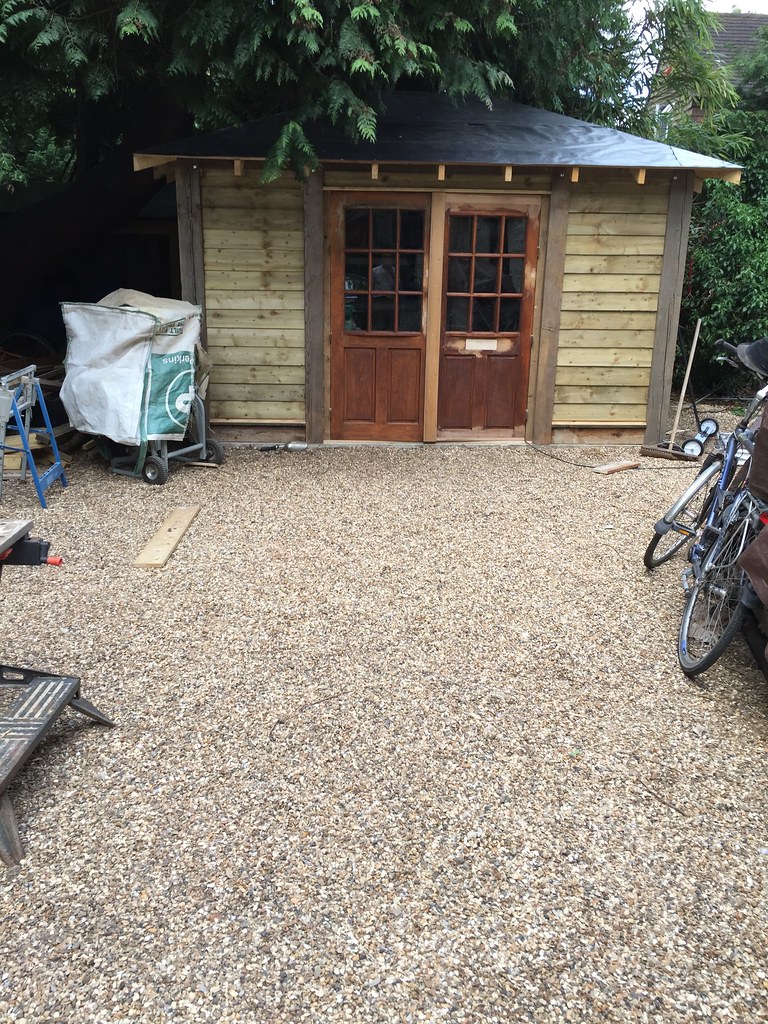
So now they are the same size

Untitled by Chris, on Flickr

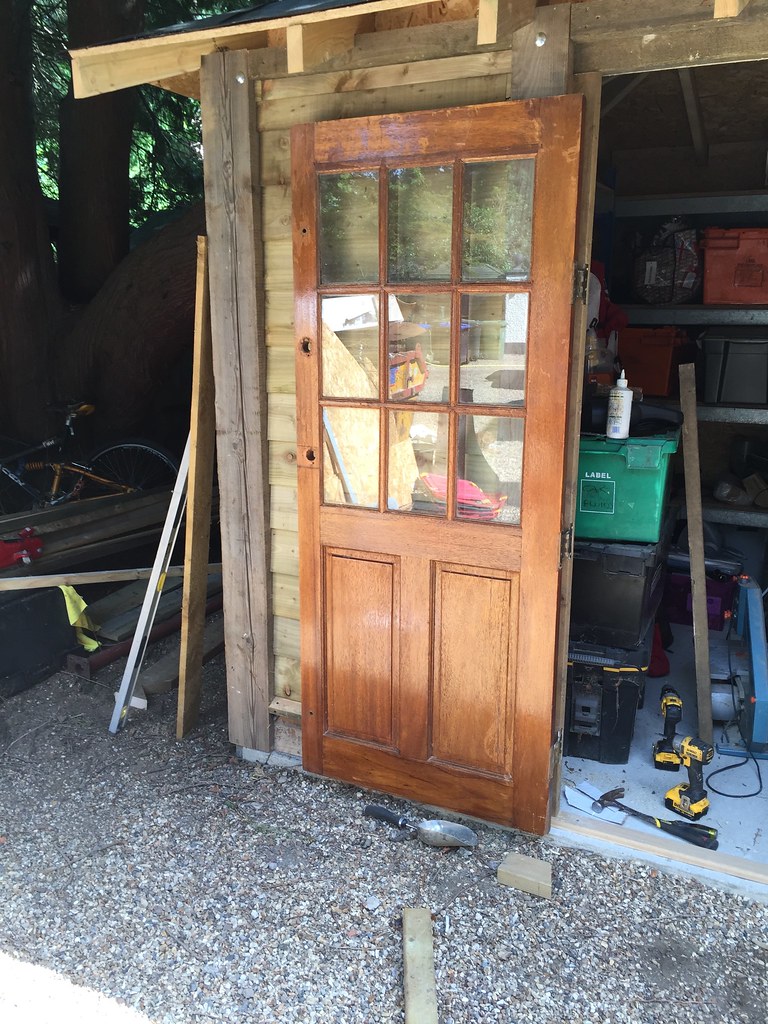
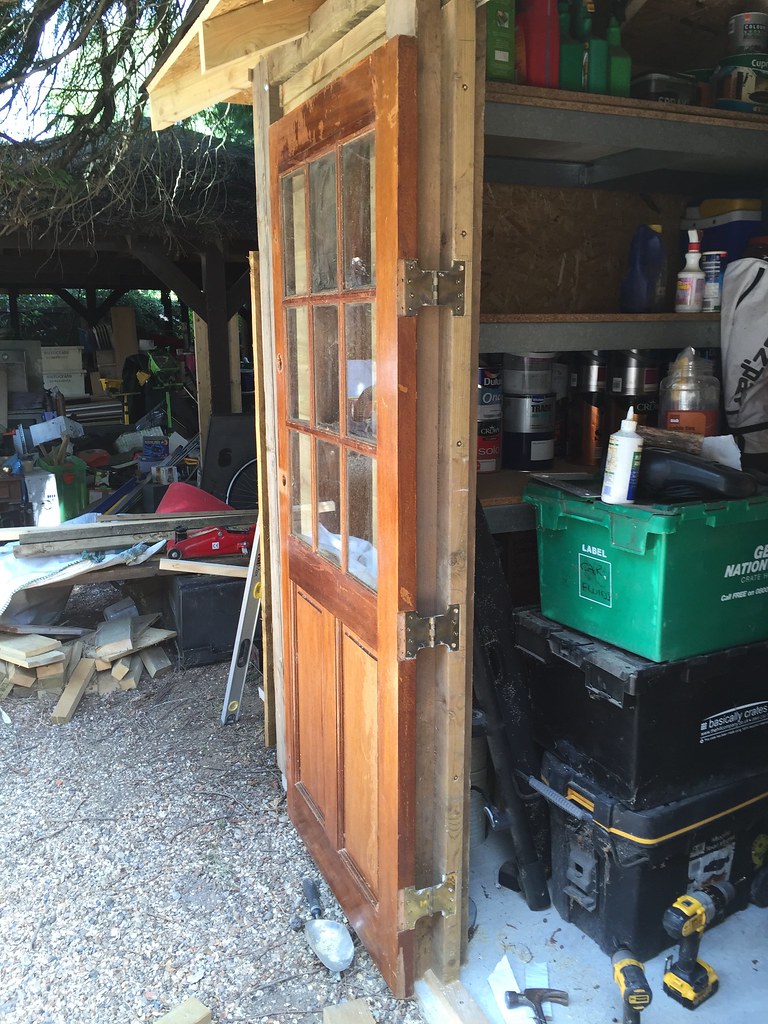
Next up was cutting in the hinges, and I noticed that on these doors the hinges are cut in on an angle inwards. I have never seen that before. Have no idea what the added benefit of doing it that way is!! – beats me

Untitled by Chris, on Flickr

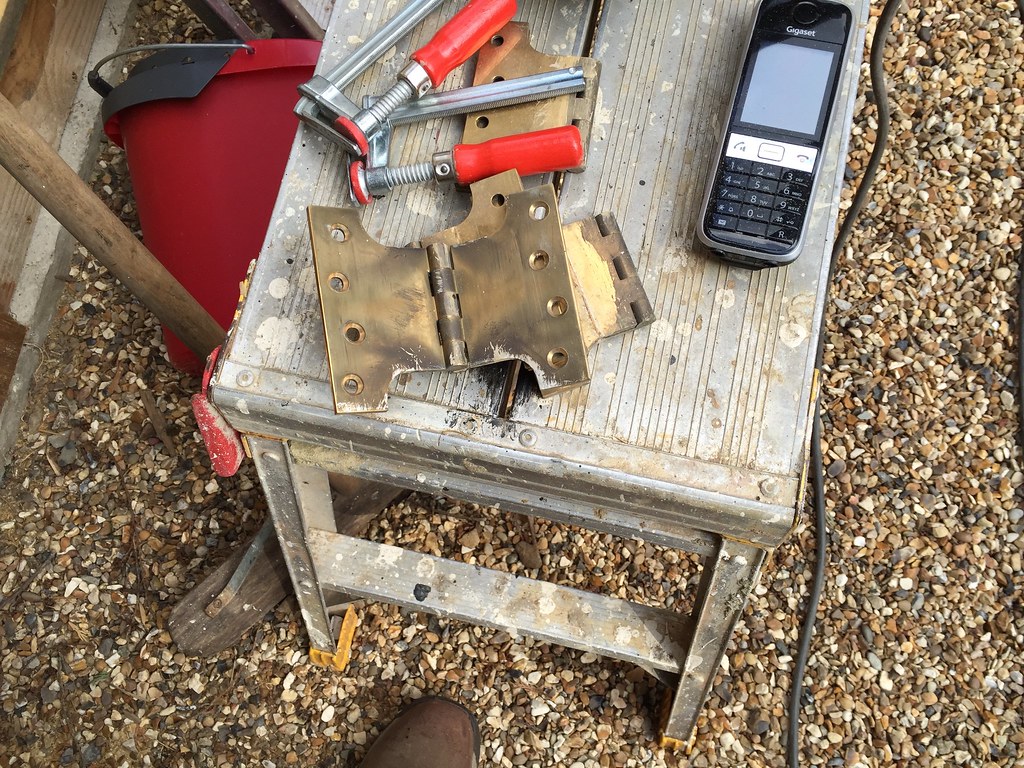
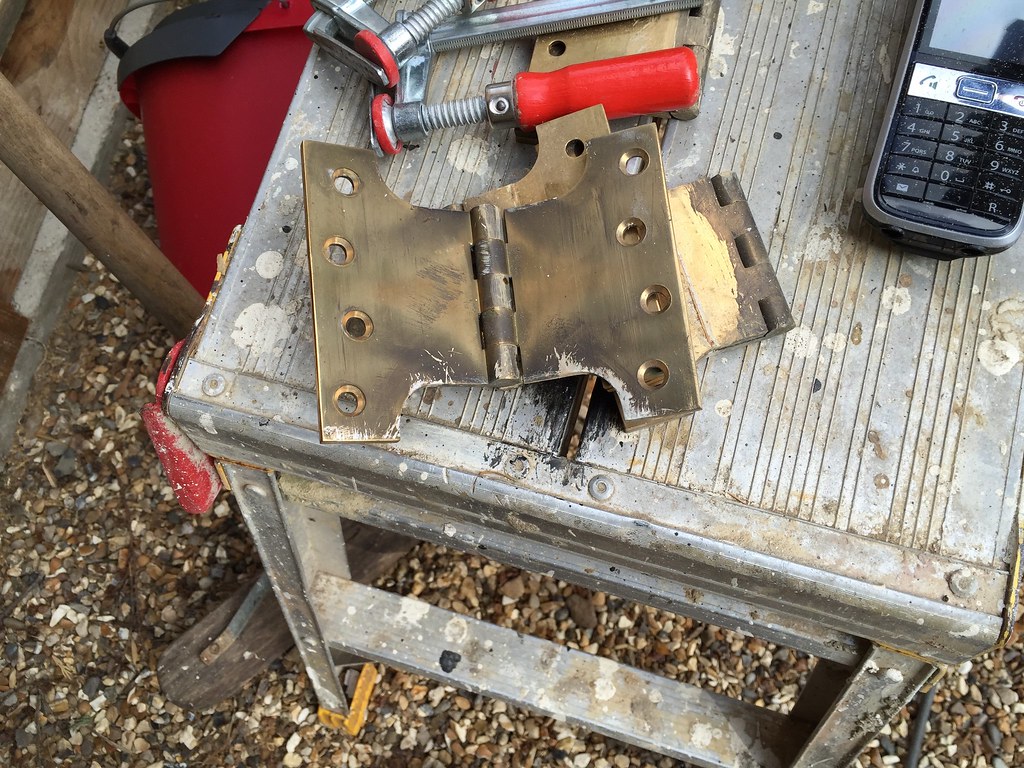
The hinges that where on the doors are heavy duty ones, but they will not do it for me. (I will explain, and show later!) I replaced them with these hinges

Untitled by Chris, on Flickr

Untitled by Chris, on Flickr

I had these left over from another project which I did about 2 years ago- my secret door project

Little side step –I hope you don’t mind!

I bought these doors (actually it was my wife who bought them), which are very heavy MDF panel doors,

Doors2 by Chris, on Flickr

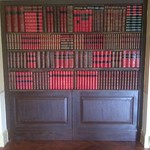
But that is not the part I bought them for, this is the other side of them

Doors1 by Chris, on Flickr

Doors4 by Chris, on Flickr

Doors3 by Chris, on Flickr

These are Faux leather books, real books, but prepared specially for display purposes.

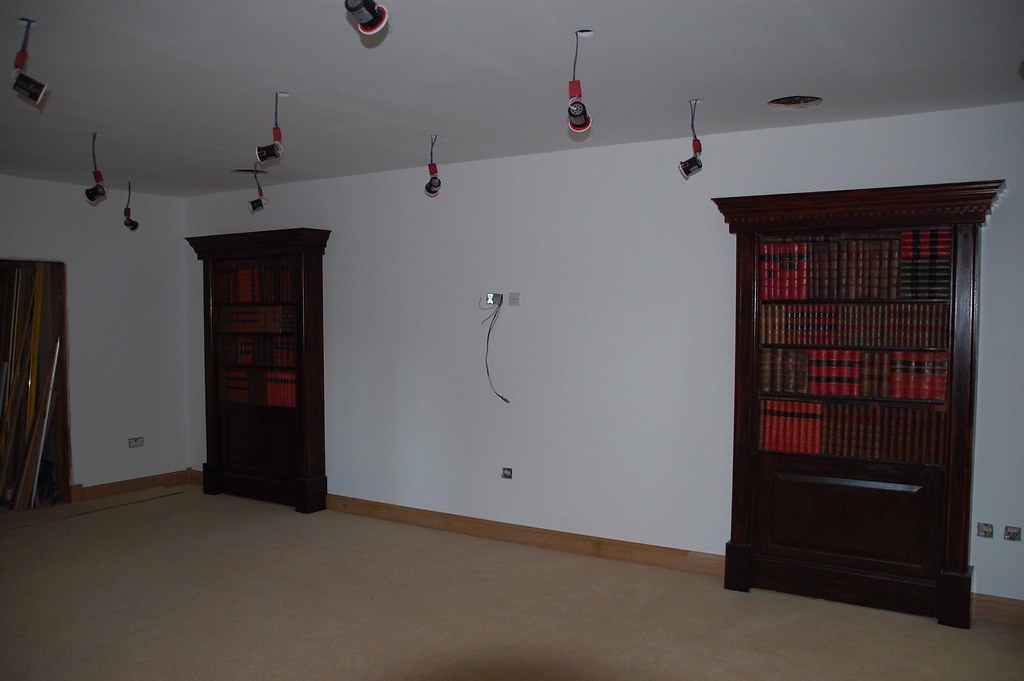
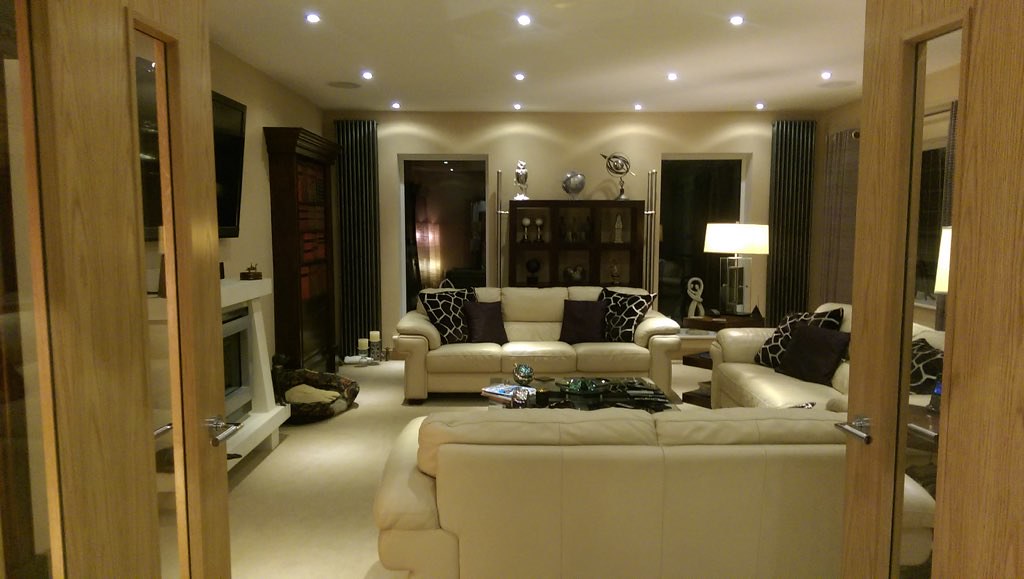
The doors where utilized in our set-up for the lounge

Untitled by Chris, on Flickr

Untitled by Chris, on Flickr

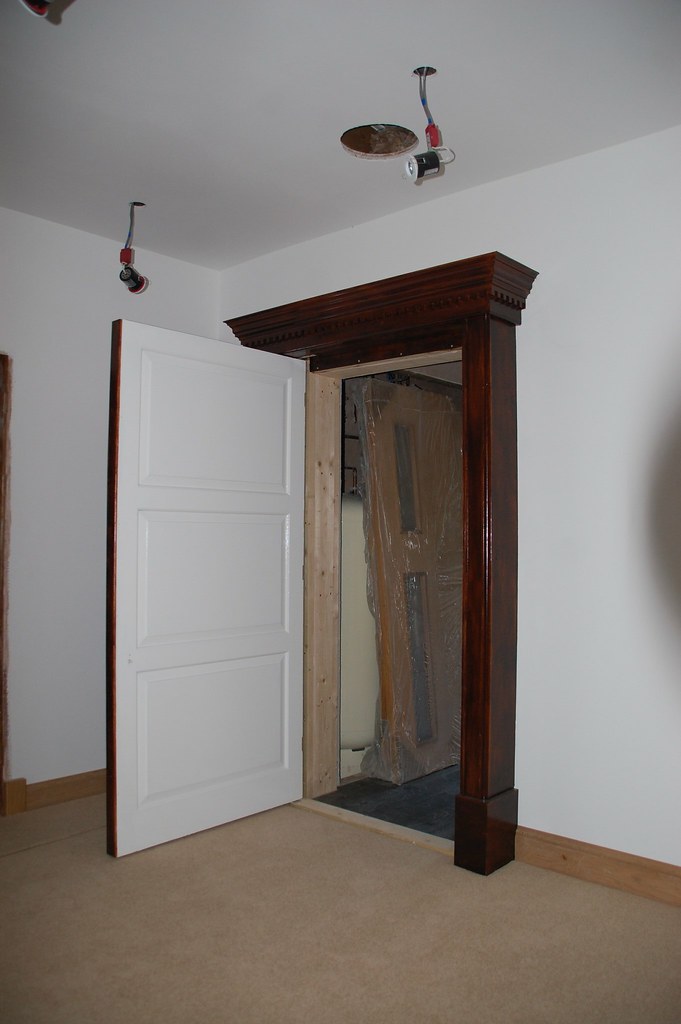
Indeed a secret door – which gives access to our plant room and the Gym

Untitled by Chris, on Flickr

Untitled by Chris, on Flickr

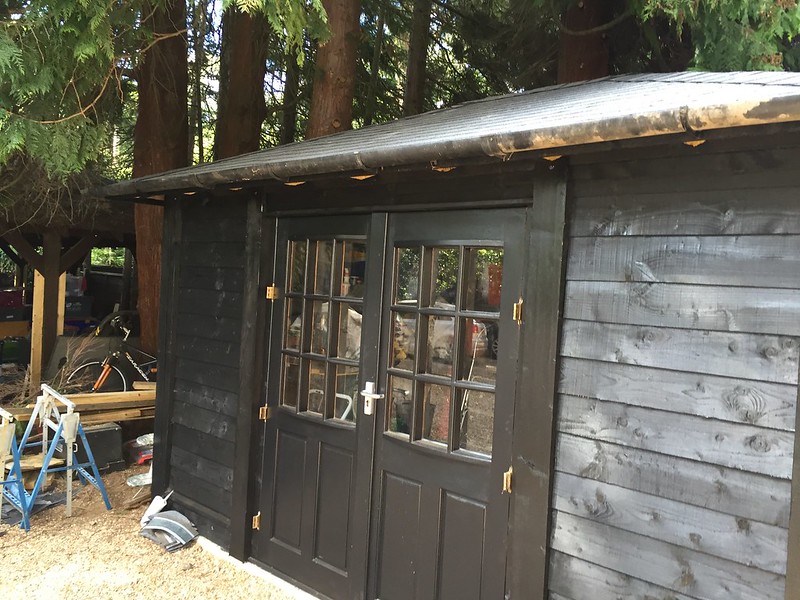
Ok back to the bike tool shed.

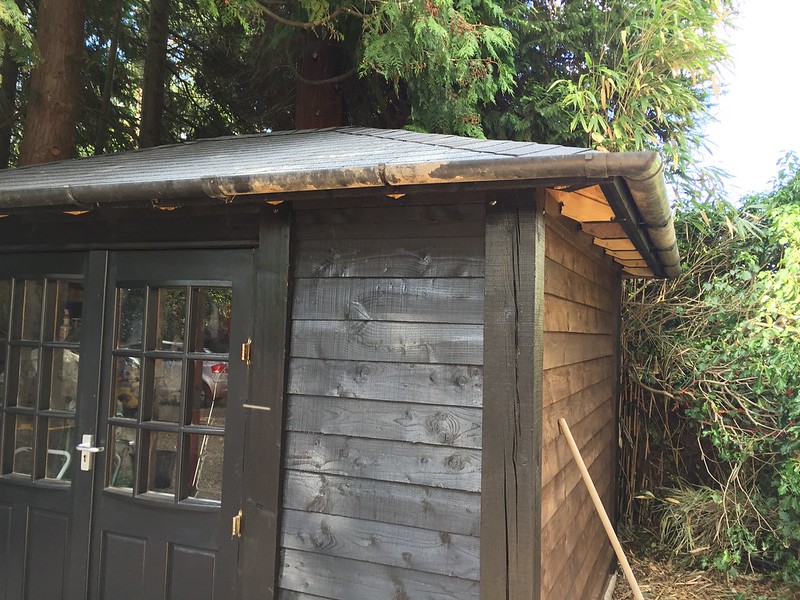
So as I explained, I had these hinges, and because the leave of hinge is very long, it will help the door clearing the wall, therefore the door can open a compleet 180 degrees.

The doors hinges where originally cut in to open inwards. I will let them open outwards

Untitled by Chris, on Flickr

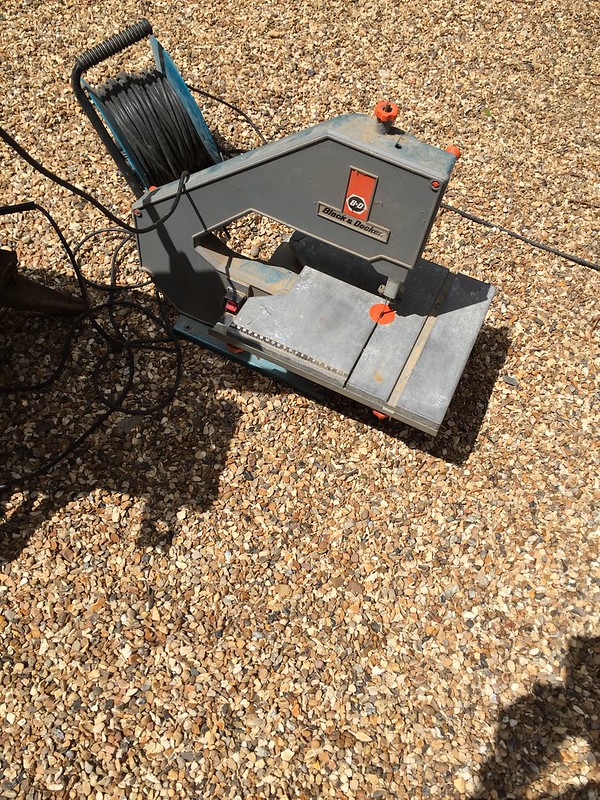
Cutting the hinges free-hand, that is where this little Bosch Router comes in handy

Untitled by Chris, on Flickr

Unfortunately these hinges have square corners, so I need a little with help of the corner chisel.

Untitled by Chris, on Flickr

Prior to routing them out I score the lines with a chisel, that gives then a very clean line when using the router

Untitled by Chris, on Flickr

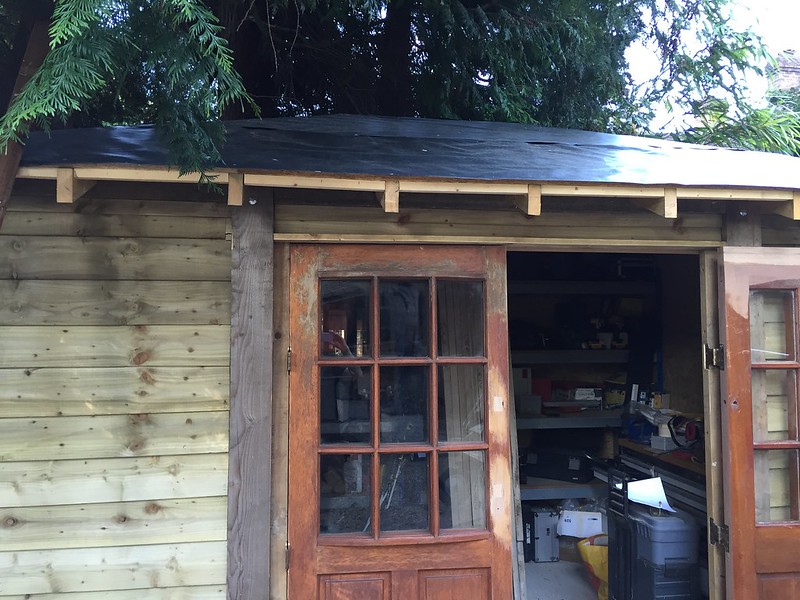
I have already put a doorframe in place, based on the dimensions of the doors, so no more cutting needs to be done. I offer them up inside the doorframe with a piece of 2mm cardboard underneath so I can mark the hinges on the doorliner

Untitled by Chris, on Flickr

Than a bit more routing and fitting the door

Untitled by Chris, on Flickr

And here you can see what I mean with opening the door a full 180 degrees

Untitled by Chris, on Flickr

Untitled by Chris, on Flickr

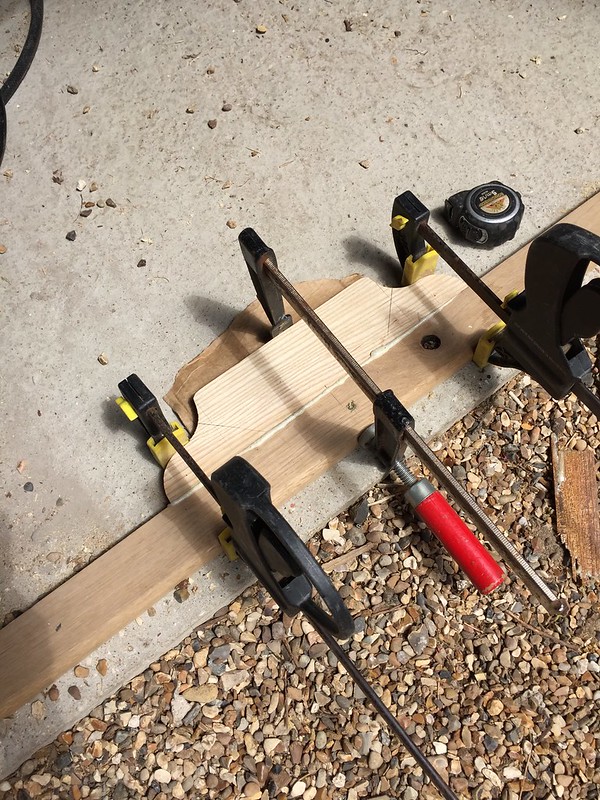
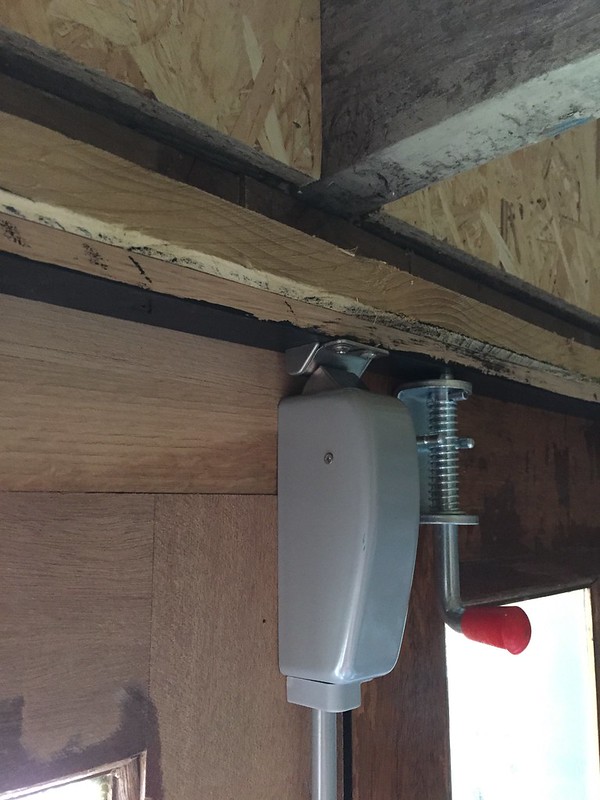
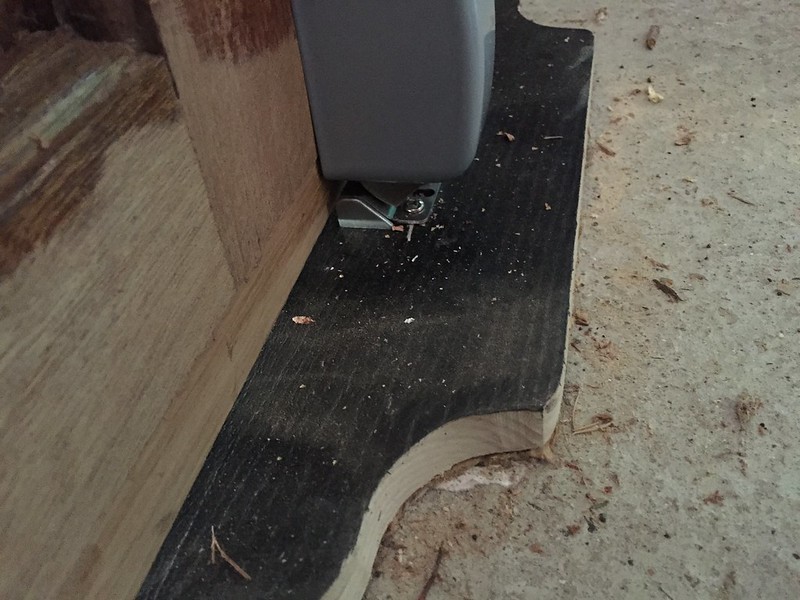
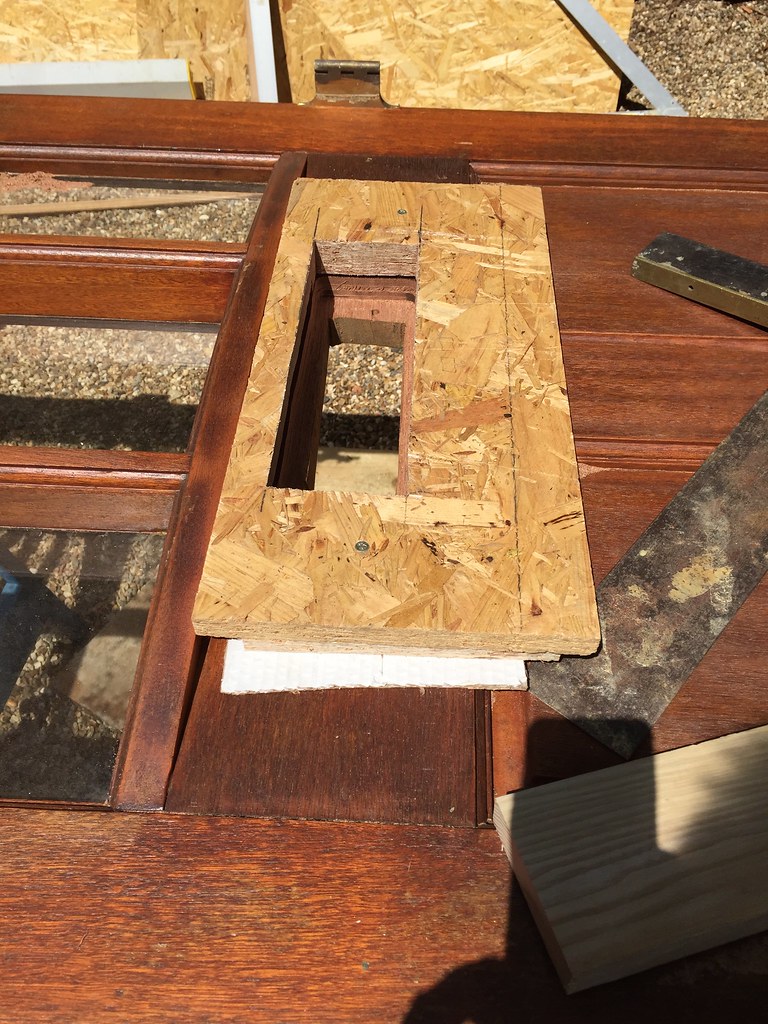
That is one door done, now the other, but first I have to fill in the hole where the letterbox once was. I quickly knock up a jig, that will lift my router just above the bow of the window, as that was in the way

Untitled by Chris, on Flickr

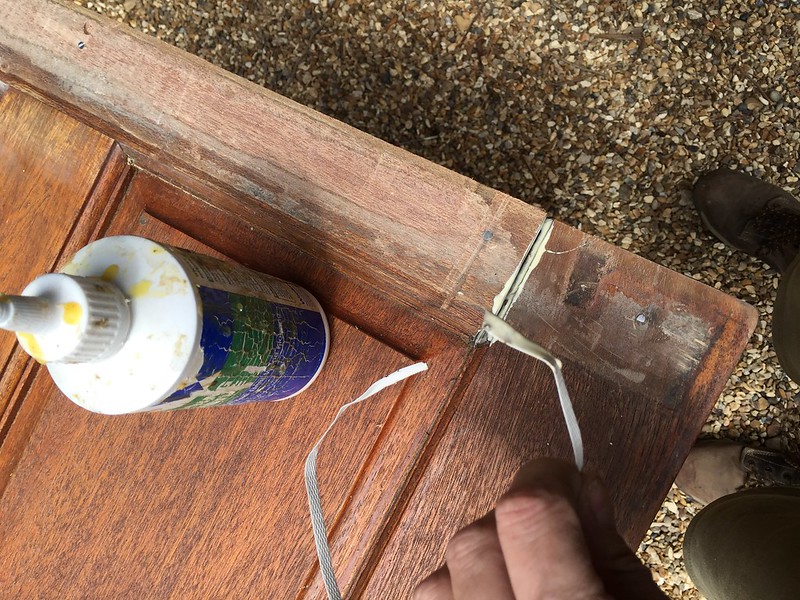
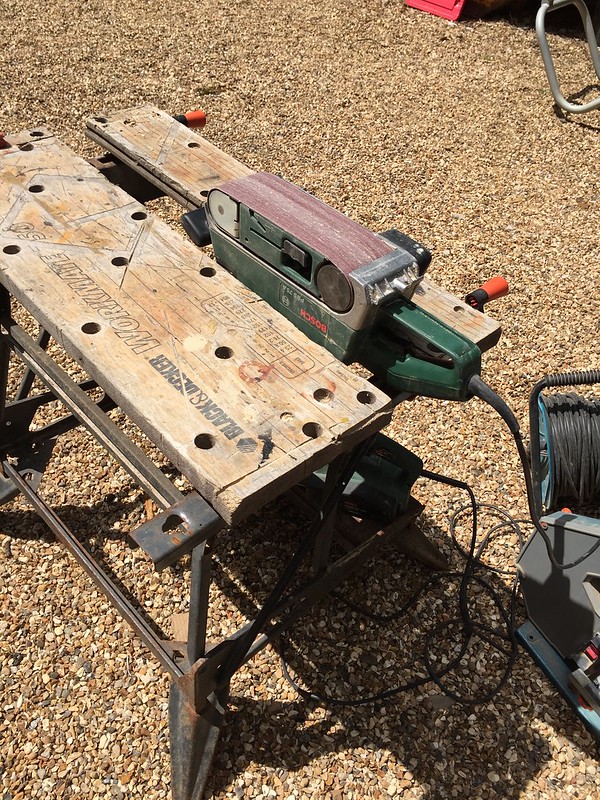
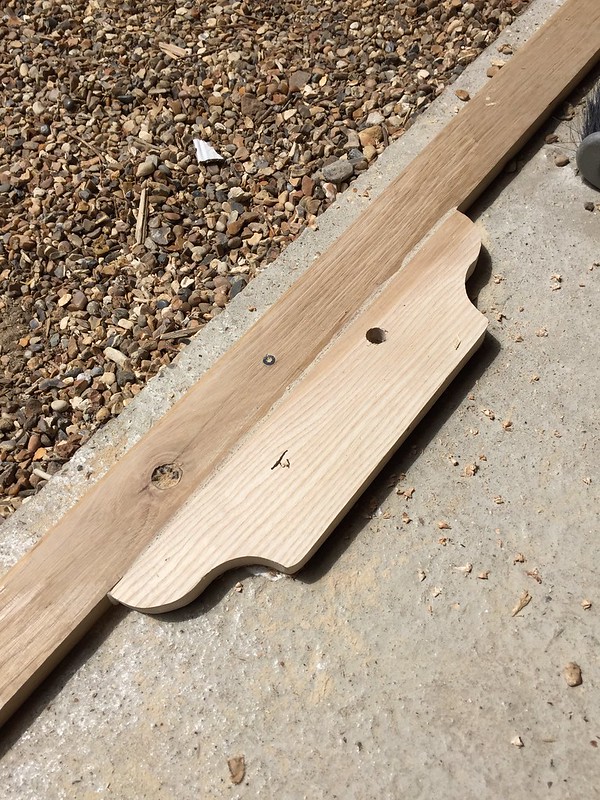
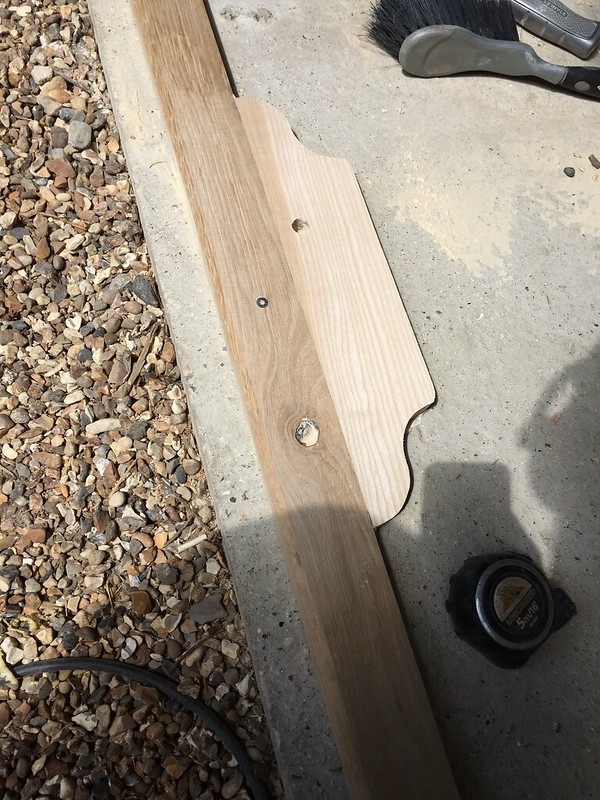
Filled IT with a piece of white oak. It doesn’t look pretty now, but when it’s all painted it will look fine – sanded it down with the belt sander

Untitled by Chris, on Flickr

Untitled by Chris, on Flickr

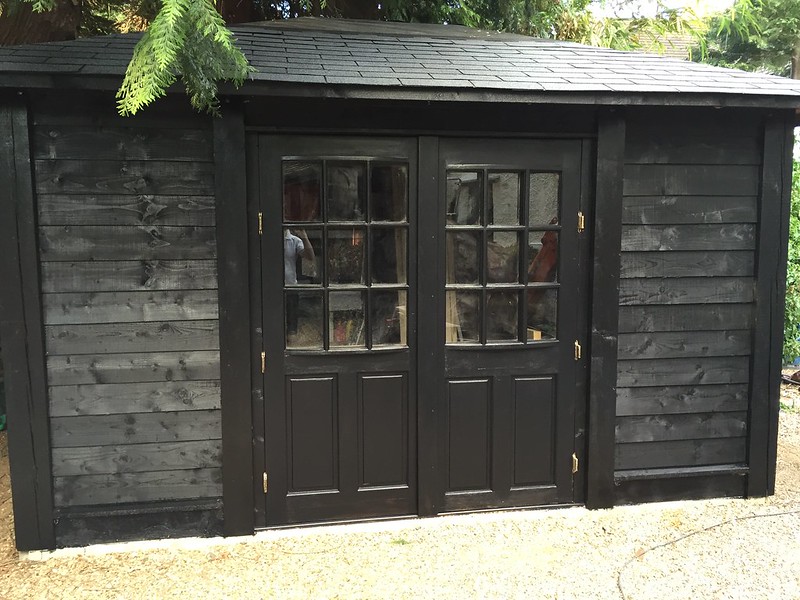
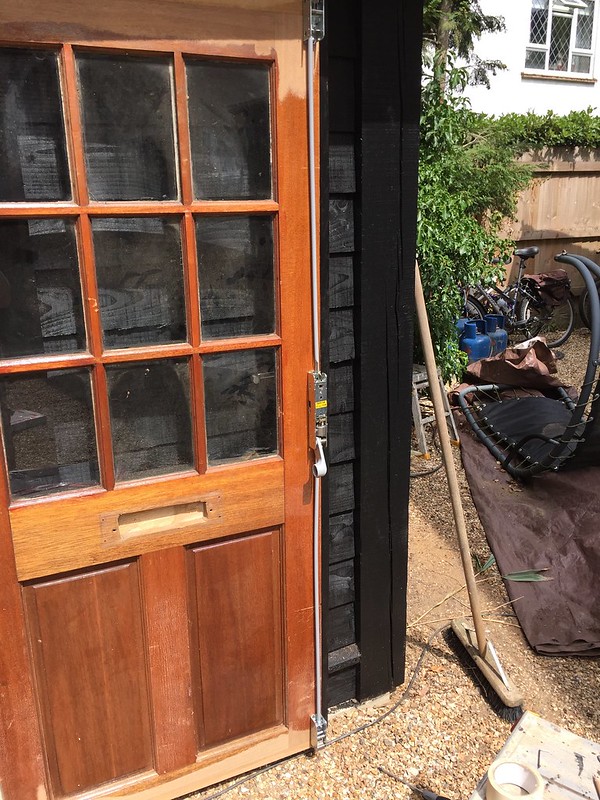
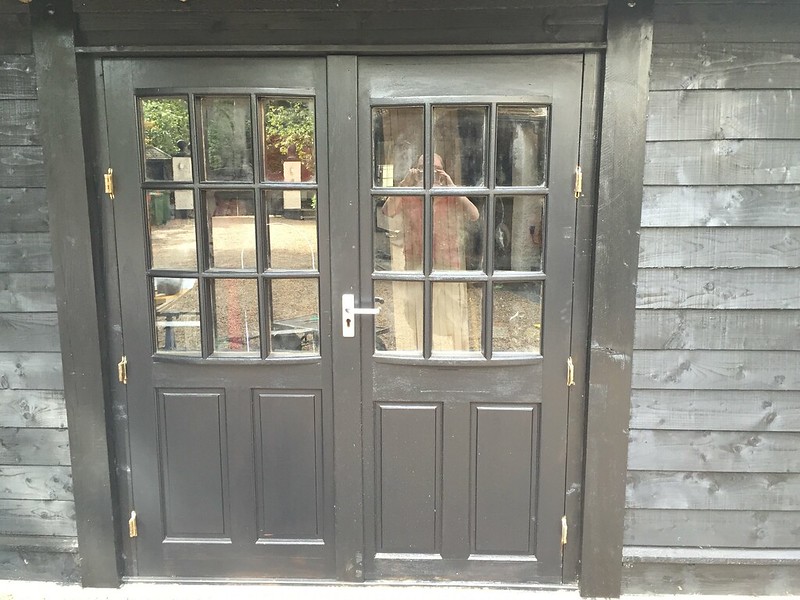
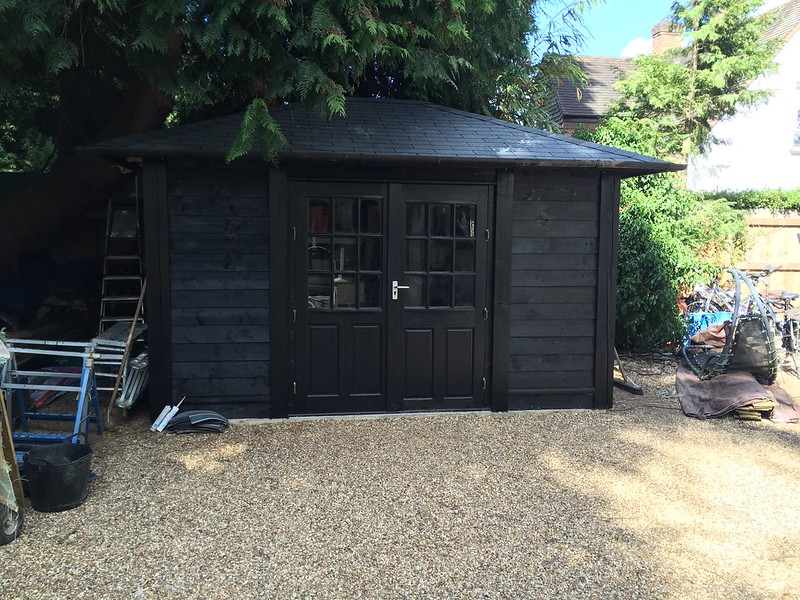
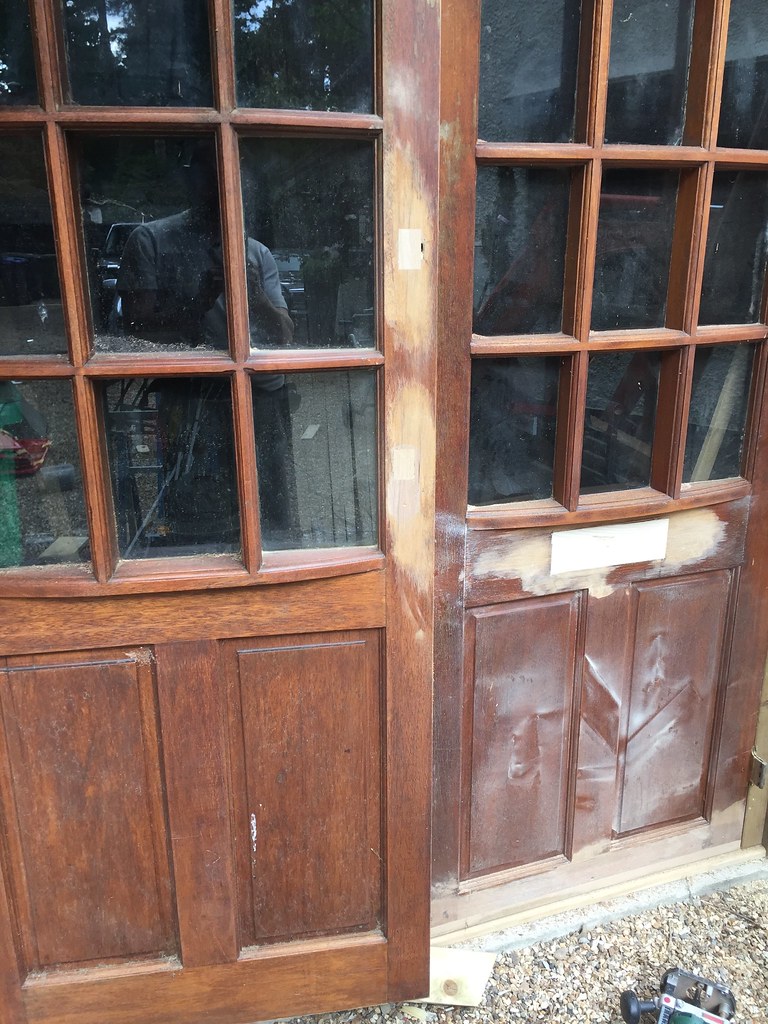
Fitted, and as you can see I also filled the holes in the other door

Untitled by Chris, on Flickr

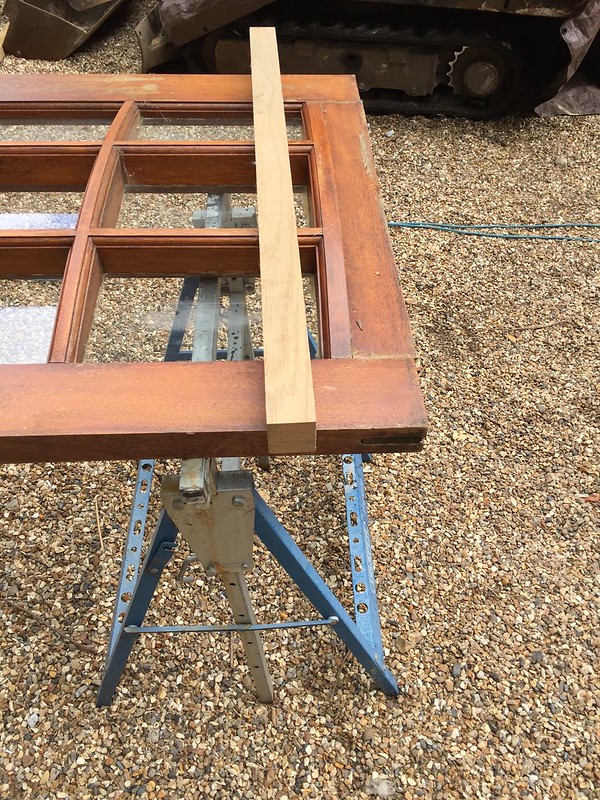
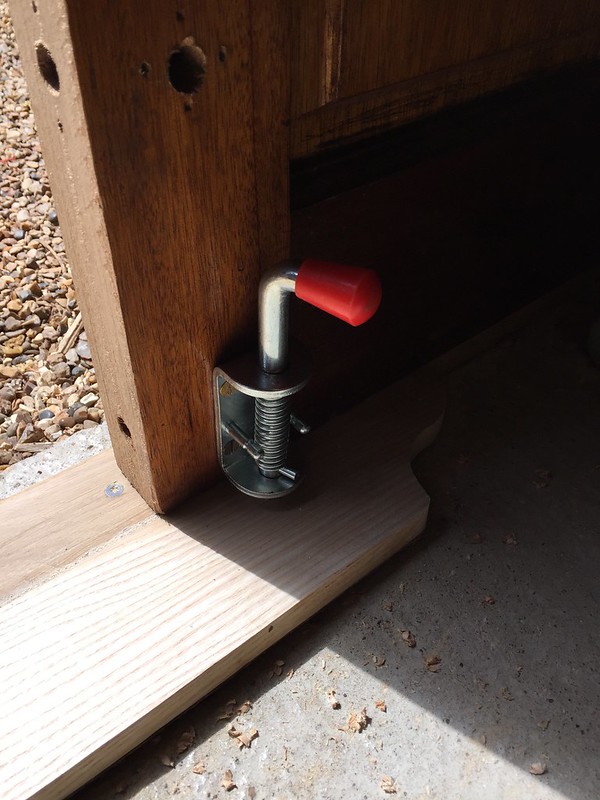
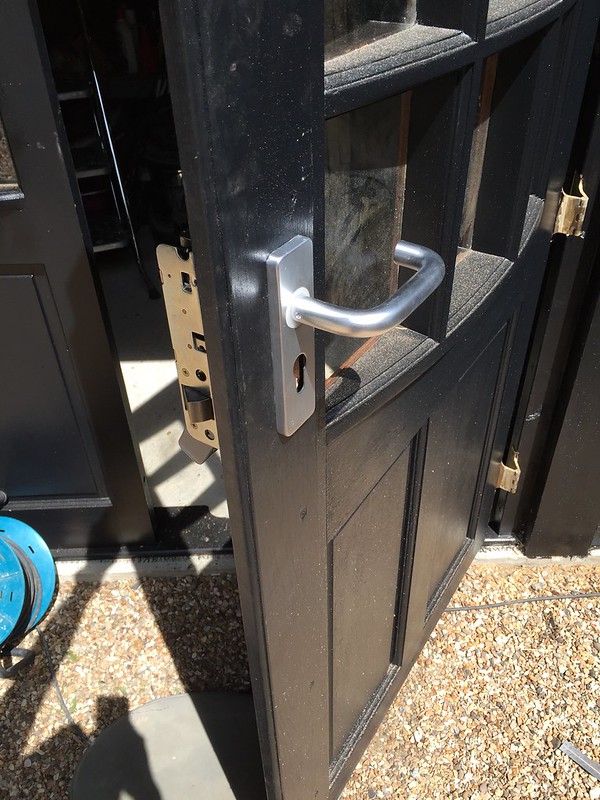
To keep the doors a wide as possible, I had to forgo on a rebate, to ensure the doors are water and wind tight, I fitted a pairmaker. The pairmaker also helped me to even out the styles, as one style was wider by about 15mm.

Untitled by Chris, on Flickr

Untitled by Chris, on Flickr

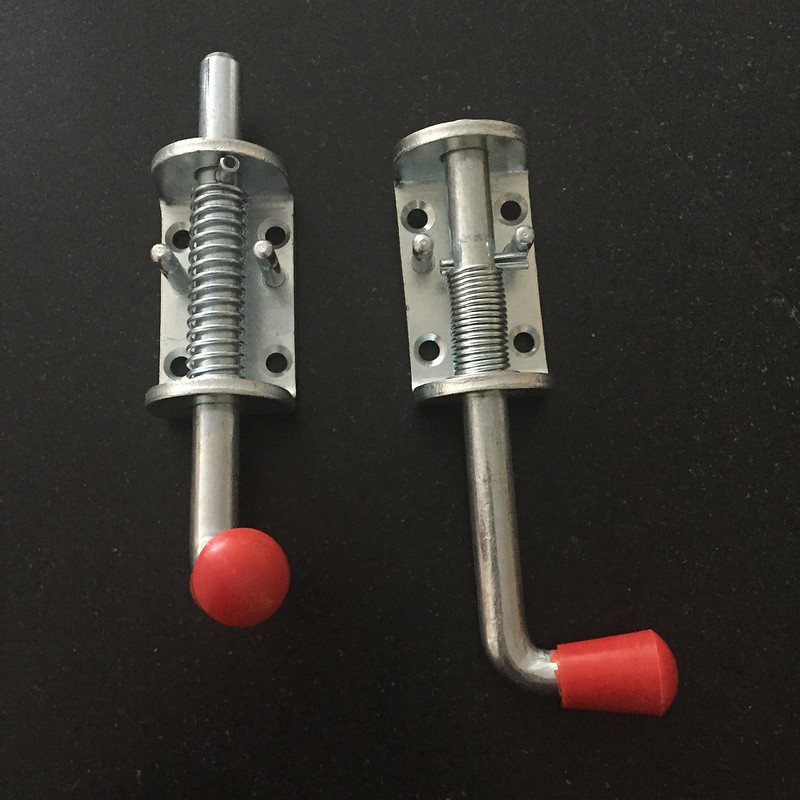
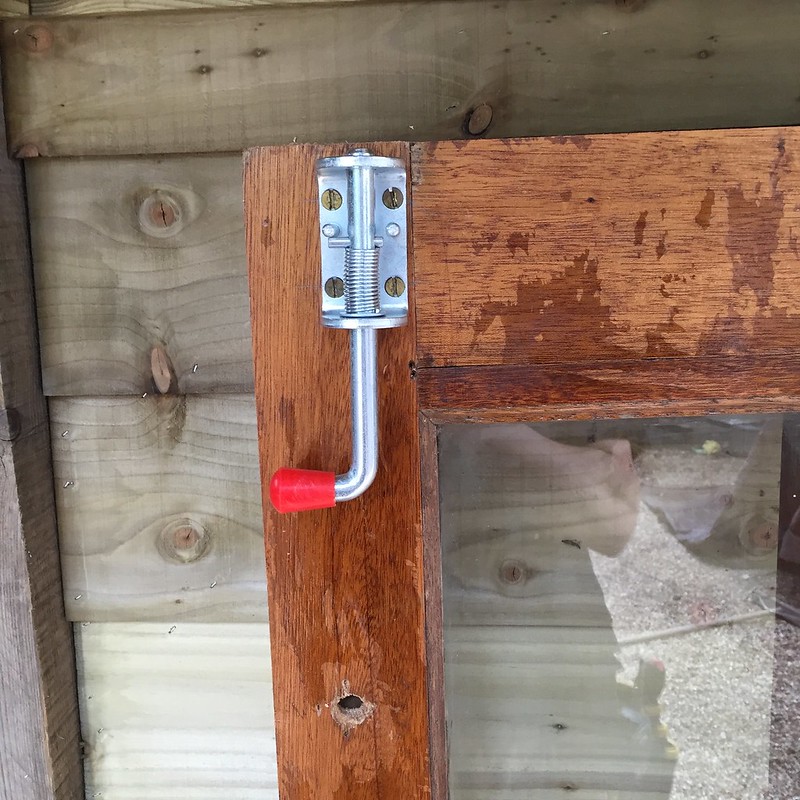
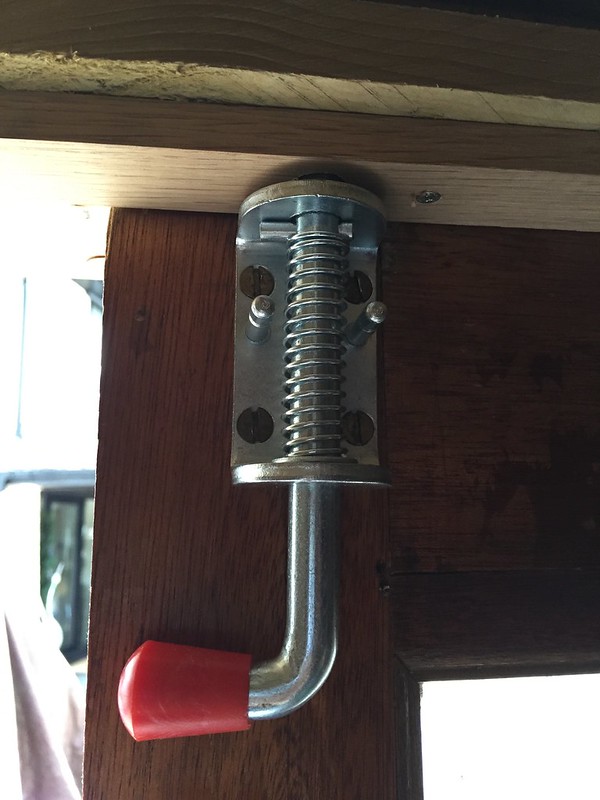
Tomorrow I need to look for a locking mechanism.
 
Whilst waiting for door closing hardware, I best get going on the soffits and fascia. Soffits will probably be 12mm ply, and the fascia will be gravelboards. I did some measurements and if I split the gravel boards in half on a 22.5 degree angle to match up the roof, I probably only need 3 gravelboards, which I still have.

First up is to prepare the roof, which means to cut down the rafters and hip rafters, but also attach a batten to the underside of the roof to give the fascia a bit more material to be fixed to

That batten I have fixed to the underside of the roof is the off-cut of the drip battens I had cut about 2 weeks ago. These ones here

Untitled by Chris, on Flickr

Untitled by Chris, on Flickr

They are the perfect size, I mean they have the correct angle 22.5 degree, which makes fitting them easy

Untitled by Chris, on Flickr

Untitled by Chris, on Flickr

Cut one gravelboard down to see how it would look and if there would be wide enough to fit the gutter on to it, and yes I’m happy to go with this

Untitled by Chris, on Flick


Now cutting down the rafters and hip rafters. This is bloody hard work. This is number one

Untitled by Chris, on Flickr

This is number two

Untitled by Chris, on Flickr

And so on and on
 
Hi Chris
Looks great so far
Can I ask where you got the rebated feather edge boards from? I looked a while ago and couldn't find any locally. Are they pressure treated soft wood? 6 or 8 inch?

Thanks

Mark
 
The Bear":3k708elu said:
Hi Chris
Looks great so far
Can I ask where you got the rebated feather edge boards from? I looked a while ago and couldn't find any locally. Are they pressure treated soft wood? 6 or 8 inch?

Thanks

Mark


I hadn't seen them until you made me aware of them

I got them from a local supplier in ascot Beaumont forest

You open an account online and they are very good on the price they were sharper on price than Travis (And before anybody starts we have a very high discount account with them!)

Delivery is good too, they had the whole lot nicely bundled and even wraped up in plastic

Yes they are presure treated and come in two widths 175mm and 200mm length is 3600mm
 
Well cutting these rafters down is blxxdy hard work, it’s that horizontal sawing that is so hard on your shoulders, its just unbelievable, so I need a break of it.

So I bought these door bolts, these are normally used on horseboxes, but I like them as they have a good solid spring in them

Untitled by Chris, on Flickr

Oh yes, I also bought paint

Untitled by Chris, on Flickr

But back to the door bolts, got them fitted last weekend

Untitled by Chris, on Flickr

Used the screws which I had salvaged from the original hinges, used a bit of candle wax to screw them in.

Untitled by Chris, on Flickr

I’m happy how that came out

Untitled by Chris, on Flickr

On with the bottom one, but as you have noticed in earlier pictures, the threshold is not wide enough, so I have to widen it bit, found some cut-offs and after a bit of fancy cutting with my old trusted bandsaw and belt sander

Untitled by Chris, on Flickr

Untitled by Chris, on Flickr
I ended up with this

Untitled by Chris, on Flickr

Sanded it down a bit

Untitled by Chris, on Flickr

Untitled by Chris, on Flickr

and done

Untitled by Chris, on Flickr
 
So its back to cutting rafters – I really do not like it, but it needs to get done, than I can fit the fascia boards. These boards are nothing fancy, its just some left over gravel boards. I calculated 16.4 linear meter, which was going to be fine, as I have 3 gravel boards, which I intent to cut through the middle under a 22.5 degree angle. This will then perfectly match the slope of the roof.

Error one, I noticed that only 2 boards are 3m and one gravel board is 2.4m that makes 16.8m. that is cutting it fine. Well if I’m short I have to start using my sons filmprops. He used some of my gravel boards to make a coffin for one of his short movies called “Two line Terrors” https://www.youtube.com/watch?v=VLrJFI-guGY

He also used my gates

https://www.youtube.com/watch?v=0M-82-0nSLA

And my kitchen floor

https://www.youtube.com/watch?v=TWB8RJeBOFk

So I feel ok in reclaiming some of my wood

Untitled by Chris, on Flickr

Error two, after having cut these boards in half and offering them up to the rafters I noticed that they do not fit. Where the boards meet the rafter, the boards are at an angle of 12.5 degree, so the fascia needs to be modified.

There is where it went wrong, well it went wrong for my table saw, as I think one of the bearings got busted as the blade is only moving very heavy. I only had to do two more boards – so I had to do them with the circle saw

Repairing the saw will have to wait

Untitled by Chris, on Flickr

Now they fit perfect

Untitled by Chris, on Flickr

Untitled by Chris, on Flickr

Untitled by Chris, on Flickr

Next is up is the roof, I have still about 3 ¼ packs left, and this should be more than enough to do the front of the building. Firs up is a starter course, so I have to cut off the tales

Untitled by Chris, on Flickr

Untitled by Chris, on Flickr

You need a few

Untitled by Chris, on Flickr

The warmer the weather is , the easier they go on, and than they stick pretty good, unfortunately they also get very hot to touch

So the firs course goes on without the tales, followed by a normal course with the tales, I have done an overhang of 30mm

Untitled by Chris, on Flickr

Untitled by Chris, on Flickr

And don’t forget to take the plastic white slips off, otherwise they will not stick

Untitled by Chris, on Flickr

My wife joined me on Sunday (with a paintbrush) and gave the shed a nice color. Black on the front and brown for the sides and back

Untitled by Chris, on Flickr

Untitled by Chris, on Flickr

Untitled by Chris, on Flickr

Untitled by Chris, on Flickr

I think it’s looking very pretty – if I say so myself
 
Not much to report on, other than I had a nice visit of my dad – he is 85 and came over from the Netherlands to have a look at the house and all the work I had been doing lately. Than Sunday was spend in the garden, repotting plants and putting more soaker hose amongst the plants, however the most important reason for “no work” was that I had to wait on a delivery of roofing tiles


Untitled by https://www.flickr.com/photos/51594097@N07/

They came yesterday, and upon a quick inspection…….. yes there is a slight color difference between the old and the new tiles


Untitled by https://www.flickr.com/photos/51594097@N07/


Not much, and it will probably not even bother me, as the front is completely done, and these will only go on the side and back.

So out with the hammer and get roofing


Untitled by https://www.flickr.com/photos/51594097@N07/


And we are half way done
 
Very nice indeed Chris but I don't like the look of that huge bough only inches from the roof!

John
 
John15":10gbkig3 said:
Very nice indeed Chris but I don't like the look of that huge bough only inches from the roof!

John

I know, its not ideal, but it is, what it is.


I have a good insurance :mrgreen:
 
Tada,

Found it, it’s an emergency exit kit

At first I thought it was going to be an issue with the lock on the top, but I found that when replacing the top locks with a Pullman kit it could work.

I found on ebay a kit from Allgood, which was already complete with the Pullman clossers – which is a result, as these Pullman closers are not cheap.

The benefit of these emergency exit closers
1. They go very cheap on ebay.
2. The are complete surface mount
3. And they all are with the option of fitting a handle and a lock on the outside – I didn’t know that at first.
4. The quality is first class, heavy, durable, solid

Well this is the kit

Untitled by Chris

Fitting it was at first not so easy, having read the instructions 3 times, it still wasn’t clear. However now it’s fitted and looking back, its dead easy. If I would do it again, it wouldn’t take half as long as it did now. But I’m not complaining, it was nice weather and I fully enjoyed fitting this lock.

First up was the central lock, however I had to be very careful as not to close the door before I had made the outside door handle, as when this door is closed, its closed, no way opening this puppy with a credit card.

Untitled by Chris, on Flickr

I fitted an outside door handle as well, I bought the door handle from Toolstation, and this one must have been a returned item as from both handles the crub screw was missing, so frustrating.

Untitled by Chris, on Flickr

After all the measuring, and drilling, I’m well pleased with how this

Untitled by Chris, on Flickr

Untitled by Chris

Untitled by Chris

Untitled by Chris

Untitled by Chris

Untitled by Chris

Really pleased how this one locks, on 3 points, rock solid, all what I had expected and then a little bit more.

One more thing to do, and that is buying a euro-lock
 
Looks good, a nice project.

Buy the best euro lock you can find, there was a thread here a while ago about what to get (maybe avoset???). Most of the ones available are pretty easy to break, I've done a fair few over the years.
 
No skills":5wni0wkp said:
Looks good, a nice project.

Buy the best euro lock you can find, there was a thread here a while ago about what to get (maybe avoset???). Most of the ones available are pretty easy to break, I've done a fair few over the years.


You mean you picked the locks?
 
No I mean break. One swift wack an they snap in the middle (where the fixing screw goes through). Once thats done you remove the bits of lock and poke around in the main lock to unlock it.
The ones with the break off bits on the outside are a minior nuisence but go the same way, most handles do little to protect the euro lock - some of the handles have extra metal round the lock - this just means a larger hammer.

Try to get a lock with a steel plate in it or one with a steel body - I had to break in one of those a month or so ago, had to beat the granny out of it. Much better.

I am not a locksmith or a thief.
 
Chris

Euro locks
I had not seen this until now but you will notice I said much the same as no skills on the other thread.
Once you have one in your hand you will instantly see why they are carp.

A decent (difficult to break) euro lock will set you back at least 30 quid
 
lurker":3tsr19az said:
Chris

Euro locks
I had not seen this until now but you will notice I said much the same as no skills on the other thread.
Once you have one in your hand you will instantly see why they are carp.

A decent (difficult to break) euro lock will set you back at least 30 quid


Are there any specific make?

or is it all about the Break Secure locks?
 
Next and maybe for a while the last thing I will be doing on this Shed

Guttering

Yes I know I still have the soffit’s to do, but I have run out of material. Soon I will be starting on the carport and I’m sure there will be lots of material left over again.

When we did the house we upgraded all the guttering to deep flow ogee from Flo-Plast- which mend that I had lots of lengths of 4½” gutters left over.

A quick inventory of the stuff, meant that I had to buy a bag of new gutter clips and 65mm pipe clips (If I had looked properly I would have seen that I had enough of them, but I blame that on my age)

The new Gutter clips where bigger than the old ones, so I had to trim them down on the bandsaw- the new ones would not sit flush on the bottom of the fascia.

When I fitted the fascia I made sure there would be a fall on them, which meant that when fitting the gutter clips I could keep them all flush on the bottom

As you can see these old ones from Osma are very thin on the bottom, which makes it look very light when fitted. Also my fascia board is very narrow

Untitled by Chris

Unfortunately I had to drag the gutter out of my borders (that is where I had them stored for 4 years) so they were a bit dirty

Untitled by Chris

Untitled by Chris


Untitled by Chris

Untitled by Chris
 
I wouldn't go o nuts on getting break secure euros for this application, as it will be able far simpler for any light fingered scroat to break a pane in the door and pull the panic bar to open the door!

(Not a thief, but I am a locksmith!)
 
Seth":2rx50slc said:
I wouldn't go o nuts on getting break secure euros for this application, as it will be able far simpler for any light fingered scroat to break a pane in the door and pull the panic bar to open the door!

(Not a thief, but I am a locksmith!)

Of course, always possible,

To overcome this weak point
- the windows have been treated with Pentagon Supaglass folie;
- the shed is hooked up and integrated with the house alarm
- there is a security camera pointed at the shed
- the street is part of a private security scheme

Nothing will be 100% burglar proof, I want to slow any potential opportunistic perpetrator down as much as possible.

My last line of defence are these one
Untitled by Chris, on Flickr
 

Latest posts

Back
Top