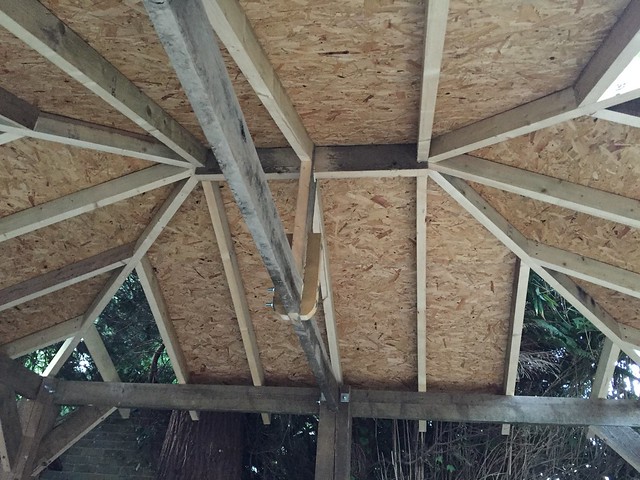
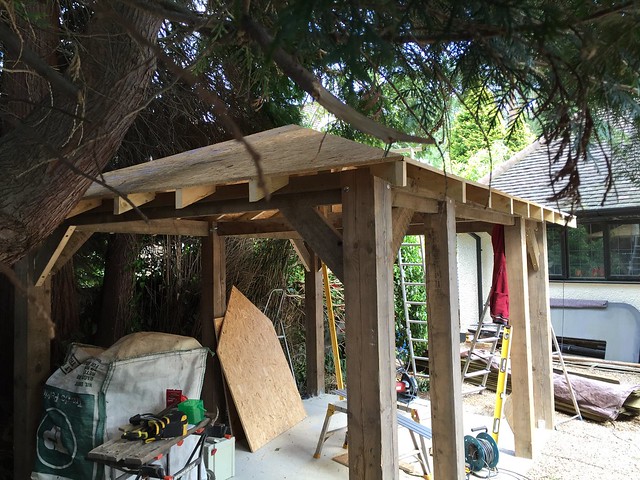
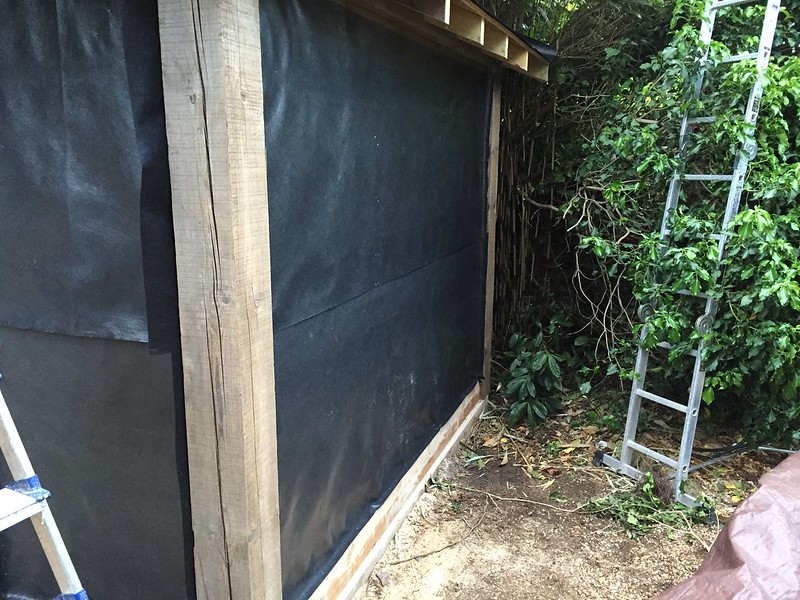
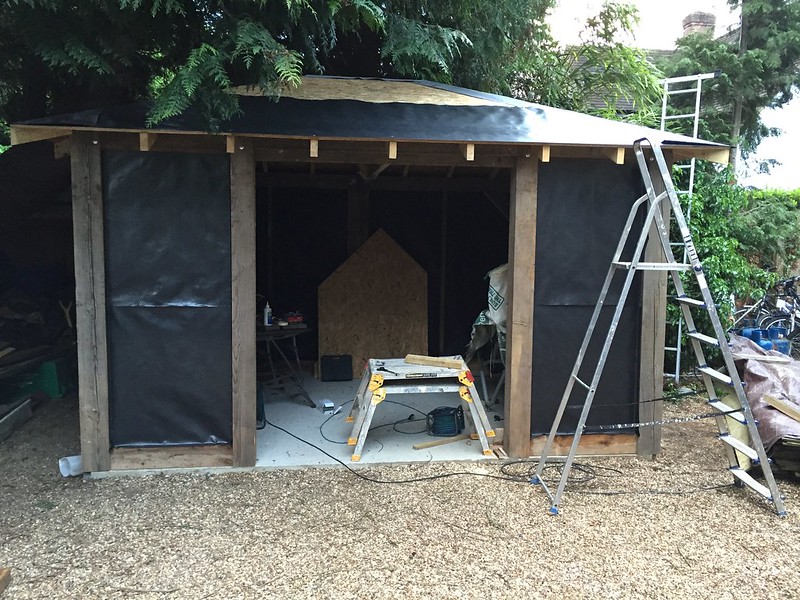
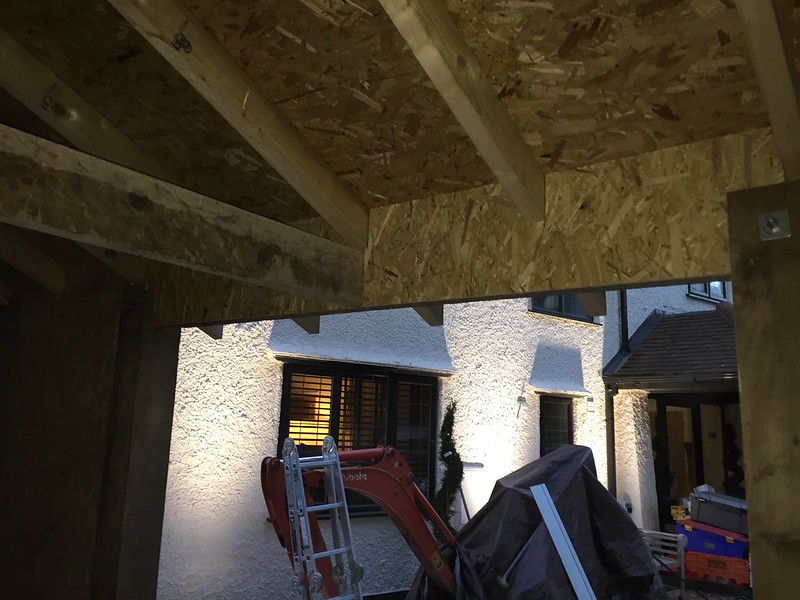
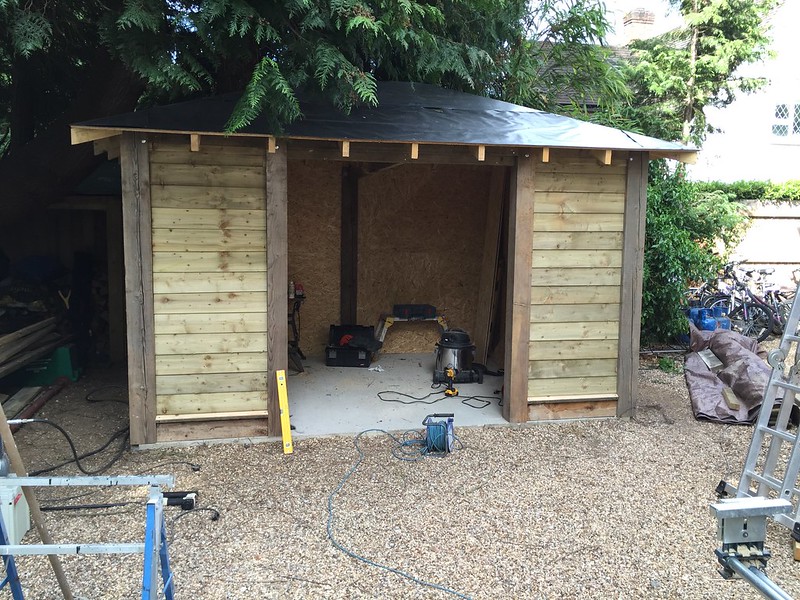
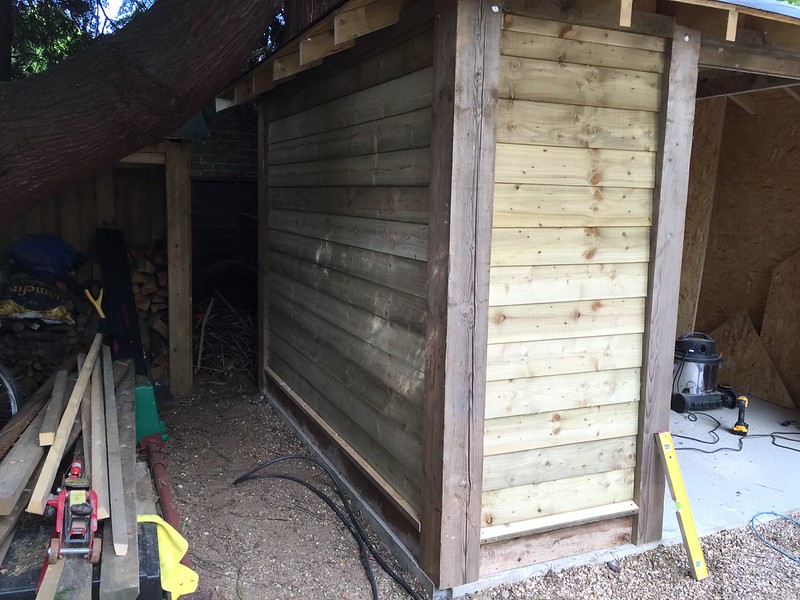
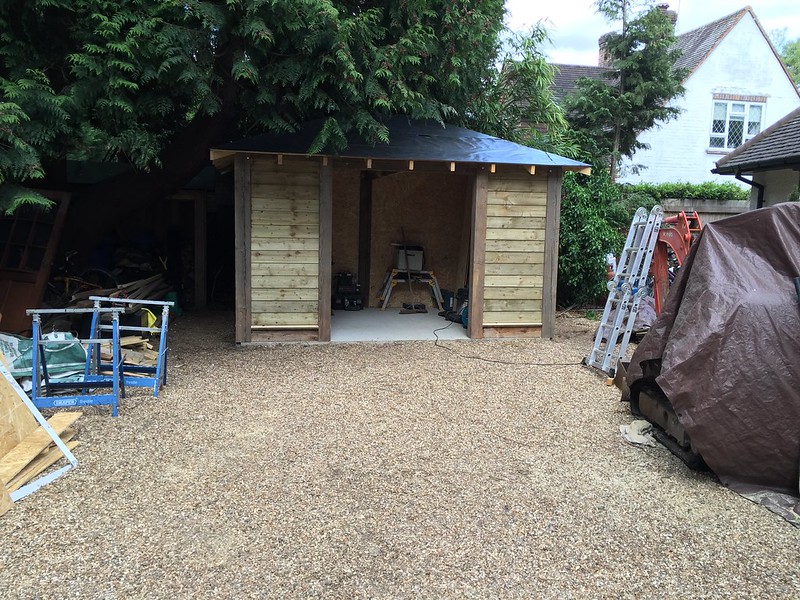
Roof is finished, that is I finished installing the breathable membrane, the felt shingles have to wait. I’m about 3 packs short of the shingles. I therefore made sure the breathable membrane is done properly (buys me time to find 3 more packs of these shingles)
Sunday was the only day that I could work on the shed, Saturday was mostly used for driving lessons. Took my Daughter over to the farm and let her drive on the fields. (of course under supervision) I’m very happy how she is progressing.
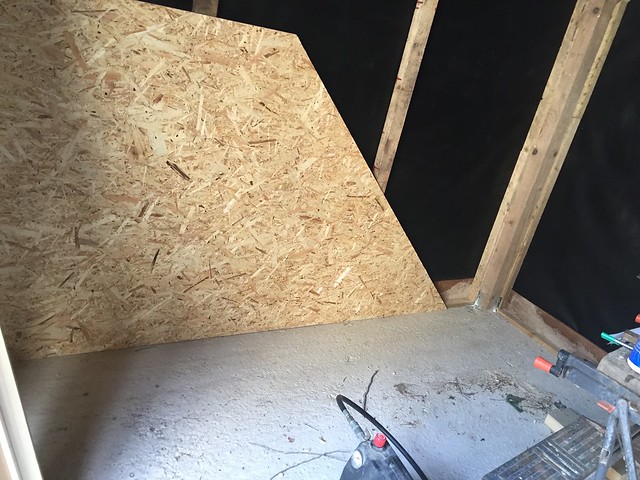
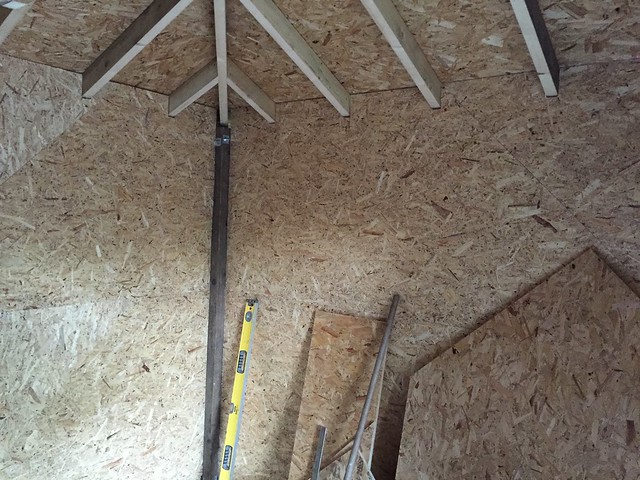
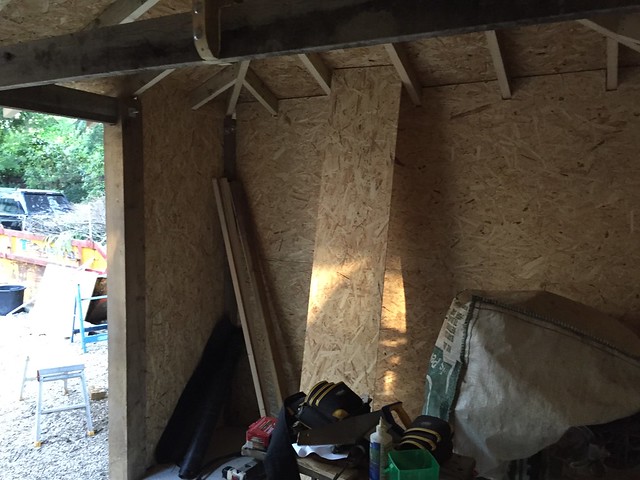
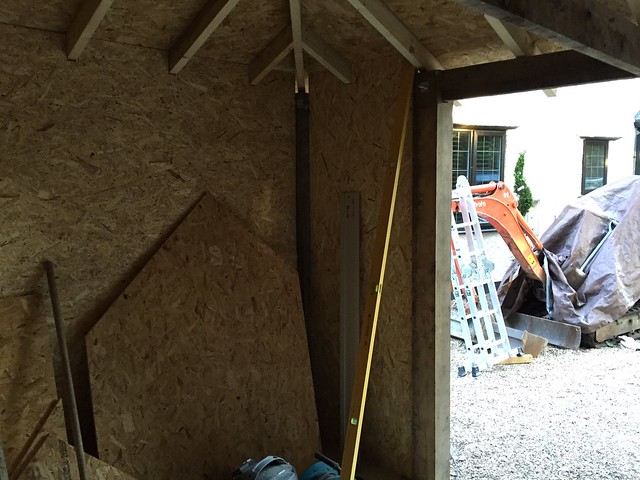
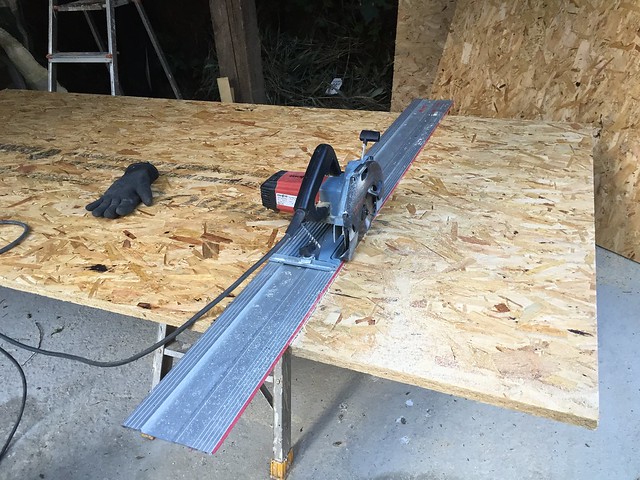
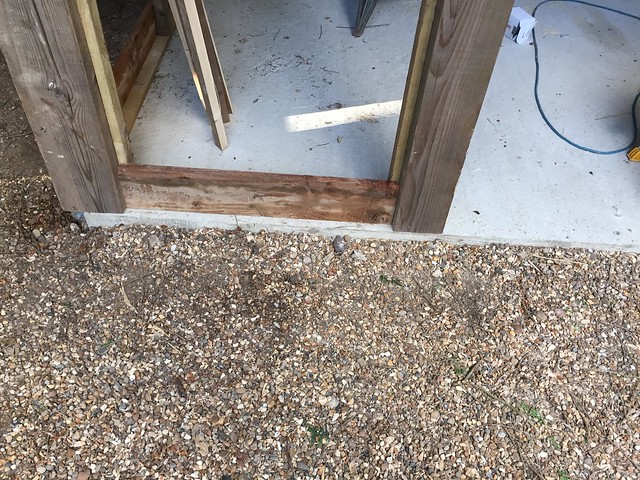
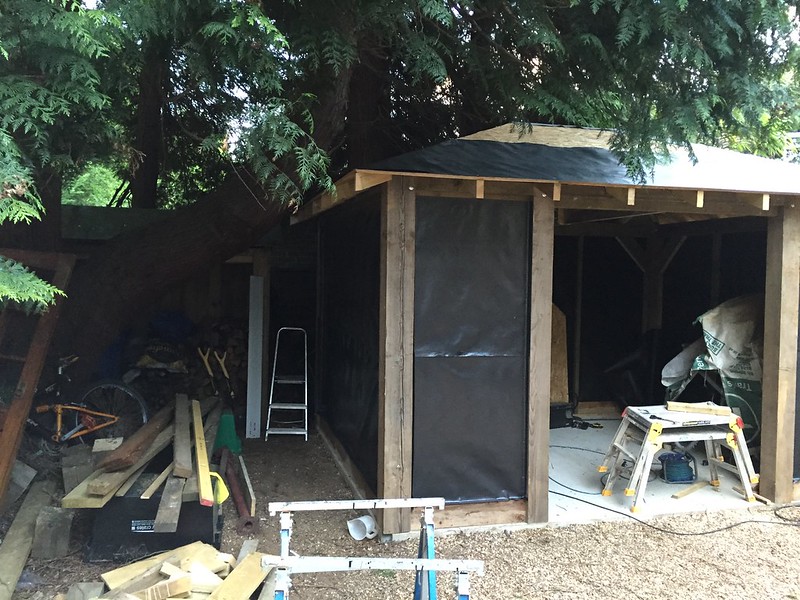
On Sunday morning I first finished the membrane, followed by picking up 10 sheets of used 11mm OSB2. Decided to board out the inside of the shed. Not a real necessity but it will make the shed more durable on the inside, less issues with nocks against the featheredge and it will provide a level surface to place the racks against, which means less issues with pushing stuff of the back shelves.
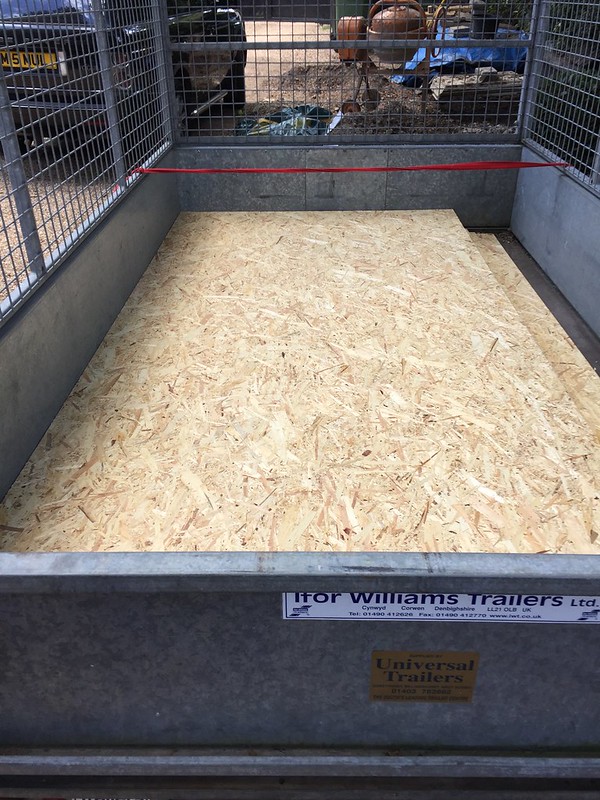
On eBay there are a lot of sellers who offer used sheets. Sheets that originally have been used for boarding up building sites, and have one of its sites painted. I have no idea where these have been used for, but they looked pretty new and unused to me.
 Untitled
 by
Chris
Having to pick these boards up meant that I was not able to start until after lunch.
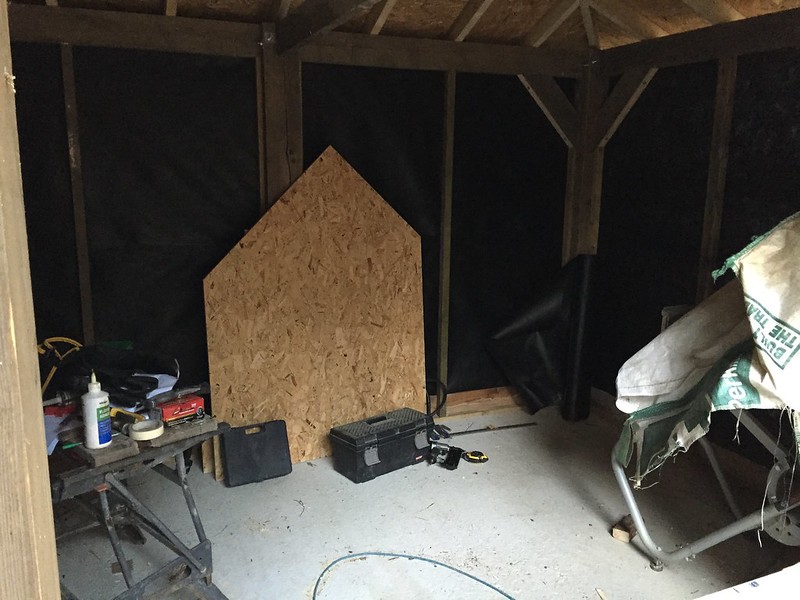
Calculated that I needed 12 sheets, that is if I would do it “properly” to the nearest stud. However he had only 10 of the 11mm, and I didn’t fancy using 18mm, so I needed to be creative.
 Untitled
 by
Chris, on Flickr
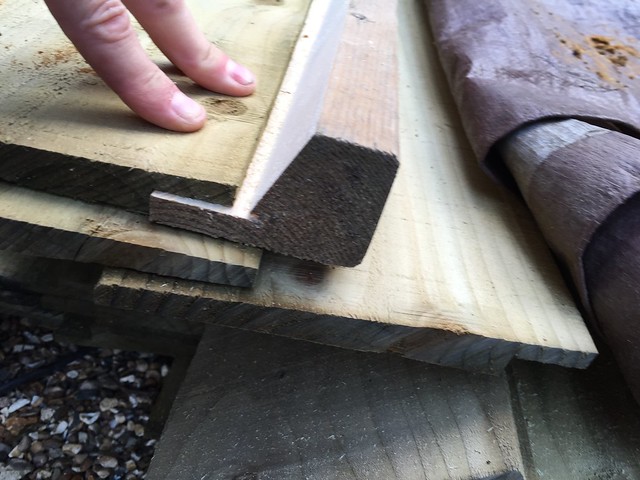
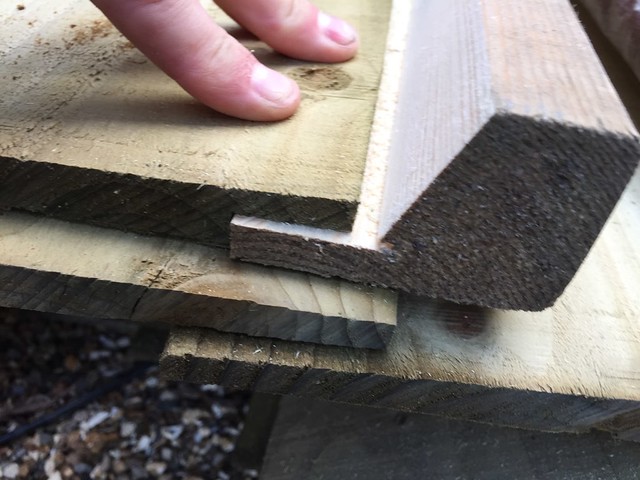
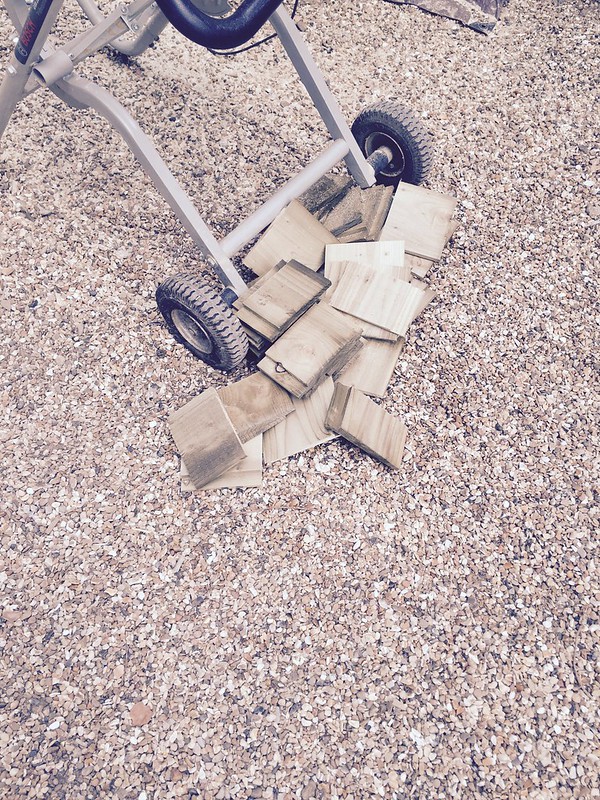
By cutting the sheets diagonally in half I was able to recover 2 sheets, or by looking at the waste left over, I might have even been able to do it with 9 (but that would be cutting it fine).
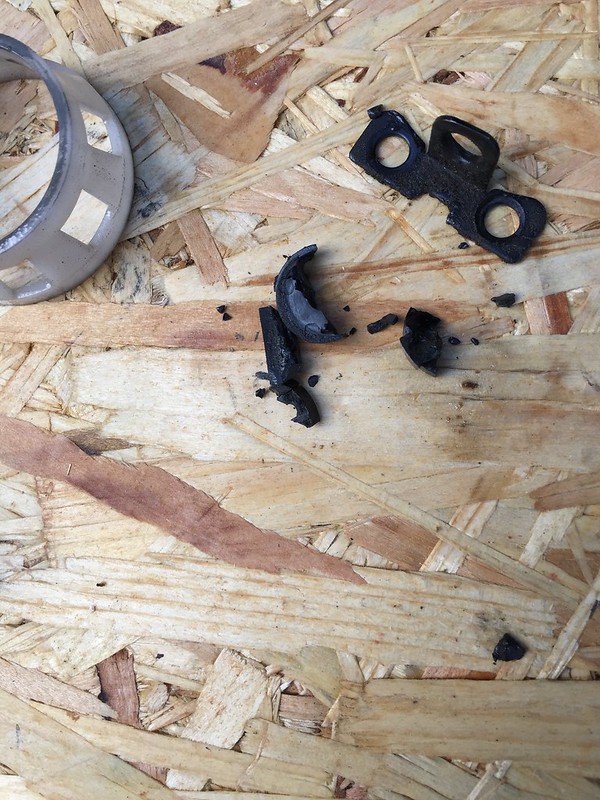
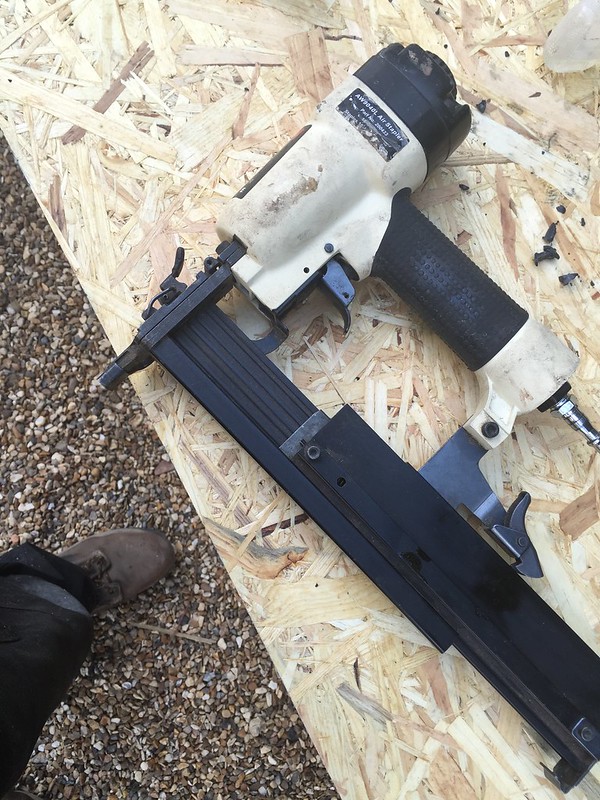
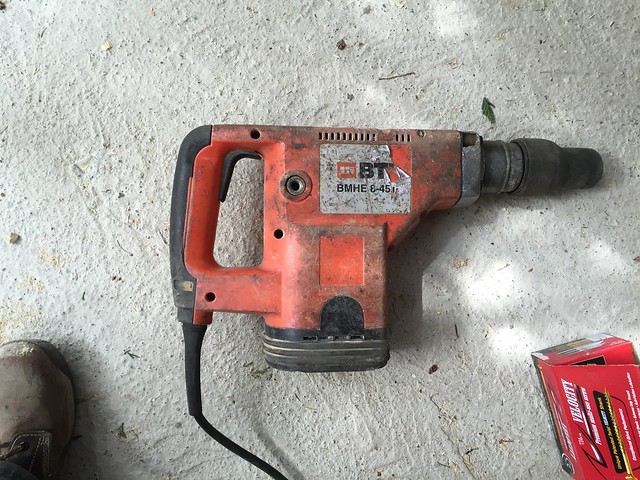
One slight issue though, my 16g brad nailer broke down, after 15 years of error free operation, it decided to not play ball any longer
So, I pulled it apart to see what the issue was
 Untitled
 by
Chris, on Flickr
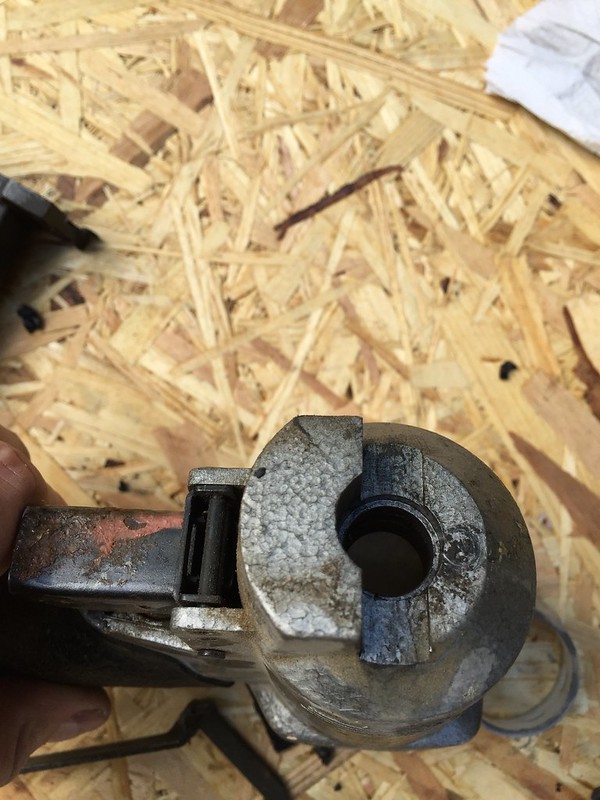
Found it.
A dried up rubber at the bottom of the firing pin
 Untitled
 by
Chris, on Flickr
This is where it sits
 Untitled
 by
Chris, on Flickr
I say dried up, it was completely perished, definitely not an issue of me not oiling the nailer as there was enough oil in the chamber. I will see if they sell this part separately. Lucky I have another nailer, this one I use for staples but is a 18G. Well it means the boards will get done with staples rather than nails- not a big issue
 Untitled
 by
Chris
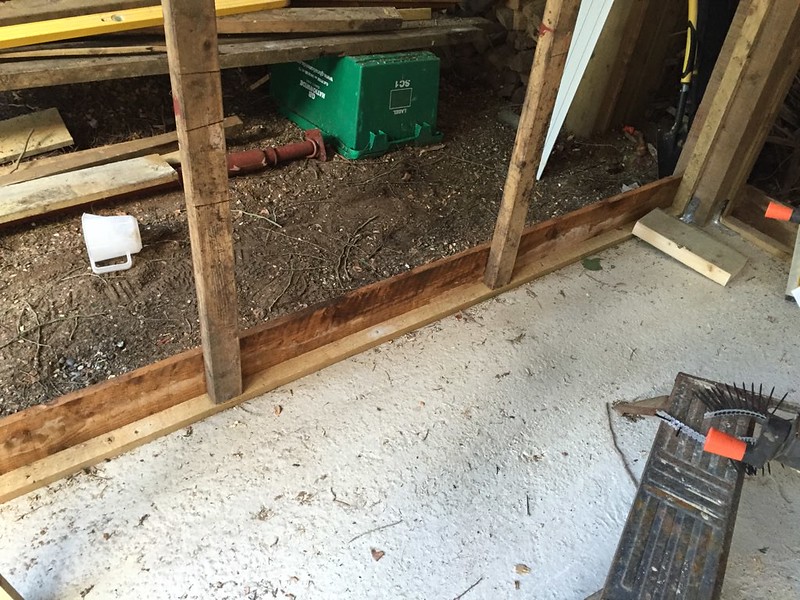
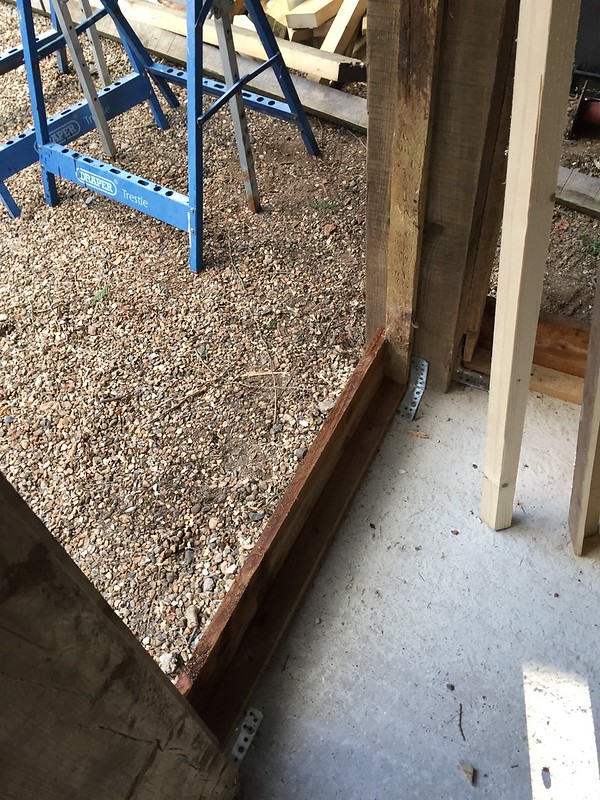
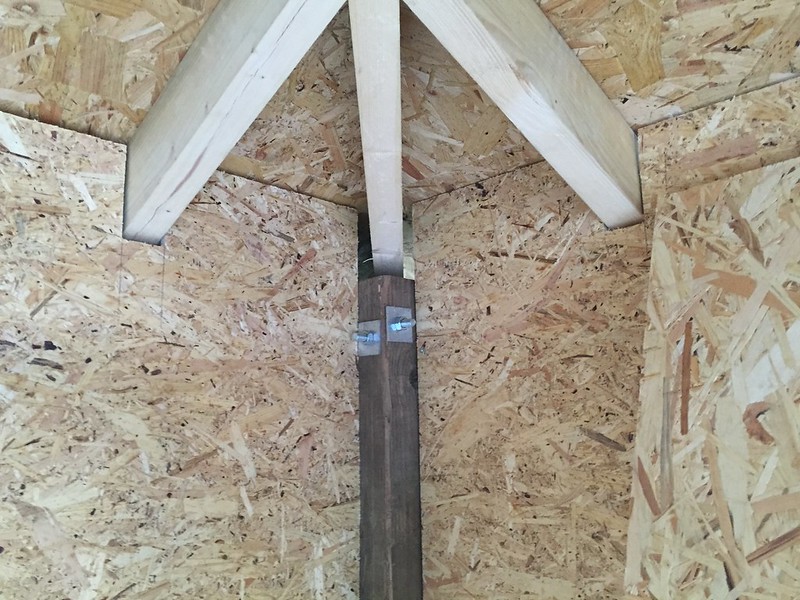
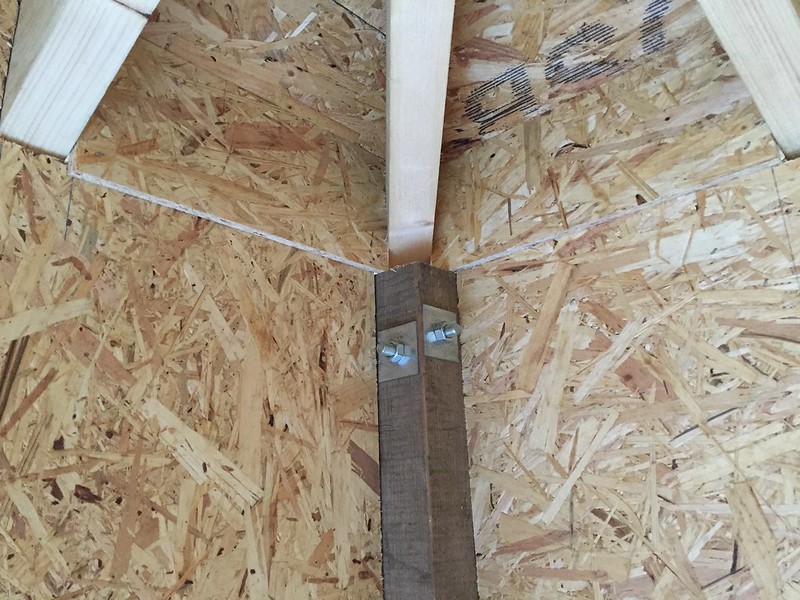
After that it was plane sailing and all the boards where in by 20.00
 Untitled
 by
Chris
 Untitled
 by
Chris
 Untitled
 by
Chris
 Untitled
 by
Chris
I have enough OSB left over to do fancy trim work around the top.


 Untitled by Chris, on Flickr
 Untitled by Chris, on Flickr


")