tomthumbtom8
Established Member
Looking good Mike
I like your saw horses very neat
I like your saw horses very neat


tomthumbtom8":5evalr1b said:.....I like your saw horses very neat
Steliz":3sdw3g90 said:Wow, the wood is stunning.
Apart from orientating the pieces to take advantage of the colour variations, have you considered how to balance the impact of the beauty of the wood against the design?
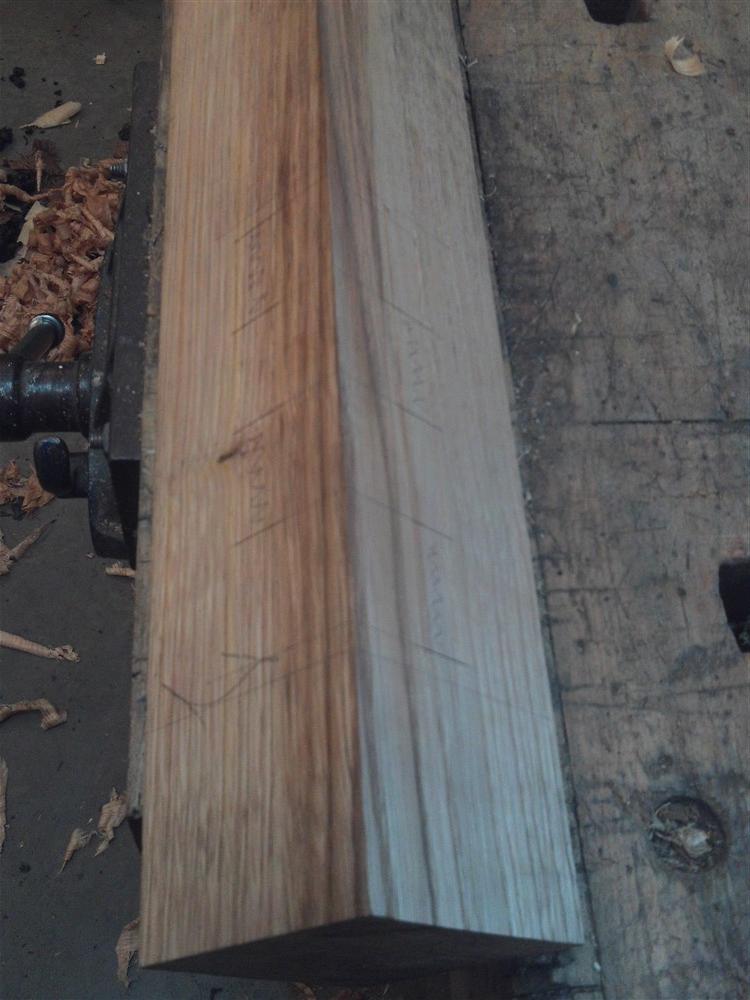
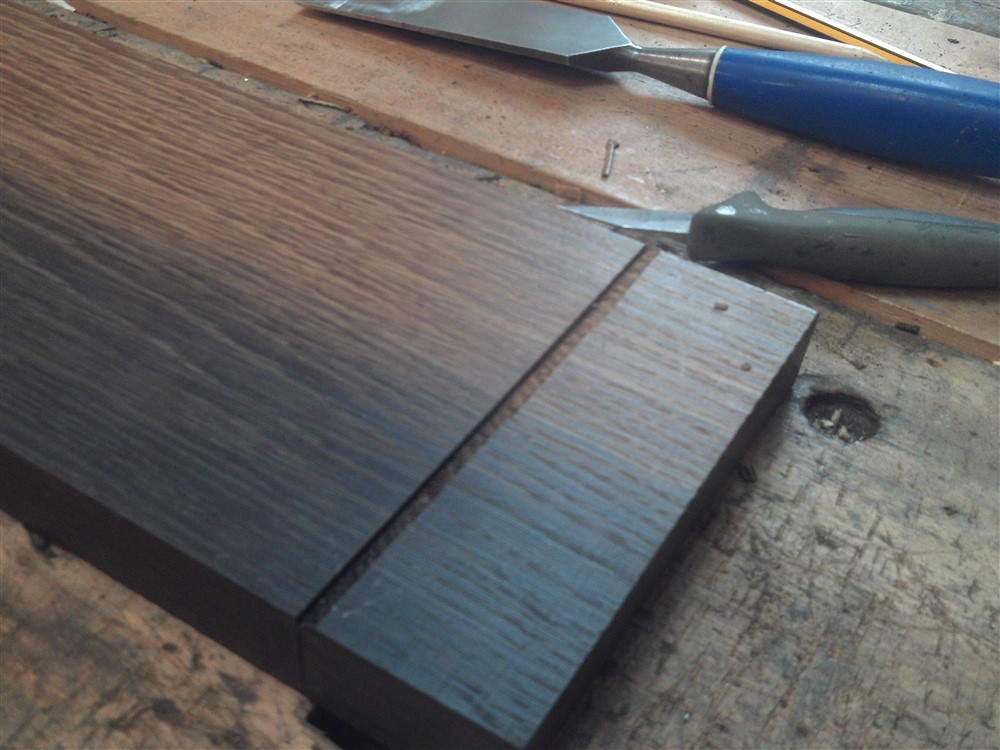
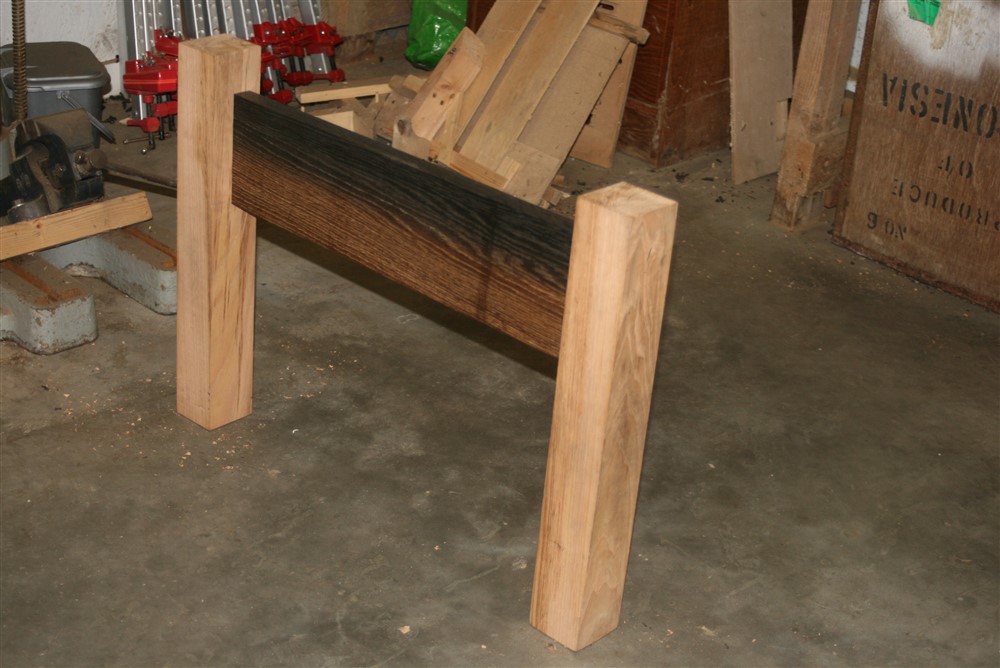
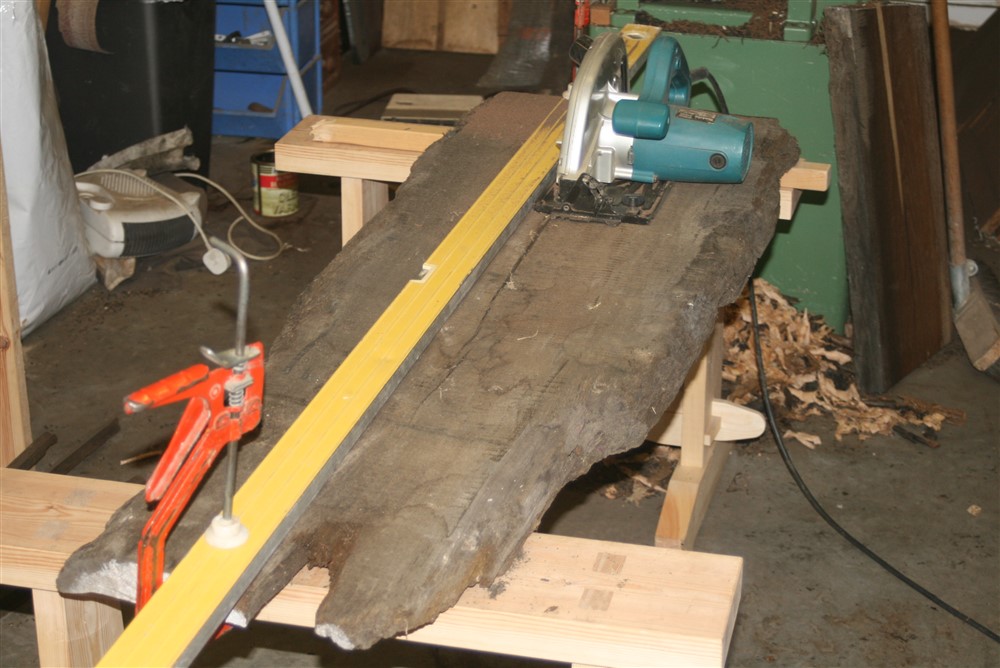
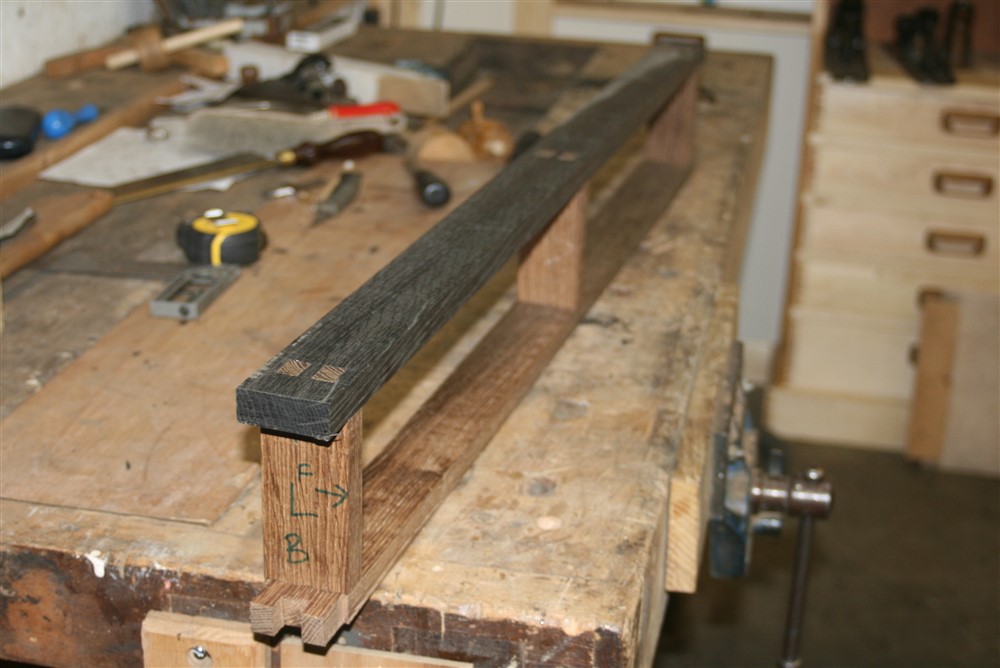
MikeG.":2l6yeui7 said:You'll see when I come to doing the joints that the aprons are only good one side. This is because they were so twisted and mis-shapen that the long one would have ended up under 15mm thick if I'd thicknessed it, and one of the side ones wouldn't have been much more.
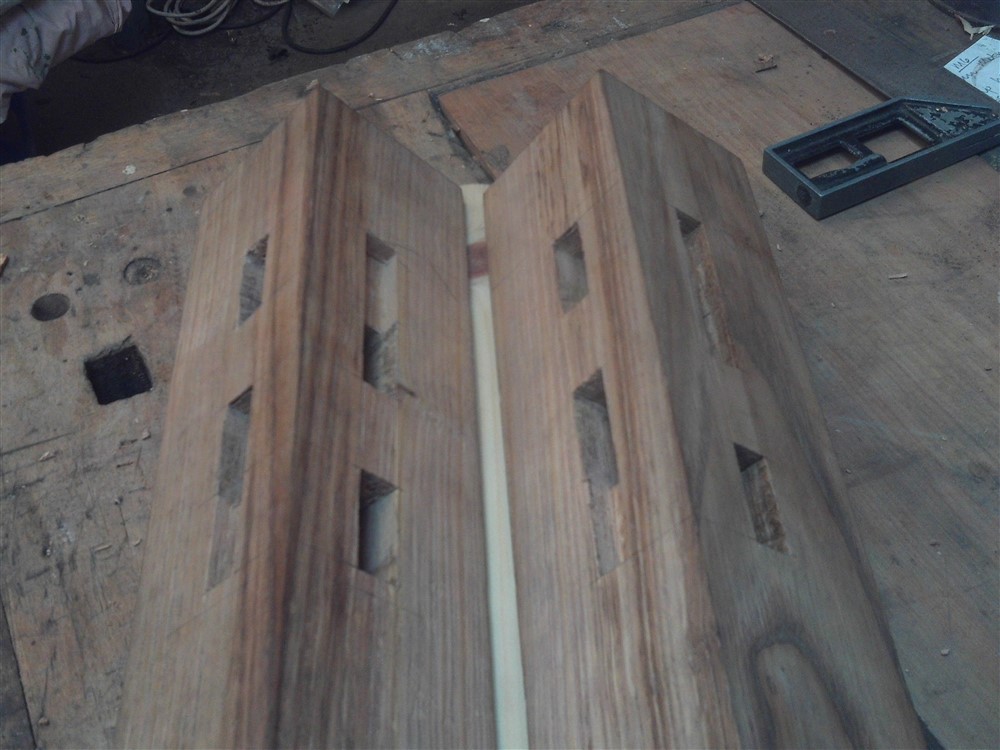
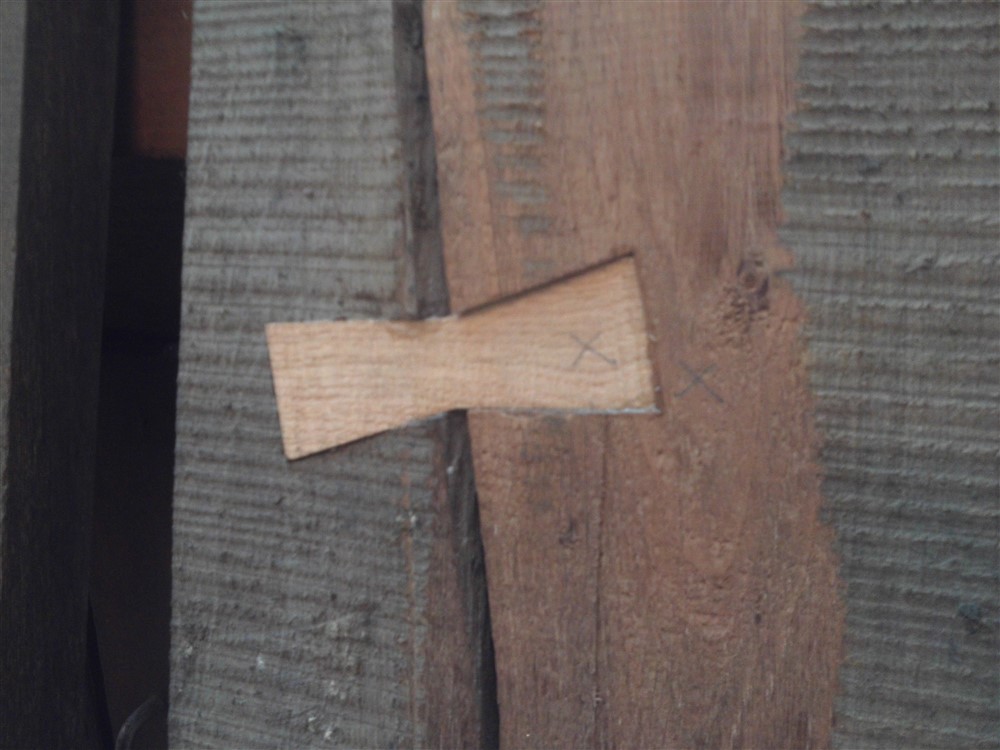
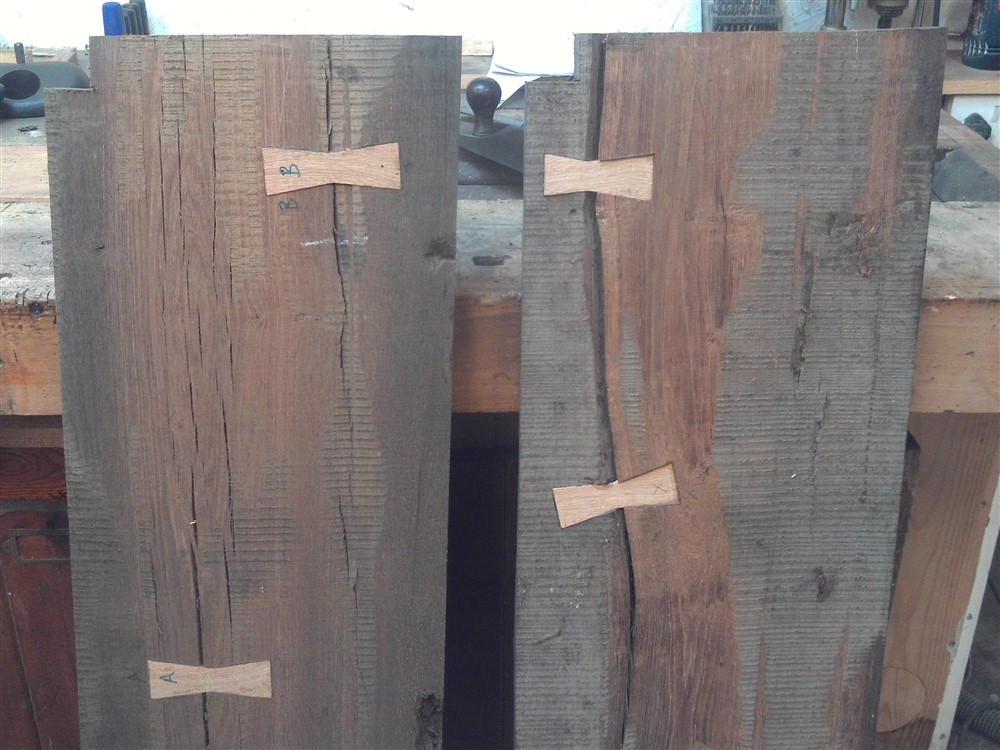
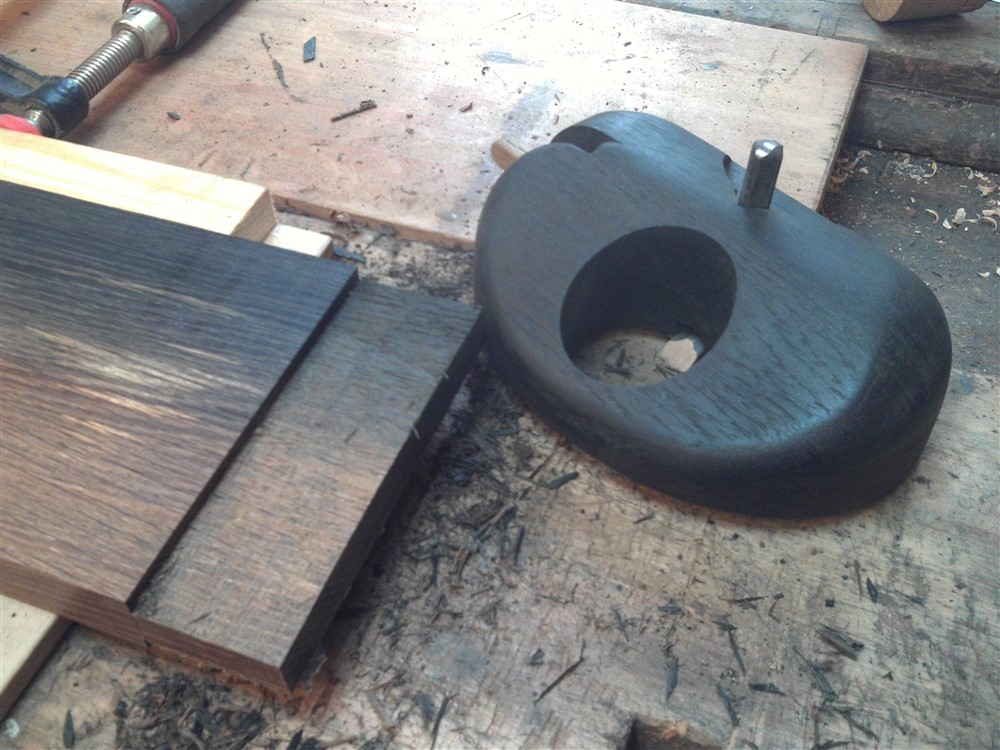
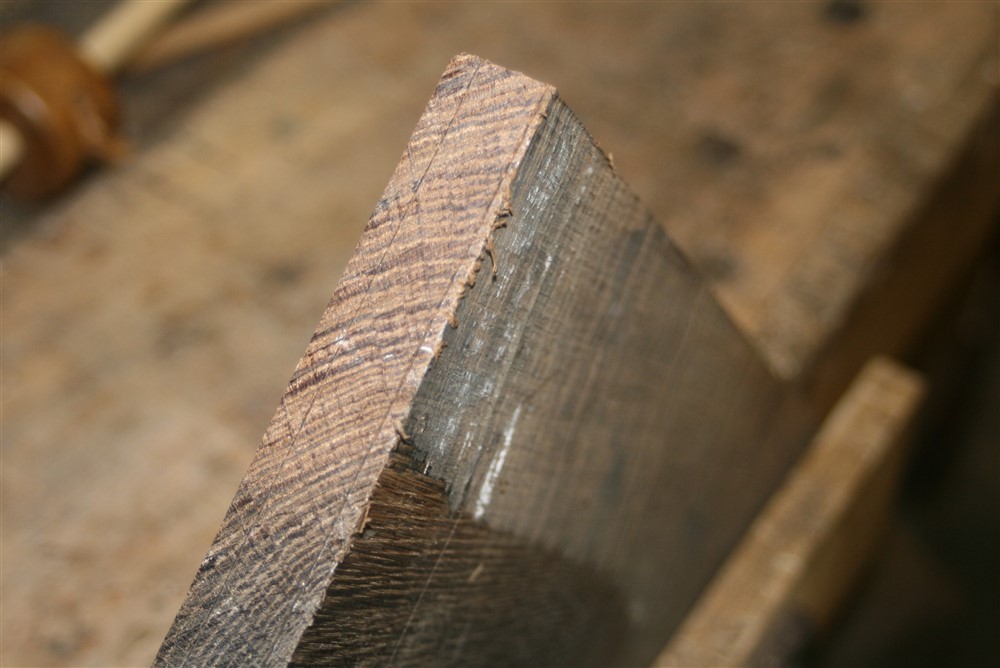
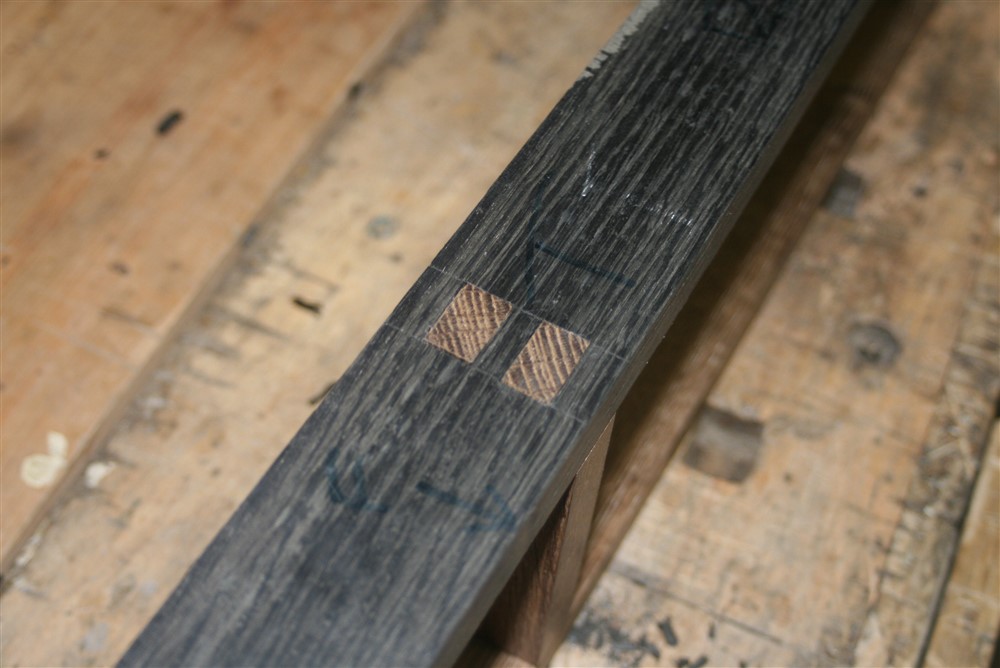
I inset some butterflies into the underside of the tops, and they've done a great job of stabilising the huge crack (which goes all the way through, obviously):
You can see that the undersides of the table top boards haven't been flattened yet. I am proposing to fill them first, then take them to a large thicknesser.
") sort of leaving the story of the wood exposed, but out of site.
sort of leaving the story of the wood exposed, but out of site.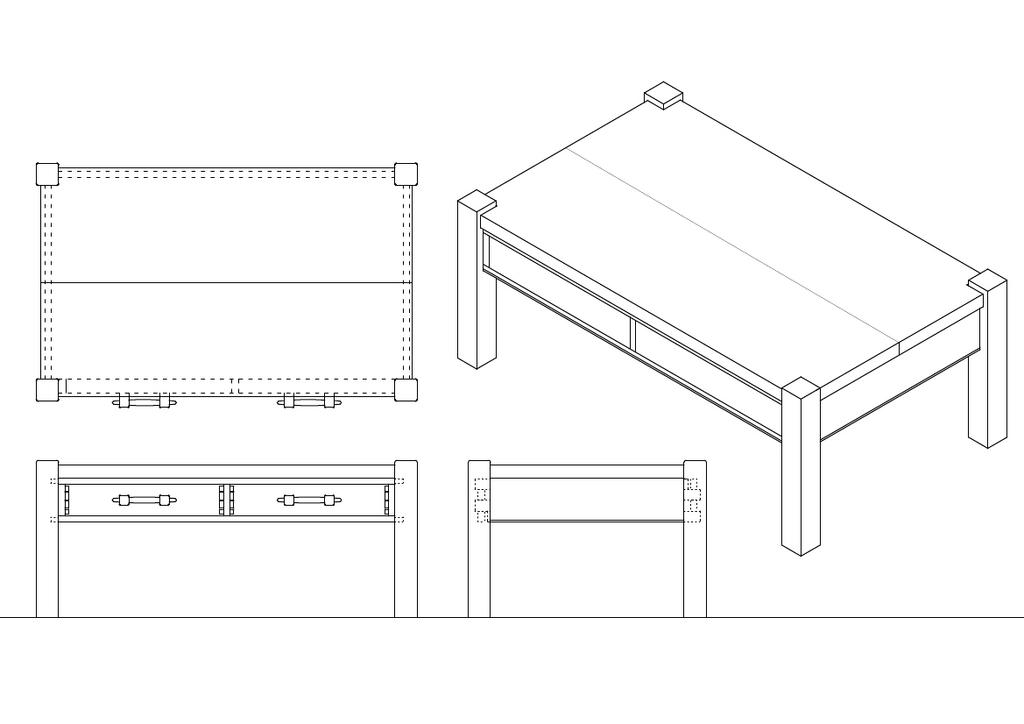
tomthumbtom8":xn3t9obi said:That a good Idea I should do the same on my project
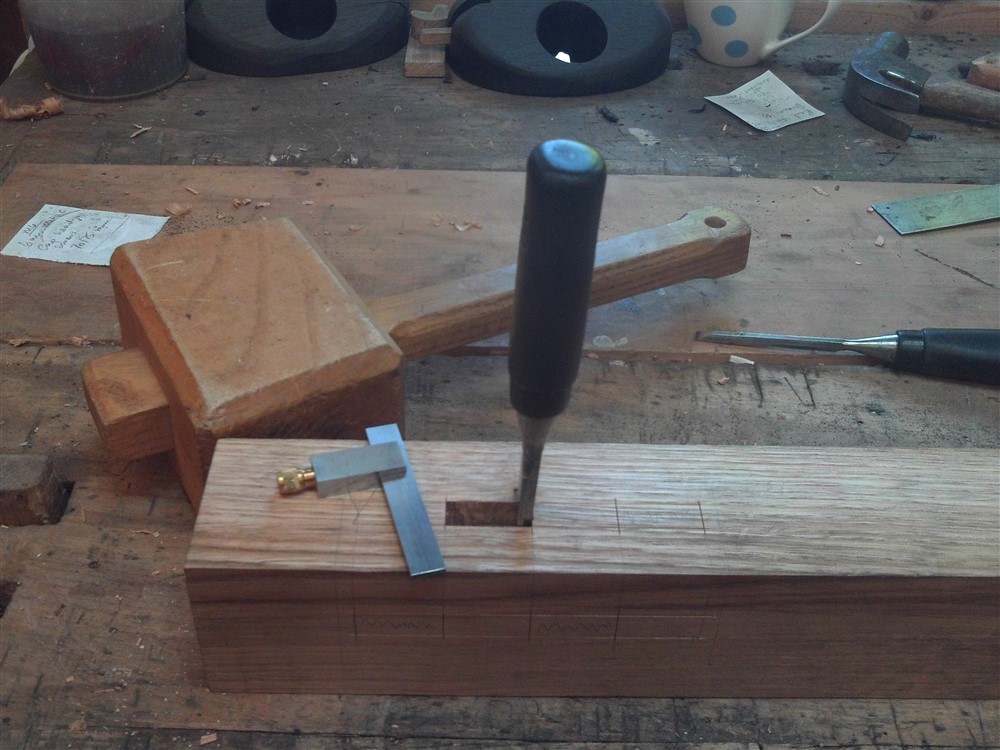
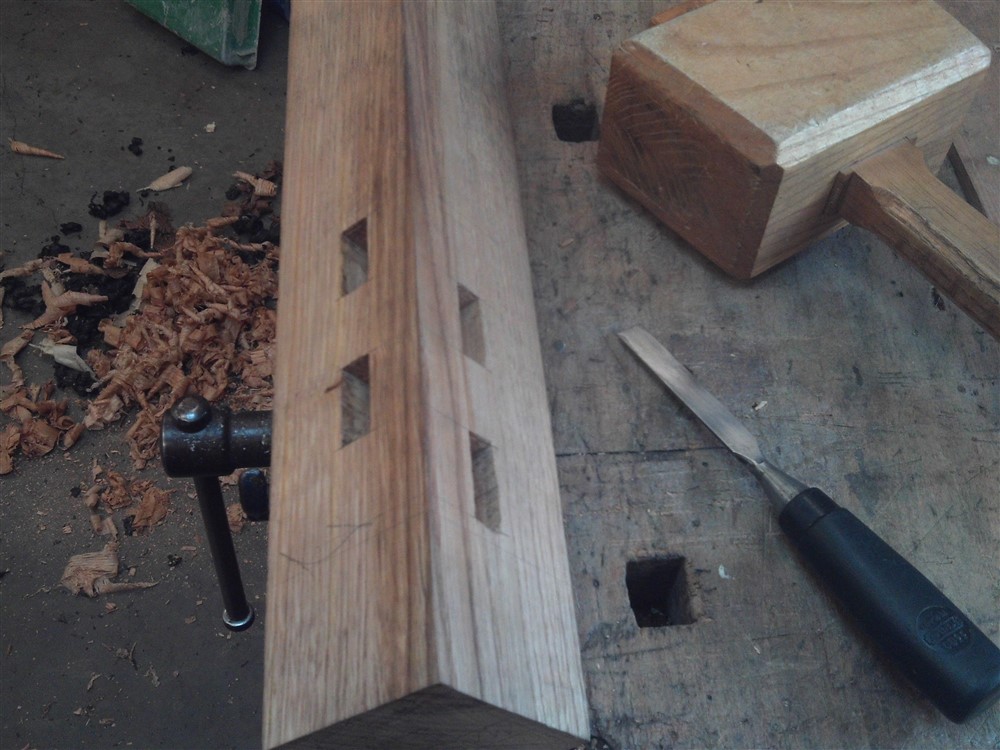
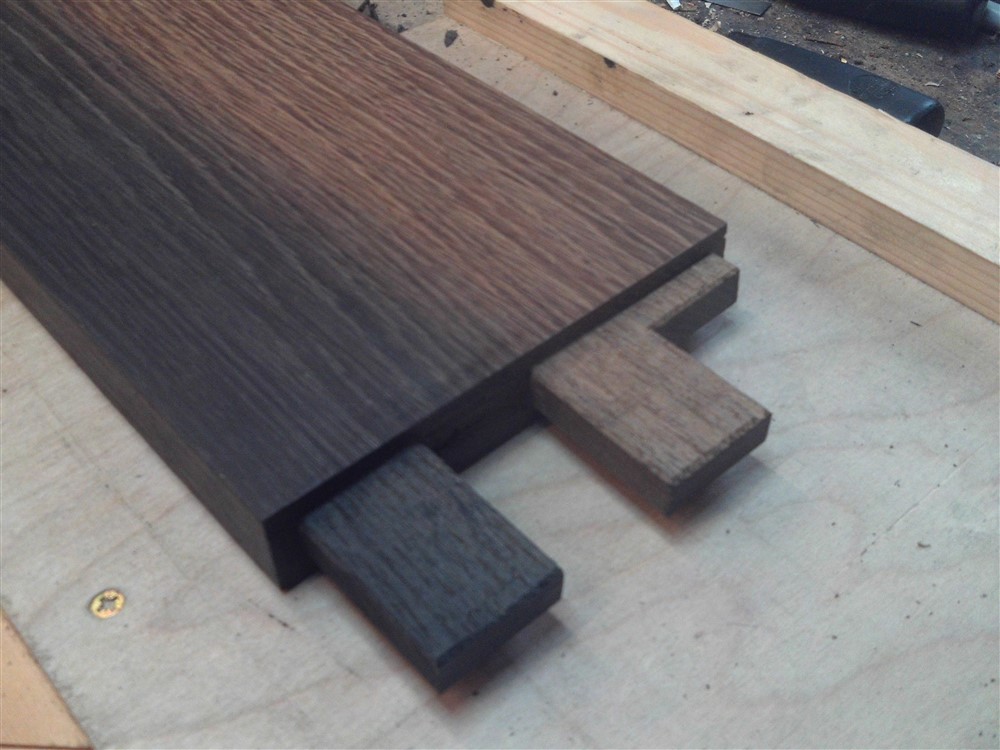
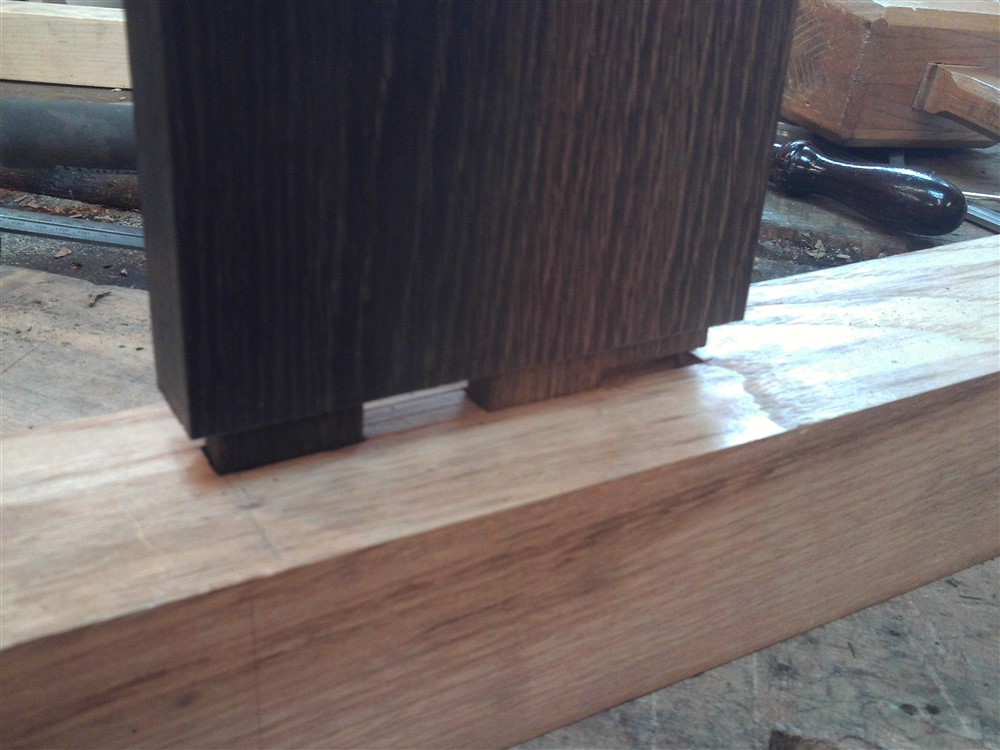
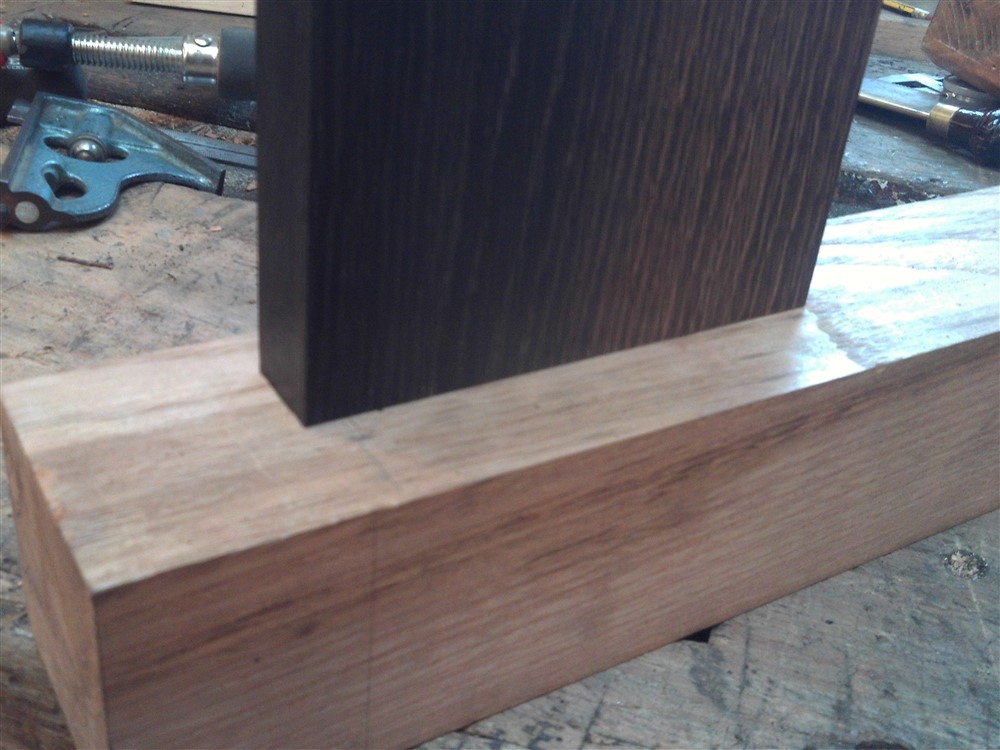
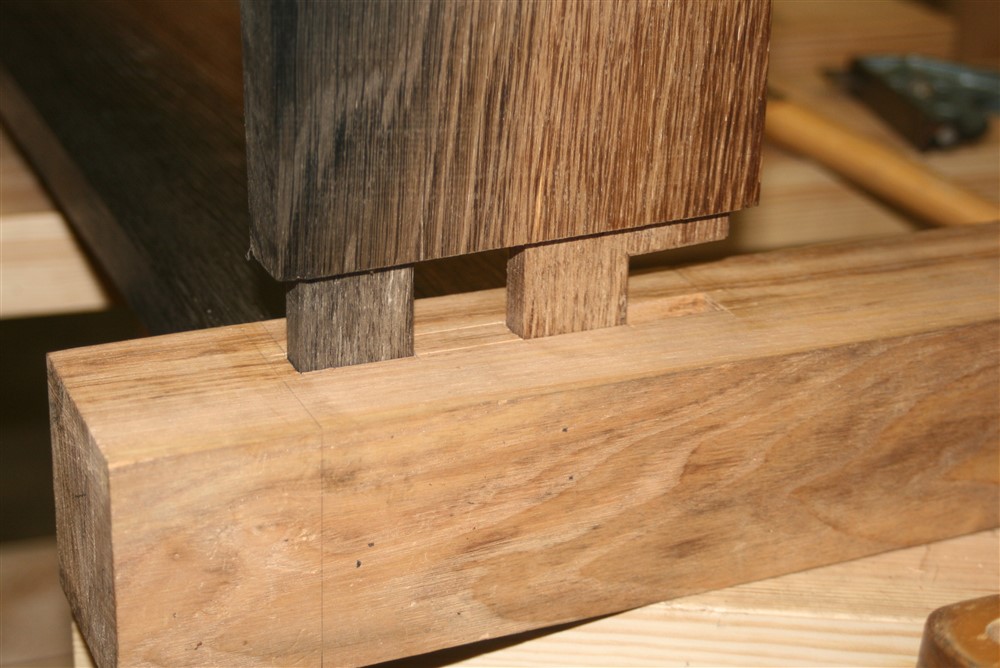
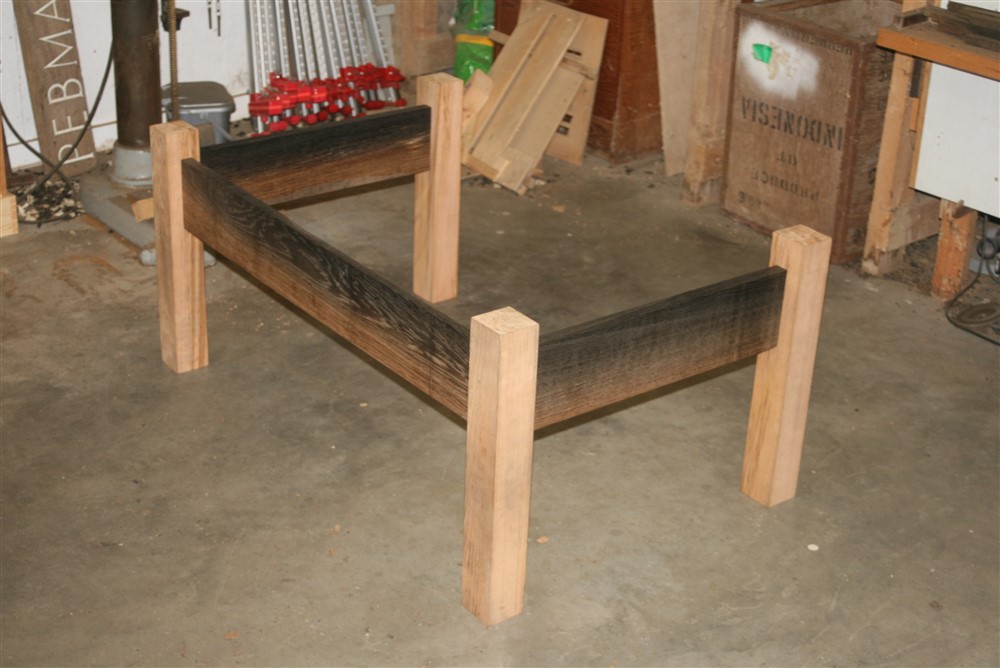
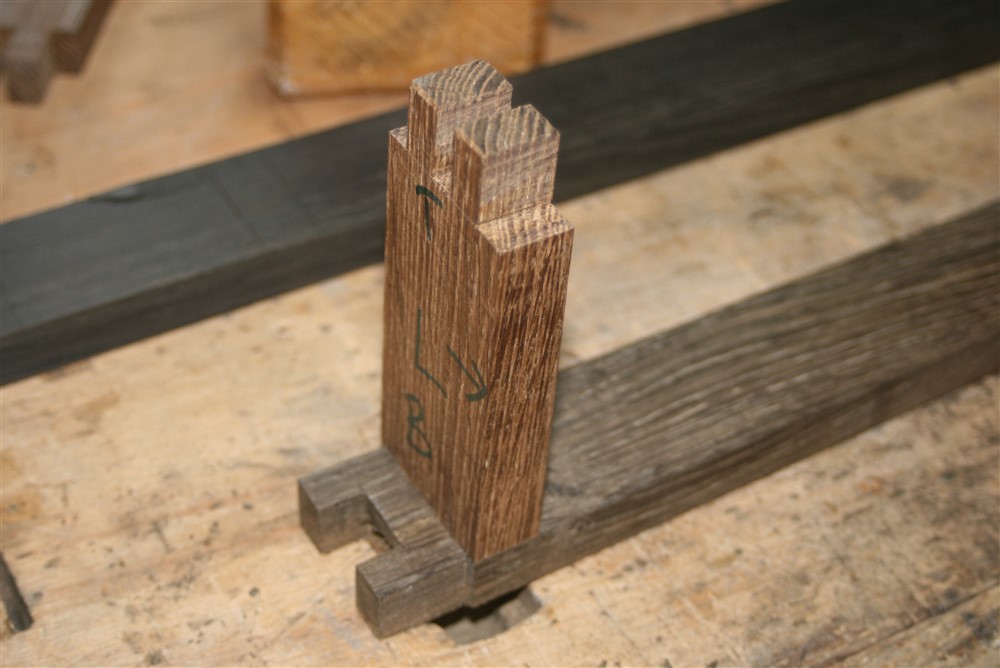
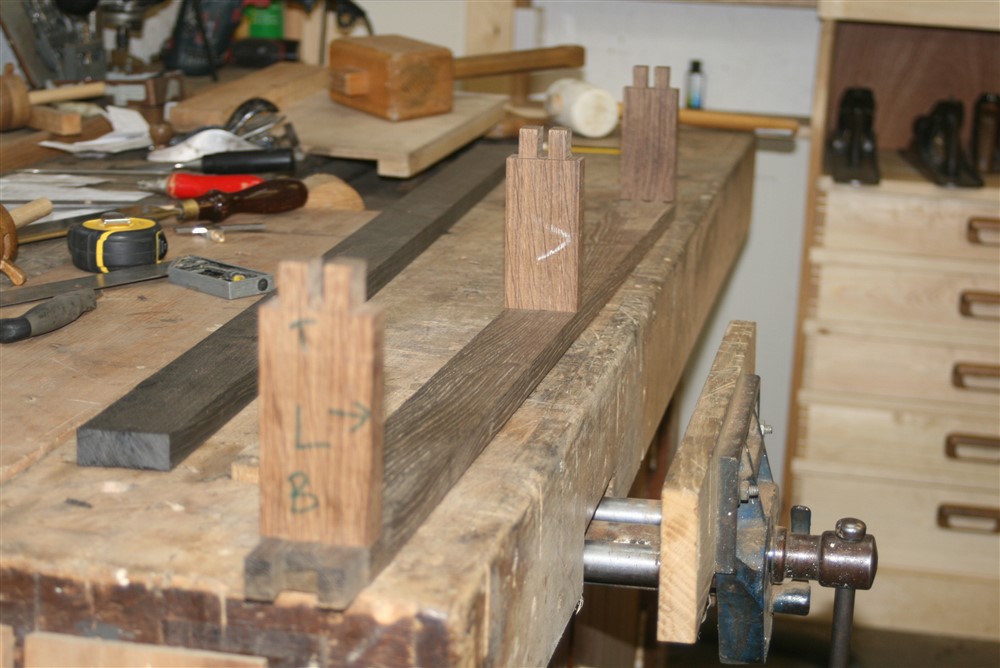
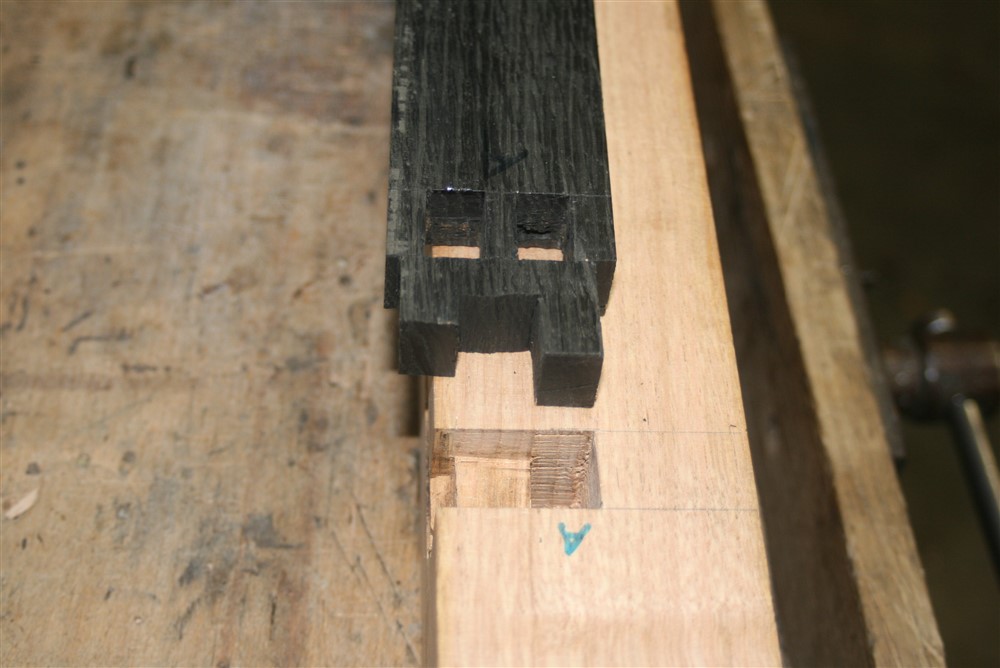
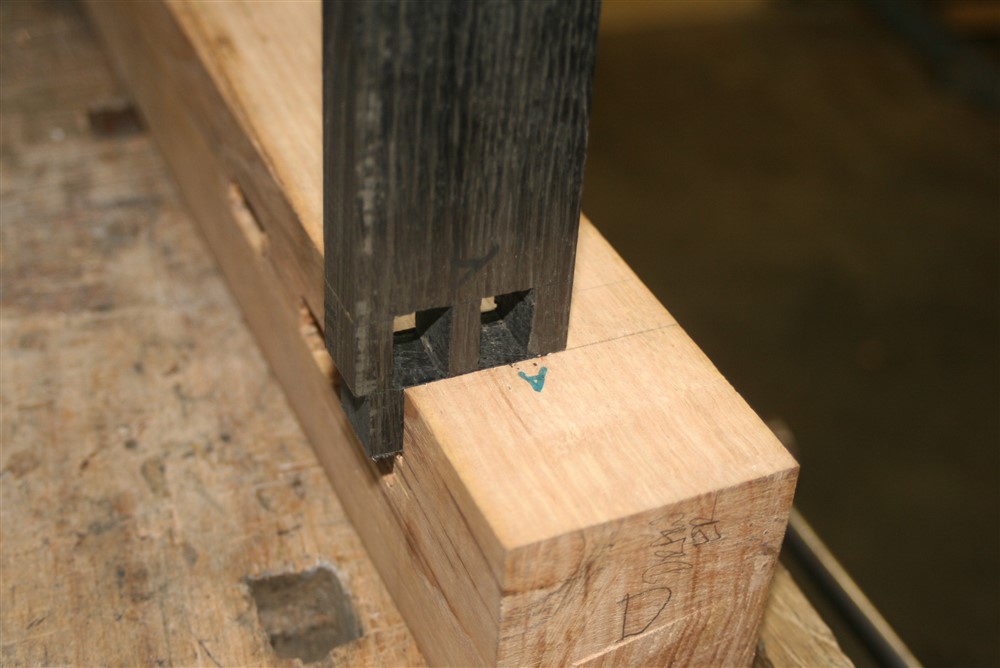
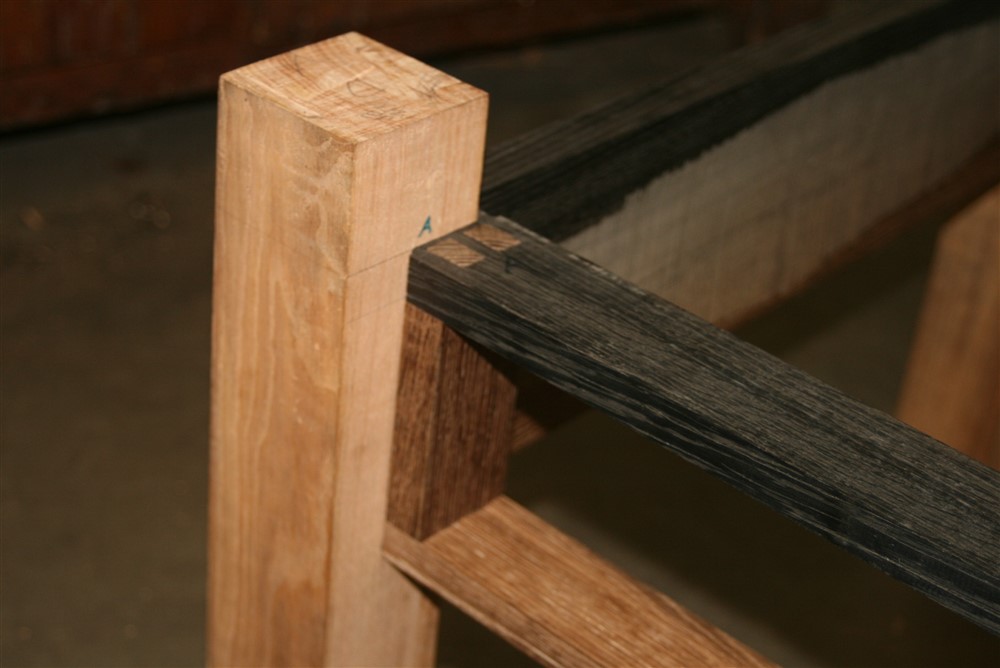
MikeG.":dvai2lpo said:without a lower shelf I am worried about racking. I imagine someone bumping into this table, standing vulnerably out in the middle of the room, and damaging the joints.....so I've made the joints as strong as I can.

Nelsun":z2jbkej3 said:..... Picking a finish will be fun.......
Ooh, I'm surprised at the coloured varnish. Won't that detract from the wood's natural colour?MikeG.":9ck5dpea said:Nelsun":9ck5dpea said:..... Picking a finish will be fun.......
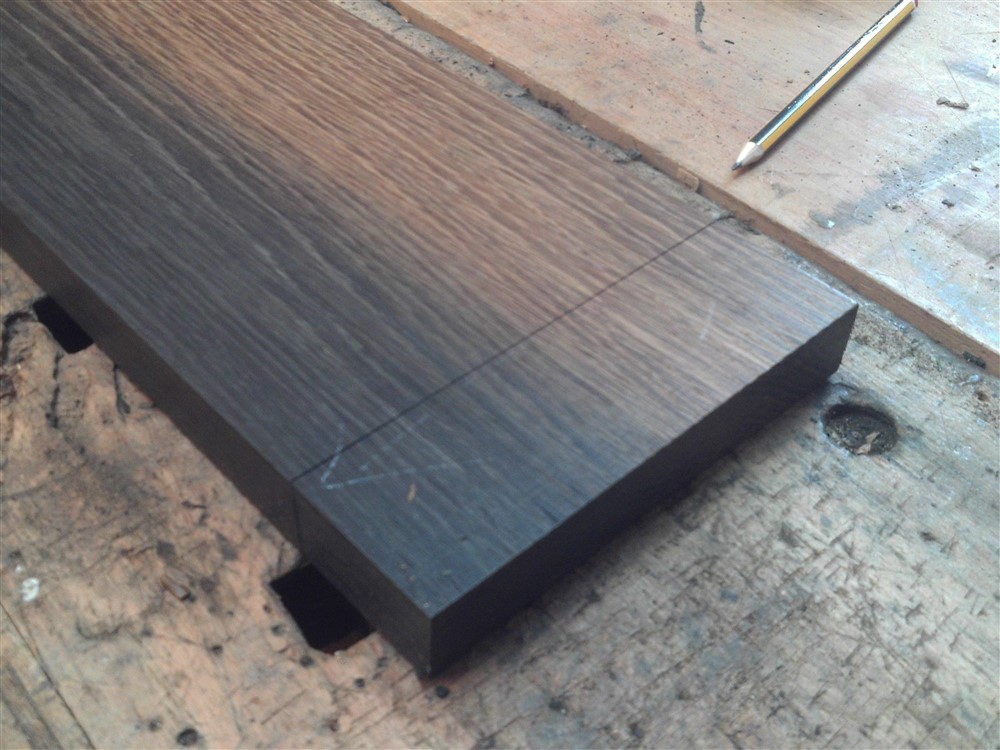
I've been experimenting with finishing on some saw handles, and I've made my decision. It's a mix of oil, white spirit, and a coloured varnish....but not in the same ratio as is usually done. Slap on, wipe off ten minutes later, and leave to dry for 24 hours. Build up 5, 6,7 maybe 8 layers.
Enter your email address to join: