FrenchIan":1gwagdpd said:
.... a Triton MOF001, to be precise. (It's a great product, but there are some things about it I don't like. For example, the turret stops is a great idea - set the cutting depths up before you start - but it seems loose and flimsy - it should click round from position to position, I think. Also, I'd prefer to able to switch the router on and off while holding it firmly with two hands, but that's not possible.
The turret is fitted to the base with a self-tapping screw and tensioned by a ball and spring. You need to remove the black baseplate to adjust the tension and - once set - you should only turn the turret clockwise. This will prevent the screw from becoming loose. If it's not clicking, there may be dust clogging the indents in the base - an airline blast should sort that out, but do NOT loosen the turret first, otherwise the small ball bearing may be ejected and lost forever.
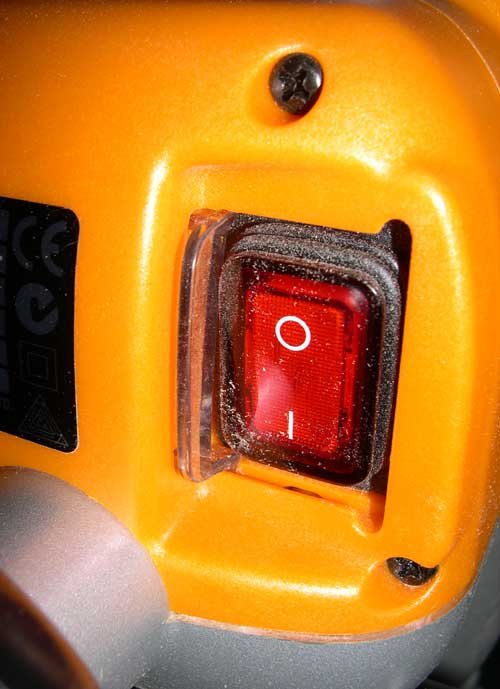
Regarding safe switching off whilst gripped by two hands - this is the way it was designed to work when hand-held. The router is meant to be used with the winding handle (rack and pinion post) to the right. This means that the on/off switch is to the left, as shown below (admittedly on the larger machine, but the principle holds good for the MOF001 too):
Your left thumb will naturally rest on the top of the left-hand handle shaft, allowing a short upward movement of the thumb to flick the power switch off and allow the safety cover to close. If using the router "backwards" (i.e., with the winding handle to the left), this motion becomes impossible.
HTH
")
Ray.