Bandsaw restoration advice.

UKworkshop.co.uk

Help Support UKworkshop.co.uk:

This site may earn a commission from merchant affiliate links, including eBay, Amazon, and others.
PeterBassett":1xfrfeky said:
I'll be taking a file to the brass rods soon to get the end profile I want. They are all chewed up at the moment. Any suggestions?

I've been watching this thread with interest and admiration and learning a lot. But I think this question is one with an easy answer - the ends of the brass rods just need to be filed flat. When lining them up in use, they need to be behind the blade teeth, so they almost touch the blade on its flat part only. The teeth should never touch the guides.

It does look as if your saw has been quite cruelly neglected - I'm sure it's going to get much better care from now on!
 
AndyT":w2xibazt said:
PeterBassett":w2xibazt said:
I'll be taking a file to the brass rods soon to get the end profile I want. They are all chewed up at the moment. Any suggestions?

I've been watching this thread with interest and admiration and learning a lot. But I think this question is one with an easy answer - the ends of the brass rods just need to be filed flat. When lining them up in use, they need to be behind the blade teeth, so they almost touch the blade on its flat part only. The teeth should never touch the guides.

It does look as if your saw has been quite cruelly neglected - I'm sure it's going to get much better care from now on!

To add to andy's post....
This means that when fitting a blade of different width, the relative positions of the brass guides and the rear roller need to be adjusted. The optimum position is when the tip of the brass guides and just behind but not touching the root of the blade teeth when the back of the blade is in contact with the roller. Easier to do than describe and pretty obvious when you look at the machine.

Bob
 
Right then, better late than never.

As I said, the pulley and taperlock bush arrived in the post.
4805580977_463046260a.jpg


It is 217mm in diameter and the bush is 25mm ID (thanks Bob!). It's for a B type belt.
The pulley is cast iron and the bush is steel. This is why it is called a taper lock bush.

4805583697_d811f4c382.jpg


Because it is tapered! The pulley has a corresponding taper. When the machine screws are tightened The bush is forced into the pulley and that causes the bushing to close tightly on the shaft it is mounted to.

4805587333_3ec6cd4d9d.jpg


Here is is installed

4806212364_13f3d9a42f.jpg


So, at this point I fire up the machine and it is far smoother than with the old pulley. Great stuff!

I then get a little ahead of myself and want to know how well it runs with a blade installed.

I put the blade on and gradually increase the tension, adjusting the tracking on the top wheel as I go.

Turning the wheels by hand shows no problems so I decide to fire her up. Now, the machine has no guards at the moment so I switch it off at the mains, turn it on at the machine and then use the wall switch (8 feet away, behind the machine) to flick it on for a second.

4806234678_1ba334ee07.jpg


Then two, five & ten second bursts.

All seems well untill the whole machine starts to vibrate madly. I kill the power and take cover!

It slows to a stop without killing, maiming or destroying anything and I go over to have a look.

4806214880_bcebfd33e3.jpg
:x :evil: :x :evil: :x :evil:

FAR CANAL! :lol:

Well, I kill the power to the shop and pipper off back to the to the house and have one or two bottles of nice beer.
I must admit I wasn't best pleased with this occurance.
Dummies were spat, dogs kicked, curse words uttered etc

To Be Continued!
 
Well at least it did not spit the blade out!!

It is all progress!

When I first turned mine on after fettling it I was able to run it at low speed on the inverter 5hz (1/10 normal speed) was good to see what was happening and to see the tracking adjustment taking effect.

Bob
 
Last time on, Bandsaw SOS.

Ohhh you sod you!... :roll:
4806214880_bcebfd33e3_m.jpg


And now, the conclusion...

Once I had regained my composure, and sobriety, I went back to the machine.

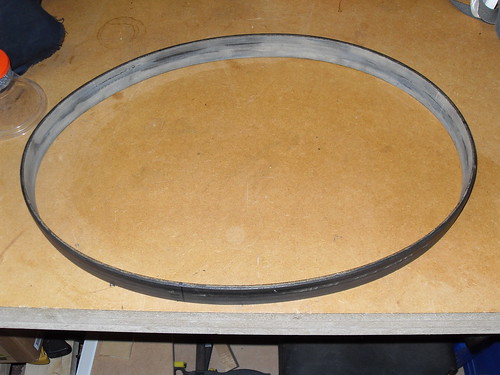
The tyre had completely come off. It looks like it wasn't stuck down sufficiently first time round.

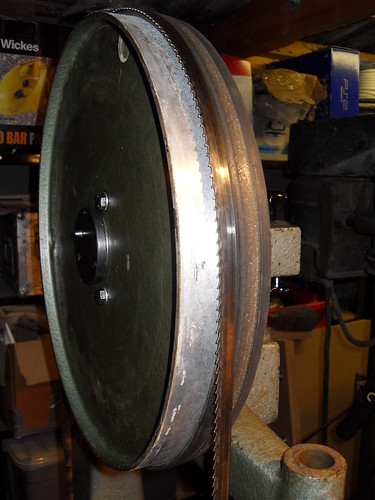
I remove the wheel and strip it with Nitro Mors and a wire brush and sand the outer mating surface to get the old glue residue off.

4806217692_024e8a915d.jpg


Then give it a coat of lubricating wax and refit it.

I then spend the best part of an hour fitting the tyre, checking the crown, removing the tyre, rotating it an inch, refitting and retesting.

The crown of the tyre *was* perfect despite the wheel being deformed and I wanted that back as close as I could get.

Eventually I get the point of best fit and mark the tire and wheel in several places so I could refit it in exactly the right place once the glue was on it.

I bought some evo stick (the type that allows some repositioning) and applied a thin coat to the tyre and wheel and left it to dry off.

4806220240_3aa170e694.jpg


Then a had to get it back on the wheel. The glue only allows repositioning if you don't apply pressure to the glued surfaces. How can you fit a tyre with now pressure? You can't, so I had to get it right first time.

No pictures of this as I was too busy getting the good fit back before the glue stuck fast. It went ok, I could reposition the tyre very slightly. I just had to get it fairly close first time round. The glue takes 24 hours to cure so that's what it got.

I reassembled the wheels and fitted the blade again and re-ran my unguarded test from the other end of the shop and the tyre held! WOOW!

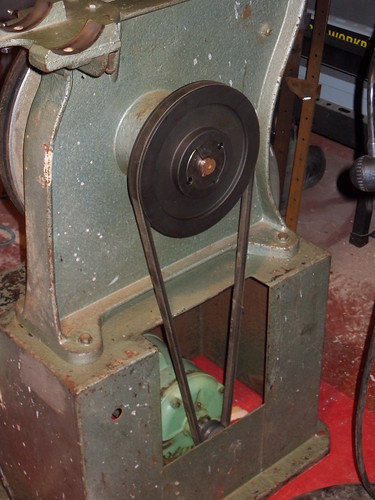
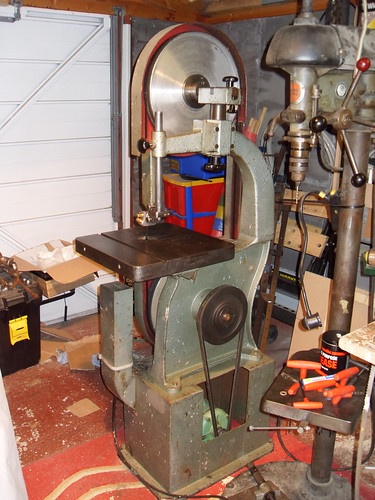
Excited by my success I just started bolting the machine back together. And that is the end of the story. The machine is back together and works!

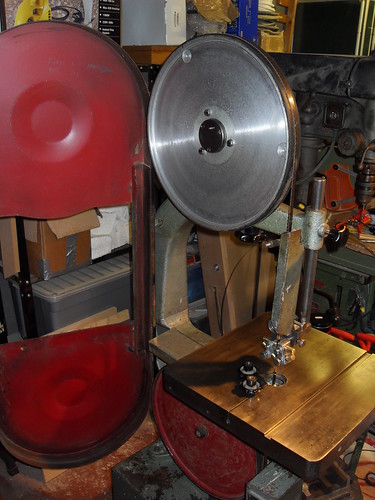
A shot from the back, note the missing upper-rear blade guard. I'll have to come up with something for that.
4806223222_3272030916.jpg


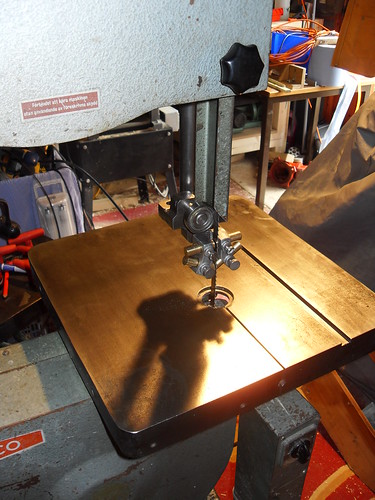
The table is as good as new!
4805603765_edd770ec6b.jpg


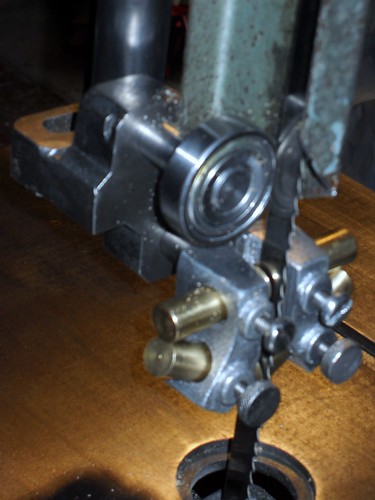
Top and bottom blade guides fitted and adjusted (nearly, they are not quite close enough yet)
4805614195_065fe4204a.jpg


Ignore the scattered clutter!
4805606979_9fb4fec57f.jpg

4805609499_86617a748d.jpg


And the most important question : How good is it?
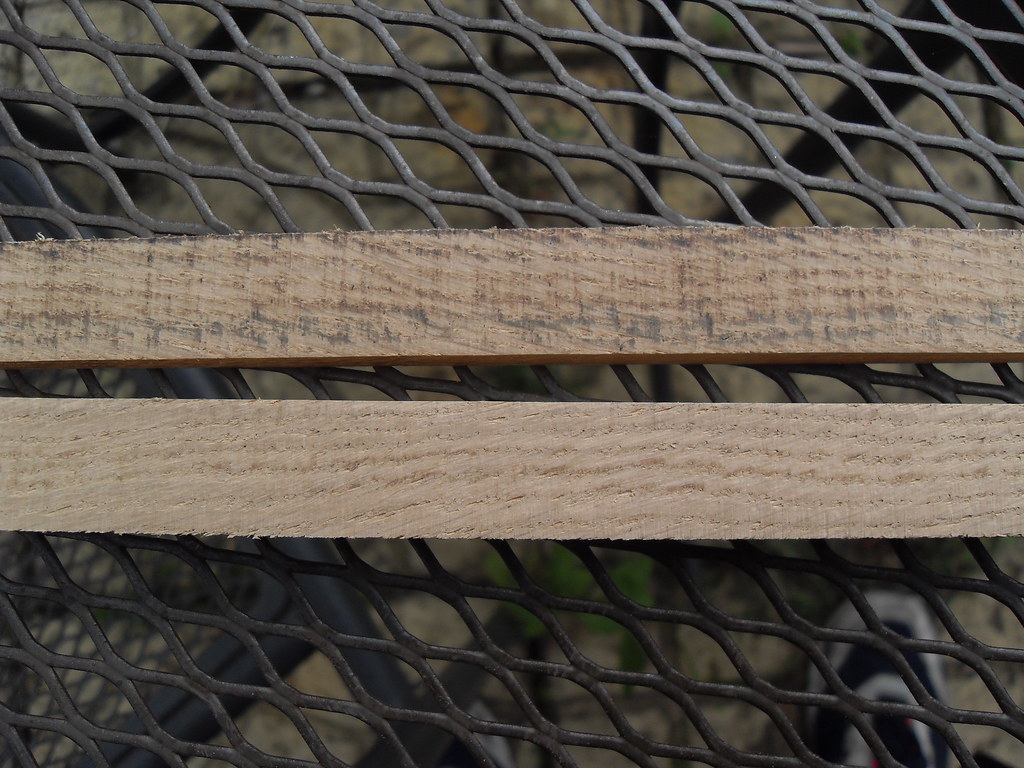
This is some inch oak I had knocking around.
4806240476_8c31cdbe6a_b.jpg

Even with the fairly old and abused blade fitted it made short work of this. Slight burning on one side. I figure that is my lack of technique for now. Higher feed rate on the second piece eliminated the burning. :D

I think a new blade will get ordered soon.

So, how much has all this lot set me back? Was it worth it? :oops:

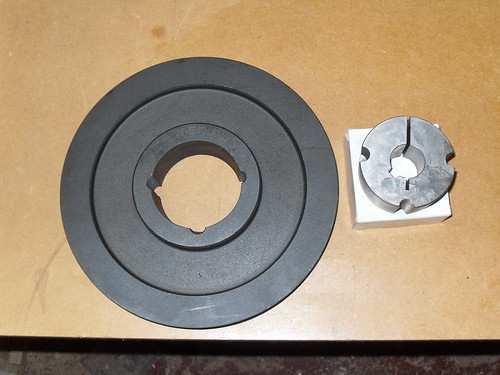
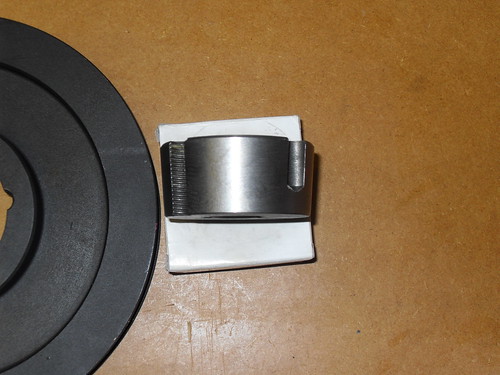
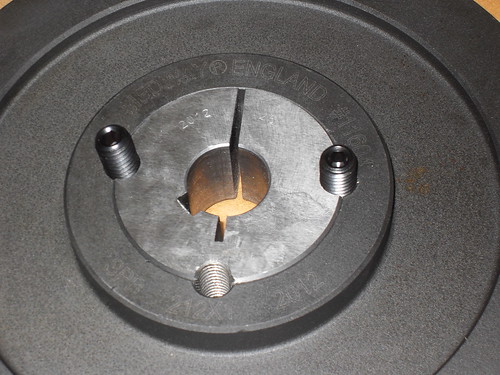
The saw, bearings for the top wheel, bearings for the blade guards, the pulley & taper bush, new grease, three bearing pullers, a tin of nitro mors, a tin of lubricating wax, glue and two wire wheels. Roughly £155.

Yes, it was worth it! :lol:

There is more I could do. It could do with repainting to be honest but I'll leave that until something else needs to be done. For now I want to get on with woodwork as opposed to machine restoration.

There is, however, the little matter of the Walker Turner floor standing drill press that is sat next to the saw... :lol:

Thankyou to everyone who has given advice or encouragement, it has been a very rewarding experience getting this chunk of cast iron back into shape.

Cheers.

Pete
 
Hi, Pete

Nice one! that band saw should last you a life time!


Pete
 
Back
Top