Assembling small picture frame

UKworkshop.co.uk

Help Support UKworkshop.co.uk:

This site may earn a commission from merchant affiliate links, including eBay, Amazon, and others.

timbo614

Established Member
Joined
17 May 2016
Messages
119
Reaction score
0
Location
Woking, England
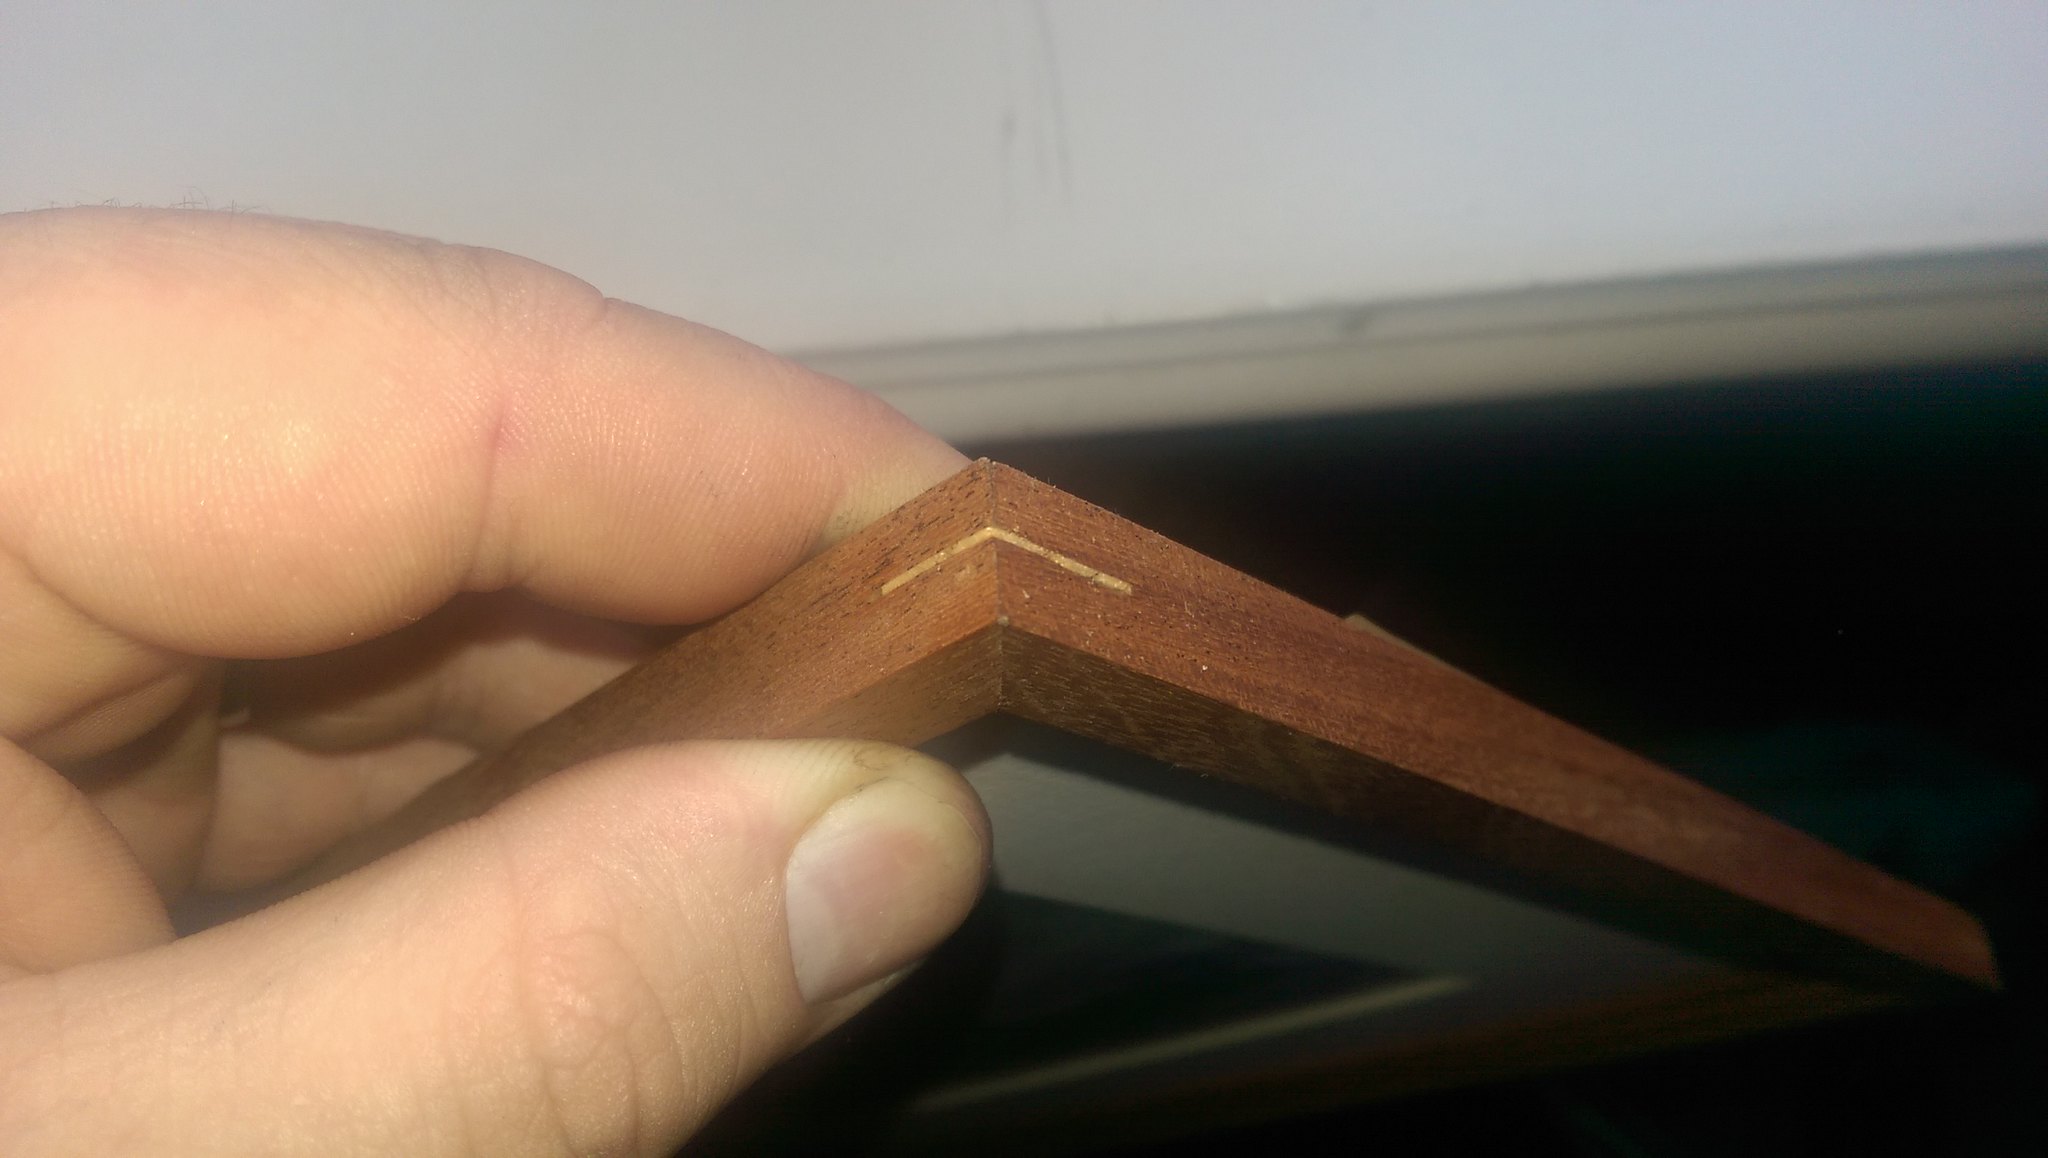
I have made the parts for a small oak picture frame 4" x 5" the framing is 1/2" square with a rebate and mitred corners, very simple. That has come out OK. but being a beginner at this didn't think in advance how to fix and assemble it.

I can't find anything in search so I'm asking how do people fix them together? There isn't a lot of surface area to work with so I am suspicious of just glueing. Plus I have a problem clamping it as I have a couple of picture frame corner clamps but they overhang the short side so with them it would be glue up two "V" shaped halves and hope they fit together.
So I can see: a) glue with a pin through from the side :( b) Glue with a thin triangular piece on the back. c) make a tiny biscuit type joint + glue but that looks tricky. I've taken a (blurry) picture.

Youtube & google have a lot of answers for large frames searching "small frame" always gets me something 16x20 and wide!

TIA. Timbo.
 

Attachments

  • frame.jpg
    frame.jpg
    49.5 KB · Views: 198
You'll likely get as many different answers to this as there are members on here!

My twopence (rank amateur, who curses picture frames loud and long):

Use the box maker's method with strong masking tape round the outside of the corners: lay the pieces flat in a straight line, in sequence along the bench, with masking tape (sticky upwards, obviously) under the corners, holding the points of each of the mitres straight and square and bang next to each other. Put a little glue on the mitres. Roll the whole thing up into a square and add a final bit of tape to close the last corner.

Assuming your mitres are good (mine often aren't!), you'll be pleasantly surprised how tightly it's held. You can then lay it flat on the bench and check the corners, before leaving it all to go off.

Finessing it: pre-finish the visible bits, for two reasons: it's hard to get finish nicely into the mitre corners of any moulding, and it's equally hard to clean glue out, even seconds after it's got in there. There is inevitably some squeeze out, and the finish helps you remove it. I probably shouldn't, but I use my marking knife to get right in there once the glue has gone a bit elastic. You could use a scalpel (I've managed to lose mine somewhere).

Choice of weapon (glue). There are special mitre glues, but they're mainly for shopfitters doing covings and similar, where it neeeds to grab fast and stick quickly. My stuff is often rubbish, so personally I prefer something like Titebond 2 as it's a good compromise between grab and open time. I'd steer clear of polyurethanes, as PVAcomes off well with a damp cloth and doesn't stick to oil/spirit-based finishes at all well. Beware: Titebond 2 dries to "obvious orange" (I'm sure they chose the colour out of spite!). Other PVAs that start off white usually dry clear. But... you won't get finish on over it so be diligent in removing it.

A small frame properly glued probably won't need any reinforcement of the corners. If you do need to do it, consider splines (can look attractive in contrasting wood, especially), or I sometimes use 5mm or 6mm dowels. Glue the mitre first, cut the slots for the splines, glue them in then cut/sand back to be flush). Lots of examplars on YouTube.

If the back is fixed permanently, that adds a lot of strength and rigidity. There are special staple-like pins that framers use across the mitre at the back (look at a few commercially made frames) and there are hobbyist kits available. Personally I don't use them, but they are popular on here (Google "underpinners" for framing too).

Hope that helps - it's a job I love and hate. People like the frames as presents, but they are a fiddle. Most of the clever people do them in batches too, I think. It probably means better results too.
 
Eric, Thanks for the long and informative reply.
>>Google "underpinners" for framing too. I did and wow! A whole new world I had not considered might exist, it's a serious business this picture framing. I really had not given them much thought.
 
Couple of quick points,

-a mitre is pretty close to being pure end grain, so a PVA bond will be very weak. You can make it much stronger by "sizing" the surfaces, put a thimbleful of glue on a glass or ceramic surface, mix in 10-15% water (most glue manufacturers are okay diluting up to 20%, beyond that it turns to coloured water very quickly so play safe and limit yourself to 15%), liberally paint the mitres with this then wait five or ten minutes (no more, PVA doesn't adhere to it's dried self very well), apply full strength PVA and cramp up as normal.

-I'd pin the joint as well, but the trick is to separate gluing and pinning into two separate operations. PVA is a great lubricant and the joint will slide all over the place if you try pinning while the glue is wet. Let the glue dry then pin.

-+1 for using stretched tape to cramp the joint. Do it on a flat surface and don't get tape around the back, otherwise you can start to put your frame "in wind", you need it dead flat.

Good luck!
 
+1 for custard's pre applying some PVA to the joints. I had to make some trays a while ago which were essentially the same as picture frames. I made some test mitres and tested them to destruction and found they were much much stronger just by applying a thin layer of pva to yhe mitres (i didn't water it down) letting it go off for a few minutes and then glueing up. I used a bessey band clamp which worked great.
 
Band clamps certainly have their place, but the reason I didn't recommend one for this application is that the OP's frame is only 1/2" square in section. When you tighten up a band cramp it tries to turn a square frame circular, it pushes in at the corners but still allows the frame to expand outward in the middle of each side. As a consequence you'll see the mitres opening up on the inside if the pressure is too much. Stretchy masking tape pulled tight will give all the pressure you need for light construction, and removes the risk of distorting the frame. A second issue with band cramps is that they'll probably be too wide for a 1/2" frame, making it harder to check if the frame is flat or in wind.

Just my thoughts!
 
You could use superglue with a spray activator. The difficulty is getting the positioning right, but careful use of masking tape will stop the joint sliding.
 
I think I'd make a right angle jig and glue up each corner in turn using mitre mate or contact adhesive (you can size the ends with contact adhesive). Should only take 5 mins to get it all glued up
 
I have used masking tape stretched tight as a clamp. For agging strength I used splines on each corner, basically a saw kerf with a thin section of long grain wood glued in, makes quite a strong joint.


Matt
 
Hi all, Thanks for all the suggestions. I was assigned other duties today by SWMBO but have had 3 practice runs with the masking tape, not the easiest thing. 3 mitres are really good, but not the fourth when I tape it as suggested. I tried correcting it by sanding - I think you all probably know how that turned out :( I will have to re cut that piece if I want it perfect.
 
Back
Top