Another Fobco Star pillar drill resto

UKworkshop.co.uk

Help Support UKworkshop.co.uk:

This site may earn a commission from merchant affiliate links, including eBay, Amazon, and others.

f114306

Established Member
UKW Supporter
Joined
8 Feb 2023
Messages
33
Reaction score
23
Location
Olney
Afternoon All,

Just picked up said beauty at auction. The Machine nbr is 1253 which appears to be quite early if you can infer that from the number.

Already mostly stripped down, but just one small issue.

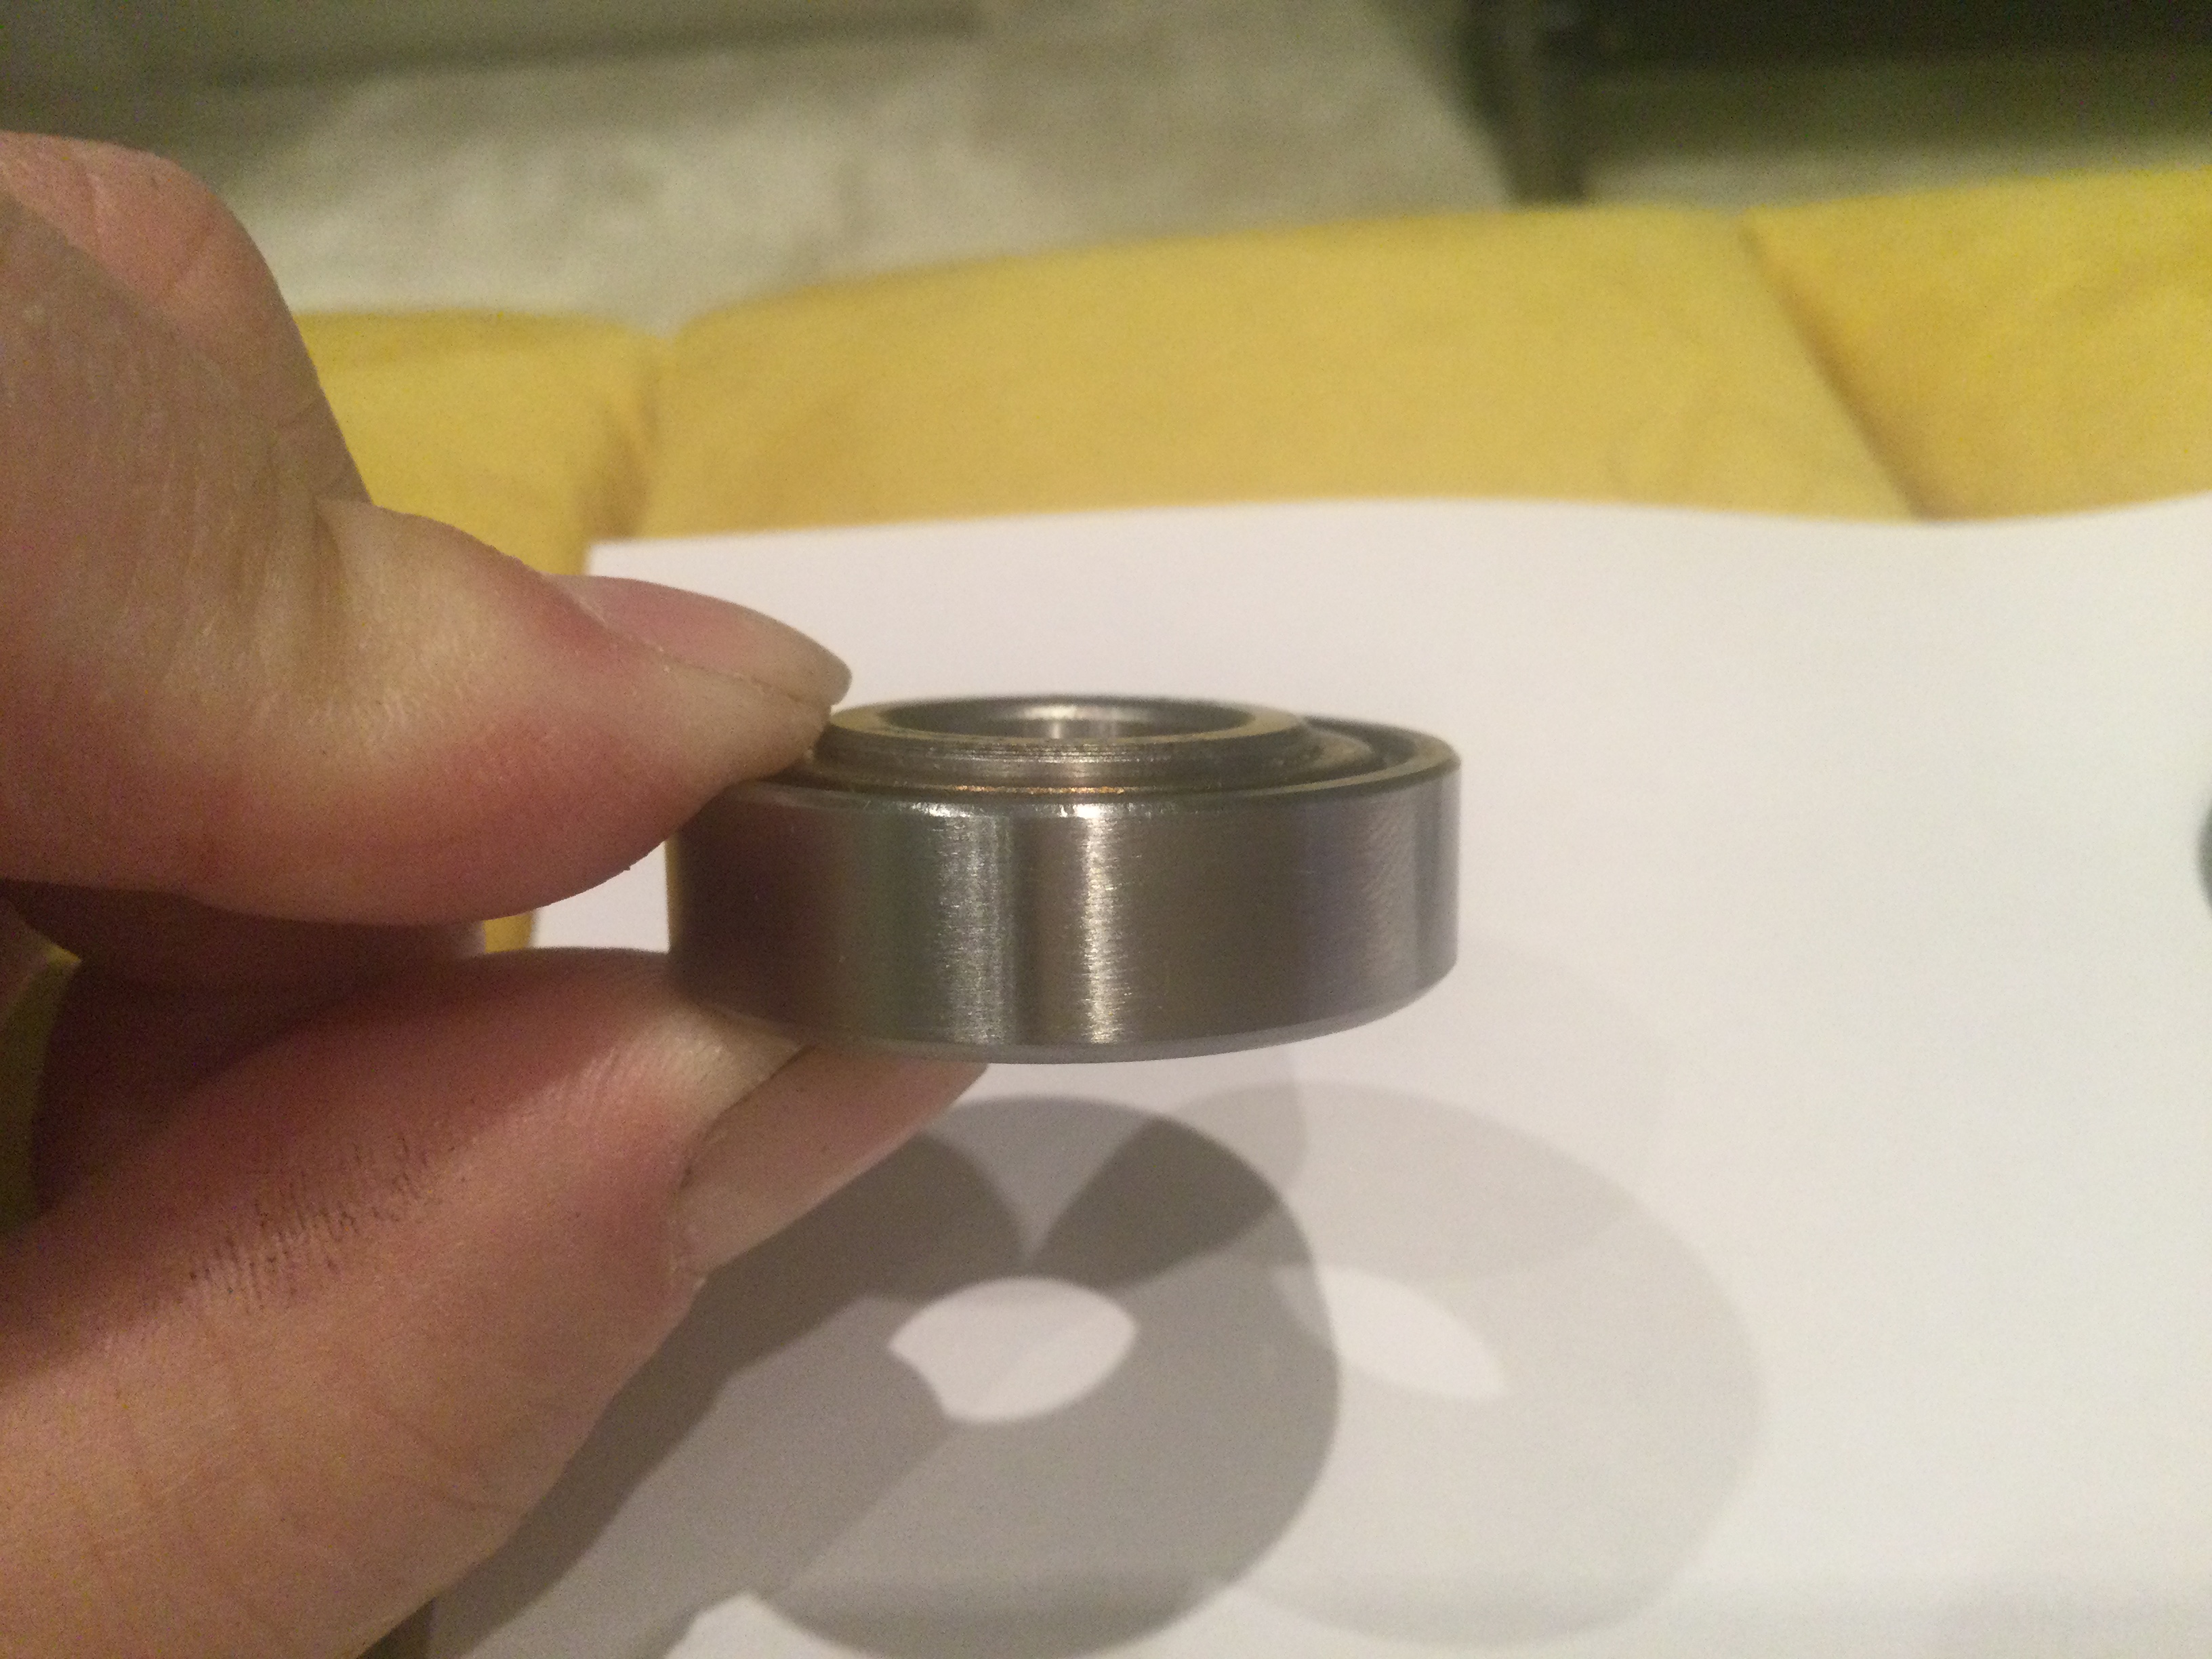
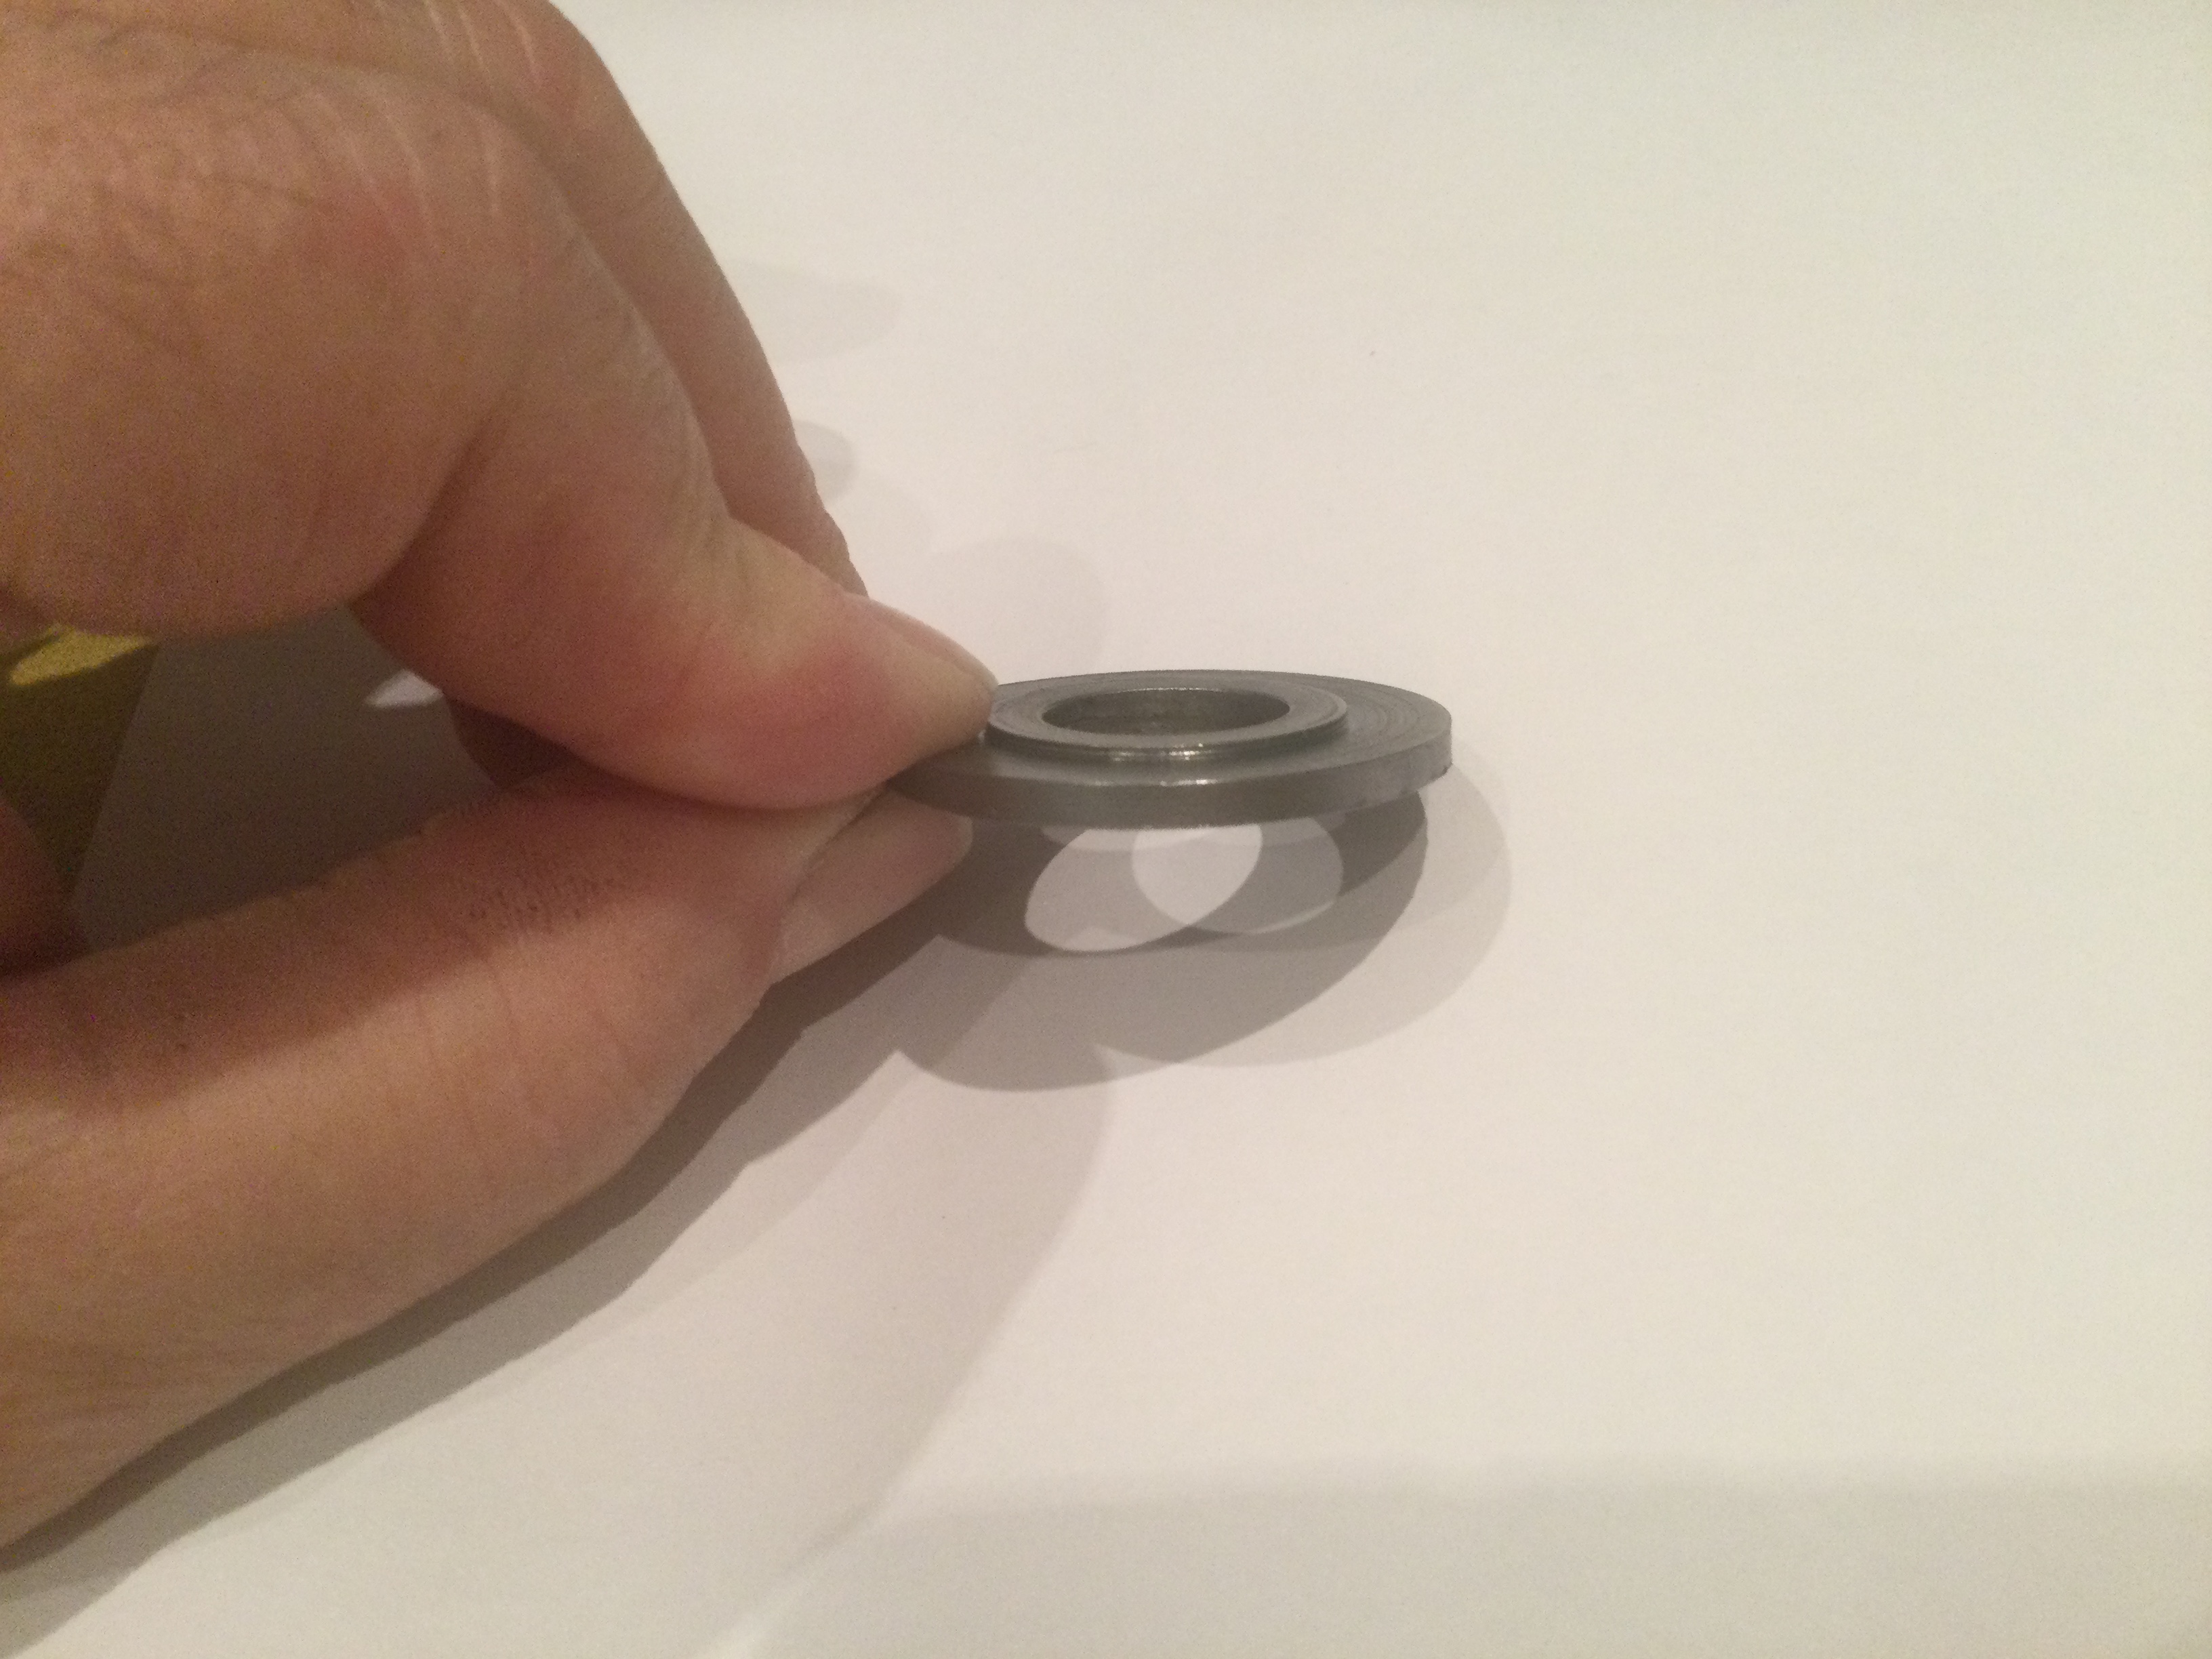
I‘ve removed the quill side pulley and was expecting to see the top circlip and the upper bearing, but all I can see is a flat plate which is not part of the pulley ‘tube’ as far as I can tell but sits below the head casting with very little room around it that would allow me to get anything of any substance in to lever it up if indeed that can be done.

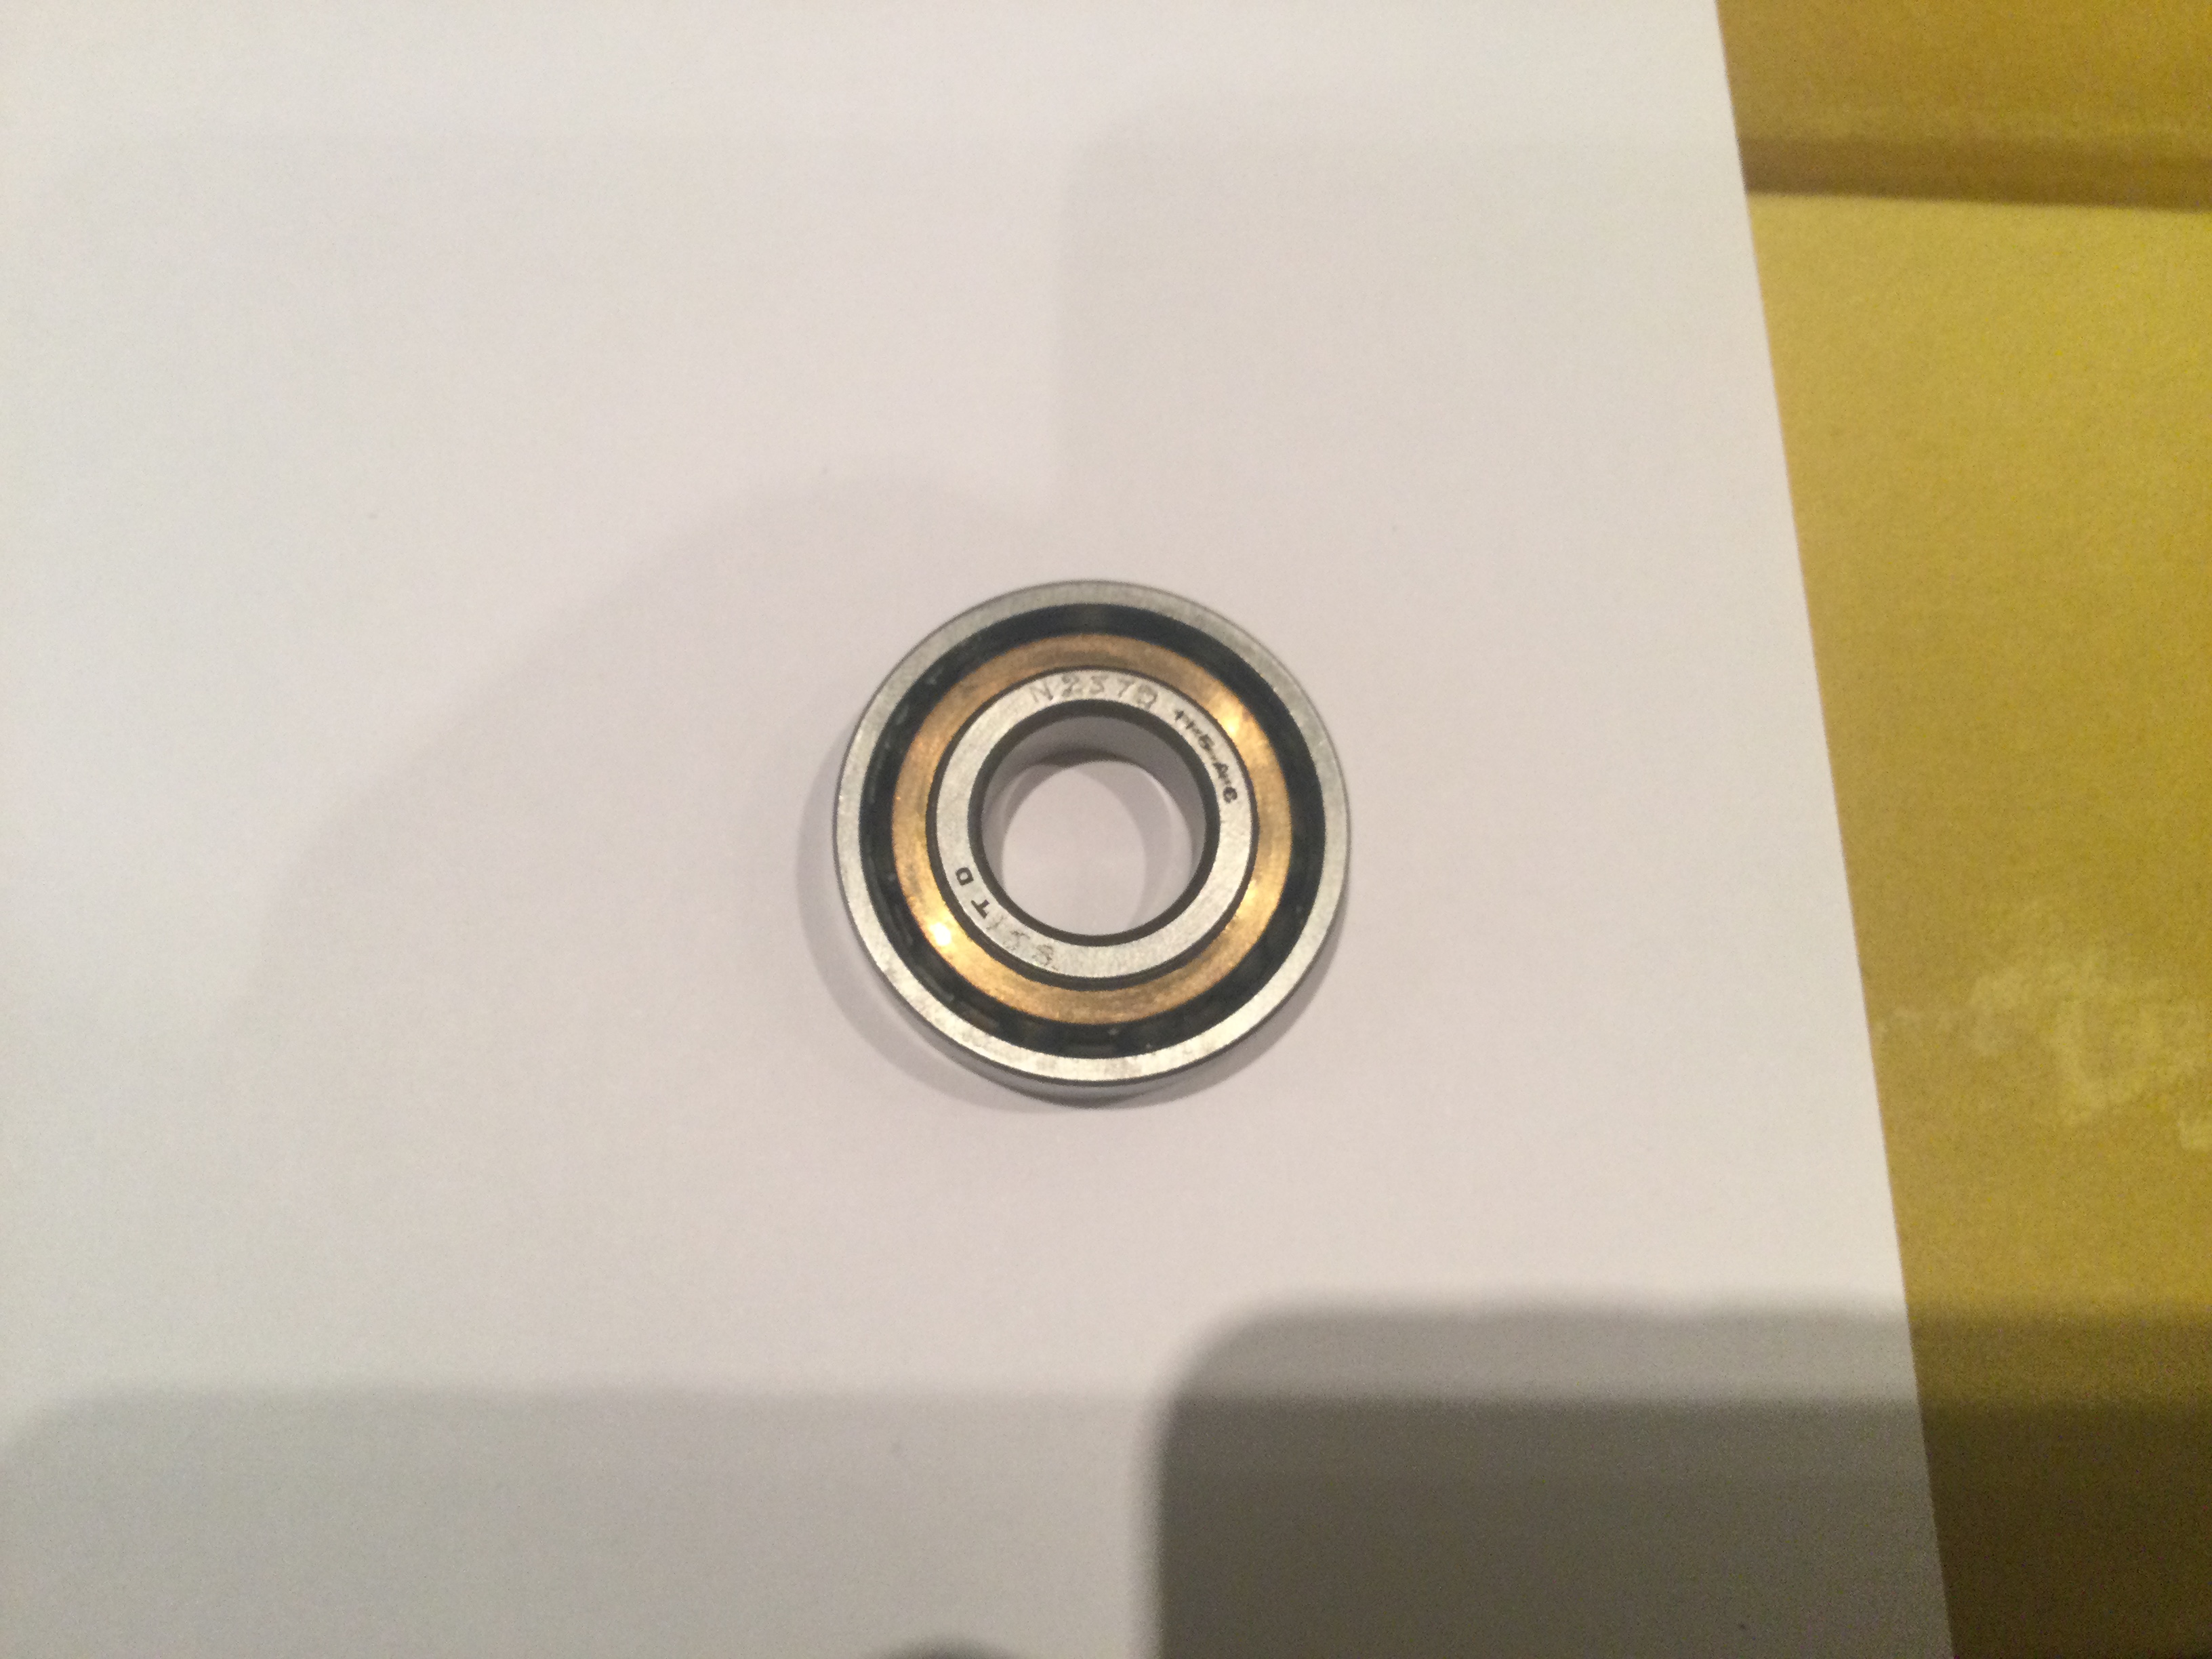
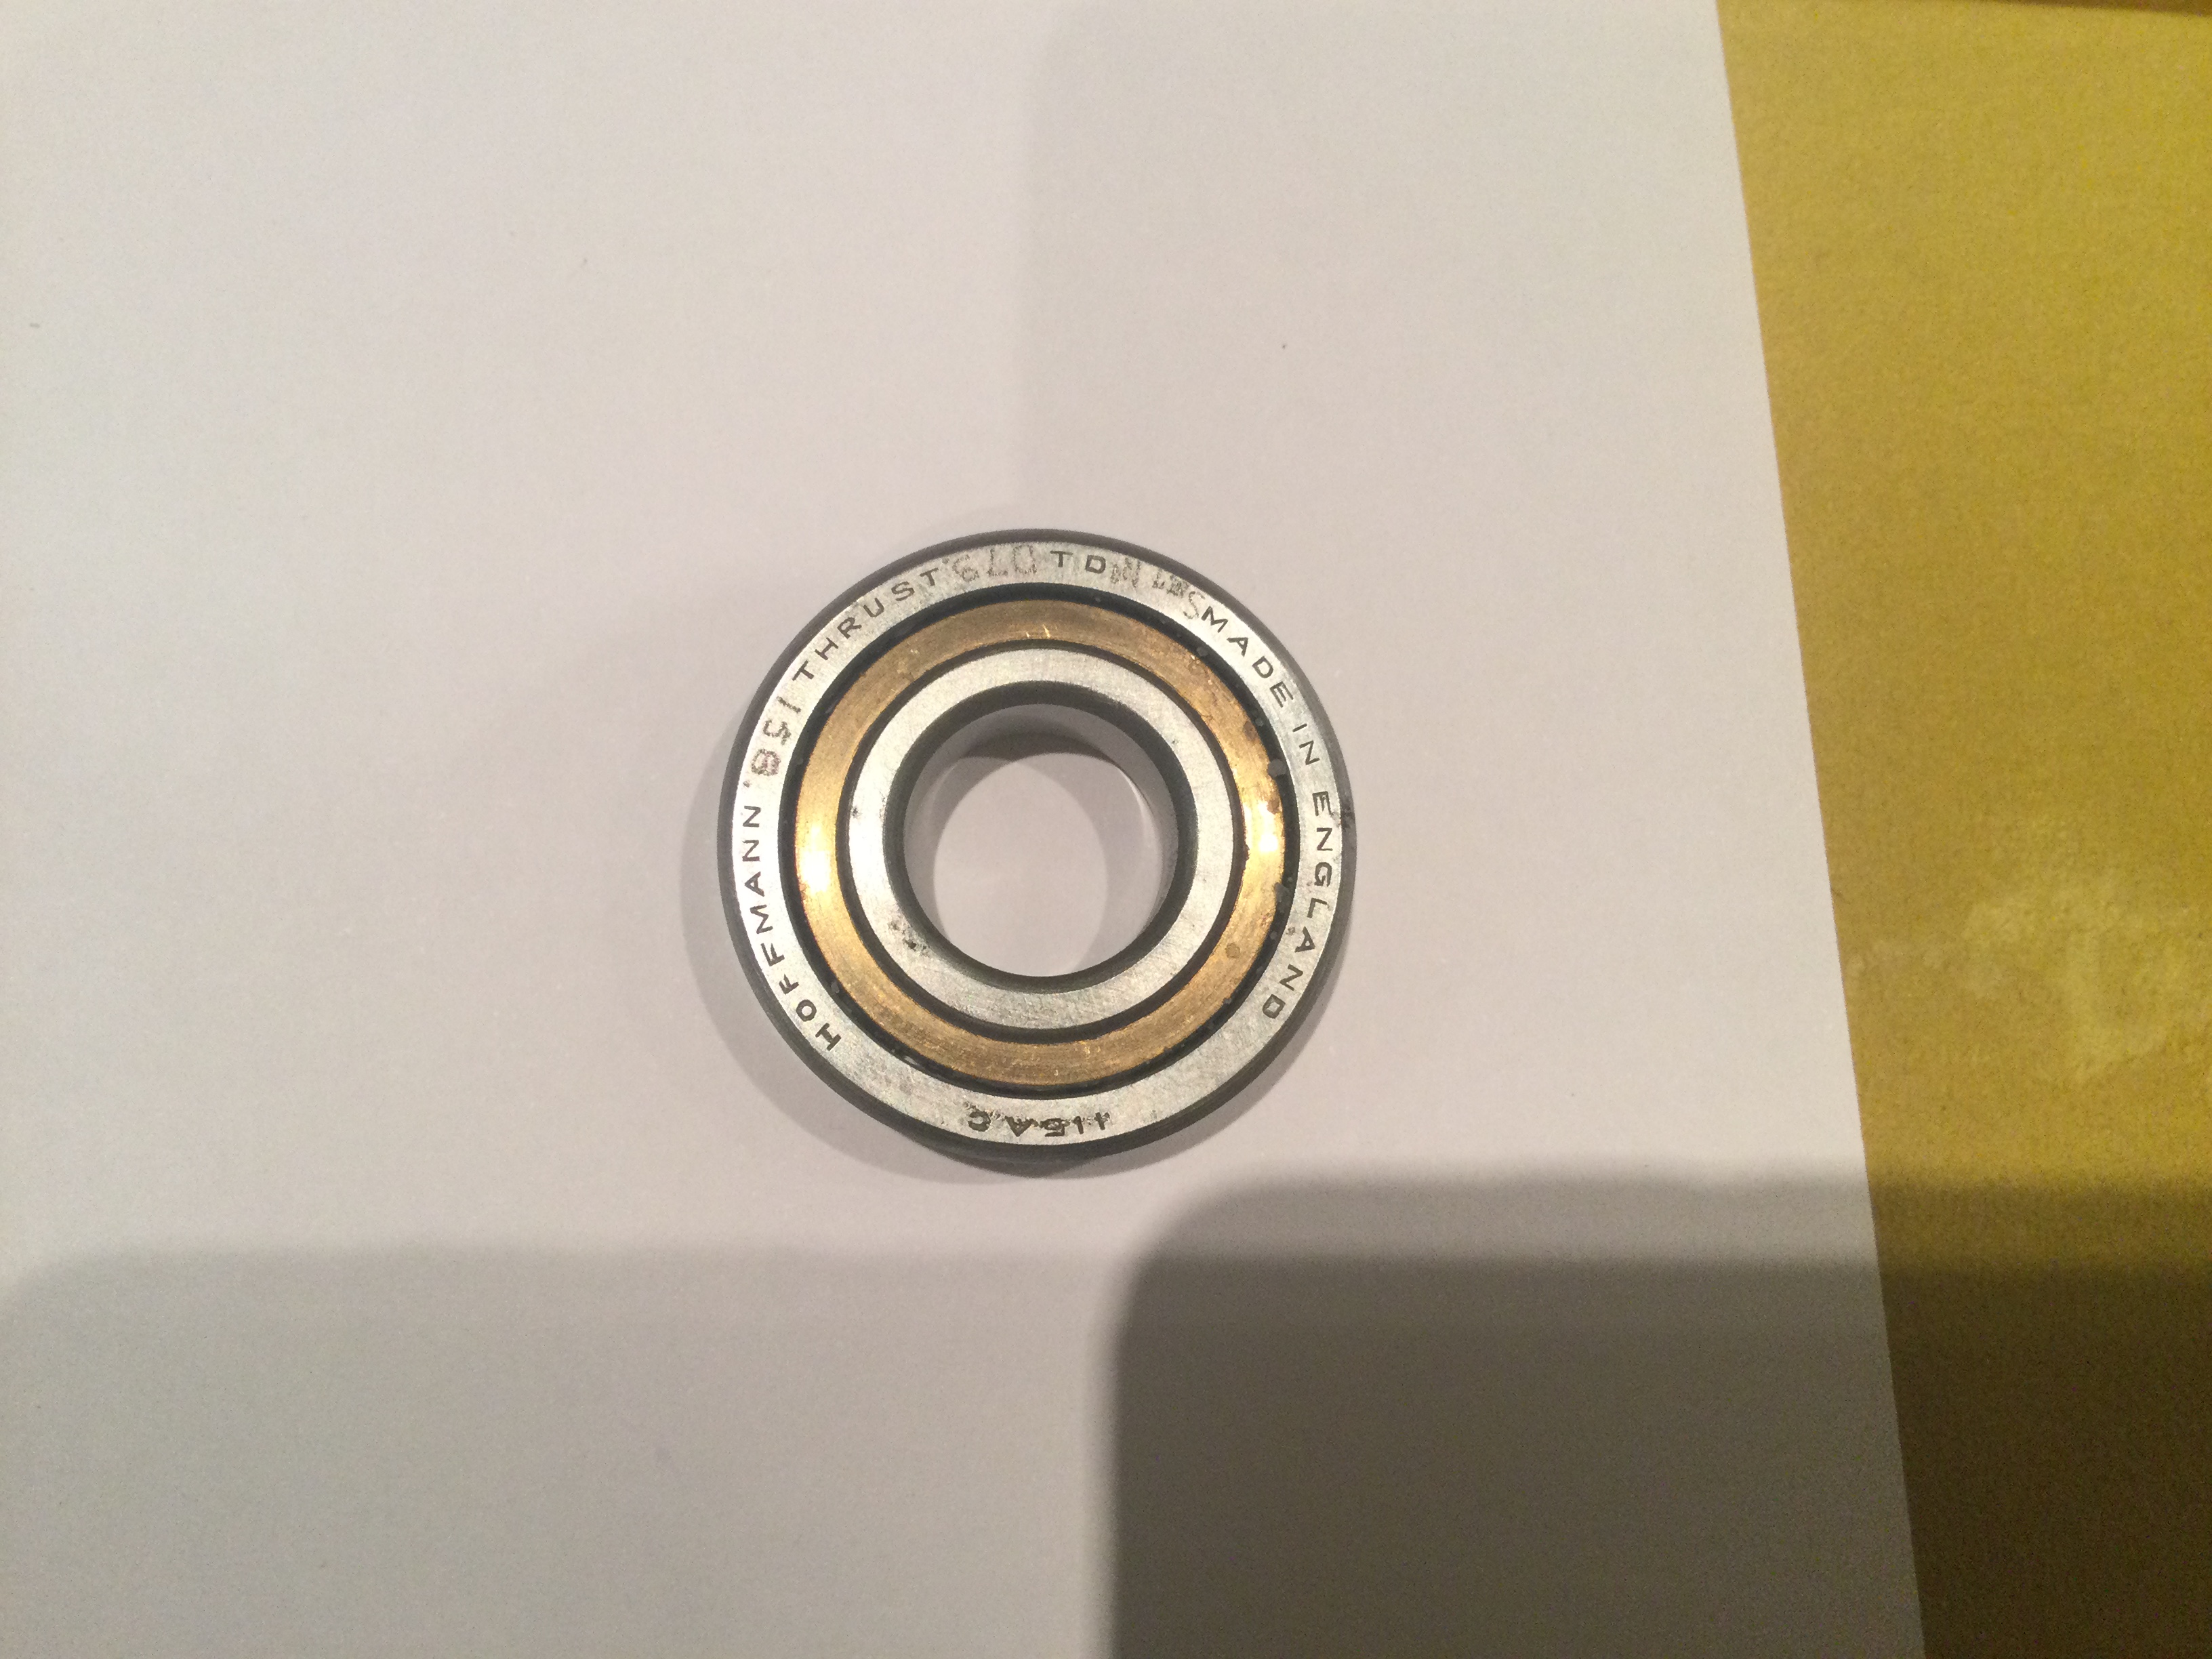
The bearings sound and feel quite ‘gritty’ on hand rotation so I would like to replace them. If anyone has any ideas about this disc please let me know. Pictures attached.

Thx, CG
 

Attachments

  • 4D13E26A-D865-4C6E-ABDD-612109458AE6.jpeg
    4D13E26A-D865-4C6E-ABDD-612109458AE6.jpeg
    2.1 MB · Views: 0
  • FFCEEE0F-C98C-48FA-9C3F-FBAE780315AB.png
    FFCEEE0F-C98C-48FA-9C3F-FBAE780315AB.png
    3.4 MB · Views: 0
My guess : drop the quill out downwards, the spindle / spline will come with it and you will be able to look all the way up to the underside of the part you're looking at.
Maybe you tap it out from below using a tube up through the head.

Watching with interest.
I'm part way through doing a Fobco 7-eight with many interruptions along the way.
👍
 
I did think about tapping it down into the casting but first off I’d have to get in and remove the lower circlip which I can see but is real awkward to get to.

Another thing is that if I did manage to get the lower circlip out, tapping the spindle down is going to bring that plate into contact with the upper circlip and I don’t want to do any damage if the plate decides not to come loose.

I‘ve also considered using my other drill press to put say 3 holes in that plate at strategic points so I can get some leverage on it.

Interested to see what others think of the last method, pros/cons.

Link me into you Fobco 7 eight resto thread if you have one, that machine looks a real beast 😀

Thx

CG
 
Hi Myfordman,

Yep seen that vid and I would do exactly that but the plate in an earlier pic is stopping access to the top circlip which when removed would allow me to drift out from below.

Thx, CG
 
Drill two holes 180 degrees apart where you estimate the ball cage to be. tap with a plug tap and use a pair of bolts to jack the plate out.
 
Is the mystery plate joined to the steel-coloured outer quill (and thus rotates with it) or is it joined to the cream-painted casting (and thus stays still when you rotate the outer quill)?

If you are stripping the machine, give the whole area a good dousing with brake cleaner after warming with a hair dryer. Maybe the plate is just gummed to something with congealed lubricant.

After cleaning, I would make a thick walled tube that goes over the outer quill and superglue (or gripfill/CT1, etc.) it to the plate, with as much glue area as possible on a surgically clean surface (slightly abraded to give a key). Use that to pull the plate upwards. At worst, the glue joint will fail and you will have to resort to drilling and tapping.

Put a nylon-tipped something or other on your SDS drill or air chisel and give the part a rattle. That might dislodge it. It does not need force, just vibration.

If you have some super magnets, a few of those might be worth a try.
 
@ChaiLatte, the plate rotates with the outer Quill, it is not fixed to the head casting. Another excellent idea and one which I will try first before drill/tap.

Thx all for the suggestions.

CG
 
Thx to @ChaiLatte’s suggestion I rigged up a tiny ‘puller’ using superglue, a couple of 100ml M6 bolts and a bit of metal from a builders strap (see pics). Gently tightening the nuts on either side got the plate started so that I could get something sturdier underneath to lever it gently off.

All hail the power of collective thinking.

Thx CG
30C4E21C-DE6F-49E4-9C27-6EC512A64483.jpeg


A5D3CCA3-8EB9-43AB-8245-E021DBEBD04D.jpeg
 
Afternoon all,

Here’s the head casting after paint removal and degrease. Still a bit more to do.

CG
 

Attachments

  • 7588FA53-8C8C-4E3F-B371-6CF2C7CFDBA5.jpeg
    7588FA53-8C8C-4E3F-B371-6CF2C7CFDBA5.jpeg
    1.5 MB · Views: 0
  • 41C18F82-8C9C-4C38-8070-FAF97FA375AE.jpeg
    41C18F82-8C9C-4C38-8070-FAF97FA375AE.jpeg
    2.4 MB · Views: 0
  • 09524E8B-CD9D-427B-98CB-3AFCC43A0AB9.jpeg
    09524E8B-CD9D-427B-98CB-3AFCC43A0AB9.jpeg
    2.3 MB · Views: 0
  • 58422564-D32C-4FB6-9A24-0794E67338F1.jpeg
    58422564-D32C-4FB6-9A24-0794E67338F1.jpeg
    2.3 MB · Views: 0
Afternoon all,

It’s been a little while so here’s an update.

Got all the replacement bearings now from Orinoco. Interestingly I was reading about preloading the spindle bearings on another thread the other day.

One of the attached pics shows a small round plate with a raised centre. When I disassembled the spindle there are 2 of these one top, one bottom.

I offered the plate to one of the new bearings and that raised the inner bearing race relative to the outer race and on rotation you can ‘feel’ the connection between the mating surfaces. So I suspect the top plate which I removed with help from members earlier will perform the same function when I re-assemble the spindle.

Other than that gave the pedestal it’s first coat of Paragon primer, by brush, which is quite thick but has a ‘flow’ to it. I’ll have a look tomorrow and see how it dries but I may well give it a week and flat down the first coat before applying a thinned second coat.

Enjoy your weekends😁

CG
 

Attachments

  • 9F166B00-428F-43C0-8120-A55826E8E8EE.jpeg
    9F166B00-428F-43C0-8120-A55826E8E8EE.jpeg
    1.4 MB · Views: 0
  • 84807D51-024C-49A0-8CE6-F1A3BB216EF7.jpeg
    84807D51-024C-49A0-8CE6-F1A3BB216EF7.jpeg
    2.2 MB · Views: 0
  • A078F5A4-D637-4762-8D2E-32799E5E54CE.jpeg
    A078F5A4-D637-4762-8D2E-32799E5E54CE.jpeg
    2.2 MB · Views: 0
Afternoon all,

Just checked how the paragon primer had dried. I’m not 100% with it so I’ve ordered up some PT8 thinners For the next coat.

For a bit of light relief 😄, I‘ve also got a Record No24 fitters vice on the go as well. Was my Dad’s which he carried up from the factory (English Electric, Rugby) in his haversack. I remember it being in the shed, which he built, at the bottom of the garden when I was a kid. It’s got the square meatball so must be mid 60’s at least.

He also gave me his machinists tool chest full of old factory certified micrometers and a beautiful starret LS122 caliper. Apparently as an apprentice he won an award for his work, so he got a ’voucher’ which he could only spend on tools. In those days there was on old toolshop in the High Street, which was long gone by the time I was able to go into town as a youth And that’s where he got the tool chest. Anyway I digress 😀.

Enjoy the remainder of your weekends.

CG
 

Attachments

  • EDBC6AB4-64AC-4695-935B-BD06F1E9A4CA.jpeg
    EDBC6AB4-64AC-4695-935B-BD06F1E9A4CA.jpeg
    2.4 MB · Views: 0
  • FAE443E8-DA63-4050-944F-B96D569A9B13.jpeg
    FAE443E8-DA63-4050-944F-B96D569A9B13.jpeg
    1.8 MB · Views: 0
Evening All,

So, very shortly I’ll be reassembling the spindle on the star. Mine is a solid one 15mm diameter.

Reading on another thread, there was a comprehensive guide to installing the bearings point 2 of which said:-

‘Slide Bearing (136) with the wider face of the internal race facing down, over the shaft to meet the spacer’

So attached are some pics of both sides of the new Hoffmann bearing.

So in light of the above guidance what would you say was the side with the wider face of the internal race?

There’s a reason for the question in that viewing the bearings from the side the inner race stands proud of the outer race on the side of the bearing where the ‘shield/cage’ doesn't fully cover the inner/outer race gap. Not only that but there is enough play to move the inner race even more proud and thus achieve the ‘pre load’ which you can feel.

One more thing is that the spacer has a centre step, see pic, which when offered to the bearing on the side shown in the second pic achieves the preload and allows for pressing the bearing into the housing with a uniform pressure on the outer race.

Evening All,

CG

PS is there a way to ‘embed’ pics in the text to get a better relationship between text and pic?
 

Attachments

  • 9910C7A7-921D-4A4D-9D22-E6AE43F492B5.jpeg
    9910C7A7-921D-4A4D-9D22-E6AE43F492B5.jpeg
    1.5 MB · Views: 0
  • 2640B43C-1B71-42E6-B8F8-9D1B45C411E2.jpeg
    2640B43C-1B71-42E6-B8F8-9D1B45C411E2.jpeg
    1.6 MB · Views: 0
  • A561B10C-18AF-43DE-9DCA-E1A6553A26FE.jpeg
    A561B10C-18AF-43DE-9DCA-E1A6553A26FE.jpeg
    1.8 MB · Views: 0
  • F12B50F1-CF5A-48CB-BA4B-9BA25D416F4C.jpeg
    F12B50F1-CF5A-48CB-BA4B-9BA25D416F4C.jpeg
    1.5 MB · Views: 0
A mention that offsite hosting for picture posting is great as long as the host site doesn't go belly up or the poster doesn't let their account go. When that happens the pictures in the threads are gone rendering them nearly useless. Better for posterity if the images are loaded into the thread on this site. Your choice though.

Pete
 

Latest posts

Back
Top