xy mosian
Established Member
Dibs, I know you're in the Bradford area. I have found that A.C. Sisslings, off Manchester Road have had a reasonable range and helpful staff.
xy
xy


Steve Maskery":3iejxox0 said:Dibs
A 1mm gap is too small.
How are you going to finish this? Paint? If so,
1. Primer
2 Undercoat (x2?)
3 Gloss (x2?)
Lets say 4 coats in all. On each surface. Frame, casement. other side of casement, other side of frame. 16 coats of paint. That's a lot more than 1 mm. 1mm clearance is good, I reckon, and I'm no expert in this, having done the job just a couple of times, but I bet 3mm is nearer the mark.
Cheers
Steve
 , these windows may take on moisture and swell slightly once they're installed. A 1mm gap would not be enough, in this instance.
OPJ":1begm6am said:I'd probably go for a 2p coin, which is about 2mm thickness. As you haven't painted it yet, don't make it so the coin is a tight fit. Chances are that, having spent a certain amount of time in your workshop (assuming it's dry... :wink
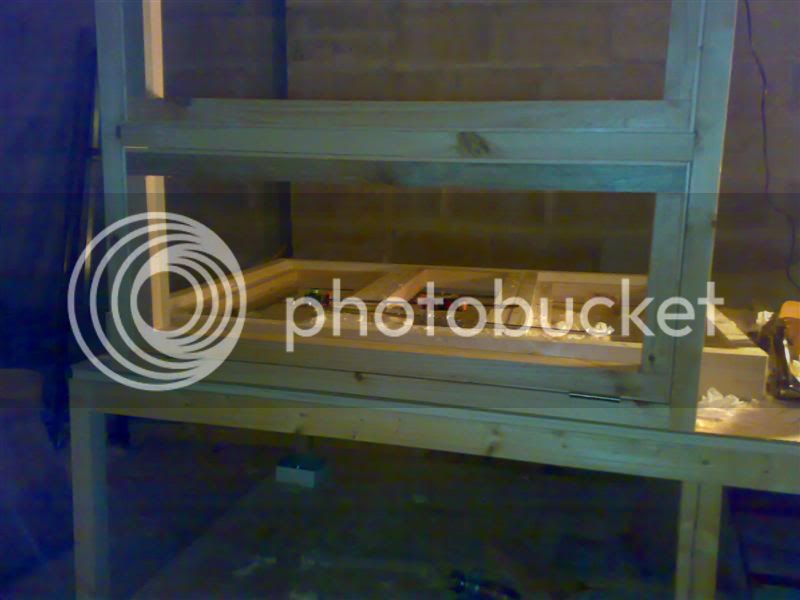


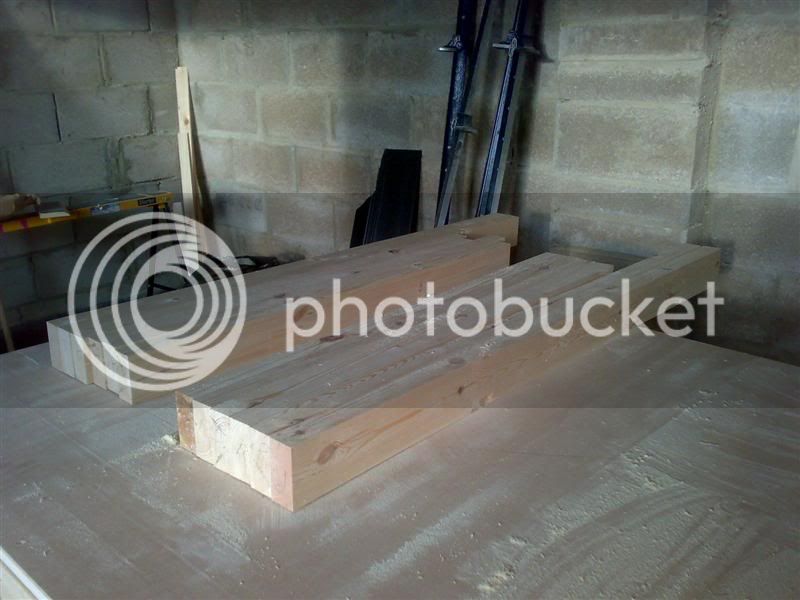
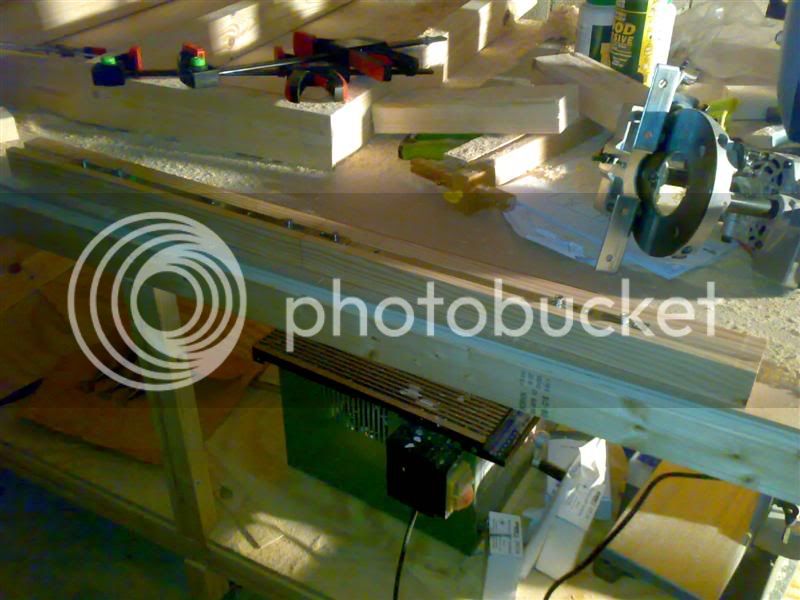
Steve Maskery":292kbvxl said:Here is one I prepared earlier.
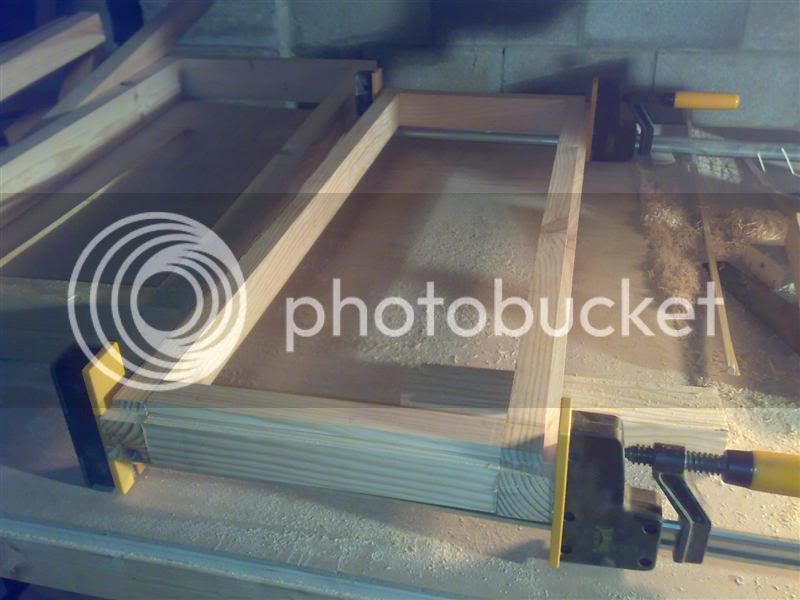
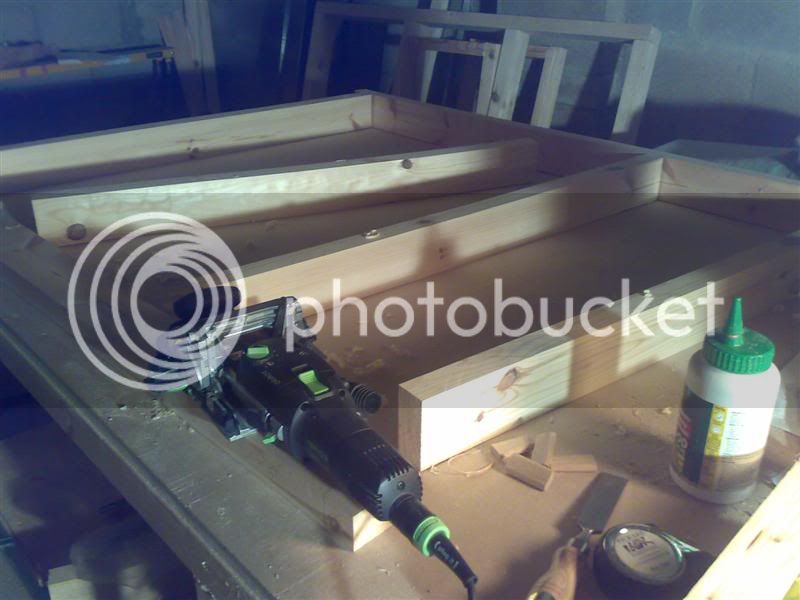
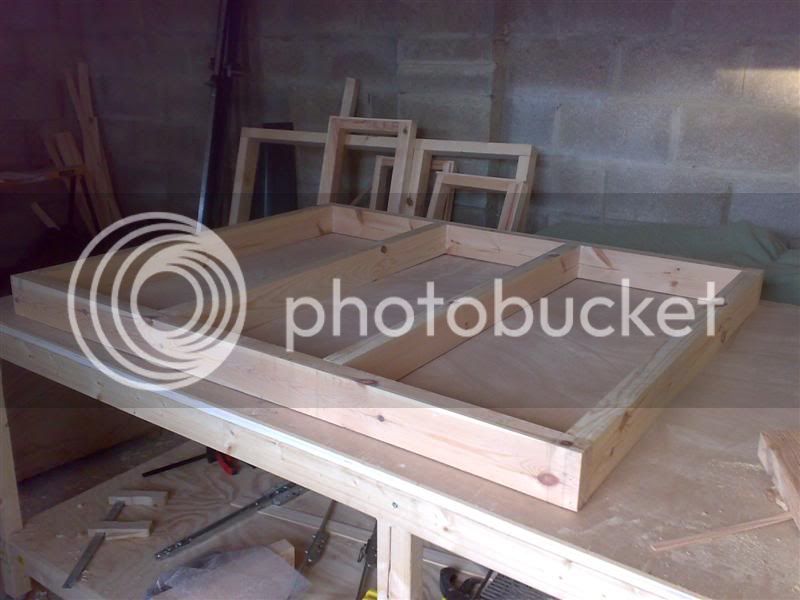
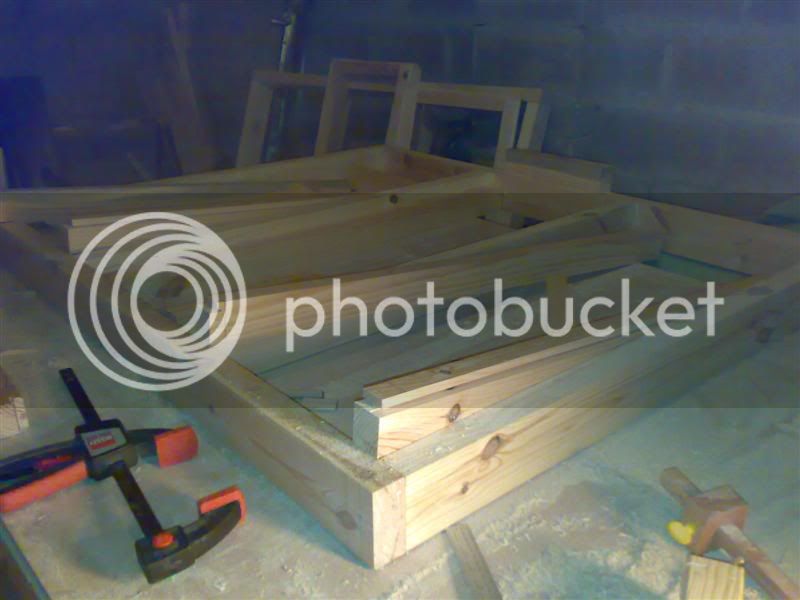
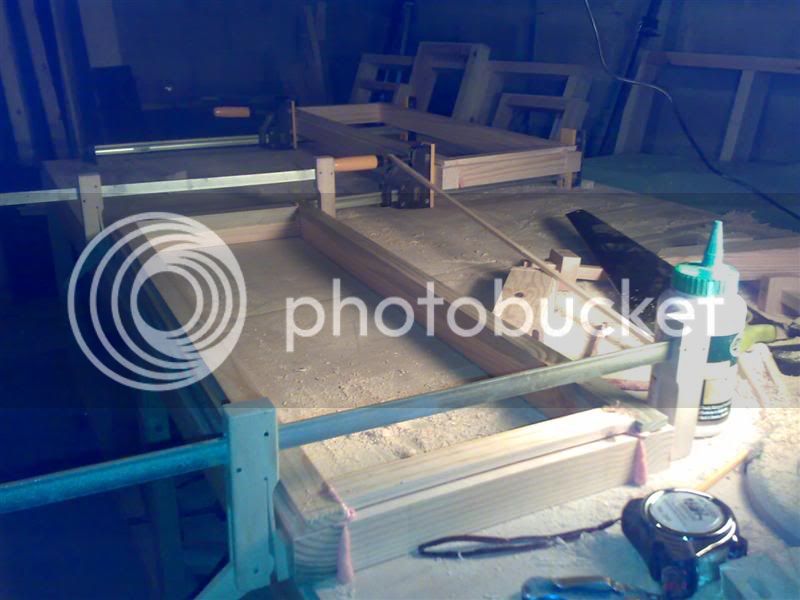
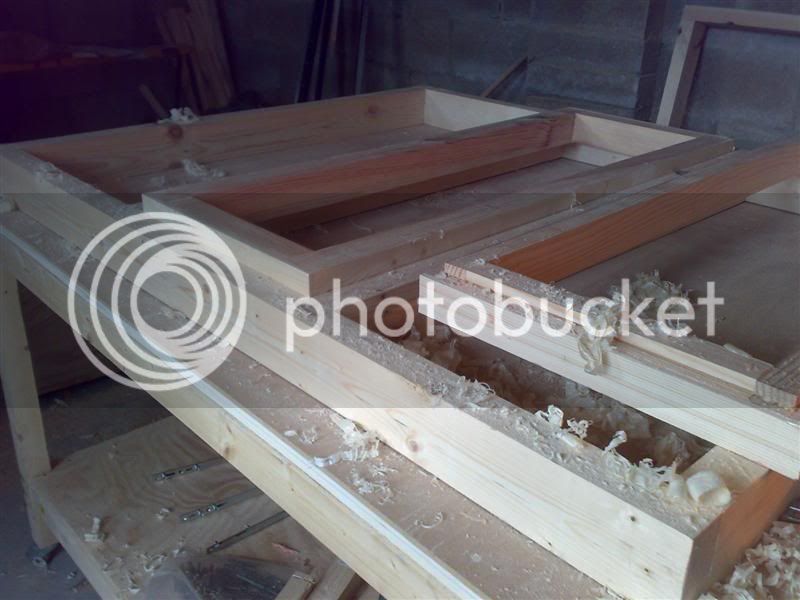
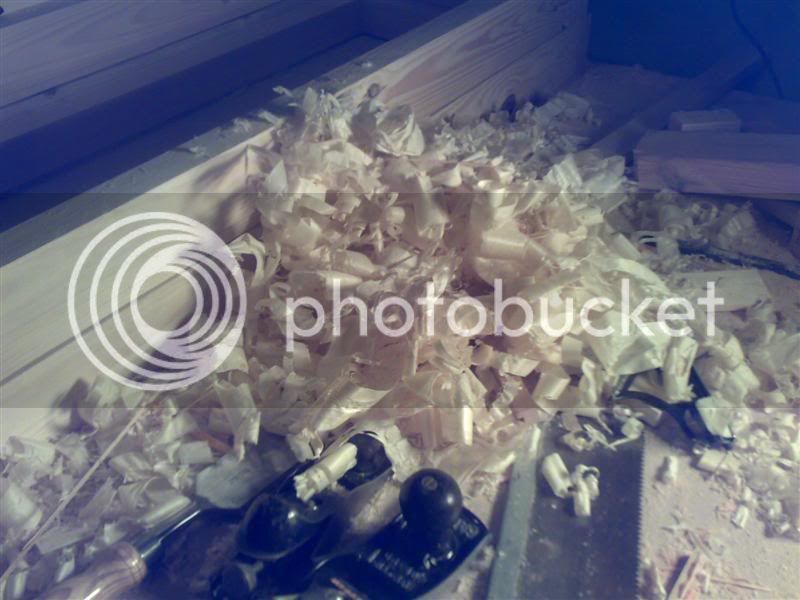
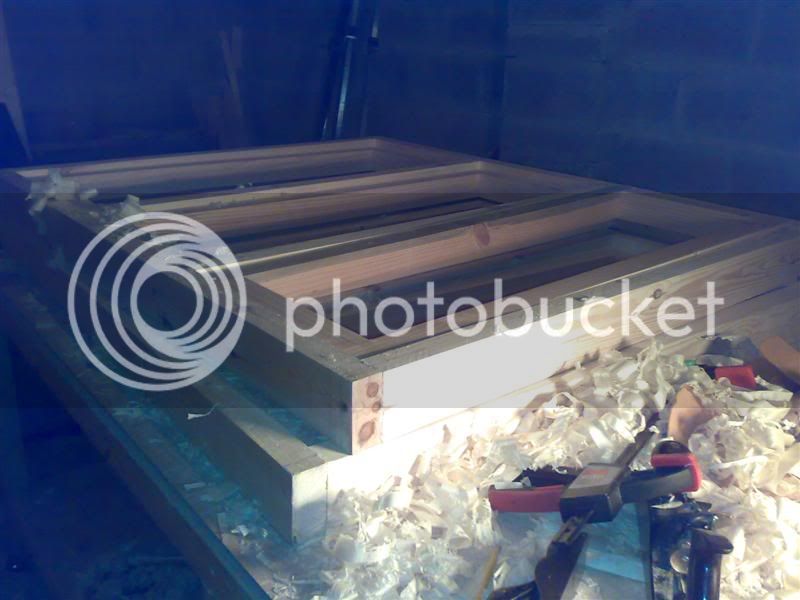
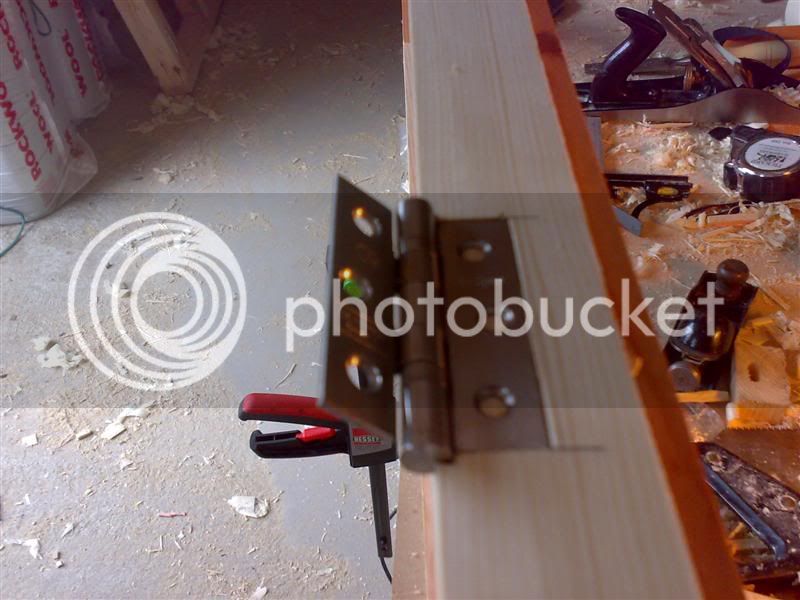
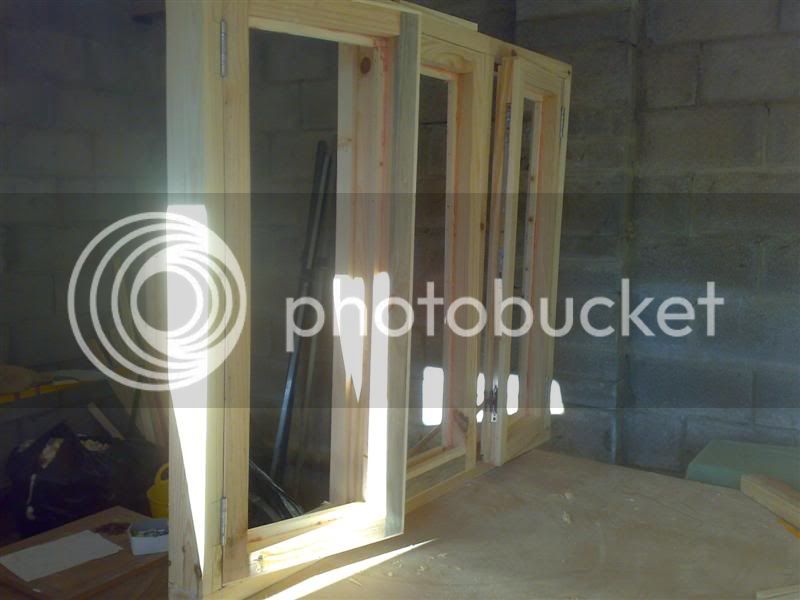
Although I do have a spindle moulder (up for sale - any takers?) the tooling I have is more suited to cabinetry than joinery. I decided to make life easy for myself by cheating. All the rebates are applied after the frames are glued up, so the joinery is straightforward M&T and comb joints, with no fannying about with long and short shoulders.
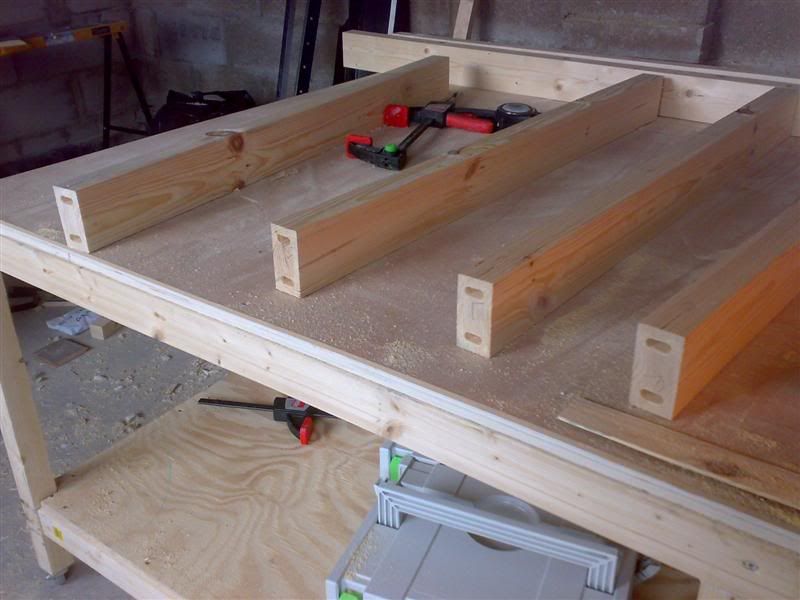
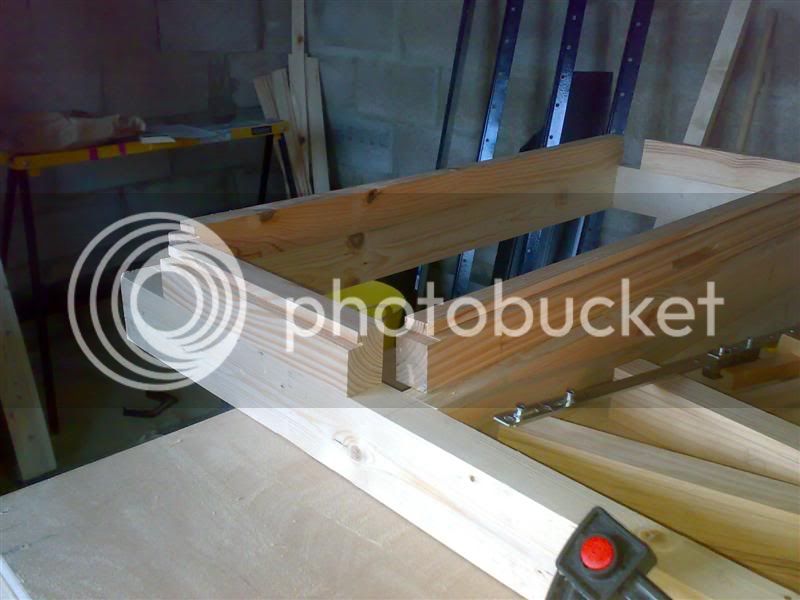
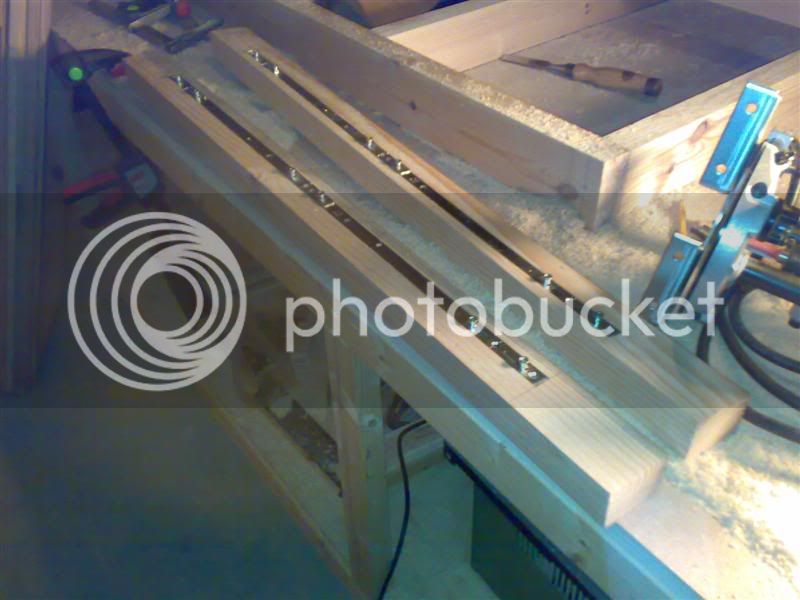
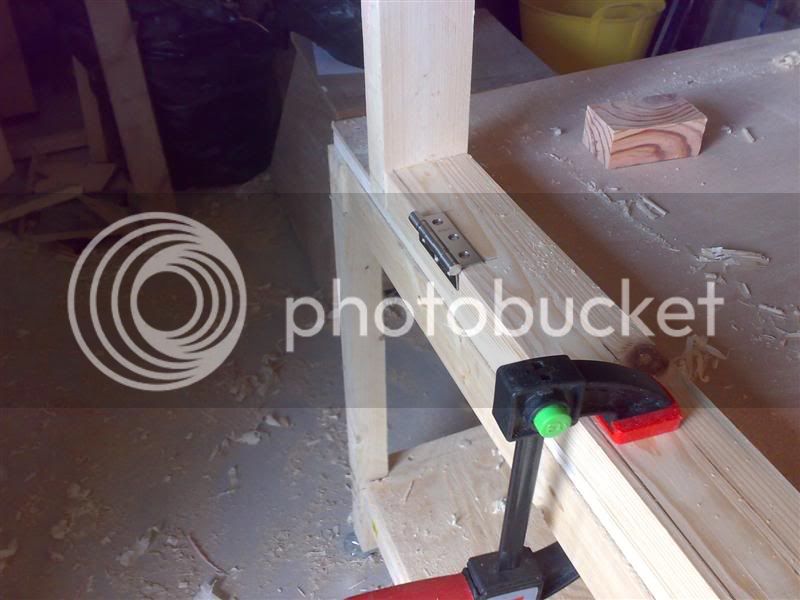
So this is the joint between muntin and transom:

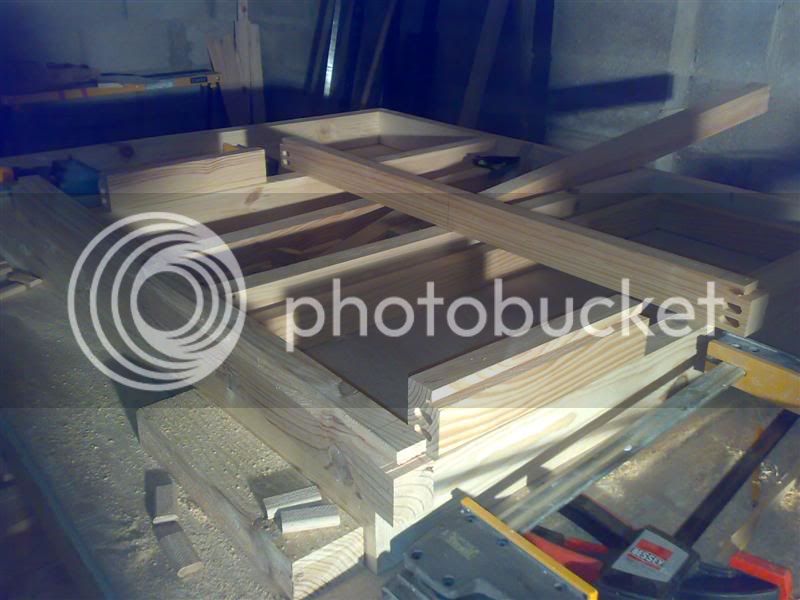
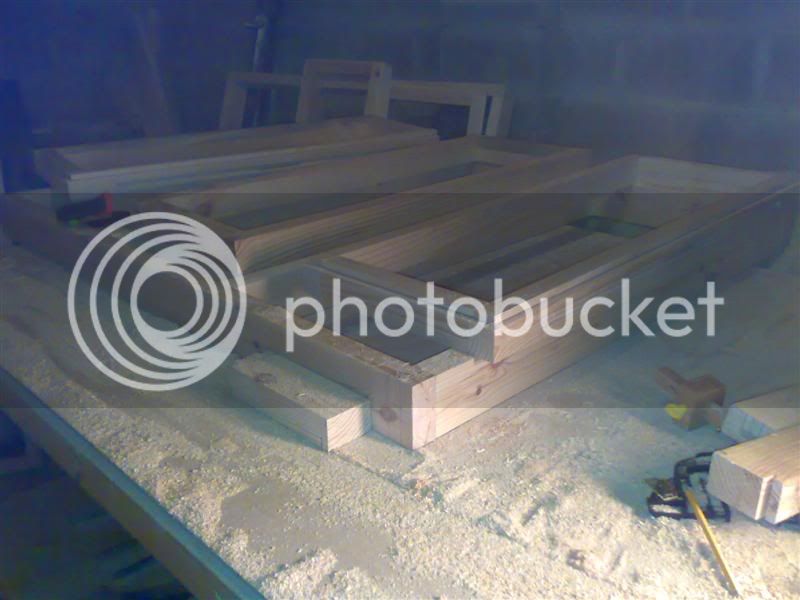
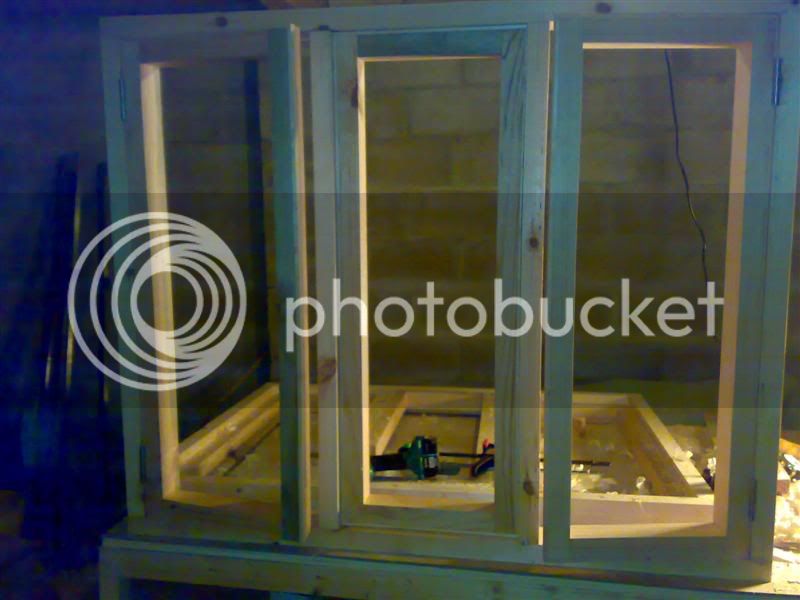
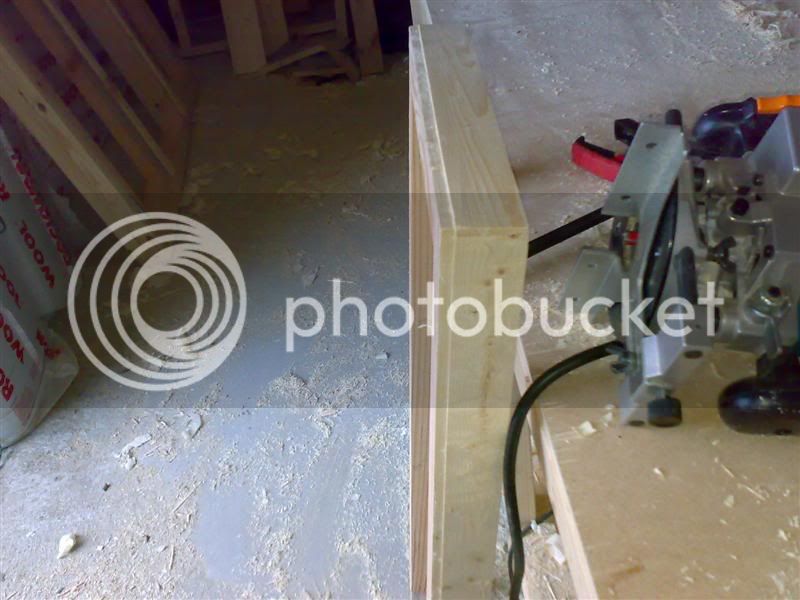
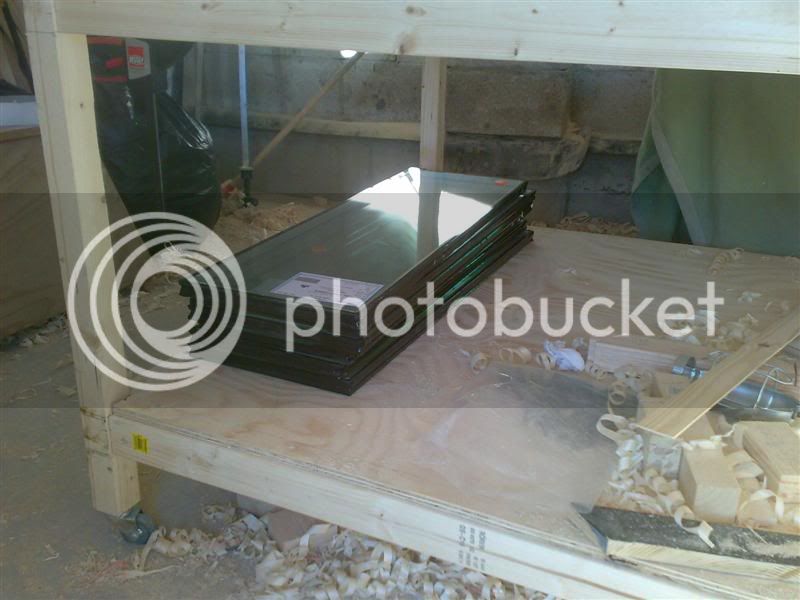
For 4-16-4 units, the casements need to be deeper than on days of yore, so I made the joinery correspondingly chunky:

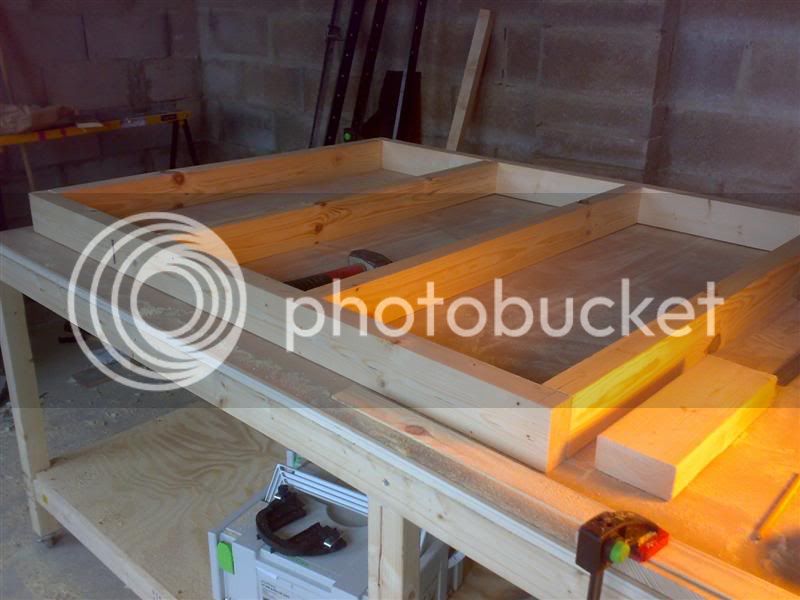
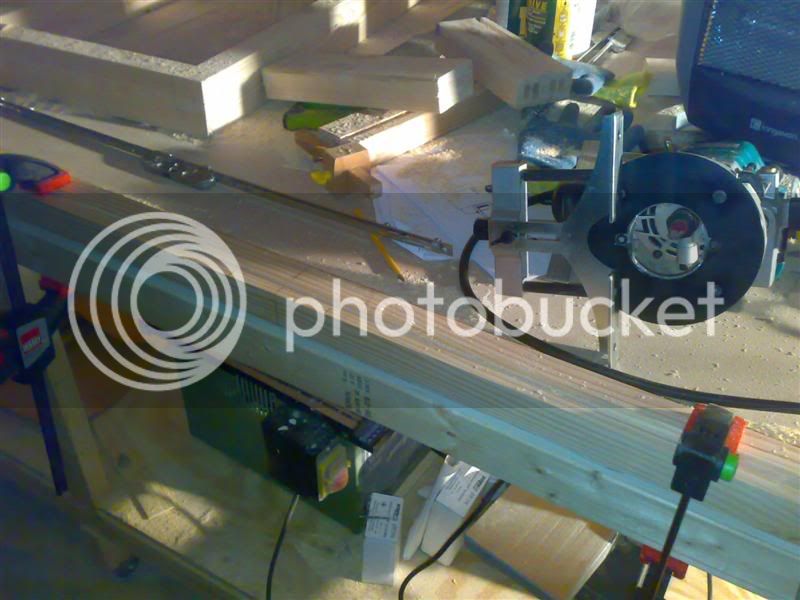
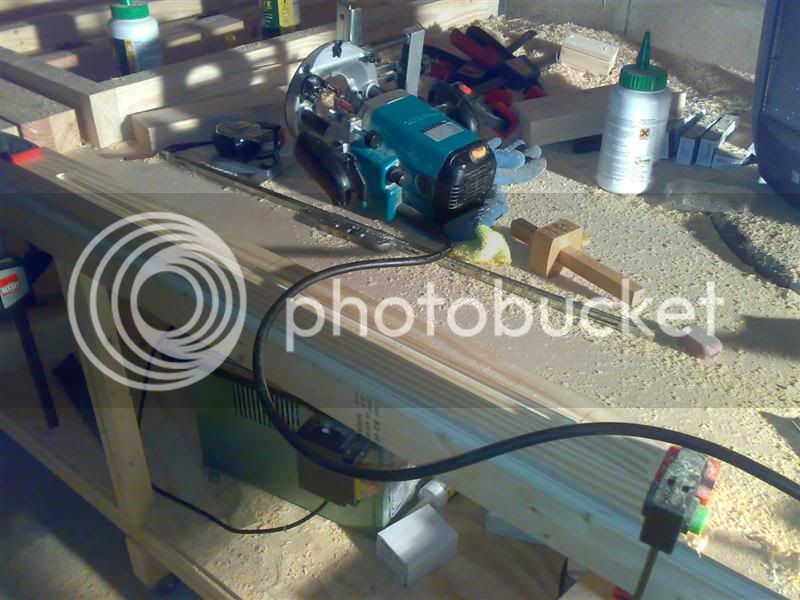
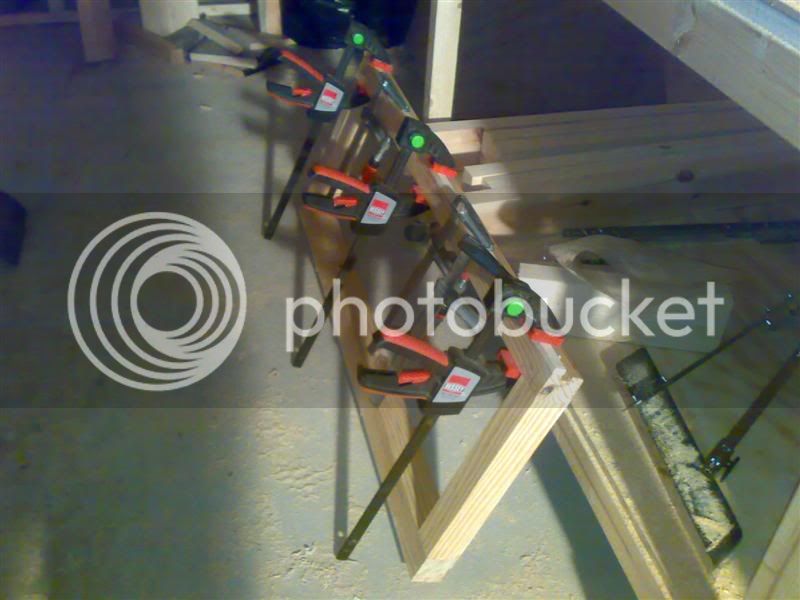
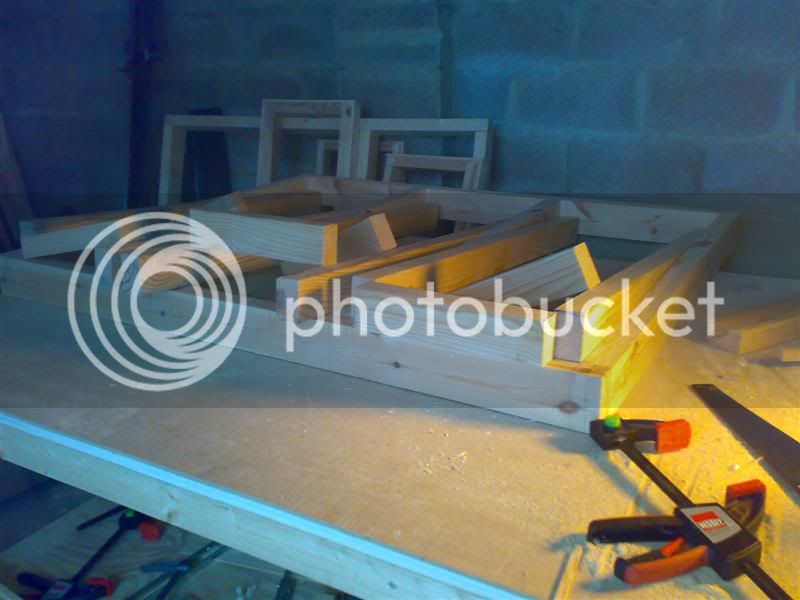
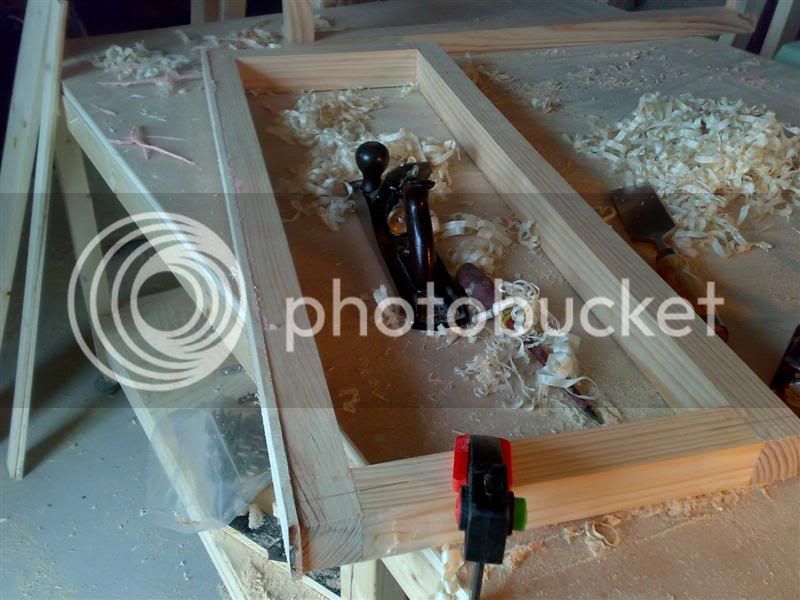
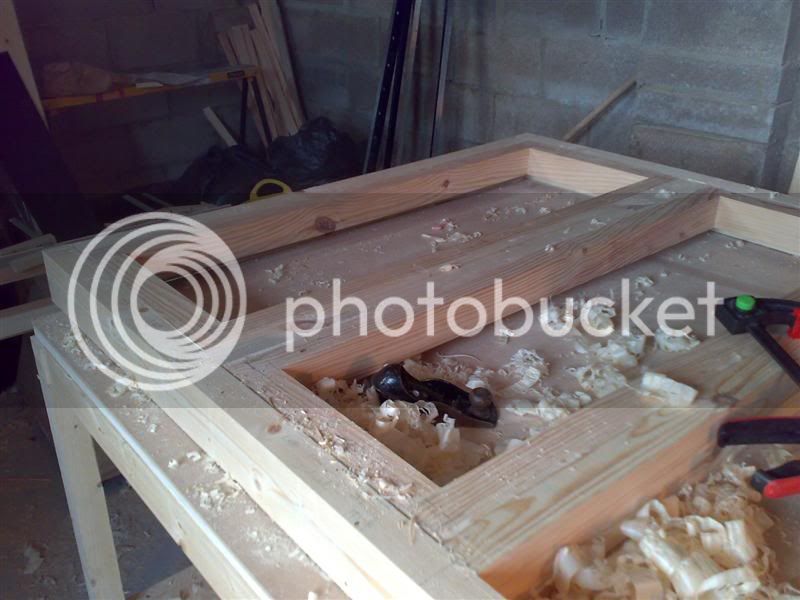
As I say, the rebates were applied afterwards:

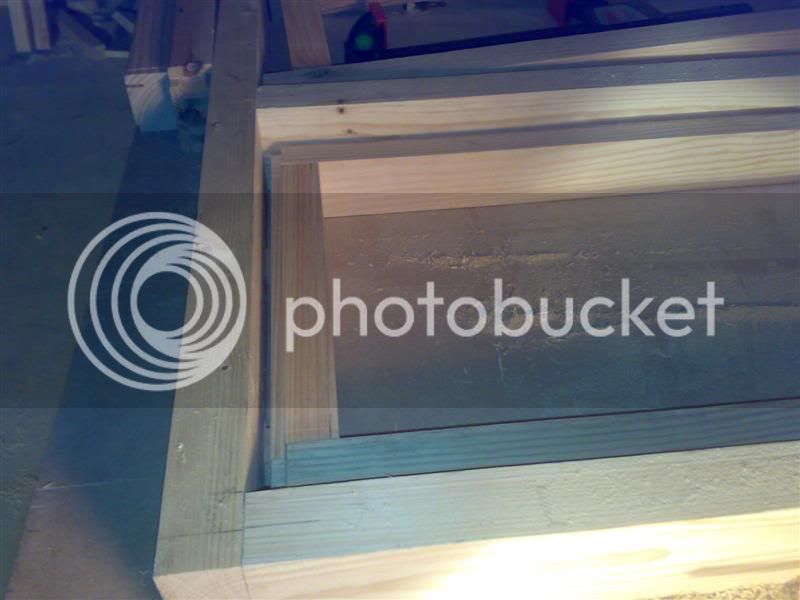
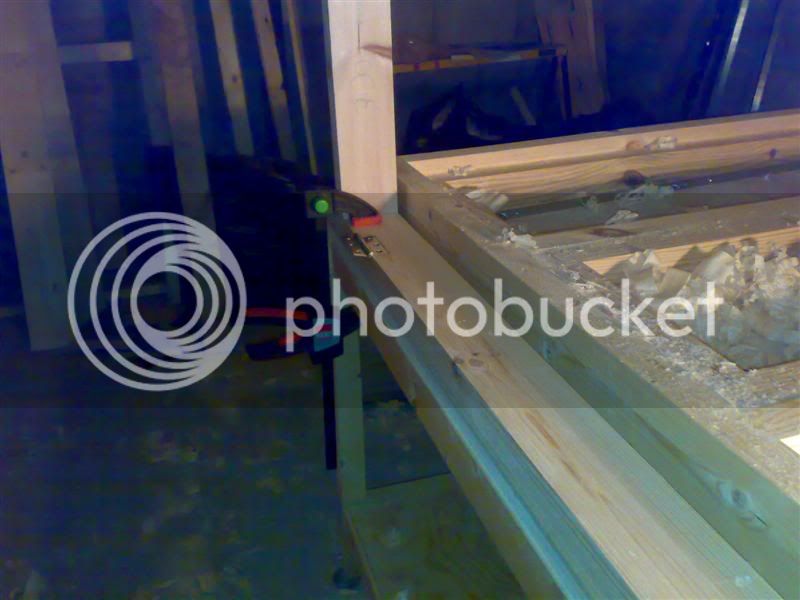
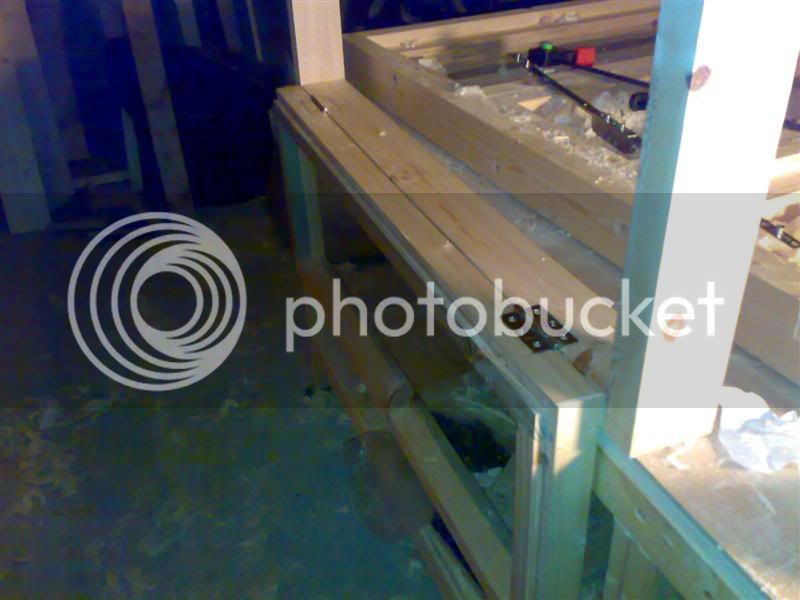
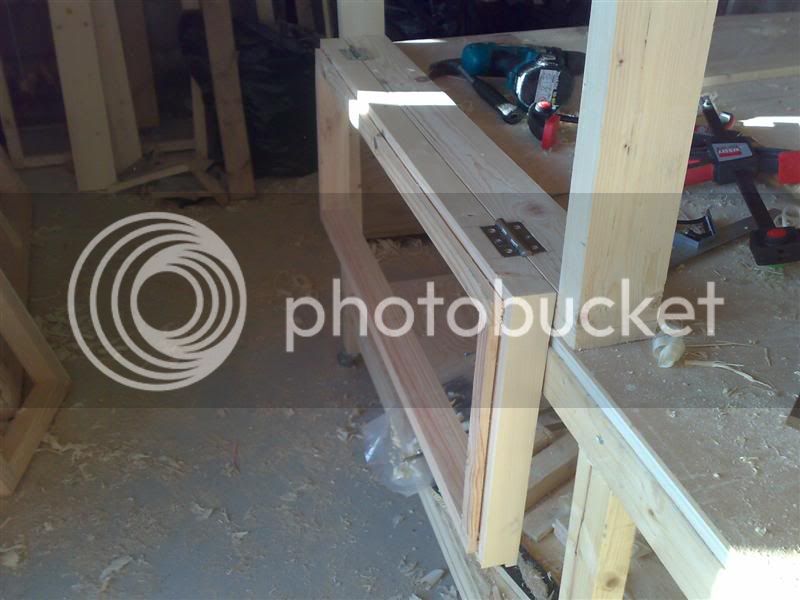
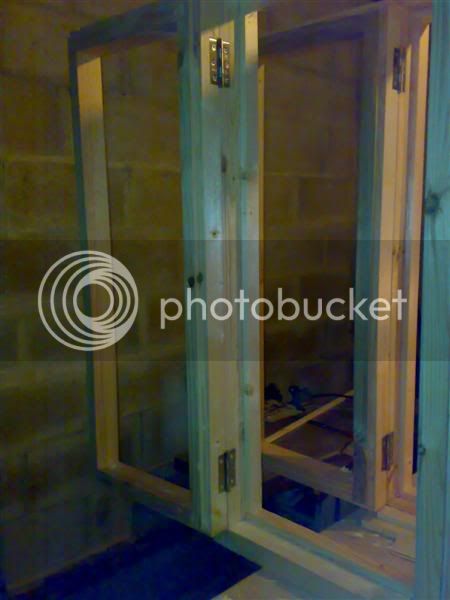
This is where window frame and door jamb meet:

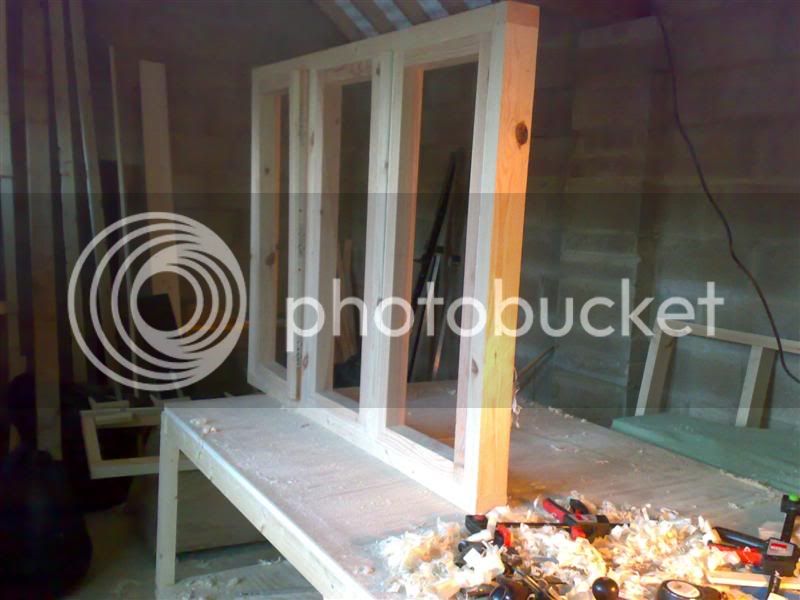
The external glazing bead allows ventilation and drainage all round the sealed unit:

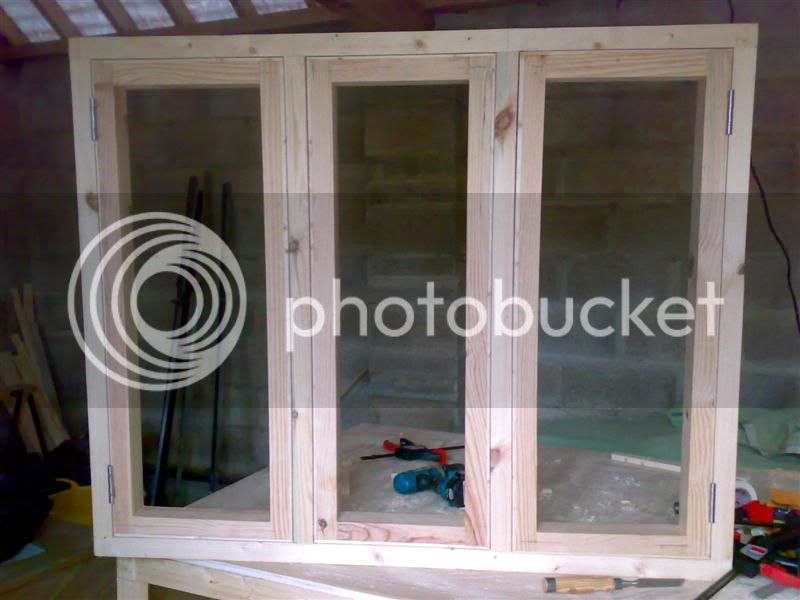
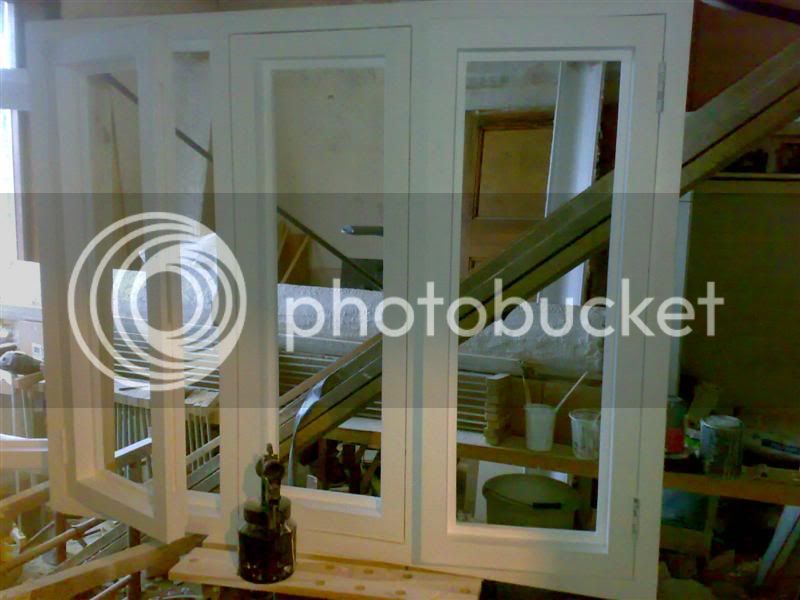
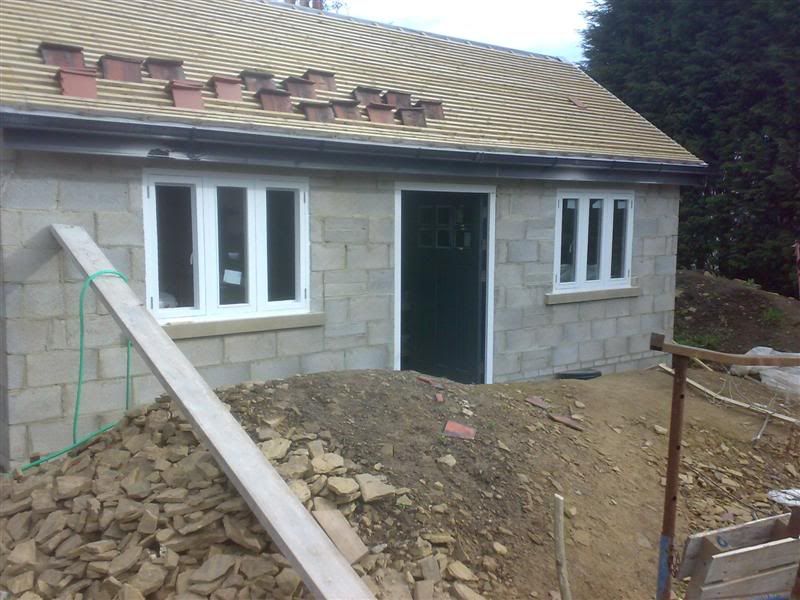
This is what they look like from inside...

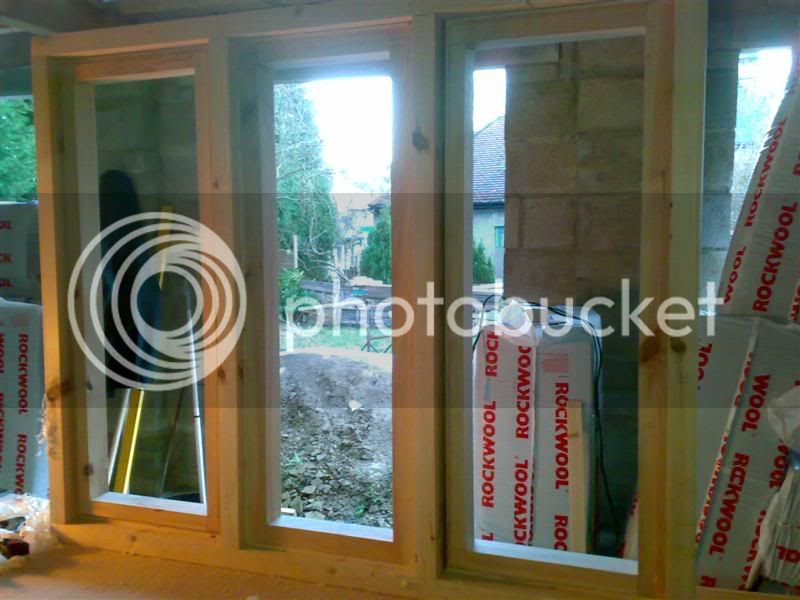
...and from outside.

This was just last year and now I have to say goodbye to it all
But compare them to the workshop window on the left and the kitchen window on the right, where the glass is fitted directly into the frame below with opening casements above.
HTH
Steve
Enter your email address to join: