Dibs-h
Established Member
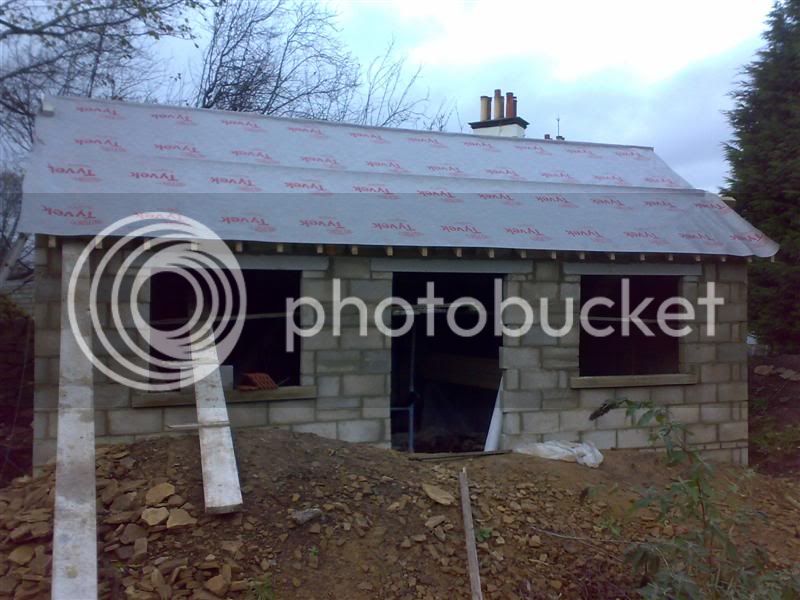
Question\Advice: Originally there was to be a screed floor (over a DPM which will be lapped to the DPC that pokes out inside) with a single row of blocks butted upto the outer leaf of blockwork, inbetween the piers. A 4"x2" baseplate was to be screwed to this and then the inner stud wall built upwards. As these blocks would have been laid first and then the concrete screed - the blocks wouldn't have gone anywhere and the tendency for ethe stud wall would have been resisted by the screed (very well).
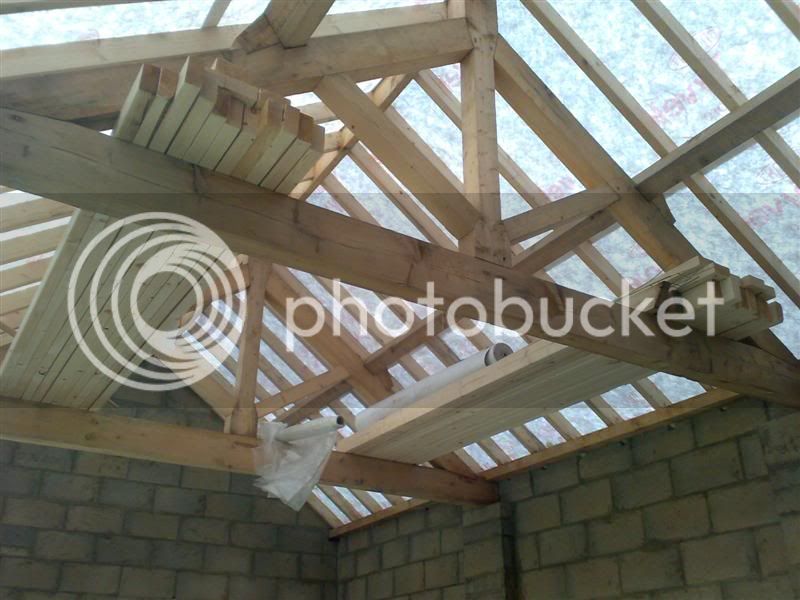
Now - there's not going to be any screed. So Plan B is to lay the DPM and lao it to the DPC (as original plan), lay 4"x4" pressure treated (or normal) timber where the blocks would have gone down - between the piers and up against the outer blockwork. Lay 50mm kingspan down on teh DPM and then 3"x2" bearers on top, screwed to the 4"x4" locking everything together. Then building the stud work off the 4"x4" baseplates in essence. Now since the 4"x4" are sat on the DPM which is continious - I feel there won't be any issue with there being no ventilation, etc.
Good idea or bad idea?
I can't really use the blocks as the even with mortar there is no screed tying them togther anymore. May well have to make a decision fairly soon.
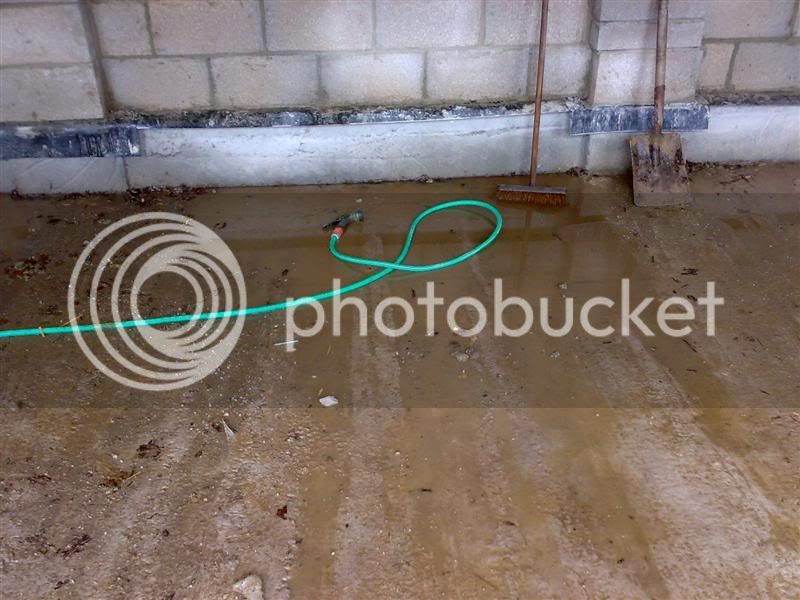
Also - in a few places could do with leveling the slab - was thinking of a sand & cemet mix (just so there are no voids below the insulation), sharp sand with cement or building sand with cement? Or not matter? (I have some building sand left over). In either case - what sort of mix\ratio?
Thanks.
Now - there's not going to be any screed. So Plan B is to lay the DPM and lao it to the DPC (as original plan), lay 4"x4" pressure treated (or normal) timber where the blocks would have gone down - between the piers and up against the outer blockwork. Lay 50mm kingspan down on teh DPM and then 3"x2" bearers on top, screwed to the 4"x4" locking everything together. Then building the stud work off the 4"x4" baseplates in essence. Now since the 4"x4" are sat on the DPM which is continious - I feel there won't be any issue with there being no ventilation, etc.
Good idea or bad idea?
I can't really use the blocks as the even with mortar there is no screed tying them togther anymore. May well have to make a decision fairly soon.
Also - in a few places could do with leveling the slab - was thinking of a sand & cemet mix (just so there are no voids below the insulation), sharp sand with cement or building sand with cement? Or not matter? (I have some building sand left over). In either case - what sort of mix\ratio?
Thanks.
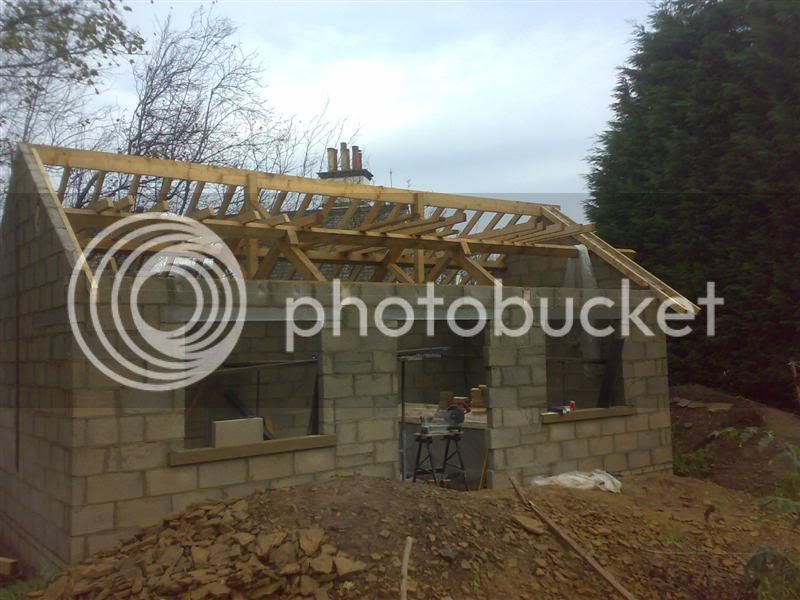
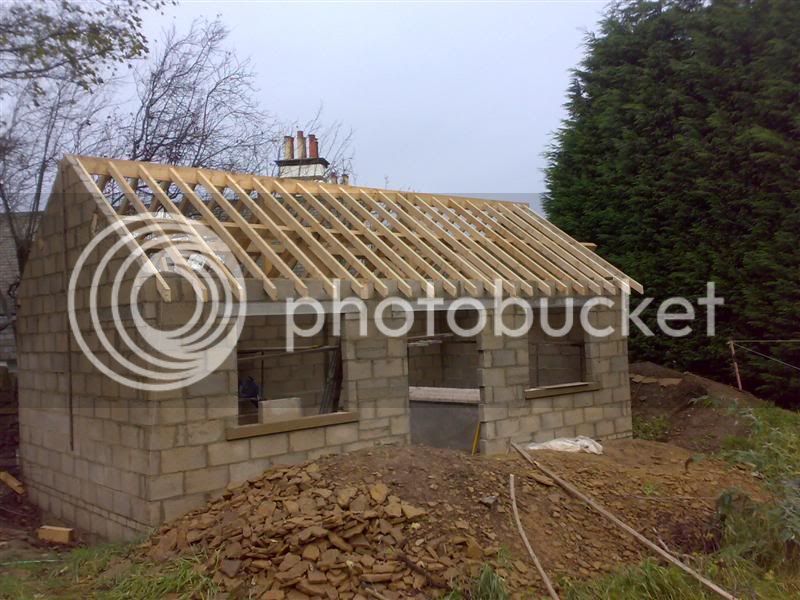
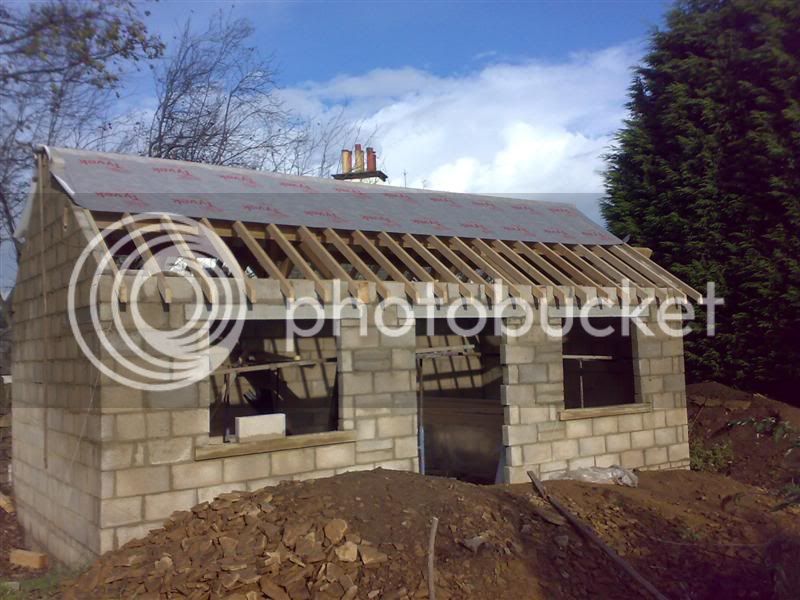
") - bet you're looking forward to the set up/fit out phase , thats always my favourite bit
- bet you're looking forward to the set up/fit out phase , thats always my favourite bit