


Paul Chapman
Established Member
I have the Veritas twin-screw vice and the Veritas quick-release sliding tail vice, both of which I retro-fitted to my bench

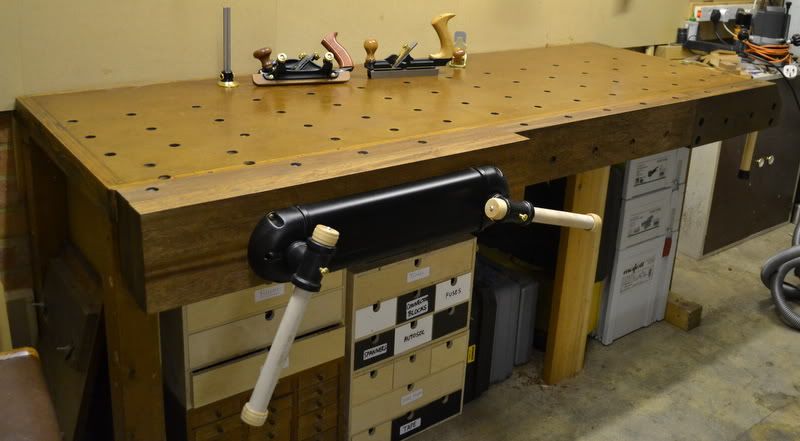
While the twin-screw vice is good, for a tail vice I would fit the quick-release sliding tail vice. I think it is probably the best tail vice available - better even than the Maguire and Benchcrafted wagon vices. It's expensive, but then the best usually is........
I did a write-up here of how I fitted them http://www.woodworkuk.co.uk/forum/viewt ... f=9&t=6113
Cheers :wink:
Paul


