


Mekkemikkel
Established Member
My first real wood project in the new workshop was a changing table for our latest offspring.
I have some goat willow from a tree that I chopped down in my parents garden, and wanted to see how that worked out.
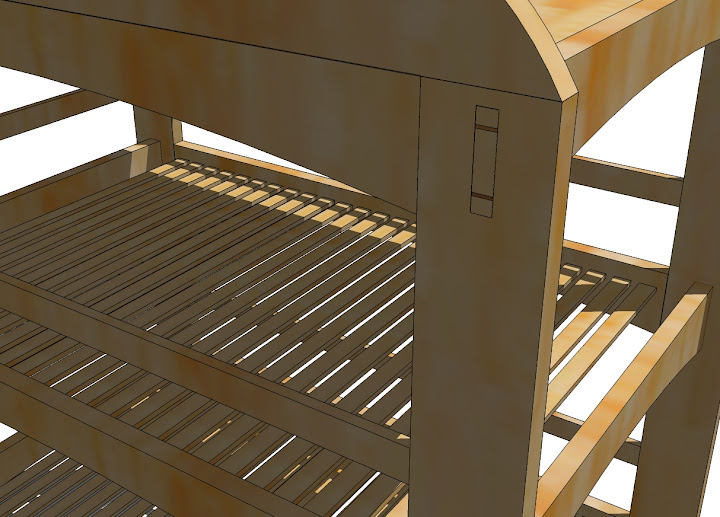
I also wanted to practice working with hand tools and incorporated lots of m&t joints and through wedged tenons on the short rails.
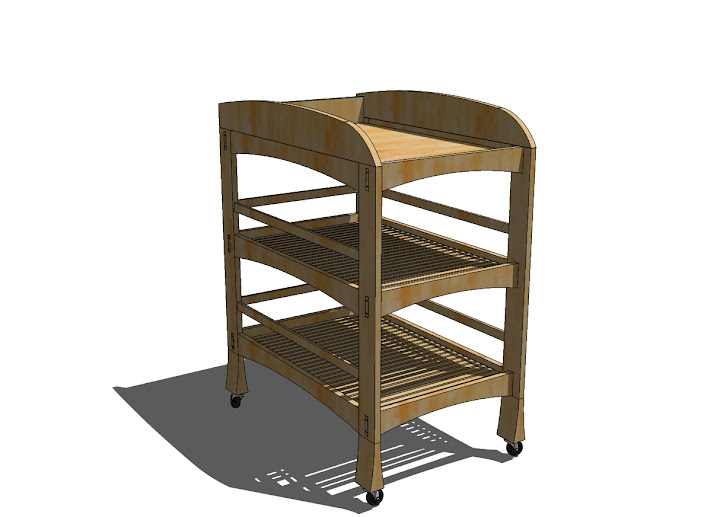
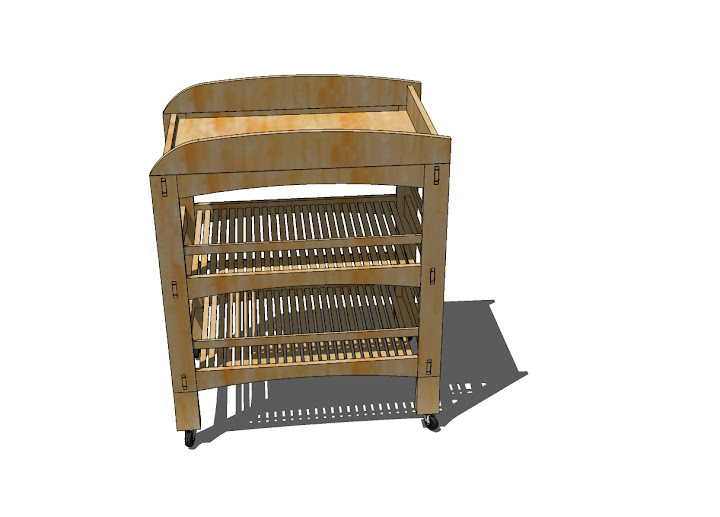
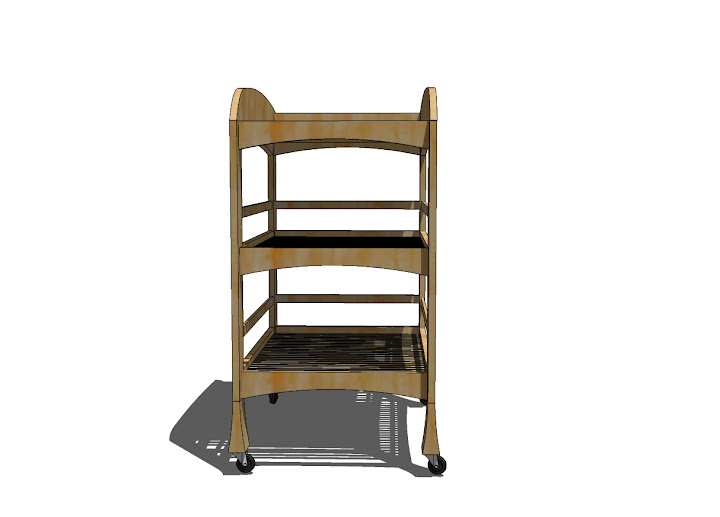
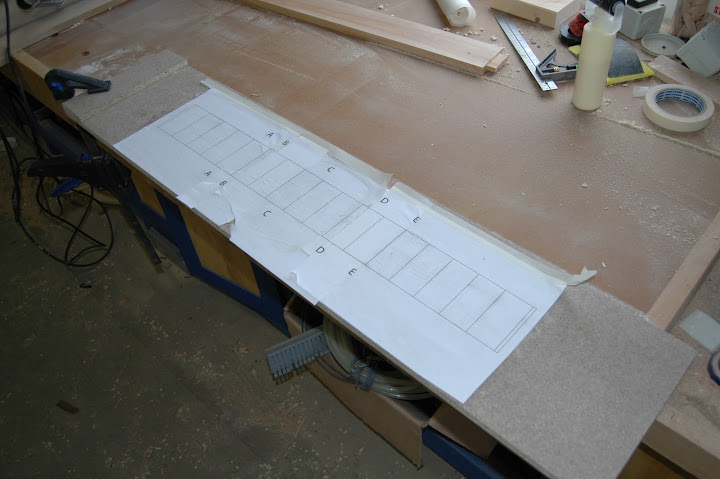
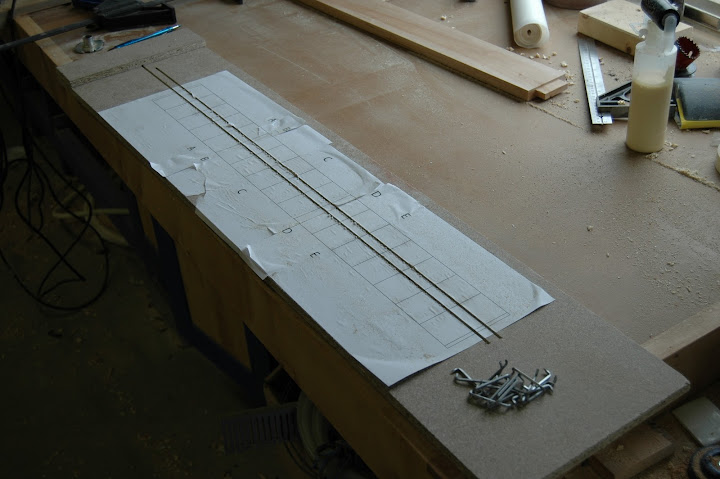
I started with some designing in sketchup, and this is the final design approved by the customer:
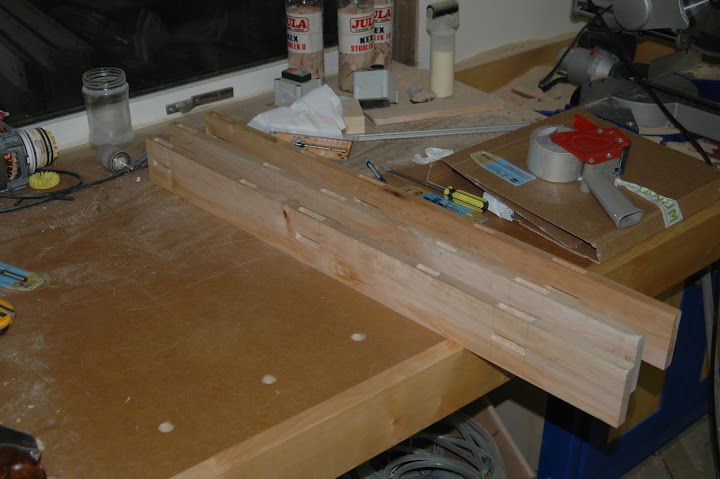
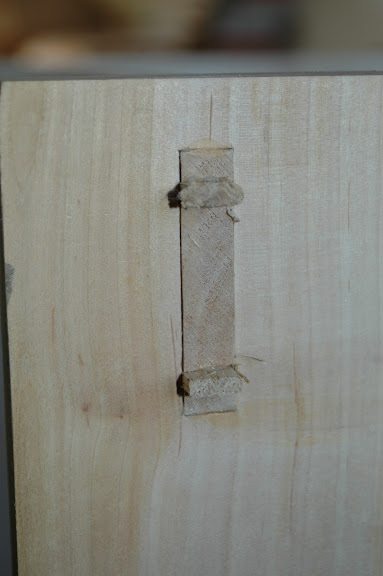
Here are the hand cut mortises in three of the stiles done. I found that goat willow is brittle and not the easiest wood to work with.
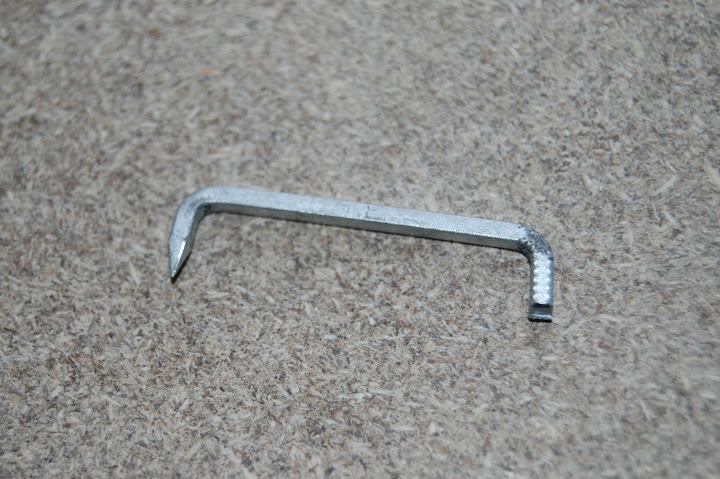
I drilled a hole in each leg, and epoxyed in a nut that will anchor the wheels.
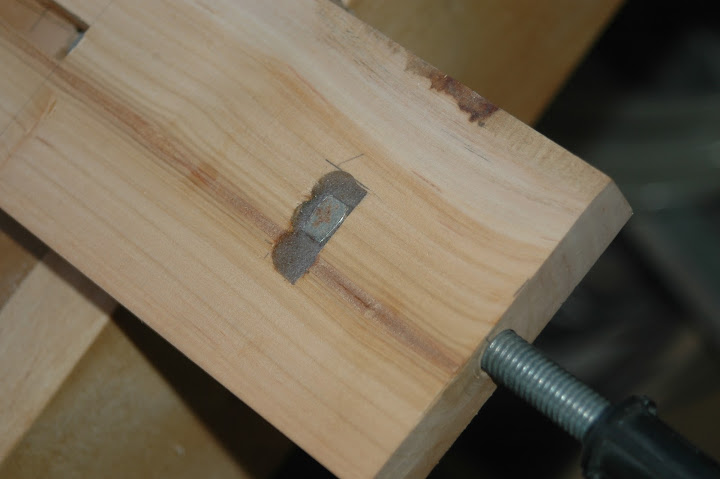
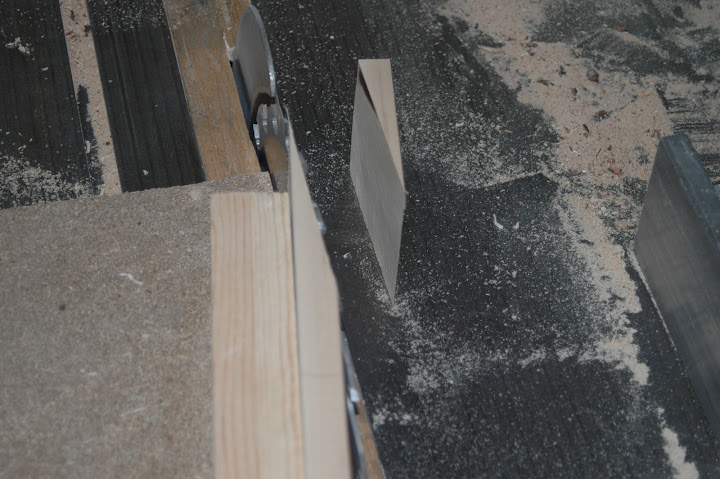
The nuts will be hidden behind the tapered feet. I made a simple jig to make the feet on the table saw.
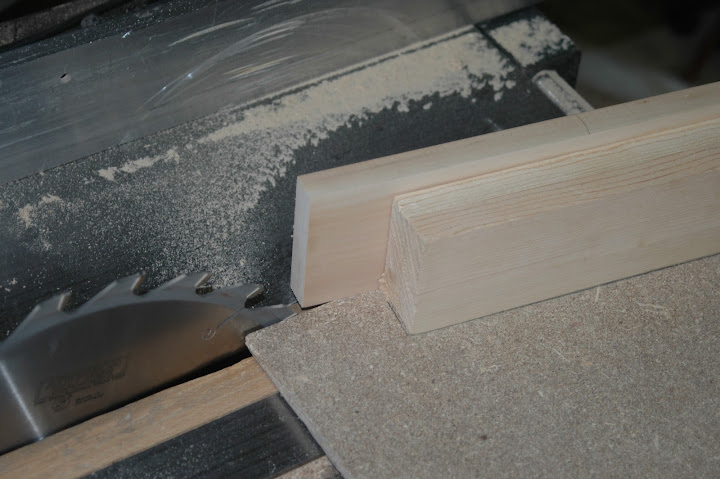
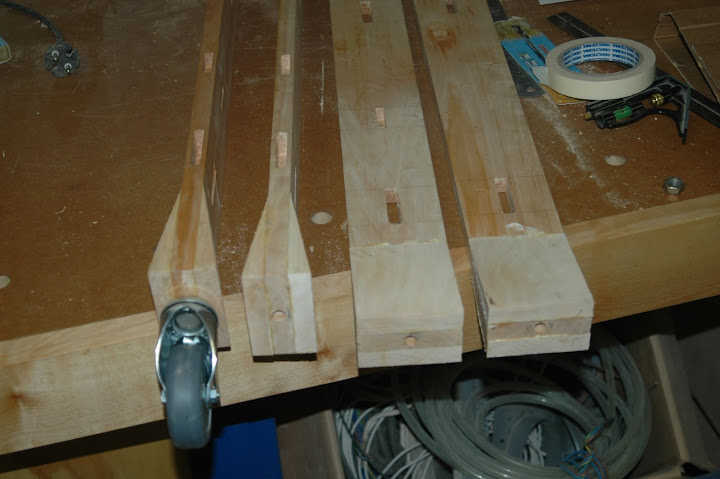
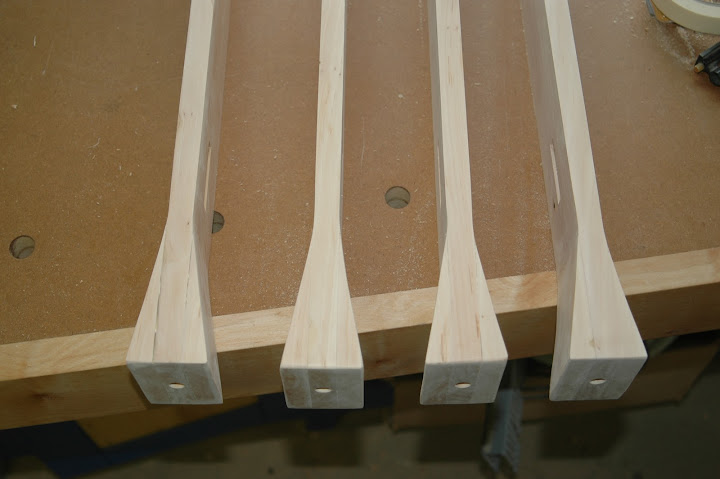
I glued the feet to each leg, and gave them a round of sanding.
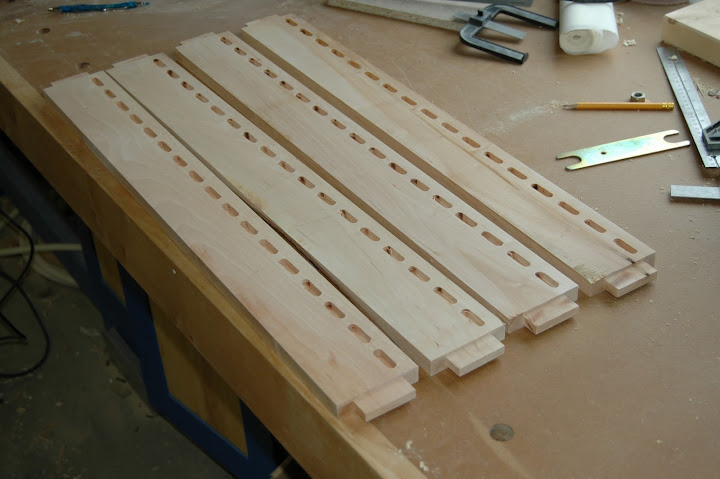
Next up I made all the tenons for the rails on the routertable.
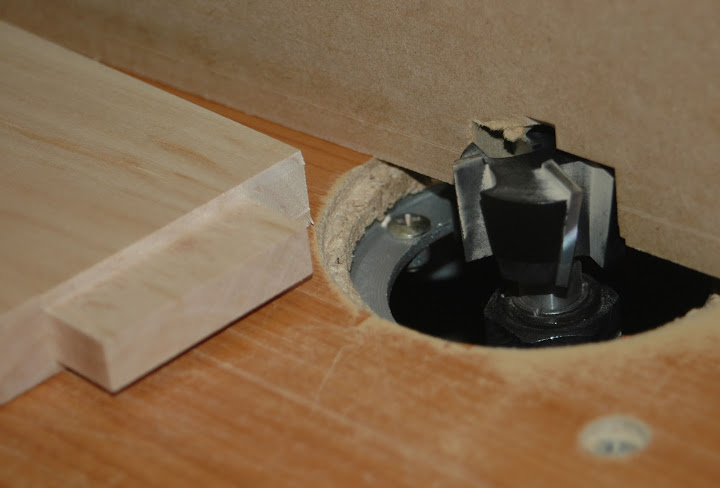
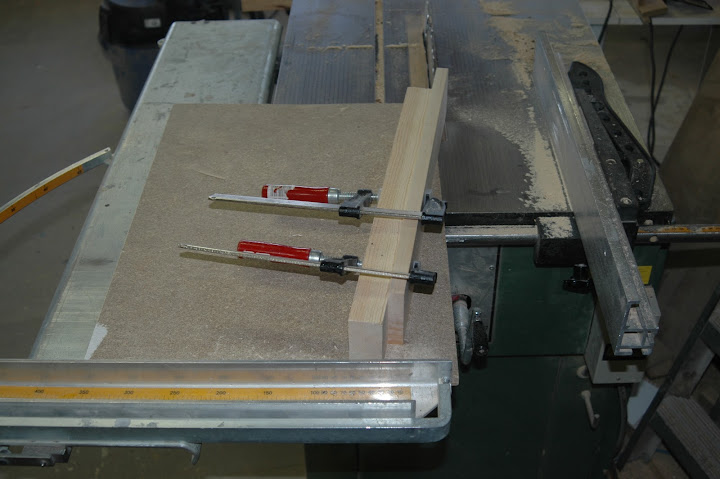
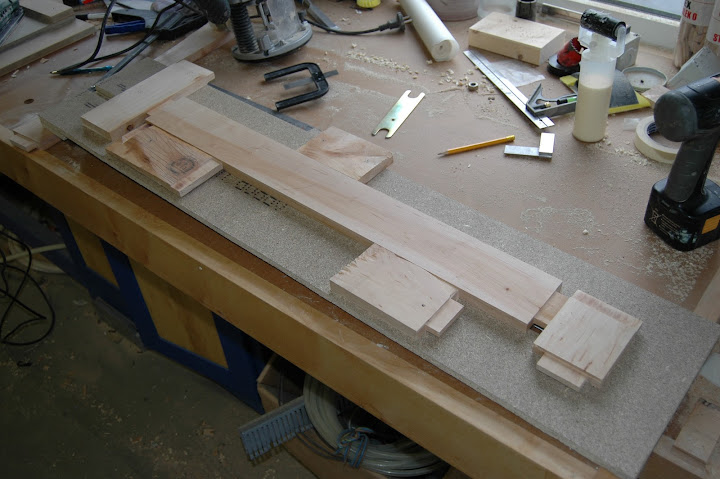
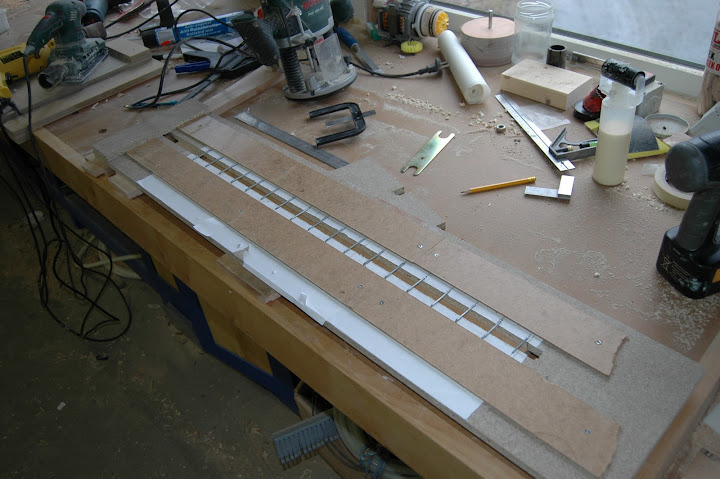
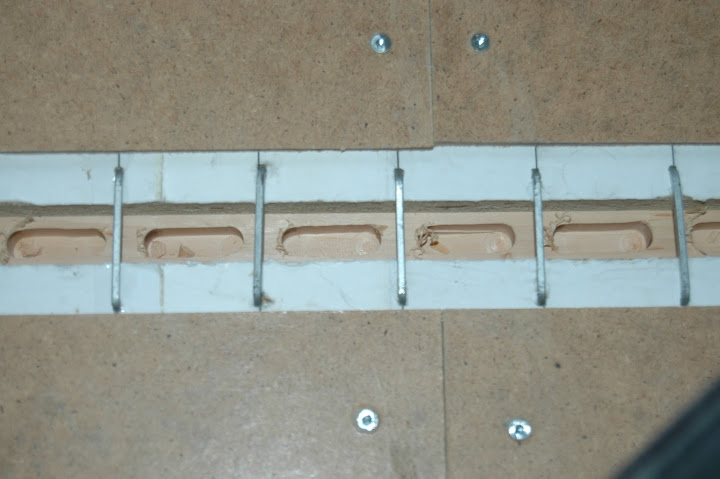
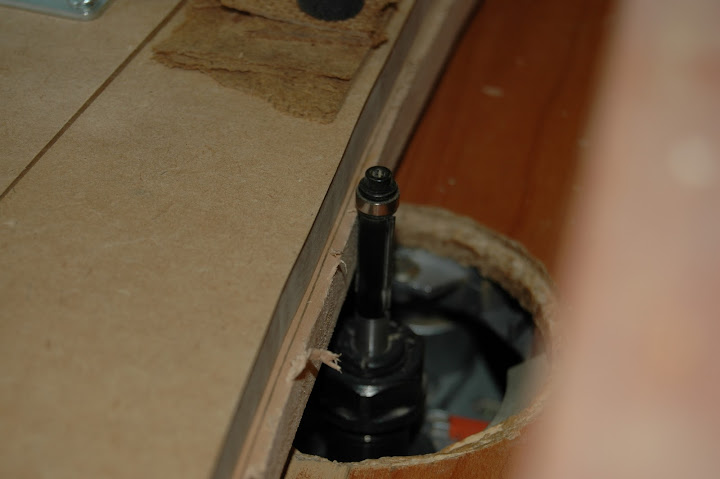
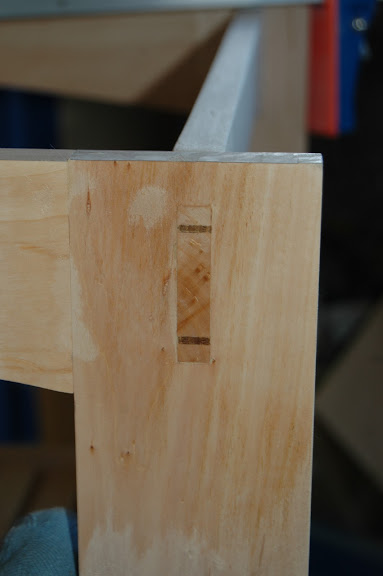
There are two shelves with slats under the table and I had to find a way to route the mortises for these. After hand cutting about 40 mortises in the legs, I couldn't be bothered hand cutting 72 more, so I made this jig :

Something moved a bit while routing, but the slight mistakes will be hidden by the tenon shoulders.
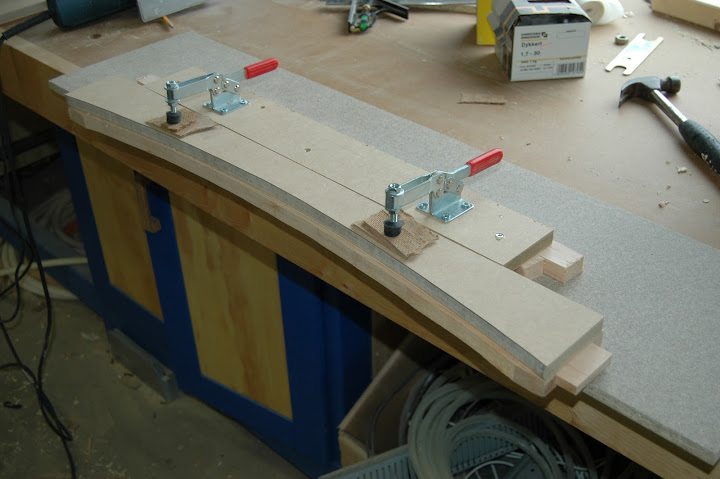
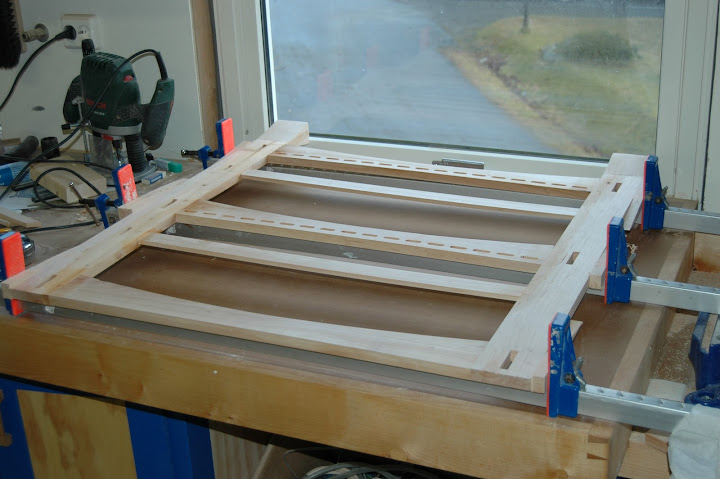
Then I used the router table to copy the curves on each rail
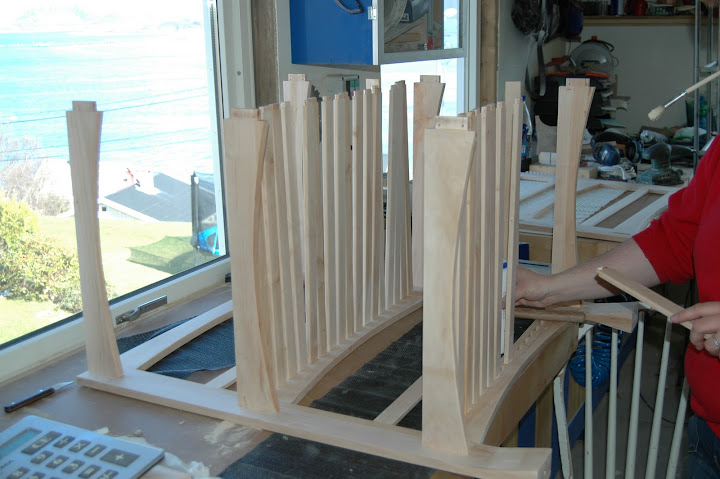
Glue up of one side frame
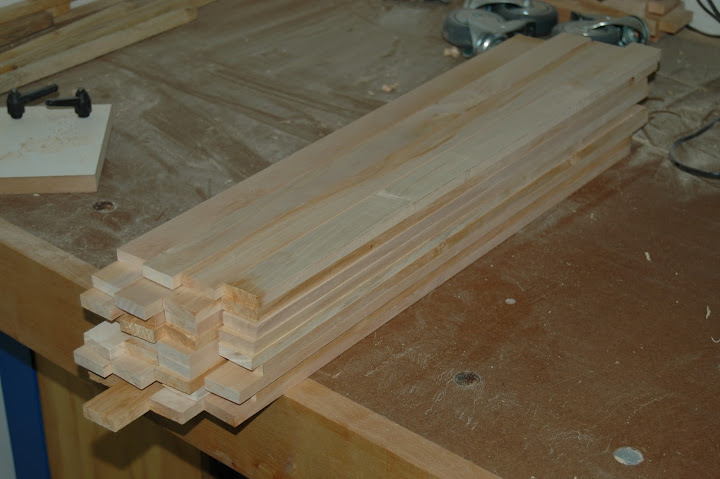
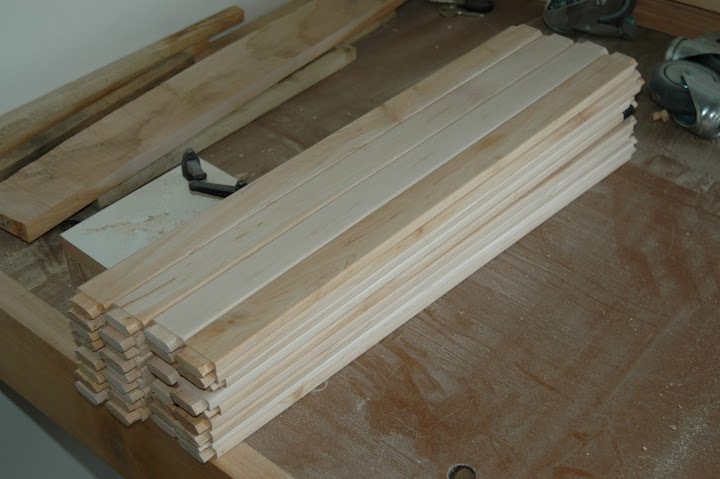
While the glue set, I started making all the slats for the shelves. 36 of them, planed, routed tenons, and edges rounded over on the router.
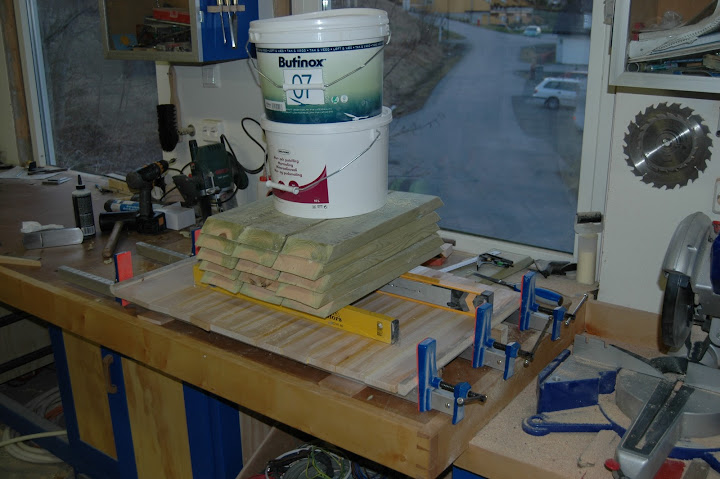
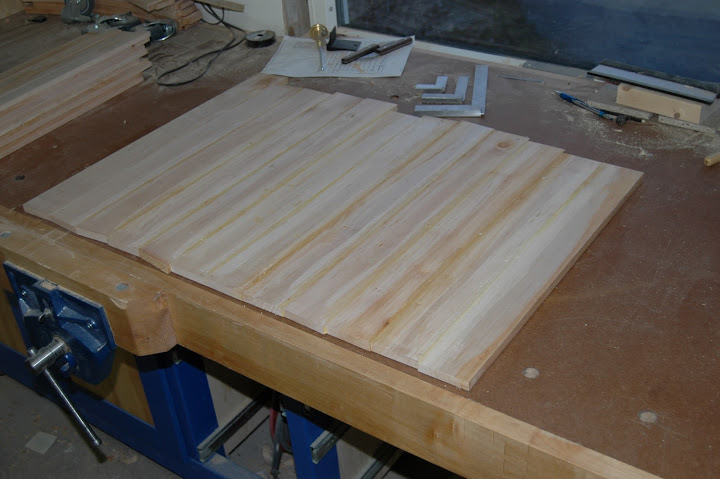
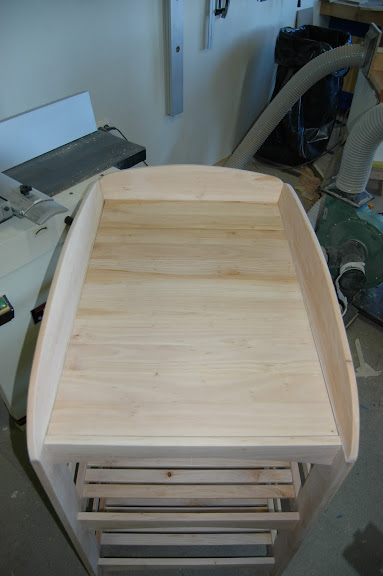
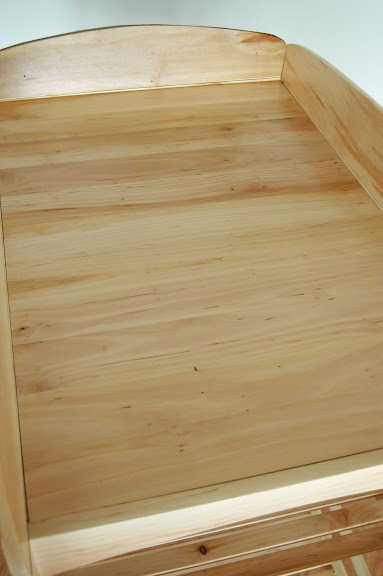
Then I glued up the panel for the top. Weighted down to keep it flat!
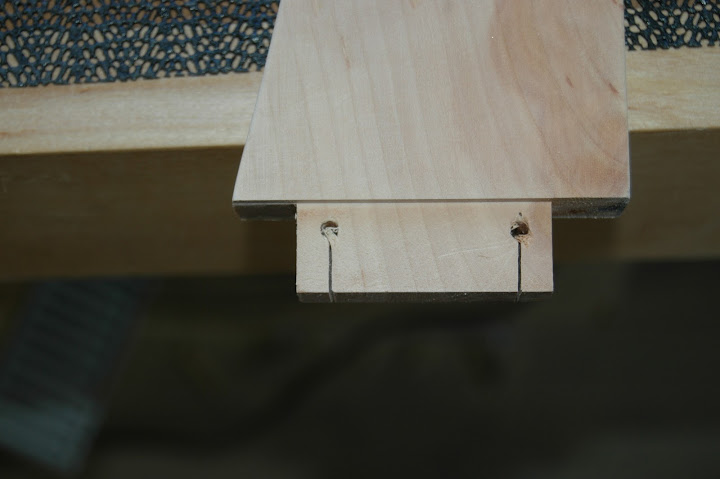
The short rails have wedged tenons, so I cut and drilled notches for some oak wedges, and started the easy glue up.....
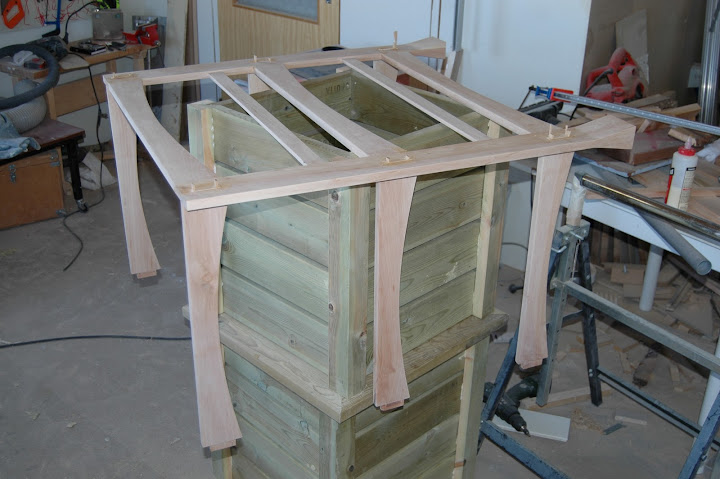
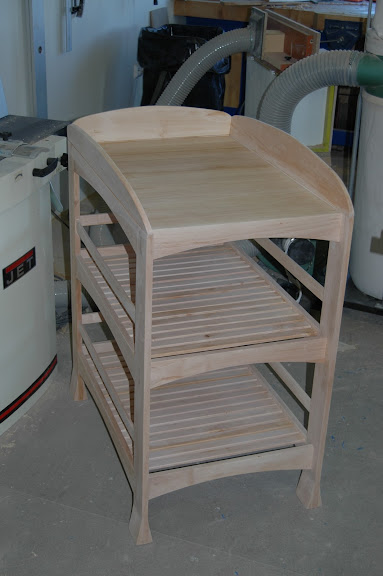
And then the big glue up!
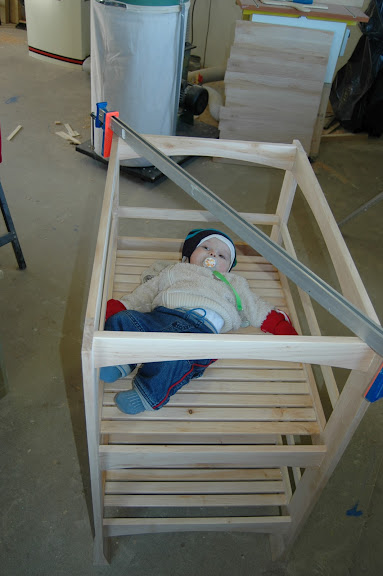
The customer is visiting my shop and inspecting the progress, he seems quite happy!

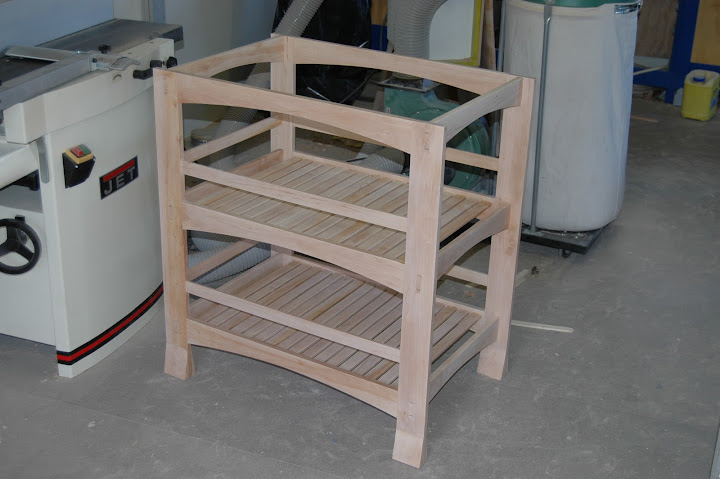
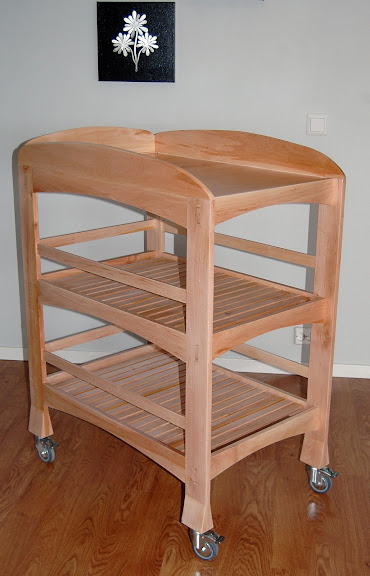
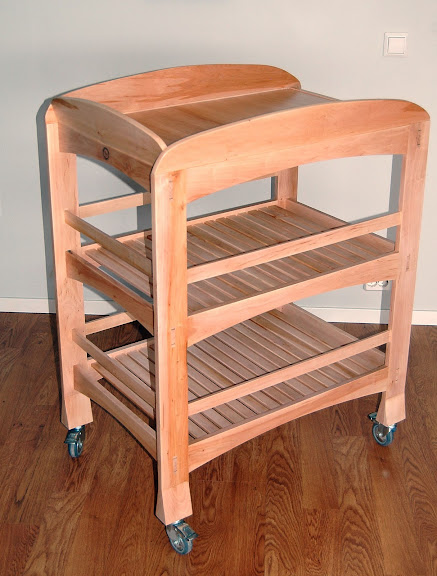
Ready for finishing
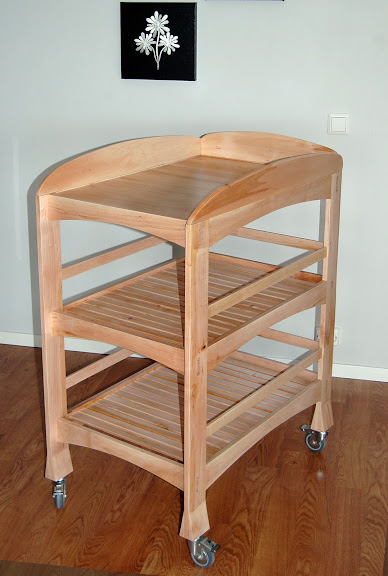
I sprayed two coats of a waterbased semigloss lacquer on this. I would prefer an oil finish, but settled with lacquer to make it easy to clean up any «accidents»....
Thanks for watching!")
I have some goat willow from a tree that I chopped down in my parents garden, and wanted to see how that worked out.
I also wanted to practice working with hand tools and incorporated lots of m&t joints and through wedged tenons on the short rails.
I started with some designing in sketchup, and this is the final design approved by the customer:
Here are the hand cut mortises in three of the stiles done. I found that goat willow is brittle and not the easiest wood to work with.
I drilled a hole in each leg, and epoxyed in a nut that will anchor the wheels.
The nuts will be hidden behind the tapered feet. I made a simple jig to make the feet on the table saw.
I glued the feet to each leg, and gave them a round of sanding.
Next up I made all the tenons for the rails on the routertable.
There are two shelves with slats under the table and I had to find a way to route the mortises for these. After hand cutting about 40 mortises in the legs, I couldn't be bothered hand cutting 72 more, so I made this jig :
Something moved a bit while routing, but the slight mistakes will be hidden by the tenon shoulders.
Then I used the router table to copy the curves on each rail
Glue up of one side frame
While the glue set, I started making all the slats for the shelves. 36 of them, planed, routed tenons, and edges rounded over on the router.
Then I glued up the panel for the top. Weighted down to keep it flat!
The short rails have wedged tenons, so I cut and drilled notches for some oak wedges, and started the easy glue up.....
And then the big glue up!
The customer is visiting my shop and inspecting the progress, he seems quite happy!
Ready for finishing
I sprayed two coats of a waterbased semigloss lacquer on this. I would prefer an oil finish, but settled with lacquer to make it easy to clean up any «accidents»....
Thanks for watching!