wcndave
Established Member
I've been restoring a really old wine barrel, for some months now, and finally got it into a decent shape.


I want to use it for a water barrel on a downpipe, and as the original was not watertight, put a plastic barrel inside.
I wanted to make as much use as possible of the space, and the only options were a barrel that just fits with the bands off, or one that was about half the diameter, so I went for the former.
This means I can't see any of the plumbing between the inner and outer barrels.

Sadly, I have some leaks somewhere, and water slowly drips out. It's not enough to change the water levels really, but it does come out brown, and the constant wetness could shorten the life of the barrel.
There was a large opening in the barrel which made fixing the tap slightly complex, and also the space between the two barrels is much larger at the middle point.
I have a tap like this

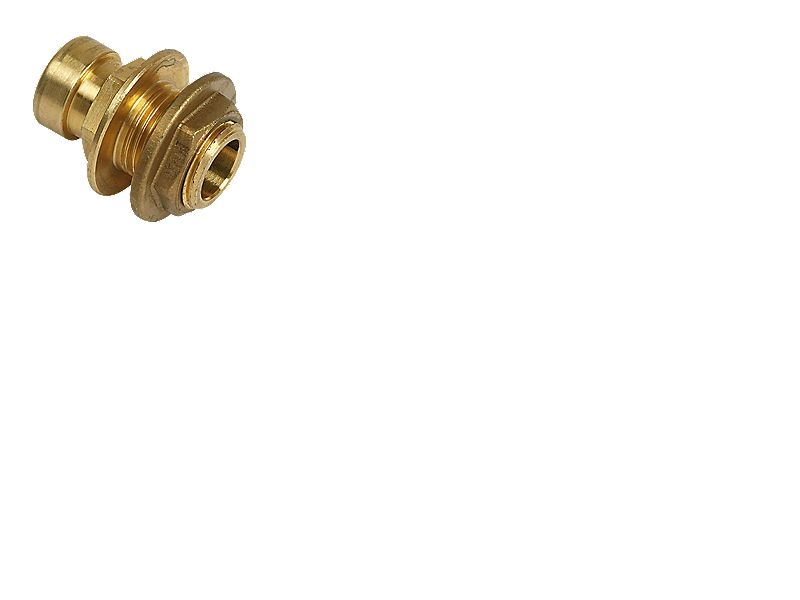
which is too short to reach the inner barrel, so goes into an adaptor like this - using PTFE tape


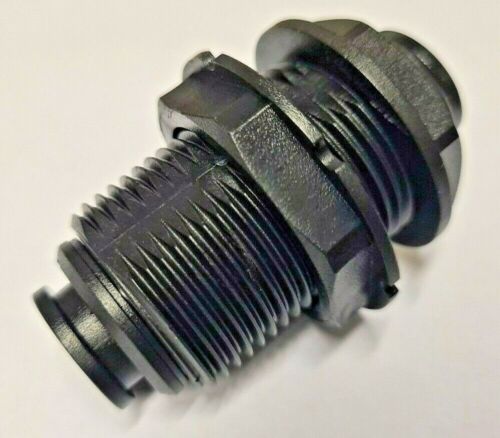
which has no connection for the plastic barrel, so is taped to the connector part of this

using some "special" tape

Which is then connected to the inner barrel with a nut and two rubber washers.
So the side view is something like this - which feels like I went down a rabbit hole somewhat...
Connection A has the PTFE tape, connection B has the plumbing tape above, connections C/D are using rubber washers.
Yet I seem to have some leak(s) somewhere, and I can't actually get visibility to see where...

I am wondering if there's some sealant or something that could be used, or whether I ought to redo this part with a better solution....
Any thoughts?
Thanks! Dave.
I want to use it for a water barrel on a downpipe, and as the original was not watertight, put a plastic barrel inside.
I wanted to make as much use as possible of the space, and the only options were a barrel that just fits with the bands off, or one that was about half the diameter, so I went for the former.
This means I can't see any of the plumbing between the inner and outer barrels.
Sadly, I have some leaks somewhere, and water slowly drips out. It's not enough to change the water levels really, but it does come out brown, and the constant wetness could shorten the life of the barrel.
There was a large opening in the barrel which made fixing the tap slightly complex, and also the space between the two barrels is much larger at the middle point.
I have a tap like this
which is too short to reach the inner barrel, so goes into an adaptor like this - using PTFE tape
which has no connection for the plastic barrel, so is taped to the connector part of this
using some "special" tape
Which is then connected to the inner barrel with a nut and two rubber washers.
So the side view is something like this - which feels like I went down a rabbit hole somewhat...
Connection A has the PTFE tape, connection B has the plumbing tape above, connections C/D are using rubber washers.
Yet I seem to have some leak(s) somewhere, and I can't actually get visibility to see where...
I am wondering if there's some sealant or something that could be used, or whether I ought to redo this part with a better solution....
Any thoughts?
Thanks! Dave.
")