Hi Kirk
Yes...I bet that was a nightmare for people buying those tools back in the day...and I see now there are companies that specifically make the bearings for their drills which are a completely custom size! What amazes me is that this is the "economy" range! I hate to think what the build quality of their "professional range" is like!
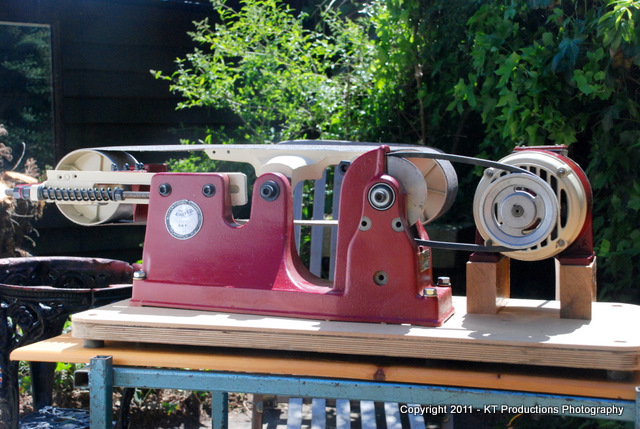
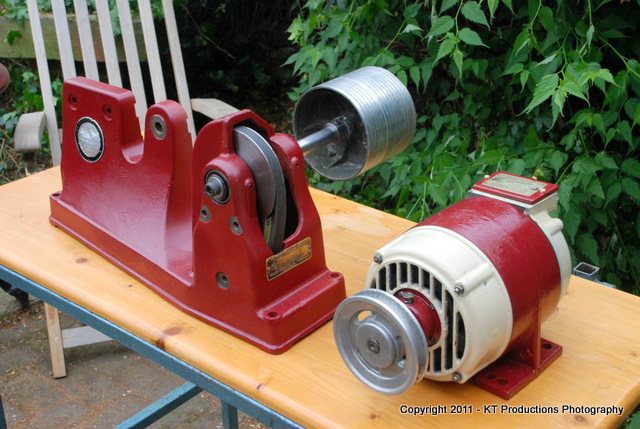
SO....I bet you lot thought I had given up on this old beauty...and it did nearly kill me a few times with lifting bits and bobs...but thanks to my ever-suffering wife who now has a few more muscles..it's finished! So without any more waffling....
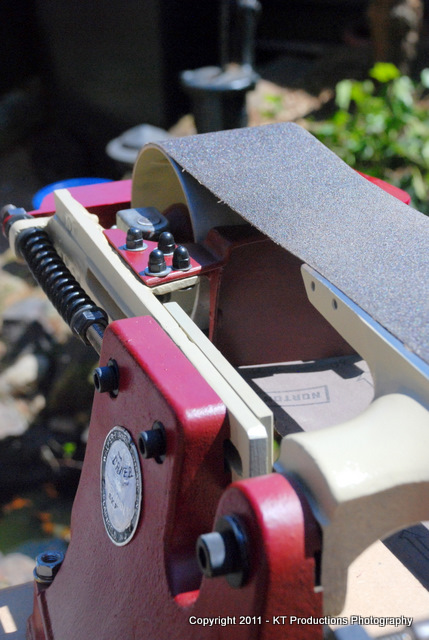
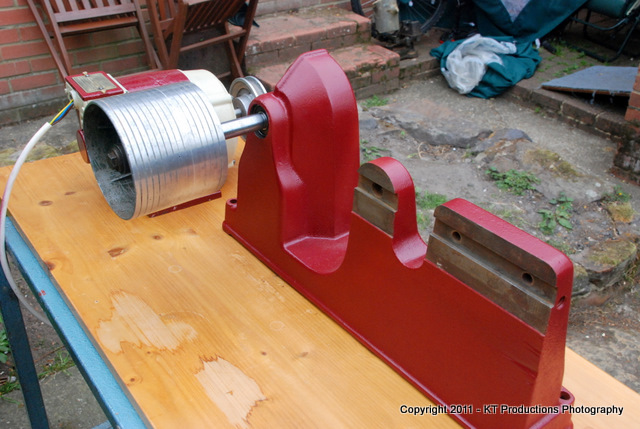
First...I had to get the belt sanding bed back to flat...very important for me to take stock off the bottom of things in a flatish fashion....
This may take quite a while but is something I can do a bit at a time....but for now..it has been fitted to the machine to test...
I decided two things....
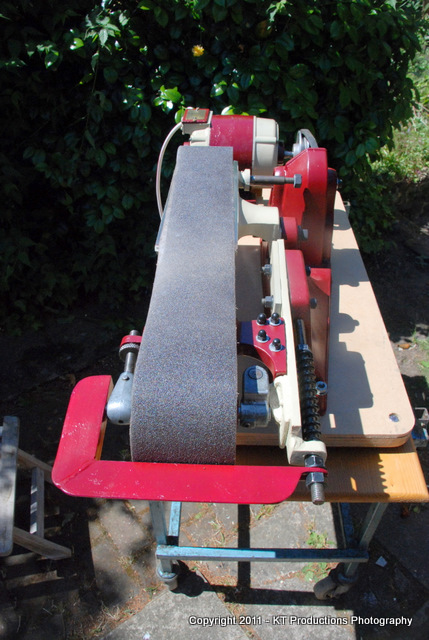
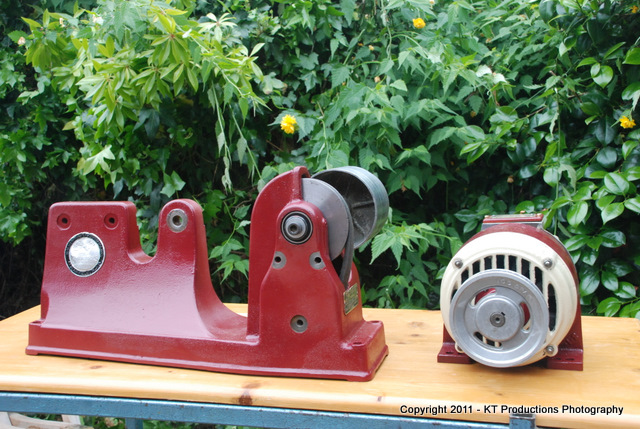
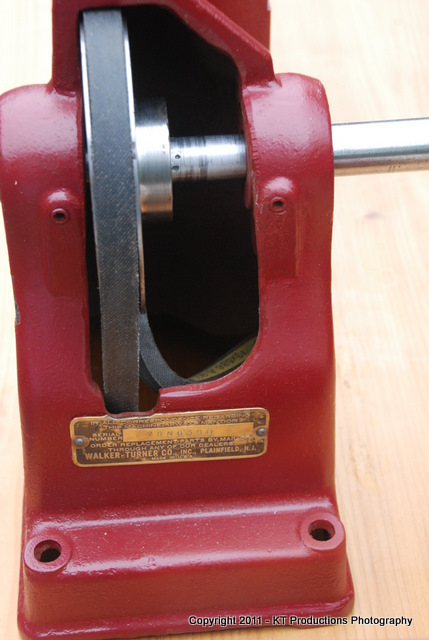
1) I wouldn't try to restore it back to original...there were simply too many modifications and missing original parts to source...it was just not economically viable...
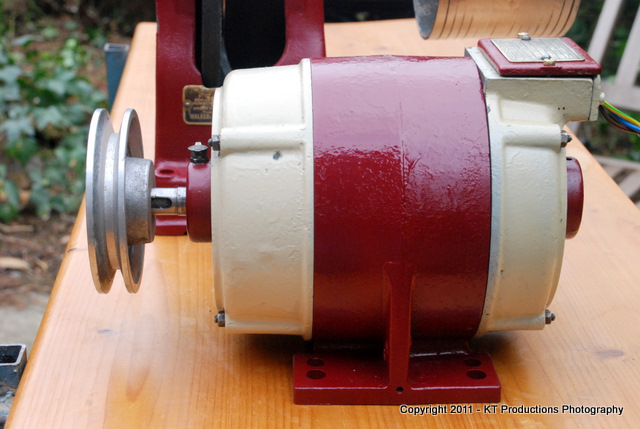
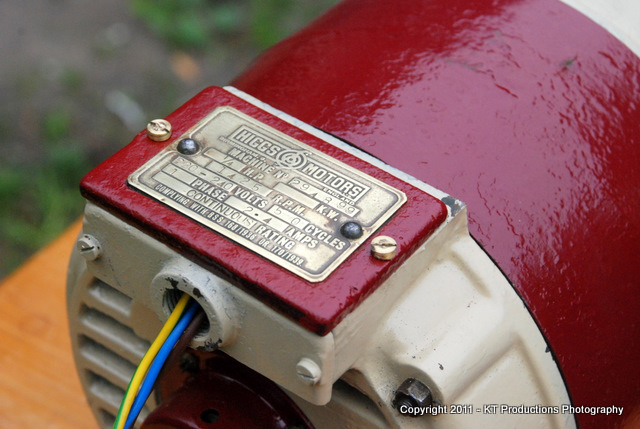
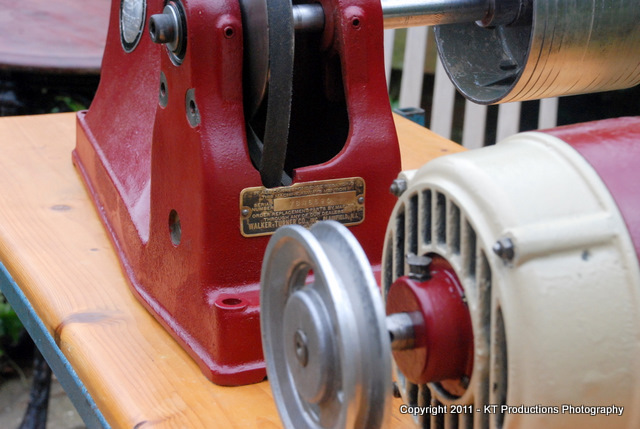
2) I would mount the motor on the top versus underneath...as I would be using it on a bench and this made much more sense in terms of utility....
I need to make a NVR/emergency stop switch but I have the bits for that...and wire the motor up to it...
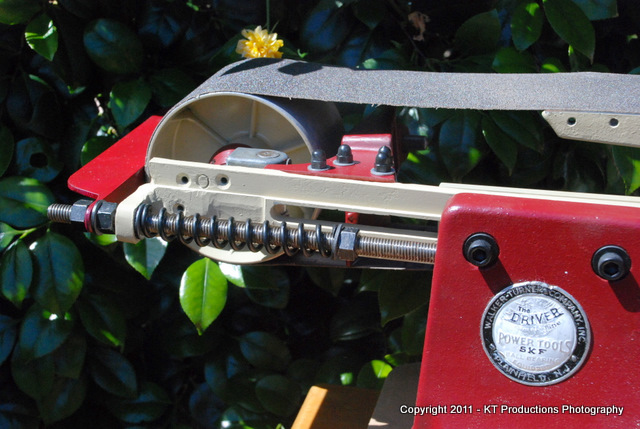
I also managed to find a suitable adjuster tensioning spring at the bootfair on Sunday..it was masquerading as a gate closer!
The broken adjuster plate has been fixed with slow-set Araldite and seems to be perfect...
...and I found some better black dome nuts for the top rather than the rubbish ones that were on there...
I ran out of red primer and used white for the "modified" adjuster steady so that is a tad lighter than the rest of the paintwork...
I can always whip that bit off and give it a few more coats later to darken it up a bit.
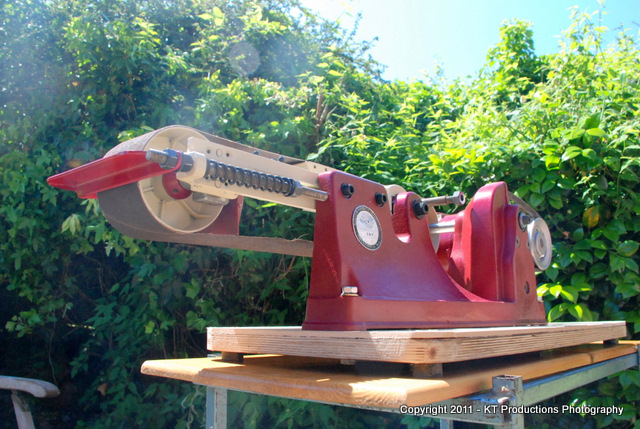
So the monster has been reborn...
....all I need now is to get it to run straight...
...make a bed fence...and possibly think about restoring the disc sander part...if I can find the Picador disc that I have...it could be modified....possibly!
So...a bit more tidy than when she arrived...and a great addition to my armoury of vintage workhorses!!
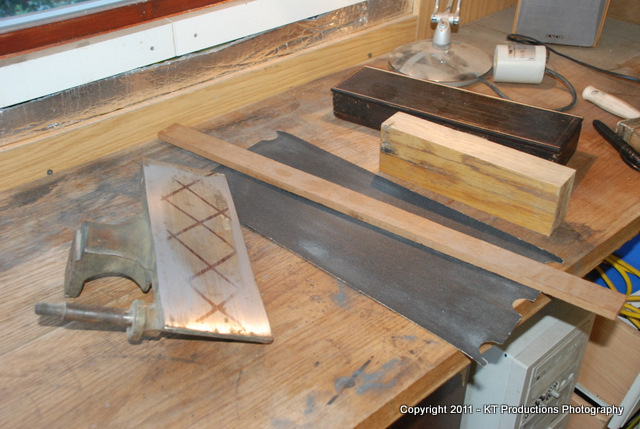
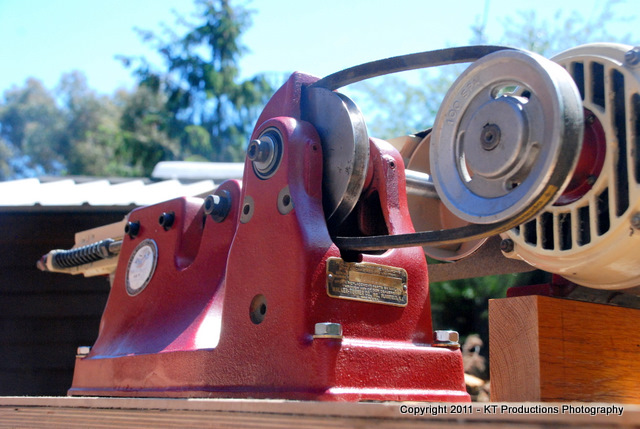
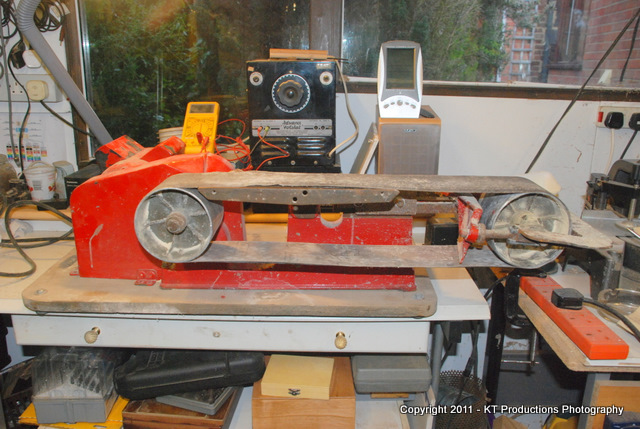
BEFORE
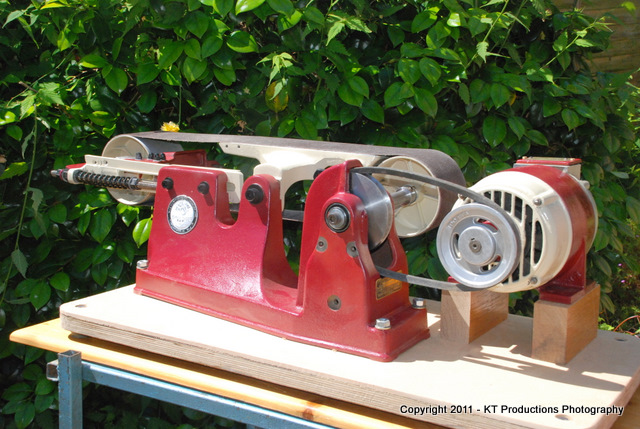
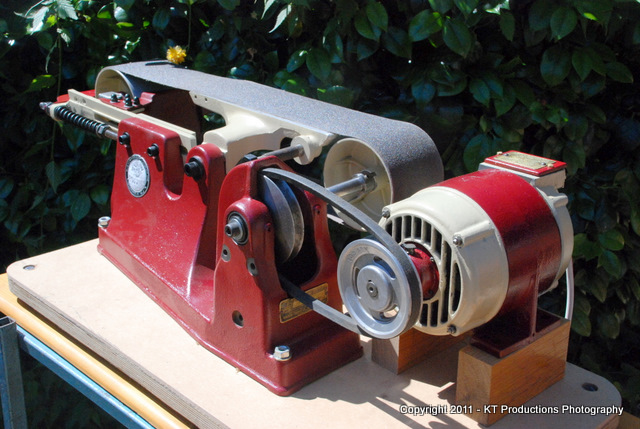
AFTER
Cheers guys and gals...off to find something else to keep me occupied! Only 6 more weeks to get through!!! :mrgreen: 8)
Jim


 :wink: