tombo
Established Member
hi all, thought i would share what has been going on in my work shop over the xmas break including all my mistakes.
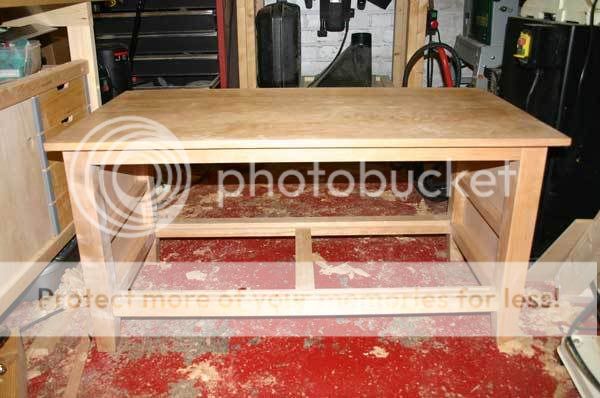
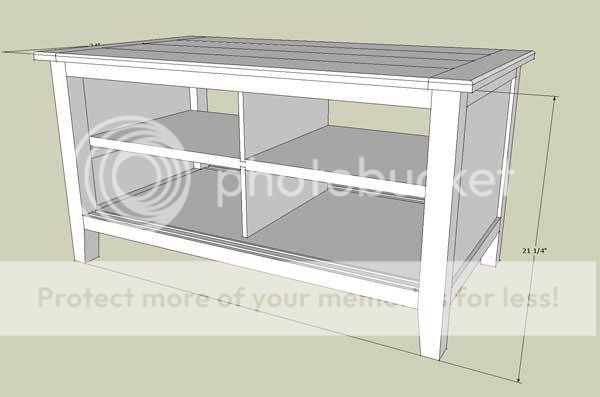
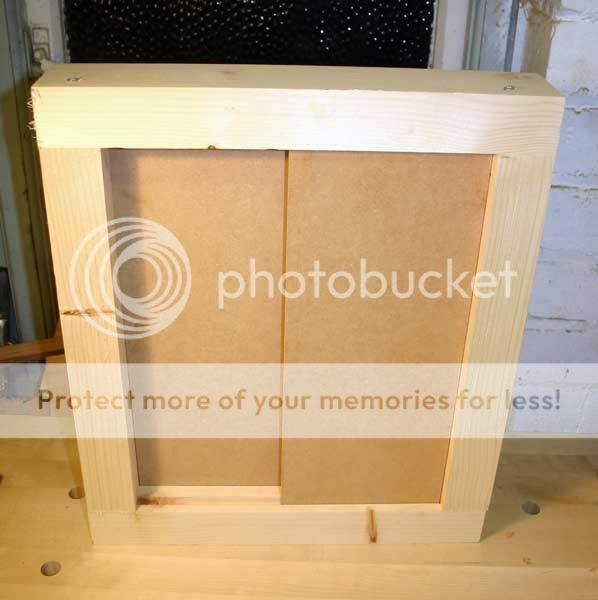
I realy want to get a new flatscreen telly, but i want to try to hide the equipment beneath so came up with this.

it will have sliding doors and an open back to make cabling up easy
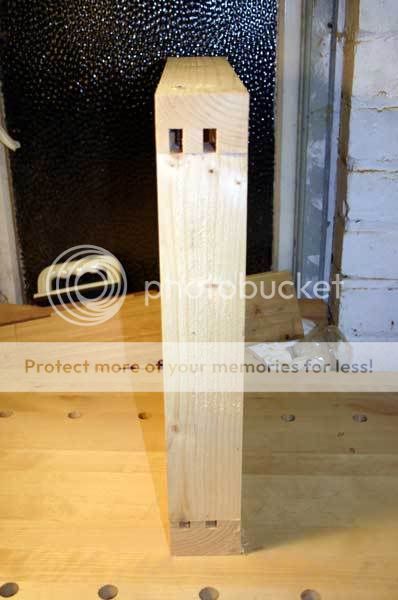
to make sure that doors are going to work and i can get them in and out i knocked up a quick test piece in pine and mdf. with this i found that a 10mm x10mm groove in the bottom and a 10mm by 20mm in the top works pretty well
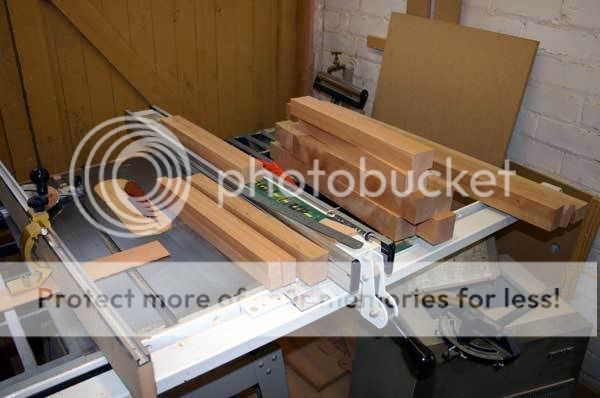
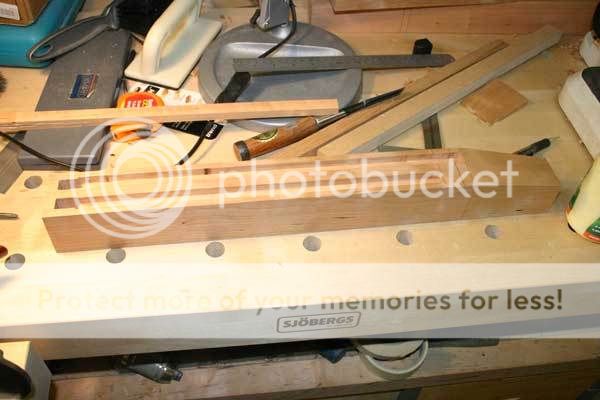
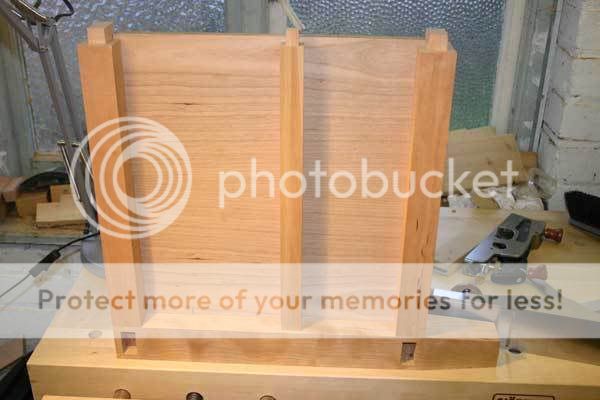
Skipping all the stock prep here are all my cabinet parts square and to length
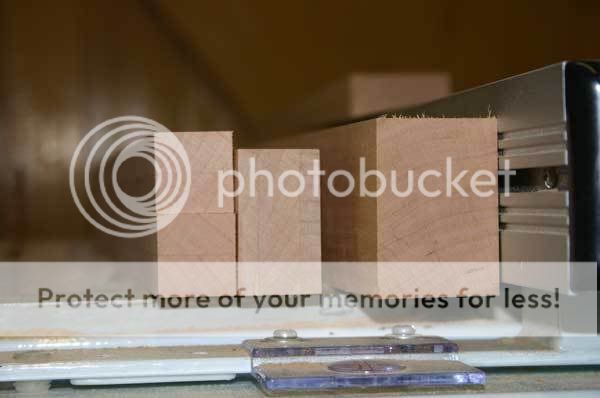
quite pleased i managed to save some stock by glueing up the offcuts to make the internal shelf supports hard to notice except if you look at the end grain
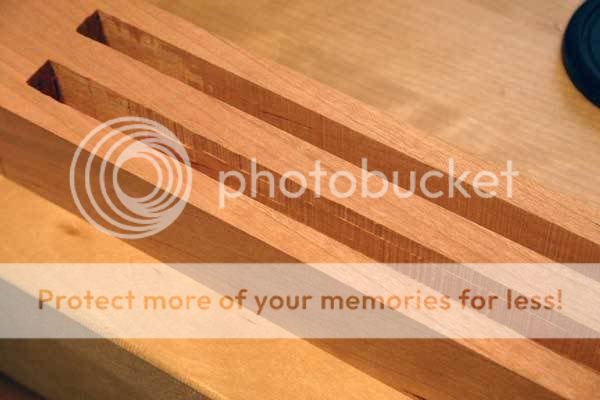
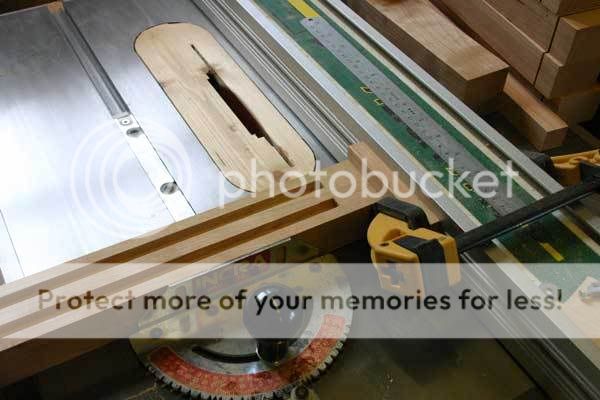
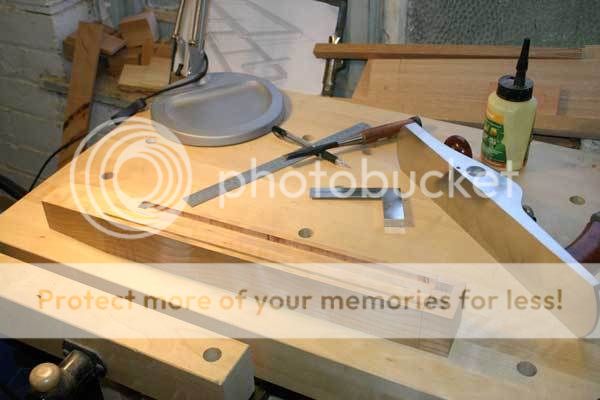
cutting the grooves for the doors, i never seem to be able to cut grooves without a slip so i added extra pieces the router fence to guide from both sides
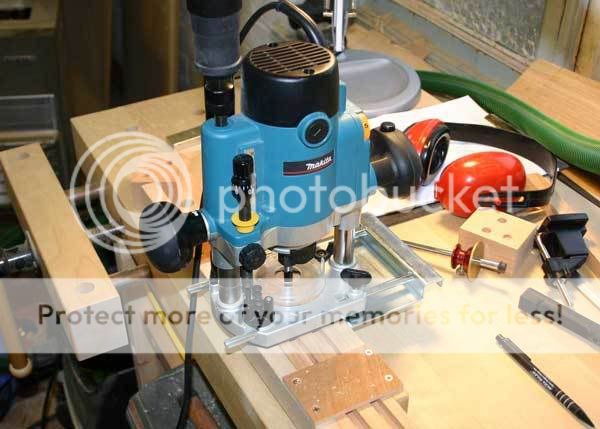
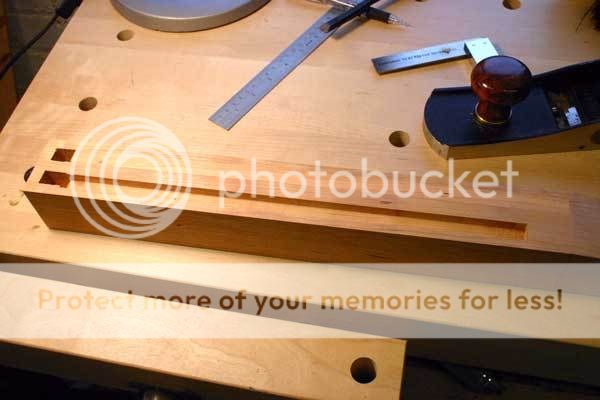
No slip up on the grooves but a bit disapointed by the chipout on the groove sides. I' think i will have to sand them somehow
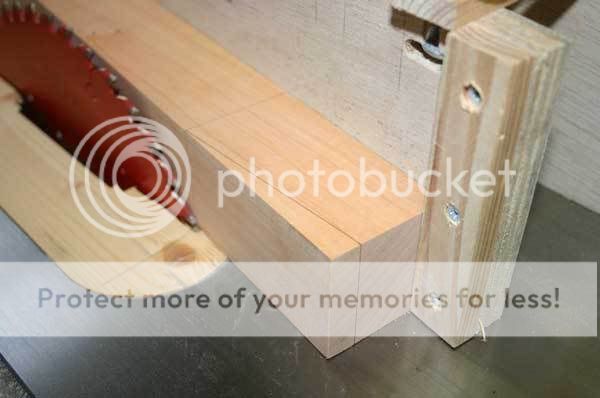
Cutting the tenon shoulders, norm style
first mistake, i was so intent in pressing against the stop block that the piece slid a little as a came off it screwing up that shoulder. I discover that its all about technique. Firlmly against the stop block then hold tight to the mitre guage. Not a major problem i just moved the fence over 2mm and recut

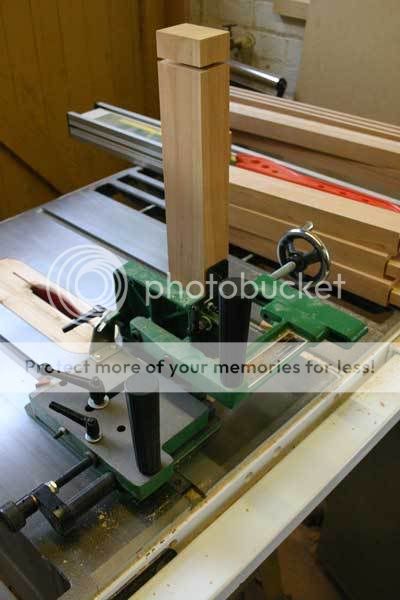
Finally get to use my tenoning jig, cant beleieve it only cost £35 how did i manage without?
Cutting leg taper and second mistake, went over the line on the first piece and it will leave a gap :x lucky i have enough spare cherry for another leg

next mistake is a biggie routed the groove for the side panel completely wrong put the leg the oppsite way round on the router table and started the cut at my markout line for the taper. i took a break at that point :?
After some caffeen...
No more spare wood for another leg so I had to fill the groove, offcuts to the rescue
next day planed down, and its true what all the reviews say the veritas low angle jack is a wonderful tool, the repair will be on the inside of the cabinet so i'm pretty happy
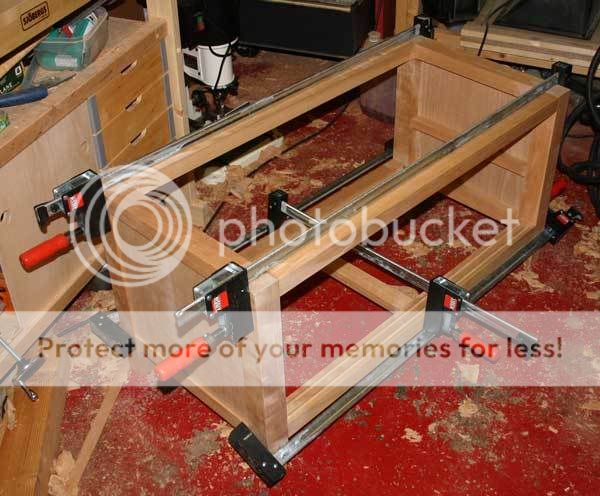
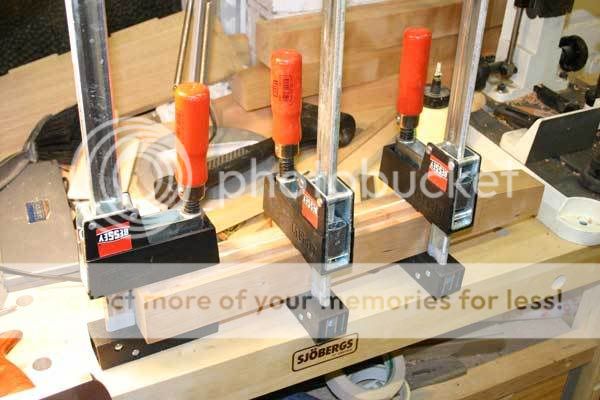
mortices cut testfit and glueup

Shop time is precious to me and i cant get much done outside the weekends, Just gotta stop making mistakes they are such a waste of time
I realy want to get a new flatscreen telly, but i want to try to hide the equipment beneath so came up with this.
it will have sliding doors and an open back to make cabling up easy
to make sure that doors are going to work and i can get them in and out i knocked up a quick test piece in pine and mdf. with this i found that a 10mm x10mm groove in the bottom and a 10mm by 20mm in the top works pretty well
Skipping all the stock prep here are all my cabinet parts square and to length
quite pleased i managed to save some stock by glueing up the offcuts to make the internal shelf supports hard to notice except if you look at the end grain
cutting the grooves for the doors, i never seem to be able to cut grooves without a slip so i added extra pieces the router fence to guide from both sides
No slip up on the grooves but a bit disapointed by the chipout on the groove sides. I' think i will have to sand them somehow
Cutting the tenon shoulders, norm style
first mistake, i was so intent in pressing against the stop block that the piece slid a little as a came off it screwing up that shoulder. I discover that its all about technique. Firlmly against the stop block then hold tight to the mitre guage. Not a major problem i just moved the fence over 2mm and recut
Finally get to use my tenoning jig, cant beleieve it only cost £35 how did i manage without?
Cutting leg taper and second mistake, went over the line on the first piece and it will leave a gap :x lucky i have enough spare cherry for another leg
next mistake is a biggie
routed the groove for the side panel completely wrong put the leg the oppsite way round on the router table and started the cut at my markout line for the taper. i took a break at that point :?
After some caffeen...
No more spare wood for another leg so I had to fill the groove, offcuts to the rescue
next day planed down, and its true what all the reviews say the veritas low angle jack is a wonderful tool, the repair will be on the inside of the cabinet so i'm pretty happy
mortices cut testfit and glueup
Shop time is precious to me and i cant get much done outside the weekends, Just gotta stop making mistakes they are such a waste of time