TV cabinet.. finally started

UKworkshop.co.uk

Help Support UKworkshop.co.uk:

This site may earn a commission from merchant affiliate links, including eBay, Amazon, and others.

stef

Established Member
Joined
16 Jan 2007
Messages
383
Reaction score
0
Location
Normandy
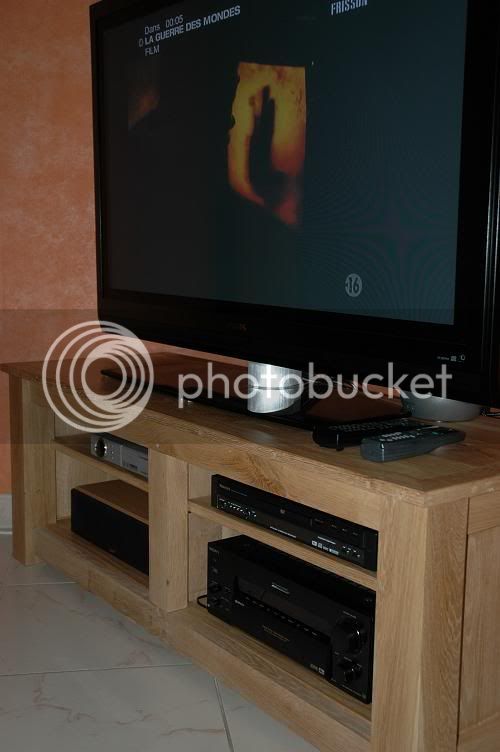
Ok, thanks to you guys, the design has taken a shape which i liked.

THE_TV_MODEL11b.jpg


THE_TV_MODEL11.jpg


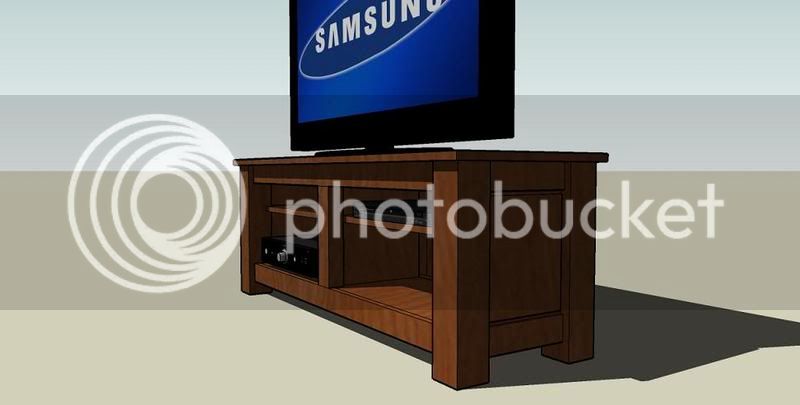
so now the time has come to start the damn thing.
a little shoping, and i came home with this:
DSC_7404.jpg

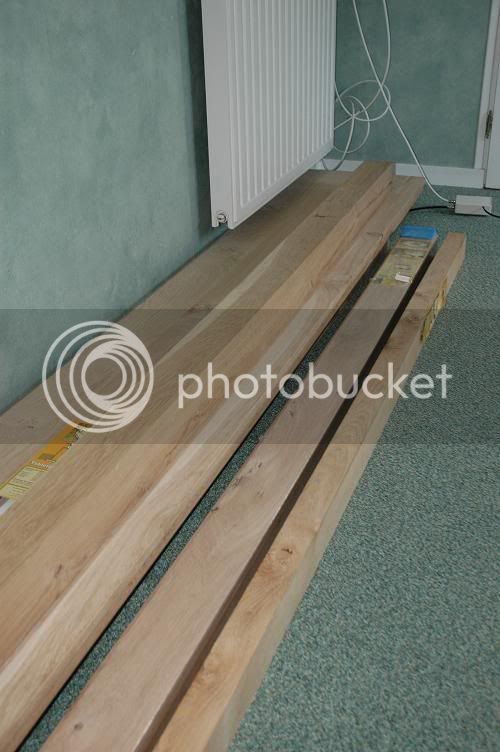
£200 worth of oak. more or less cut to size and shape (i dont have a thicknesser !)
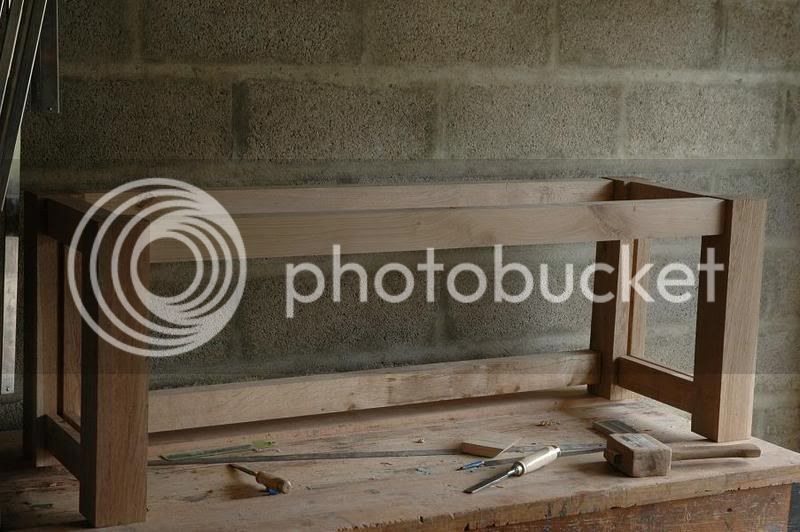
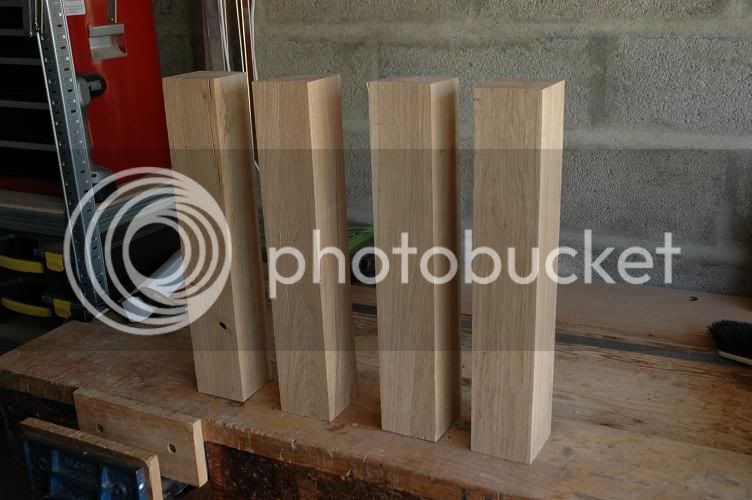
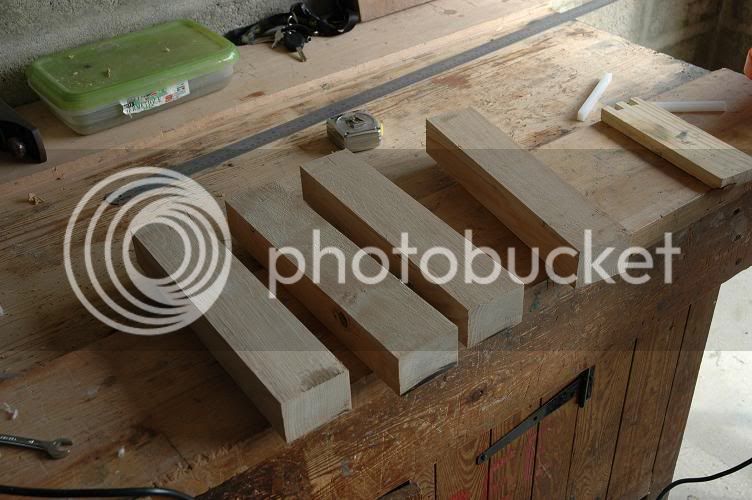
first step was to cut the legs to size.
those are 85mmx85mm and 500mm long.
DSC_7406.jpg

next came the cross bars. in 70x50mm.
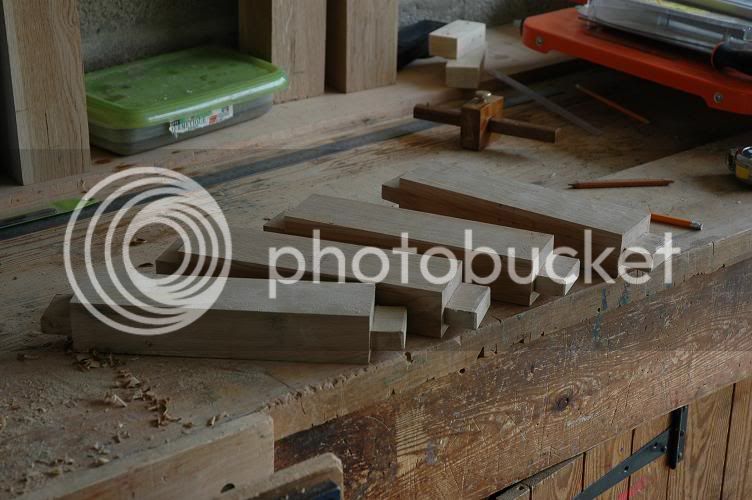
DSC_7408.jpg

tenons cut.


DSC_7411.jpg


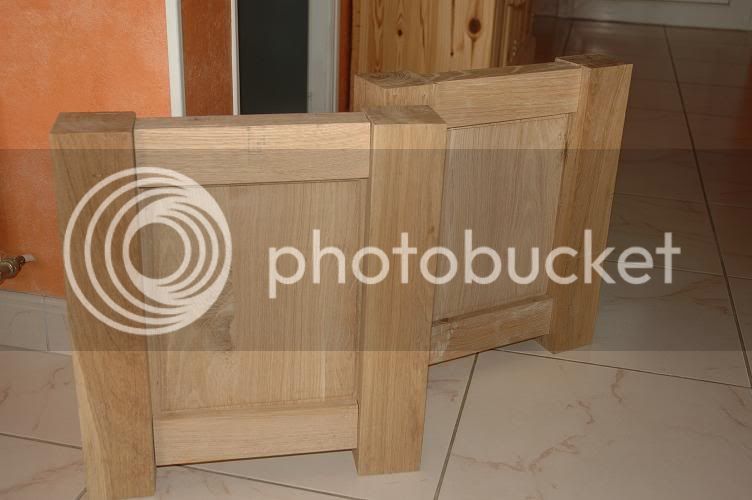
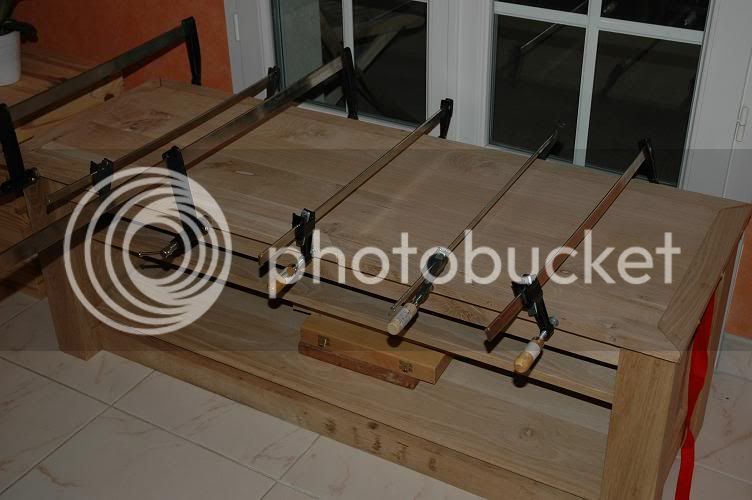
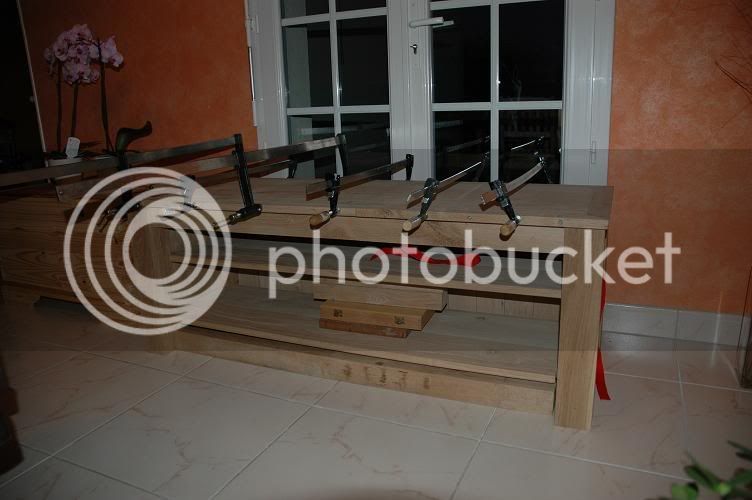
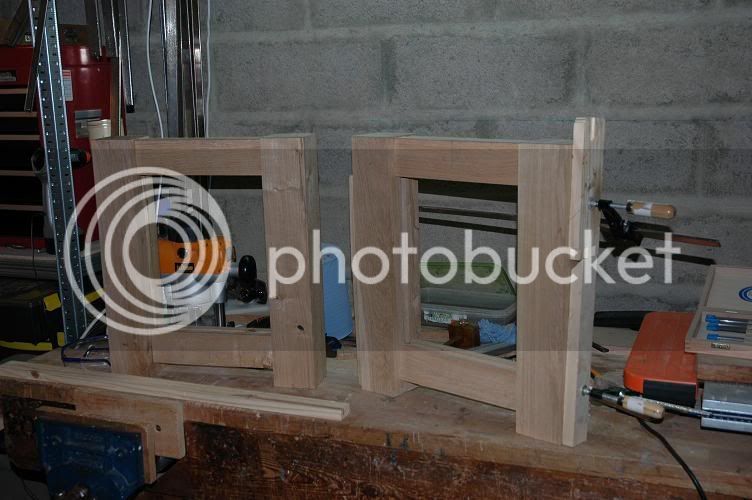
and sides dry assembled. ready to fit the panels.

DSC_7448.jpg
 
Hi Stef, Looks like it's going to be an interesting project. I like to work in oak too and generally I use stuff imported from Croatia. What type have you got there - I'm no expert but it doesn't look like English?

Cheers, Ted
 
I'll also be following this with interest. The SketchUp design looks interesting - are you going to try for a dark finish or is that the closest match they had in SketchUp?
 
i have no idea where it comes from.
being fairly green, i havent found a decent wood supplier yet.
I had a chat with a carpenter at the weekend who recommended a place, but it was too late, i had already bought this.
so this comes from the local "leroy Merlin", or B&Q equivalent.
i intend to finish it with a good sanding and wax. no stain.
i have to say, it's going to weigh a ton !
 
Last week, i mamanged to cut, shape and fit the side panels

DSC_7451red.jpg


and this morning, tenons and mortices on the cross bars.
DSC_7454red.jpg


it's taking shape.
 
I put the shelves together on sunday.
and today, i worked on the top.

Left to do: level and sand the top, route the edges (round them off a little)

route the drawer front, sides and back to sink the bottom shelf in.

and that will almost be all for the heavy work.
DSC_7458red.jpg

DSC_7459red.jpg

DSC_7460.jpg

DSC_7461red.jpg
 
Stef
Looking good!
I notice you screwed the mitred end pieces onto the top - make sure you enlarge the holes to allow for expansion/contraction of the top. Beats spliting!
Look forward to seeing the completed project,
Philly :D
 
Stef

Looking really good, the only comment I have relates to the mitred edging around the top, yes as Philly says you need to enlarge the holes to allow for expansion, but if you do get expansion then the corner mitres may open up, I say this from experience on a piece I did about 6 years ago.
 
Thanks for the comments.
I am experimenting (read learning) with this, i guess.
I glued the top frame, before screwing it tight. the holes on the short end pieces are large enough, but the long sides are rather tight on the screws. i might open them up.
The mitred corners are not particularly clean, but i hope to get away with it. I could also fit a darkwood inlay just to cover up the badly cut mitre.
quite pleased with it so far.
 
You might also want to put a small piece of scrap piece of wood between the clamps and the work piece. I have a horrible suspisicion that when you take the clamps off that you are going to find small round indents where the clamps have been applying all of the pressure to one small area.
 
frugal":3hah066l said:
You might also want to put a small piece of scrap piece of wood between the clamps and the work piece. I have a horrible suspisicion that when you take the clamps off that you are going to find small round indents where the clamps have been applying all of the pressure to one small area.

Haha !
well, i would, but the edges are not finished yet. They still need planing, doweling to cover the screw holes, routing and sanding. so those marks are not a problem.
anyone has anyidea if the inlays would work along the mitre lines ?
 
I think inlaying would work quite well, but, if the edging timbers do shrink over time, you might find the inlay becomes quite exposed and sits proud slightly.
 
staff, I had a bit of a problem last week, The latest technology and cabinet designs are changing owing to recorder/players not being manufactured to traditional measurements.
vcr/dvd/harddrive player/recorders are coming in at around 425mm wide and the old cabinet widths cannot seem to accept this width.
So you might want to pop into currys etc with a tape measure if you are still operating older type equipment, remember digital is just around the corner and vcrs are on the way out. Hard drives are all the go at the moment.
 
i worked abit on the project over the weekend. nearly finished now.
DSC_7465RED.jpg

DSC_7462red.jpg


I have started to take it all apart now, and sanded/waxed a few bits.
i'll by some brass shelfsupports tomorow, to get that middle shelve in.
the drawer is taking shape. the front is just in place.

as for equipment width, i am pretty safe here. the inside leg is 120cm wide. plenty of room !
 
And almost complete now.
only the drawer to sort out.
as you can see on the pics, the front comes off, and this is the hidden drawer. just tall enough for remotes and userguides.
overall very pleased with the results.
DSC_7467red.jpg

DSC_7468red.jpg

DSC_7474red.jpg
 
I think it looks great Stef, very well done! Looks as though it all went as according to plan as well! :wink:
 
cheers.
almost to plan !
i have the bottom shelf which bowed slightly, and it's coming up at the sides, by a few mm.
hopefully, i'll be able to correct this when i fit the drawer.
 
Back
Top