shed9
establiSHED member
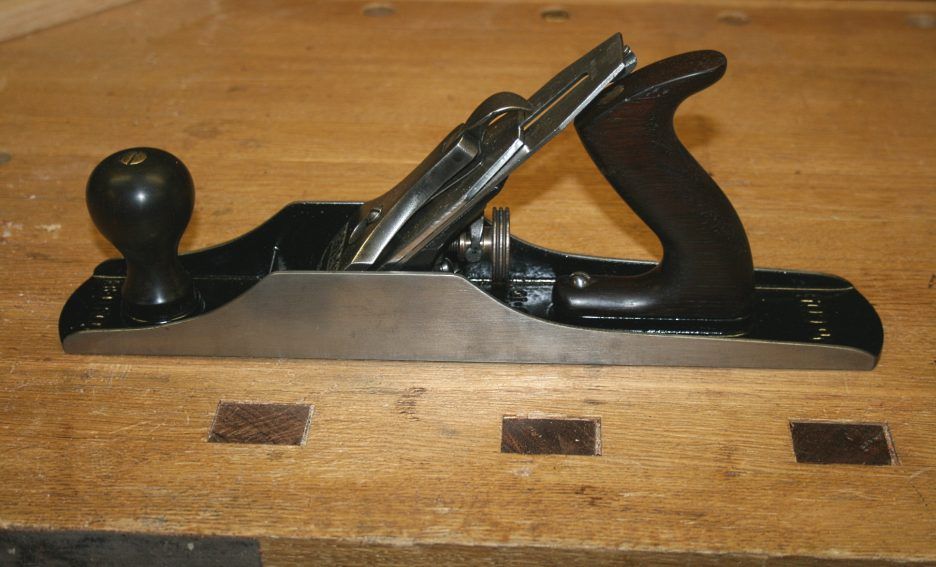
D_W":3sayd96q said:Early types with the low knob like that one had the number cast in the toe.
I thought that was only true for sizes up to a number 4 and 5 and above numbered on the heel for that era of plane.


D_W":3sayd96q said:Early types with the low knob like that one had the number cast in the toe.
shed9":y0tz0koq said:D_W":y0tz0koq said:Early types with the low knob like that one had the number cast in the toe.
I thought that was only true for sizes up to a number 4 and 5 and above numbered on the heel for that era of plane.


Thanks Shed. I think you are right - it is probably a type 7 given the foundry castings and other details. I am leaning towards some kind of sympathetic paint job that won't look out of place on a tool of this age. I don't want it to look like new just well cared for - and most all I want it to stop depositing crusty detritus on my hands every time I touch it!shed9":ewyrwjpa said:memzey, with the S foundry stamp it is likely to be a type 7 which would place between 1893 and 1899.
That's rarer than most low knob 8's but not so rare that anyone is going to berate you should you decide a full restore or none at all. Personally unless a full restore is spot on, it will in my opinion lose it's character.
Dredging my memory a bit here but one methodology is replacement of voids or missing pieces with epoxy, repainting of missing decoration with oil paints or alkyds, re-glazing any areas that need it with "cold glaze" set using a UV light.Jacob":12g0xw8l said:How do you "restore" ceramics other than by mending; gluing together broken pots?
Thanks for the clarification, I was assuming you meant it was too soft not too hard. Obviously there's a middle ground between those, tough, and the best modern paints (requiring baking on not) apparently get the balance just right as they are as durable as one would hope for.D_W":3slfttox said:the high solids paints that I've used don't require anything other than time to cure in a dry area. The issue has been that they have dried too hard, as opposed to too soft.

D_W":1s4oj03k said:They're plenty common in the states, and one that was refurbished reasonably well would bring a lot more money than an original in the states.
the big threat with a #8 at this point is they are no more capable than a #7 ...
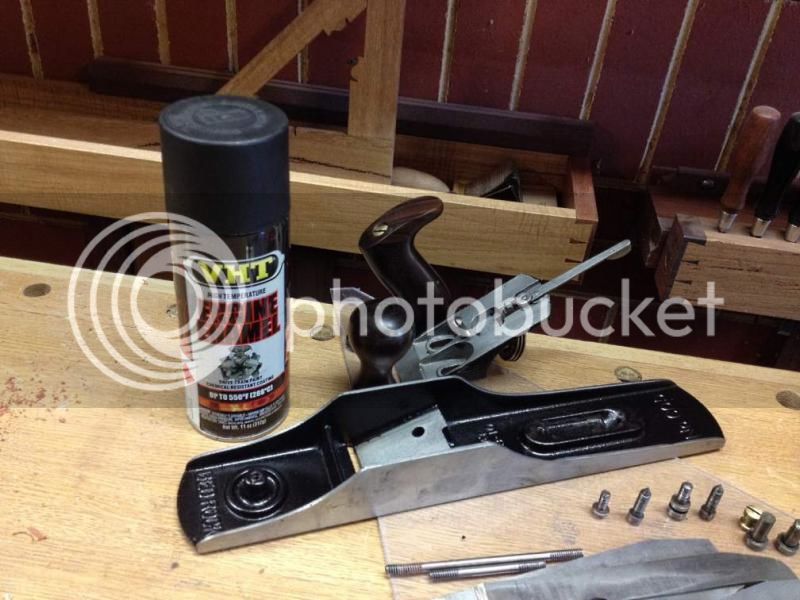
Do you have a lot of material to remove to clear some pitting at the edge?memzey":3lifk3hp said:Struggling slightly to get a good edge on the iron though as it's massive and I have never sharpened an iron that big before. I'll get the hang of it though.
Why did you feel you had to? Would normal wood glue not suffice? Apparently PVA glues can make for a stronger bond despite Gorilla's marketing claims in the past, assuming the glue line is very thin as it should be.memzey":3lifk3hp said:I did manage to glue the tote back together but I had to use PU glue which left a bit of a visible glue line.
The PU glue line is flush with the surface presumably? Filler won't have any effect in that case.memzey":3lifk3hp said:As for the glue line I wondered if one of those coloured wax sticks might work? Has anyone tried that on a PU glue line before?
Enter your email address to join: