Tom's Tool Chest - Finished!

UKworkshop.co.uk

Help Support UKworkshop.co.uk:

This site may earn a commission from merchant affiliate links, including eBay, Amazon, and others.
Nice bit of drive by gloatage there Tom!
Just out of curiosity, how much do you think this will weigh when it's done?
Looking forward to more pics.

Adam.
 
RILEY":xfdwkuz5 said:
Nice bit of drive by gloatage there Tom!

Yeah I was quite proud of it! :D

I reckon its going to be pretty heavy by the time its all done, I'll be most disappointed if I can move it when its full of tools. At the moment its got about have a sheet of mdf in it, add to that the drawers (which will be 10mm ish oak), the tops and the sides, and its rather beastly.
 
This morning I removed the clamps and tried it in it's future location:

IMG_0188.JPG


IMG_0189.jpg


Blimey, those upper cabinets look unsightly now, I really must make some doors...

Anyway, the next job was the top. I cut it to size then made a tongue ready for the solid walnut lipping:

IMG_0190.JPG


Here is the lipping all ripped to width:

IMG_0191.jpg


Then I cut a matching groove, mitred the corners and glued it all up:

IMG_0193.JPG


I was quite relieved when it all came together - last time I tried this it was a disaster.

With the top in the clamps, I moved back to the main carcass. I attached the sides temporarily with screws from the inside, using my little angled screwdriver:

IMG_0195.jpg


Then I marked the position of the rebate from the back, took it apart, cut the grooves in the sides and cut the back panel to size:

IMG_0196.JPG


The idea is that the top will get a matching stopped groove.

Next I got thinking about the drawers. The original plan was go for proper (non-cheating) hand cut half blind drawers, mainly because I wanted to really test my skills and see how far I've come.

I picked out an assortment of maple boards for the fronts and chucked them through the thicknesser to see what they looked like under all the muck. I was really pleased to find one board had really heavy figuring:

IMG_0197.JPG


So, now this left me with a dilemma. I only have one board with all the figuring and I reckon I'm unlikely to be able to get all the fronts if it resaw it into 2. I could however chop it into three, but then this doesn't leave enough meat to dovetail into....

So instead I'm going to (partially) cheat and go for oak drawer boxes with hand cut through dovetails and applied 1/4" maple fronts instead.

I think...
 
Yup, Axminster, but i cant find it on the site now :(

It's really small and handy and has got me out of trouble a few times.
 
Right, firstly, apologies for the lack of activity, but I have actually been doing something since the last post.

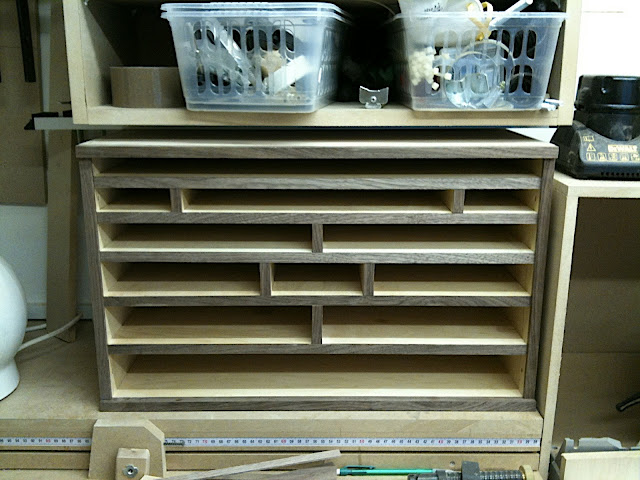
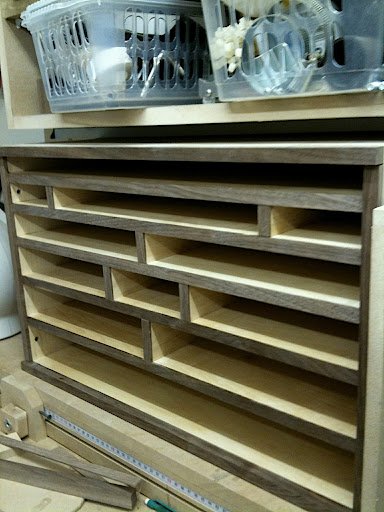
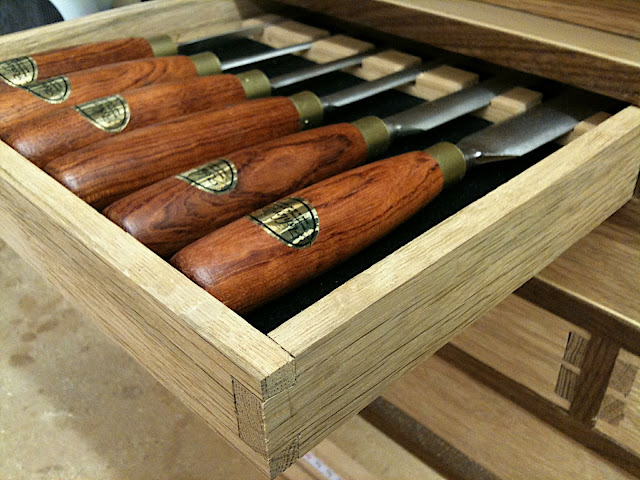
I've been working on the drawers, all made from 8mm american white oak and all hand dovetailed. I thought this project would be a great opportunity to brush up on my technique, so here are some tips that you might find useful.

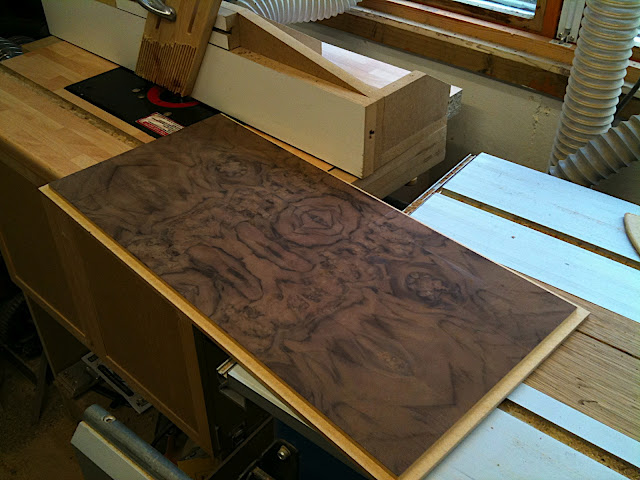
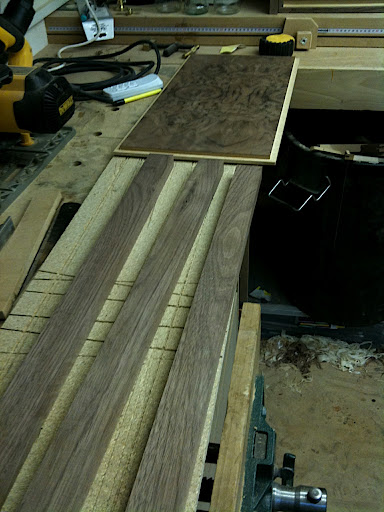
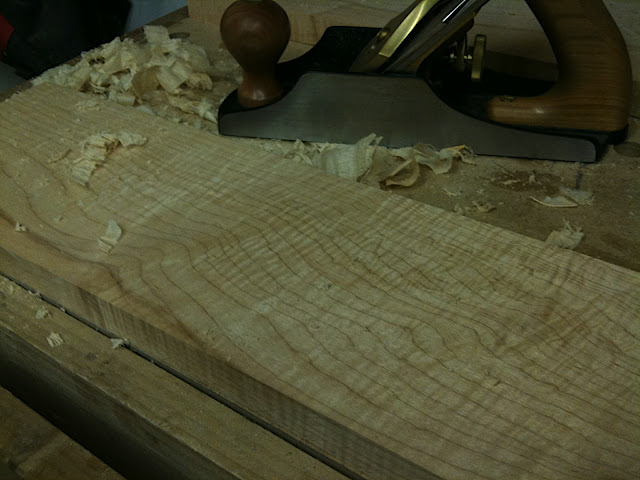
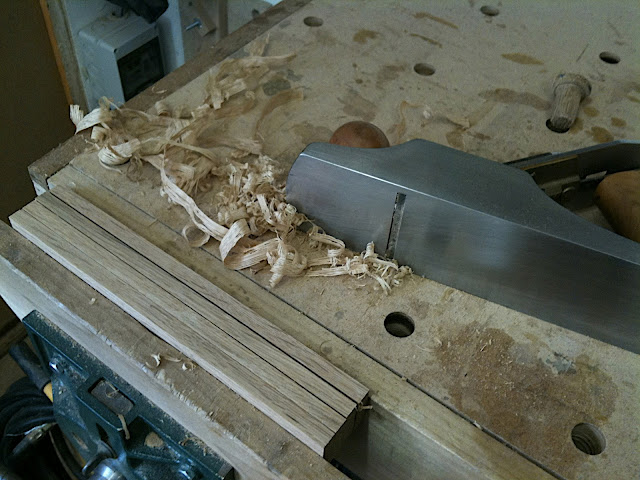
Begin by cutting the components to size and planing everything nice and flat and square

IMG_0226.JPG


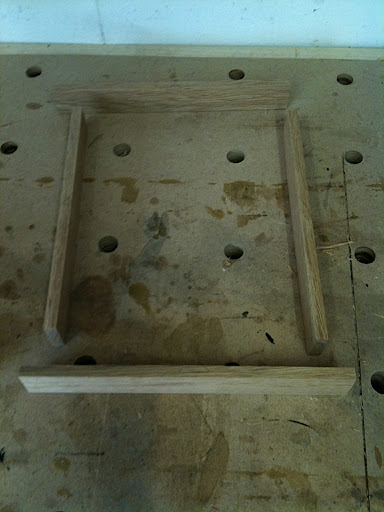
Lay the components out as they will be joined and mark them with cabinet makers triangles:

IMG_0228.jpg


Set a marking gauge to the thickness of the stock

IMG_0230.jpg


Then scribe all the way around on the tails, and on the two faces of the end pieces:

IMG_0231.jpg


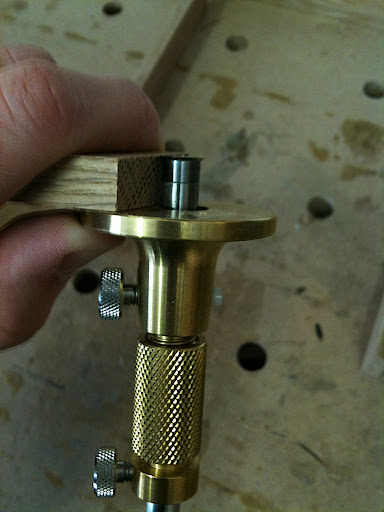
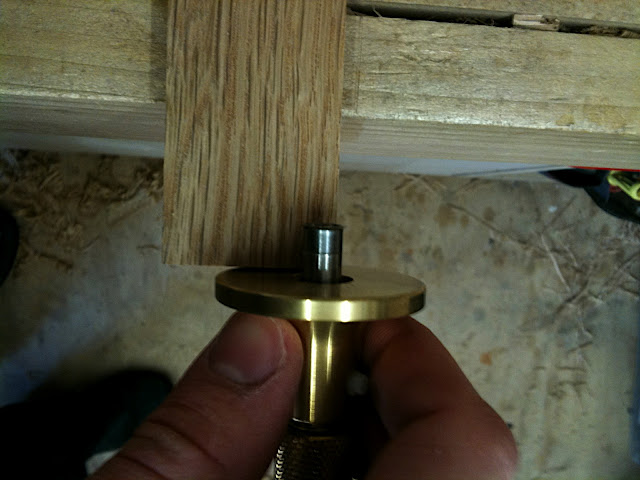
This is sometimes known as the "Rob Cosman Technique" i'm using, and I've found that for me it works very effectively. To mark the tails, use a pair of dividers. Because the drawers are so thin, one tail is sufficient, but for more he has a well documented technique for getting nice, even spacing.

IMG_0232.jpg


Now, stick a pen in the hole you just made and slide a dovetail template up against it. Mark both faces.

IMG_0235.jpg


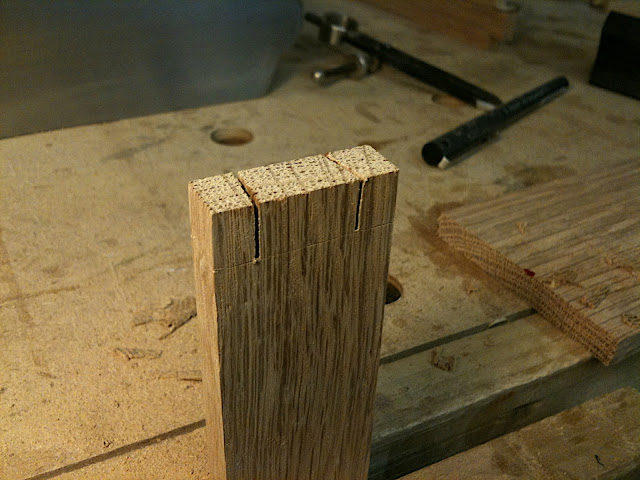
Saw on the waste side of the marks. It doesn't actually matter if you follow the line on the face, the critical thing is that it's square across the end and nice and straight.


IMG_0239.jpg


Now, remove the shoulders. This gave me real trouble when I started. My preferred technique is to saw as close to the line as possible, then trim it perfectly with a chisel. I found the best way is to hold the workpiece and the chisel near the end, and pare it away like I was whittling it.

IMG_0240.jpg


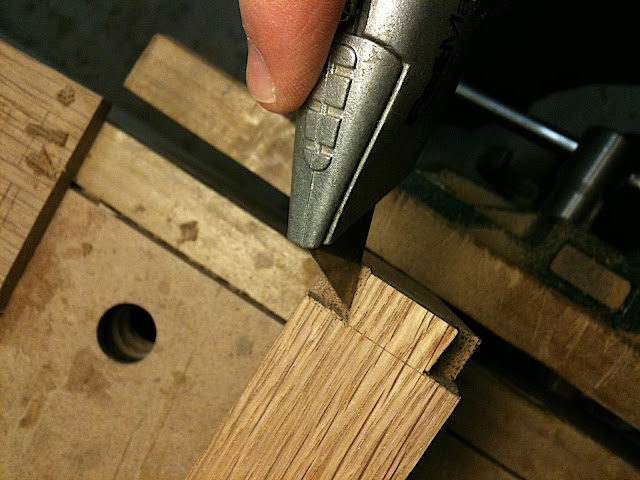
Marking the pins from the tails gave me the most trouble. It would squirm around or move as I cut it with the knife, but I think I've now got the technique sussed. Firstly, move the handplane as far away as possible, so when you push down in the middle of the piece you get the maximum torque. I found that the most effective tool was actually a good ol' stanley knife. This IMHO gave me a good mark which I had no trouble sawing to. The deep grain of the oak probably didn't help and my nicer, finer knives would probably be a better choice for something with a finer grain.

IMG_0243.JPG


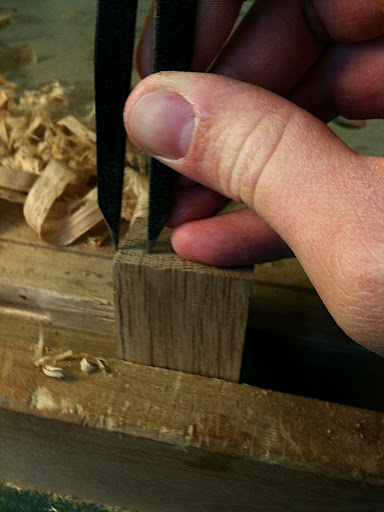
Now, saw on the waste side of the line. Using the stanley blade meant that the line was easy to see, but the saw has a tendency to move into the center, but after one or two duff joints I nailed the technique. Basically, the first cut needs to be made with confidence. Line the cut up, steady the saw with your other thumb and forefinger, and in one smooth motion make the first cut.

IMG_0246.JPG


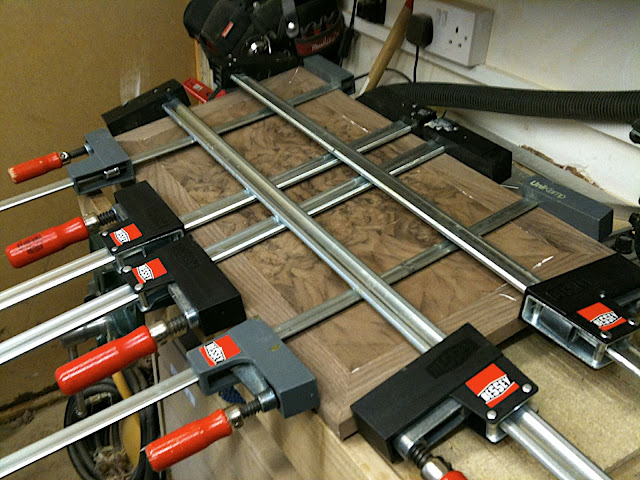
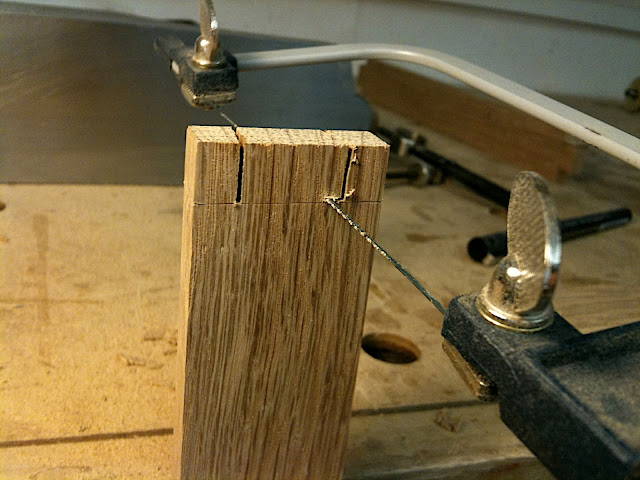
I've tried chopping out the waste ala Frank Klausz, but I found that for hardwoods it was much quicker to use a fretsaw:

IMG_0247.jpg


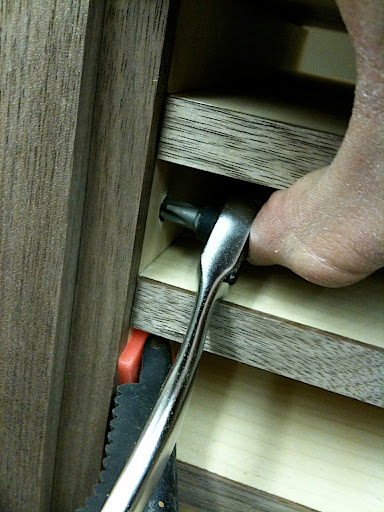
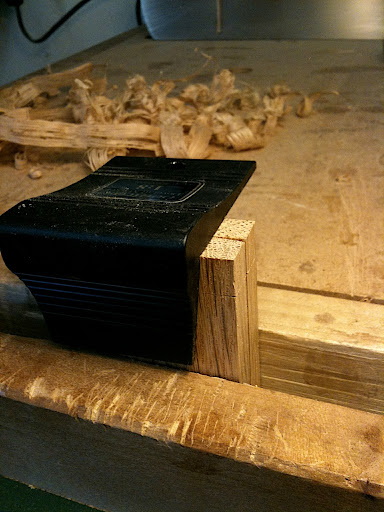
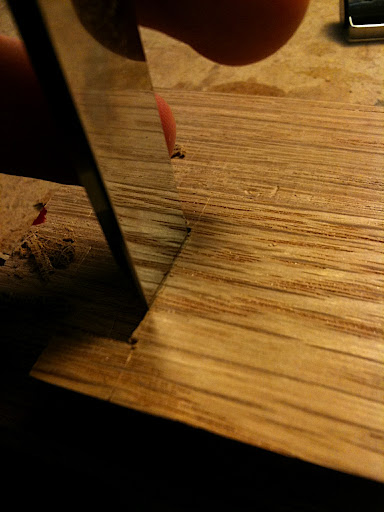
After removing the waste, clamp it to a piece of scrap and chop out the waste. A tip I picked up from David Charlesworth's book is that the most important cut is the penultimate one. Cut back until you have less than half a millimeter before putting the chisel right in the groove left by the marking gauge. I tried paring these cuts, but I got much better results by using a small carving mallet.

To begin with, I purposely angled the chisel to create a hollow, but this caused problems when I chopped from the other side. A much better technique is to stand sideways on and get it as near to vertical as possible.

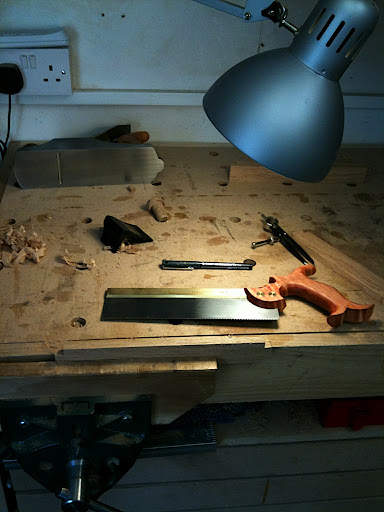
Having a cheap angle poise lamp is a great tip - you can get it to cast a shadow into the groove made by the marking gauge.

IMG_0248.jpg


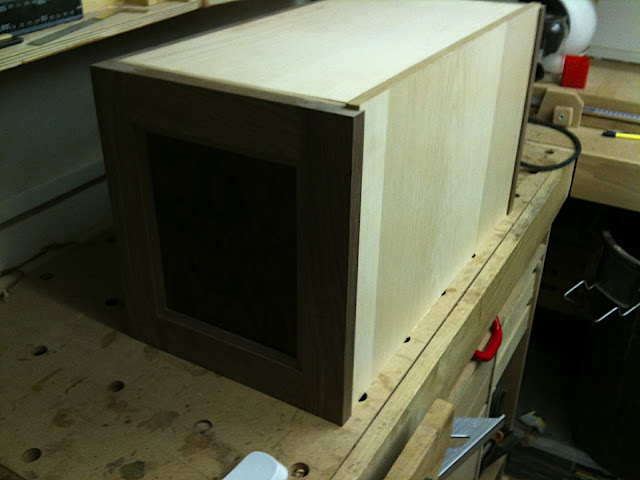
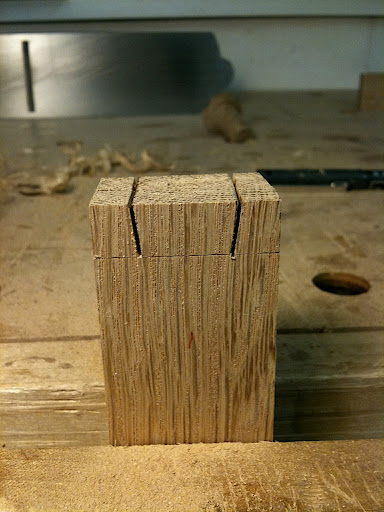
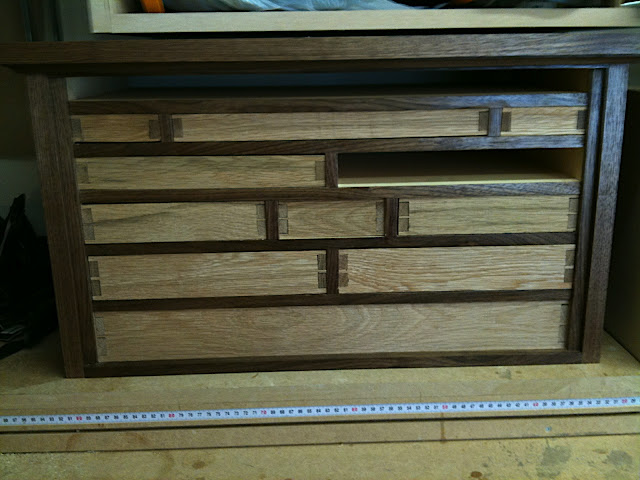
Here's one I made earlier:

IMG_0250.JPG


Just a couple more to go, then I'll make the fronts and design a nice handle:

IMG_0251.JPG
 
Excellent work! I am really glad you have picked this back up again as I really enjoyed following the progress you had made before your little 'break'! :wink:
 
Good work Tom. Lovely chisels, I have my eye on a set of those. But please, take off those tacky stickers :roll: :wink:
 
Im also glad this is up and running again.

Something i will be making within a month or 2.

The only thing im going to change is i will be doing lapped dovetails instead of through at the front. Other than that it looks great.
 
nice looking chest, what "fronts" are you planning on putting on? will they match the rest of the chest or contrast?

looking forward to seeing it finished with handles 8)
 
But please, take off those tacky stickers

I was hesitant to remove the stickers - when I tried to peel them off my japanese chisels it left an 'orrible gooie mess and I wished I left them on :)

what "fronts" are you planning on putting on?

They're going to be maple with African blackwood handles of some description.
 
DeepBlue":wynn521c said:
I was hesitant to remove the stickers - when I tried to peel them off my japanese chisels it left an 'orrible gooie mess and I wished I left them on :)

A can of lighter fuel is an essential workshop item in my view, and will quickly remove most sticky adhesives very easily, plus you can buy it from the newsagents!

Ed
 
You can buy 'Goo Gone' stuff to remove the sticky residue, but any alcohol like Isopropyl will work.
 
I've just given it a try, and for anyone who's interested Ashley Isles stickers do leave an annoying residue, but a little dab of white spirit gets it off without any noticeable effect on the finish
 
DeepBlue":crkspba1 said:
Thats a good tip - but doesn't that take the lacquer off with it?

No I doubt it (you don't light the fuel mind you.....)

Ed
 
DeepBlue":hsxokvjf said:
I've just given it a try, and for anyone who's interested Ashley Isles stickers do leave an annoying residue, but a little dab of white spirit gets it off without any noticeable effect on the finish

Good work. I do wish they'd change those stickers.
 
wizer":hor9bsc6 said:
DeepBlue":hor9bsc6 said:
I've just given it a try, and for anyone who's interested Ashley Isles stickers do leave an annoying residue, but a little dab of white spirit gets it off without any noticeable effect on the finish

Good work. I do wish they'd change those stickers.

Something tells me that Matthew asked them to stop using the stickers, and they said that they never liked them in the first flace, so all chisels now come sans stickers.

Lovely chisels BTW, I have two, and will add to the set as and when reqired. Unfortunately for Matthew though, I have some Marples chisels that I really like, and are too good to be relegated to the DIY toolbox.

Cheers

Aled
 

Latest posts

Back
Top