Tom's Tool Chest - Finished!

UKworkshop.co.uk

Help Support UKworkshop.co.uk:

This site may earn a commission from merchant affiliate links, including eBay, Amazon, and others.

DeepBlue

Established Member
Joined
4 Dec 2004
Messages
215
Reaction score
0
Location
Wokingham
About 2 years ago I bought some American black walnut to turn into a tool chest. As various Christmases and birthdays went buy the pile got smaller and smaller, but as I've got 2 weeks off work I've decided to bite the bullet and get a move on.

The idea is to make a machinist's chest big enough to take all my measuring and marking tools, chisels and small handplanes - I've been using philly's for inspiration. The final dimensions will be about 12x12x20 ish, just the right size to fit in a space under my wall cabinets. It'll be entirely fitted out with drawers so I can put stuff on the top.

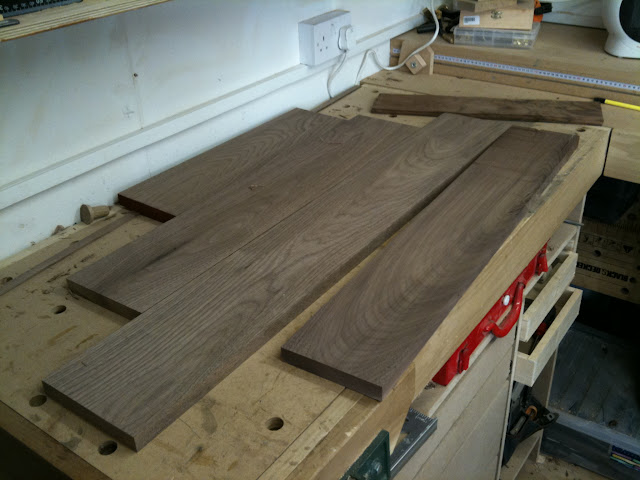
I started by planing up my (remaining) stock. Behind it you can see the veneer which I "borrowed" from my brother to make the panels with.

IMG_0136.JPG


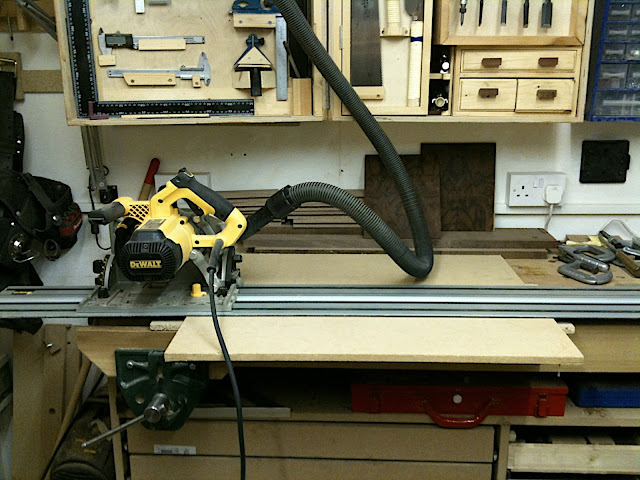
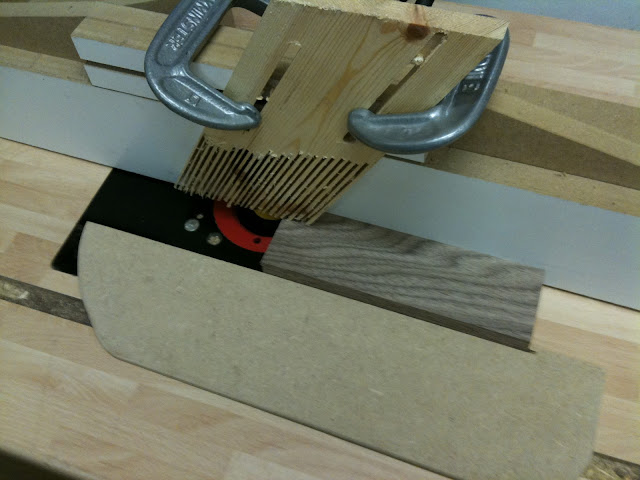
Then I got a bit carried away and ripped and crosscut the pieces to size. I'm using a coping bit in my router table to join the pieces. I got it for christmas ages ago, and this is the first time I've used it in anger.

IMG_0138.JPG


All the rails and stiles done:

IMG_0139.JPG


Now cutting the matching parts on the rails:

IMG_0141.JPG


I was a bit worries about breakout on the back side, but it seems ok when I tried the test piece, so I just went for it.

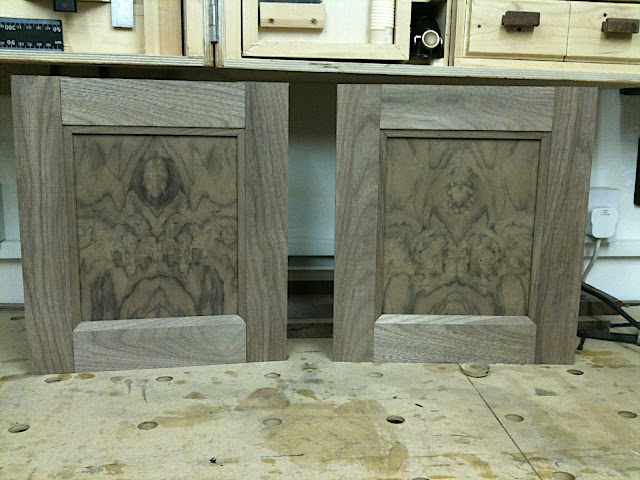
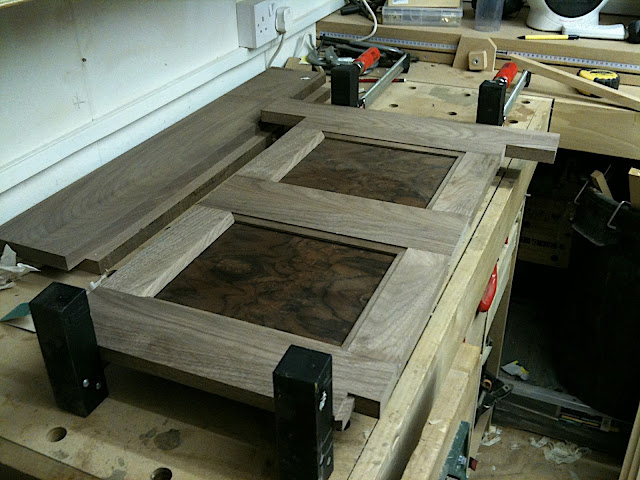
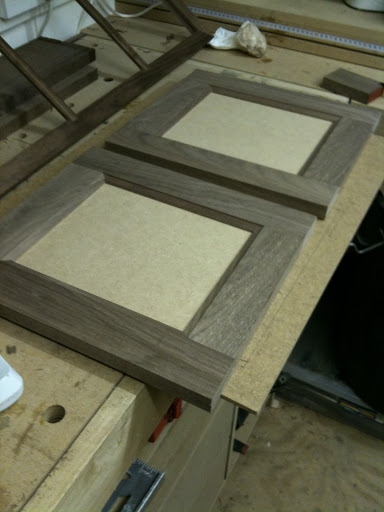
All the bits dry fitted together with the MDF panels:

IMG_0143.jpg


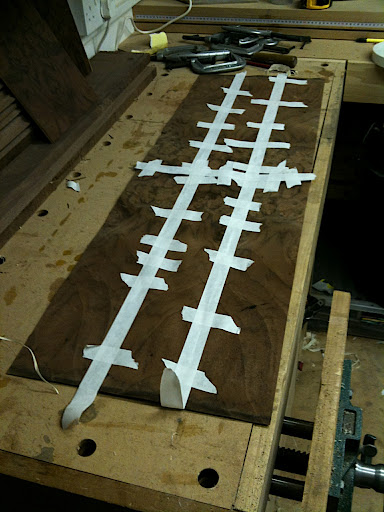
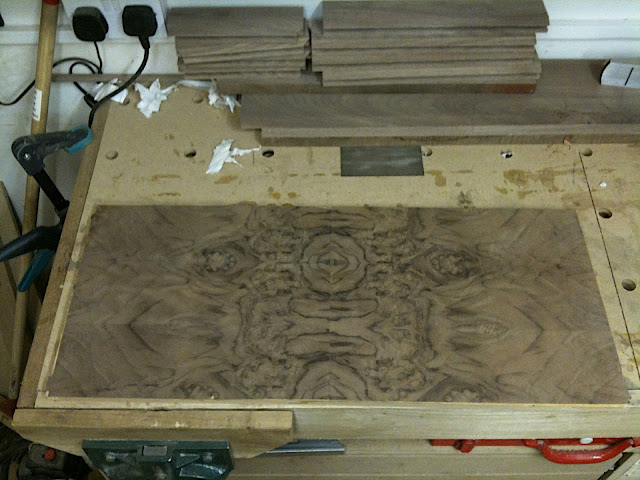
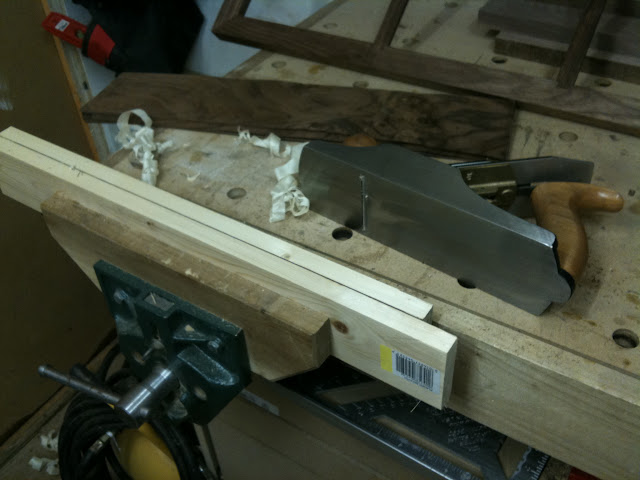
Now, onto the veneering. I've only done this once before, so here goes. first I jointed it between two scraps:

IMG_0144.JPG


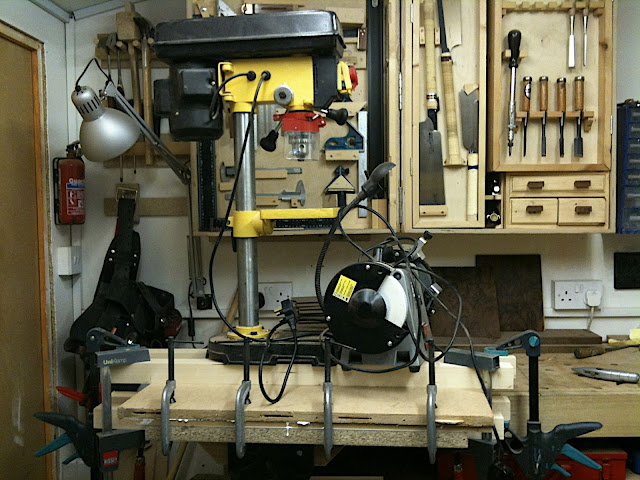
Then I joined two pieces together with veneer tape, then clamped it up with cauls and plenty of clamps

IMG_0145.JPG


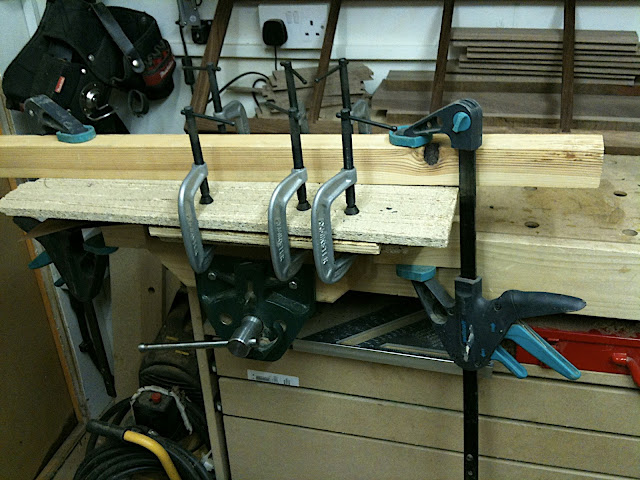
I'll take them out of the clamps this morning - fingers crossed!
 
Brilliant start Tom. Looking forward to the rest of the project. Tool chest is on my new year list.
 
Nice start on this one. Using a coupla battens to shoot the edge of veneer is the only way IMO, to get a decent joint. If you do much more veneering it's worth making a bigger veneer shoot, the problem then becomes one of having sufficient cramps to get a decent pressure across the board being glued - Rob
 
OK, after taking it out of the clamps I had to pry it apart as some glue had seeped in between the panel and the caul, I guess I should have covered it in something :(. I then scraped and sanded the veneer tape off, sanded the panels to 240 and make a small rebate on the back to allow it to fit nicely into the groove.

A test fit later and I'm well chuffed:

IMG_0146.JPG


Then a coat of danish oil to pop it:

IMG_0147.JPG


I'm not entirely sure what to do with the finish, but I'm thinking another coat or two of danish oil followed by a few coats of thinned poly? Though I'm loathe to use it, I want this this to be well protected (from me!).

Has anyone got any tips for getting a good finish on a frame and panel? Is there anything more I can pre-finish to avoid problems later?

Cheers
-Tom
 
Just curious...were they four consecutive leaves of veneer or two pairs of different leaves? The bookmatched patterns look different on each door, if they'd been consecutive leaves one door ought to look very similar to the other one
Edit - silly me...it looks like one door is upside down, or vice versa - Rob
 
They are actually consecutive leaves, but the "proper" one which was in between the two you see here was damaged, and I needed the rest for the top.

Those things are actually the two end panels, so thankfully you shouldn't be able to see them both at the same time.
 
After my success with panels for the sides, I thought I'd push my luck and make the top the same way, only this time trying to join 6 bookmatched pieces together :S.

Anyway, i'm pretty satisfied with the results, but I'll have to wait to see tomorrow. I jointed the leaves using the same method as before - squish between 2 boards and plane with a 4 1/2:

IMG_0149.jpg


Then cut the substrate oversize:

IMG_0150.JPG


Then hope for the best and put it in the poor man's vacuum bag:

IMG_0151.JPG


Cheers
-Tom
 
Hope this turns out well...on a longer length join like this a longer plane would be better to shoot the edges though. Interested to see how this section of the tool chest works out - Rob
 
woodbloke":32s07yzv said:
.on a longer length join like this a longer plane would be better to shoot the edges though.

Sure - the reason for going with the 4 1/2 was simply because its the best plane I own (i.e. the only LN). I have got an old 5 1/2 stanley which isn't bad, but I find the LN is always superbly accurate, even over relatively long distances.

On the other hand I do quite fancy a jointer, so I think I'll pass your advice on to the LOML :D.
 
The pattern in those smaller panels is not dissimilar to your avatar Tom. The patterns you get from bookmatching can be stunning. I must photograph some leaves that I got on ebay for a song. One of them looks like this emoticon :twisted: I kid you not ;)
 
Maybe it's like a Rorschach (ink blot) test?

I reckon the one one the left looks like Emperor Palpatine - I guess that proves I'm a geek :)
 
I didn't manage to get that much done today, but I did scrap and sand the panel for the top:

IMG_0155.JPG


It's not bad, most of the joints are fine but a couple are non-invisible, but I'm still pretty pleased overall. Also, its much bigger than I need, so I think I'll be able to chop most of the bad bits at the ends off.

I also clamped up the two end panels:

IMG_0158.JPG


With any luck I'll be able to start on the interior soon. This will consist of a maple veneered MDF jobbie with space for 6 rows of drawers. I did consider doing a proper job and making the interior out of real wood frames, but I think this will be much more stable and a whole lot less fiddly.

Cheers
-Tom
 
I saw a Nordic Viking face, on the left ? and I'm afraid to say :oops: I saw ladies bits on the right :lol: I guess that proves I'm a perve :lol:

Regarding the bag press :lol: GWW showed a "Space Bag" as a cheap and easy to use version, not sure how reliable they are for this type of application? but they're fantastic for their proper use, and can't see why they wouldn't work?

They're available at Costco for about £18 and you get loads of bags, and all a decent size, I suspect the Jumbo would easily have accomodated your veneers ? and worse case.......you can still put all your stuff back on as back up :wink:

Cheers

Jed
 
jedmc571":181a5j6d said:
I saw a Nordic Viking face, on the left ? and I'm afraid to say :oops: I saw ladies bits on the right :lol: I guess that proves I'm a perve :lol:

Regarding the bag press :lol: GWW showed a "Space Bag" as a cheap and easy to use version, not sure how reliable they are for this type of application? but they're fantastic for their proper use, and can't see why they wouldn't work?

They're available at Costco for about £18 and you get loads of bags, and all a decent size, I suspect the Jumbo would easily have accomodated your veneers ? and worse case.......you can still put all your stuff back on as back up :wink:

Cheers

Jed

Jed, do you mean the bags advertised on the tv for storing clothes etc, and GWW claim that you can use them for veneering?

If that's the case then I think I will give them a shot because it is certainly a cost effective way :lol:

If I read you post correctly then thanks for the tip.

Cheers

Mike
 
looking good there. Use some poly with a touch of pure turps and rub it in till its swimming in the mix let it sink in then wipe excess off leave to harden - 24hrs generally then do it a couple more times and your done. Good workshop finish to protect sall your hard work.

hth,

hs
 
Back
Top