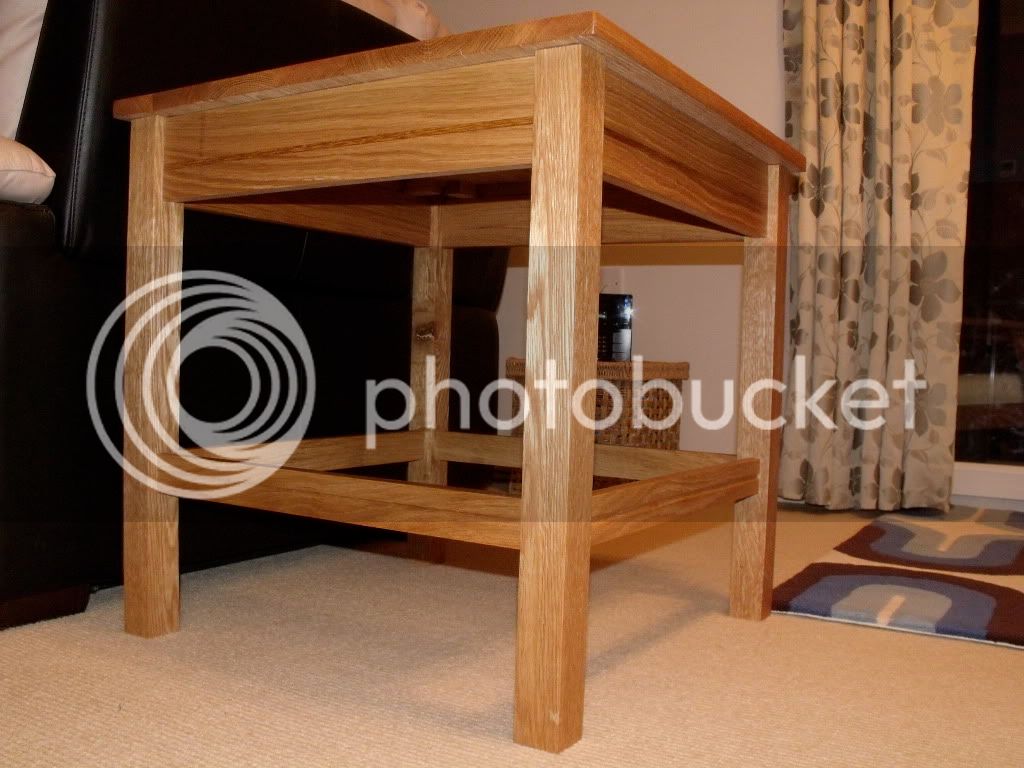
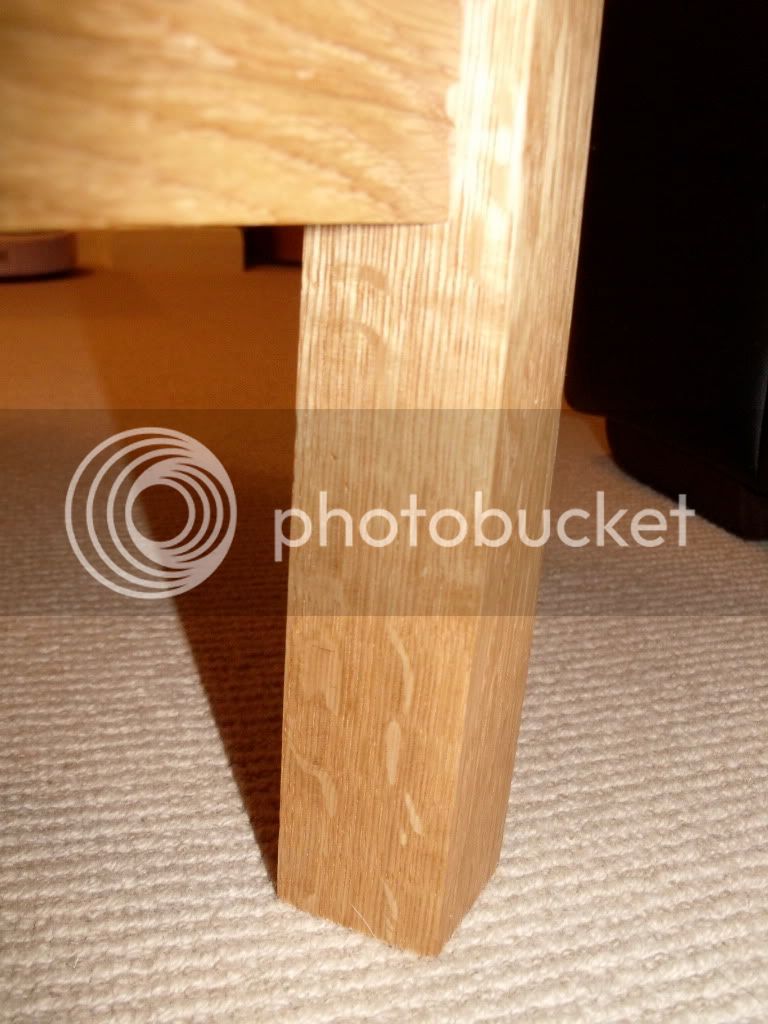
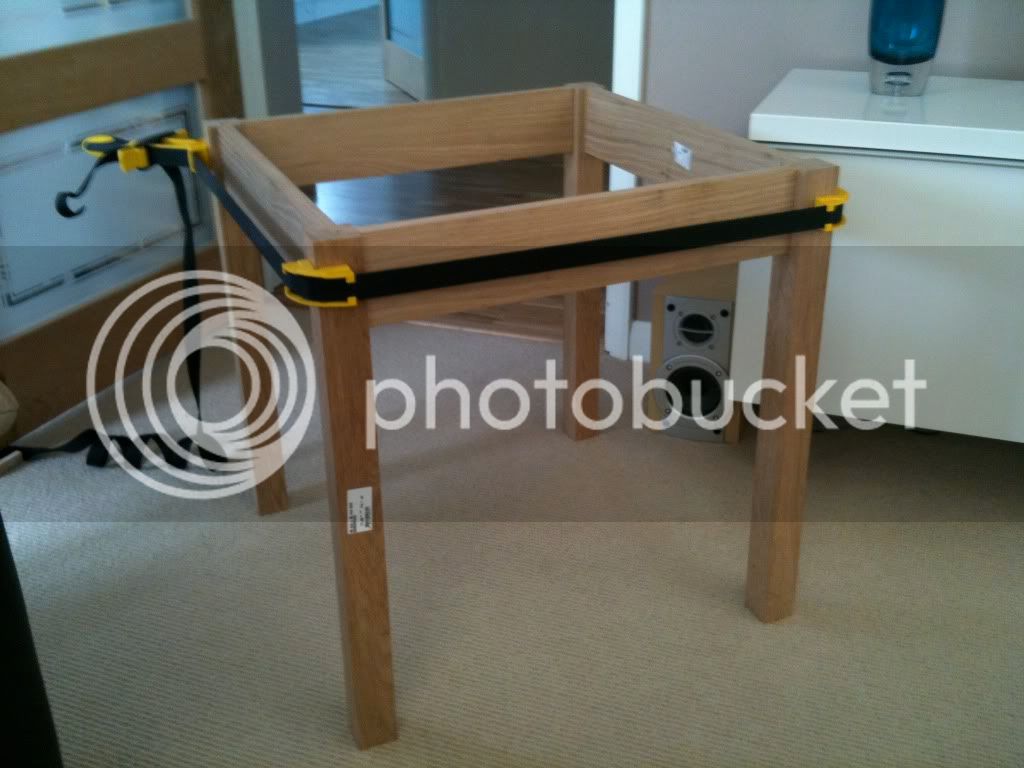
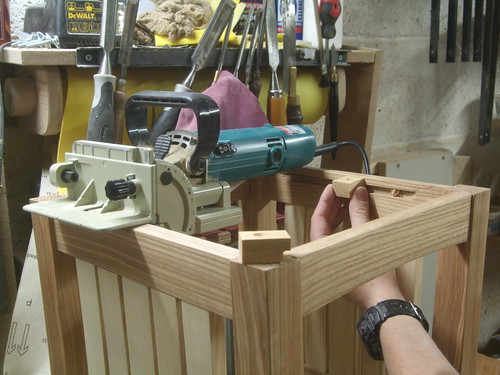
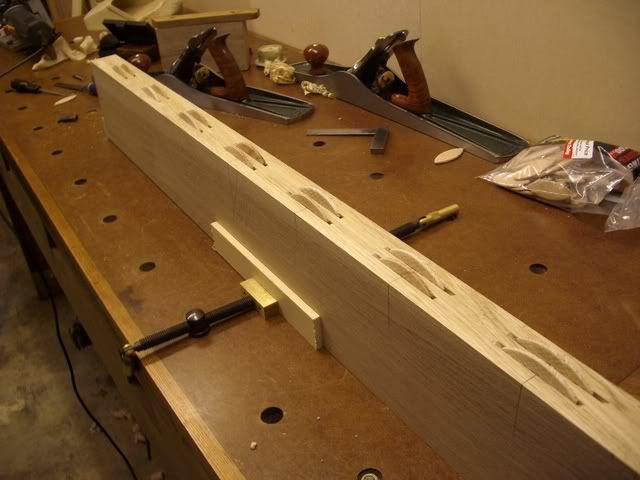
I started making a small(ish) table from oak today.
It went well despite some problems not being able to get a deep enough cut for the mortices with my router...
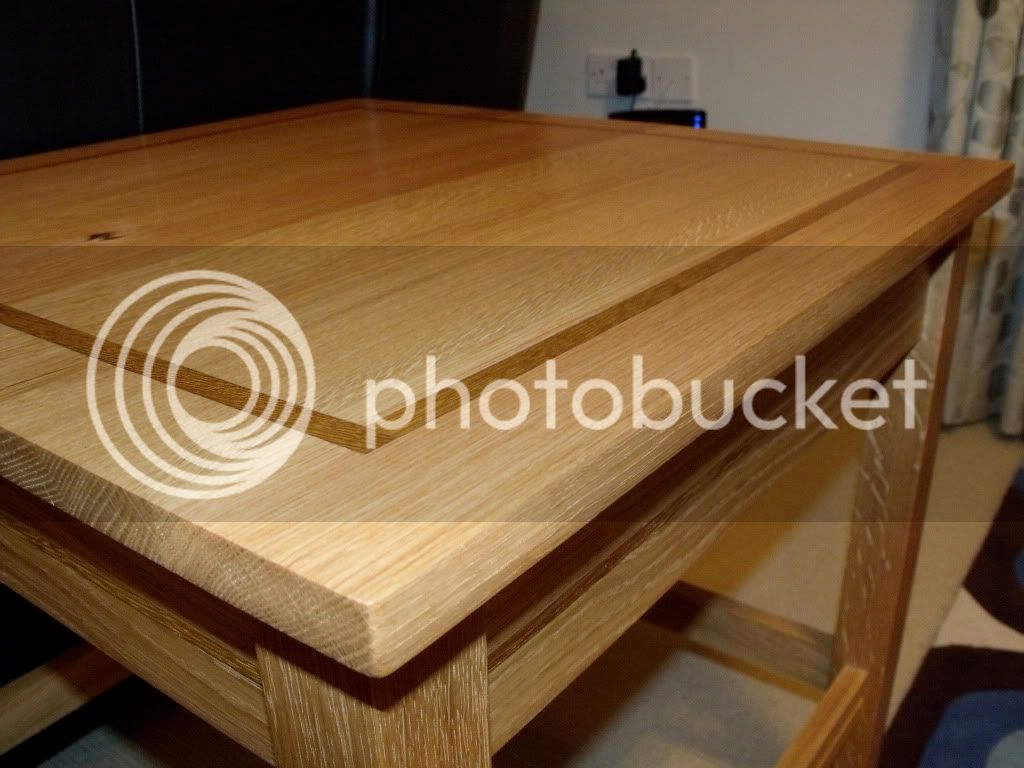
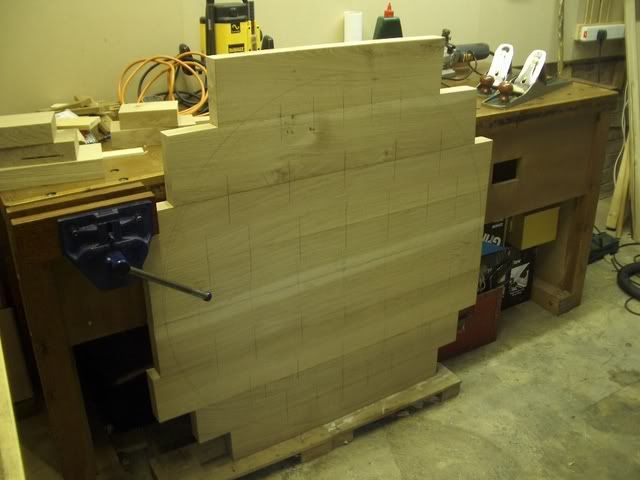
I'm going to have a bash at the top tomorrow but need some advice before I ruin the outrageously expensive oak I bough for it.
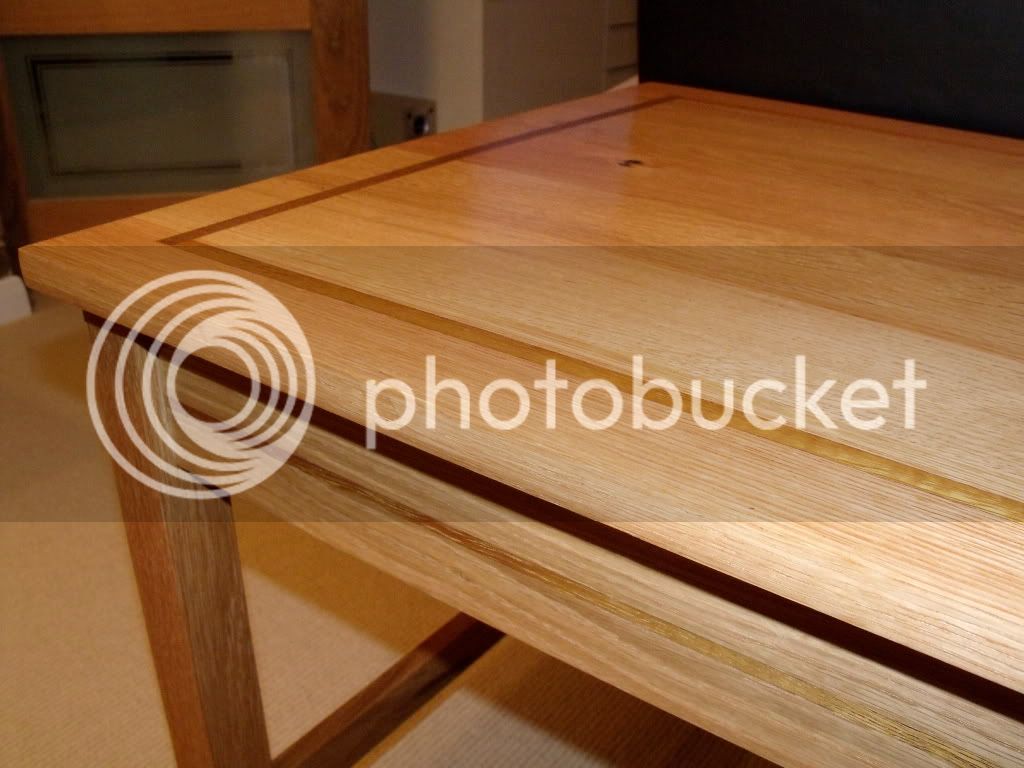
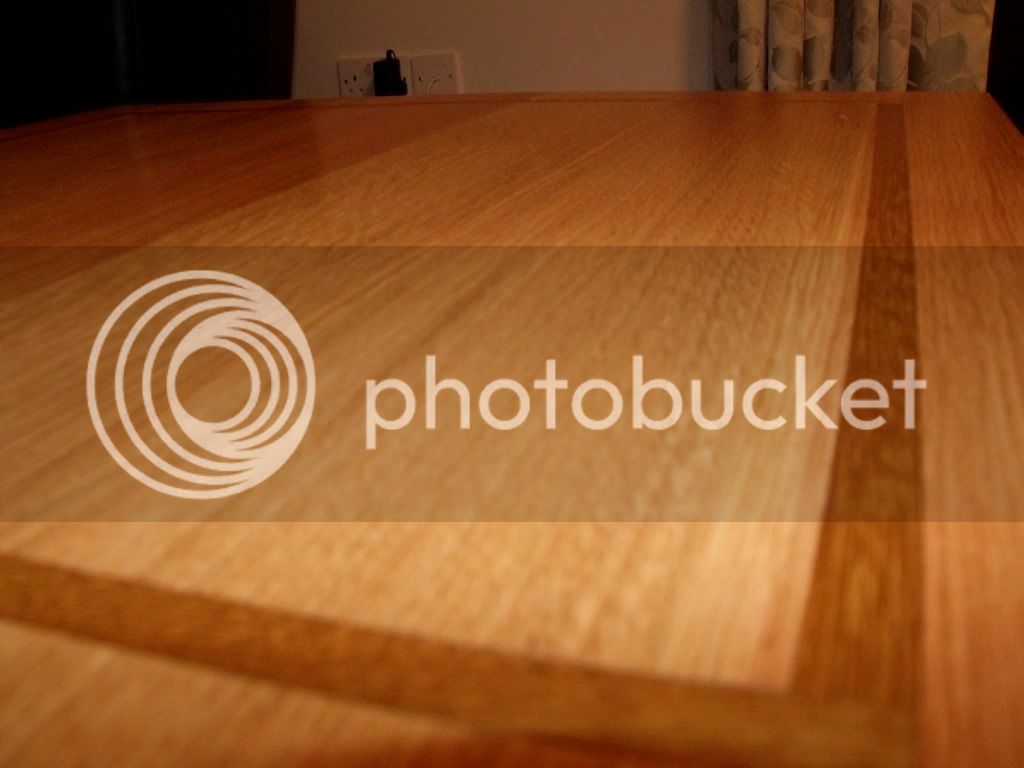
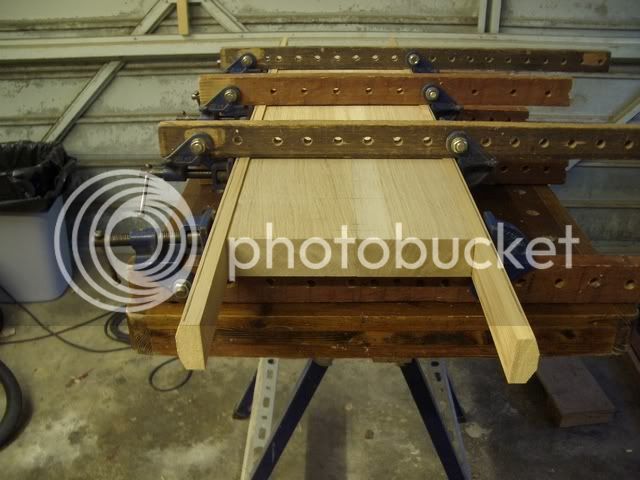
The boards I am using to make up the top are 94mm wide. I will need five and a bit boards to make it. Can I rely on glueing them or should I look at using some sort of physical joint too? I don't have a biscuit jointer so that's out until next pay day at least.
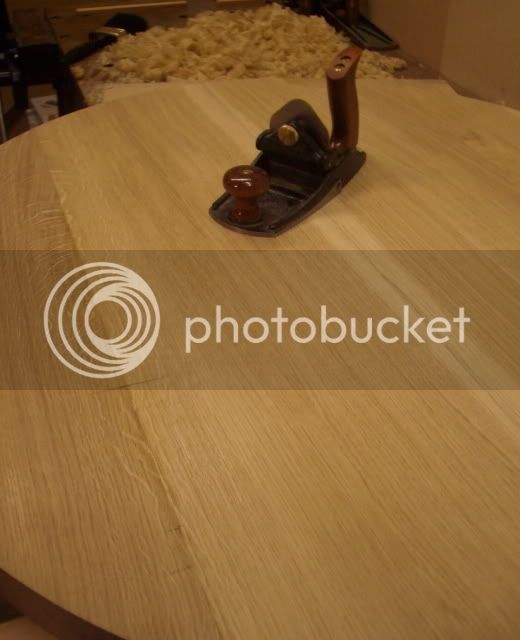
Secondly, I had planned to attach the top with screws rebated from the underside of the apron, just a couple on each side. The top is 25mm thick but I'm a bit concerned about getting the depths of the holes wrong and coming through the 'top of the top'
Any suggestions / tips chaps?
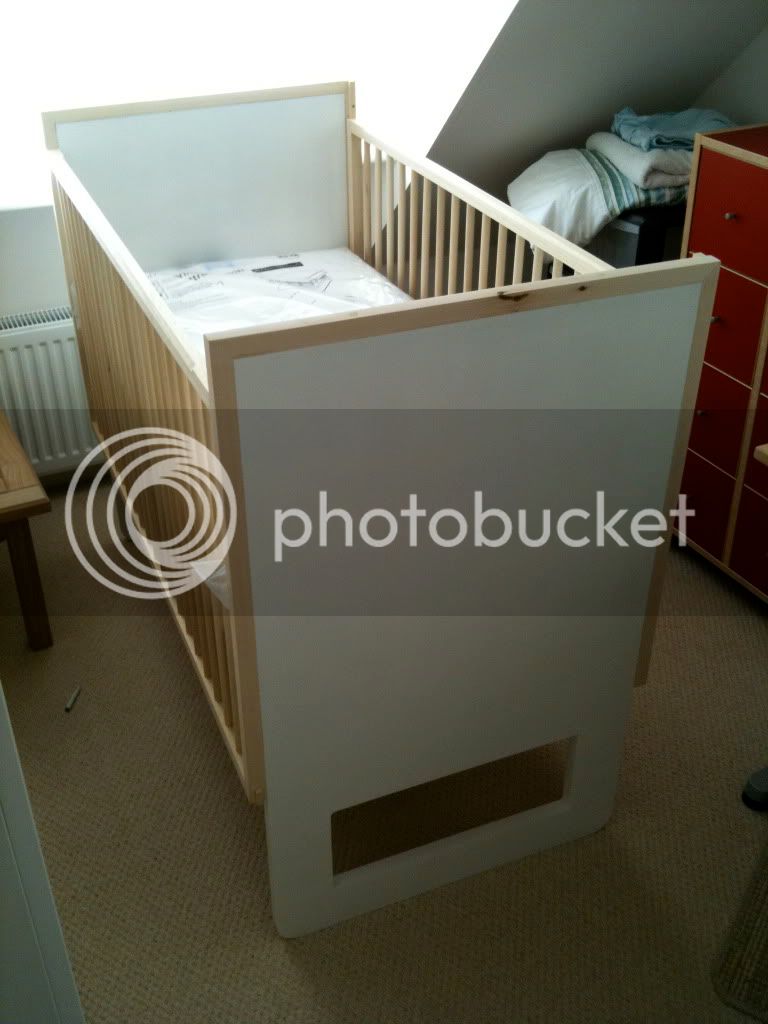
Oh, while I am at it, here is a cot I have almost finished. Just needs some sanding and finishing. I have some boiled linseed oil for the unpainted parts, but it seems to come out a bit yellow. Is there an oil I can use to retain the natural colour of the wood?
It went well despite some problems not being able to get a deep enough cut for the mortices with my router...
I'm going to have a bash at the top tomorrow but need some advice before I ruin the outrageously expensive oak I bough for it.
The boards I am using to make up the top are 94mm wide. I will need five and a bit boards to make it. Can I rely on glueing them or should I look at using some sort of physical joint too? I don't have a biscuit jointer so that's out until next pay day at least.
Secondly, I had planned to attach the top with screws rebated from the underside of the apron, just a couple on each side. The top is 25mm thick but I'm a bit concerned about getting the depths of the holes wrong and coming through the 'top of the top'
Any suggestions / tips chaps?
Oh, while I am at it, here is a cot I have almost finished. Just needs some sanding and finishing. I have some boiled linseed oil for the unpainted parts, but it seems to come out a bit yellow. Is there an oil I can use to retain the natural colour of the wood?
")