Derek Cohen (Perth Oz)
Established Member
My friend Larry is adamant that bevel up planes cannot be cambered as easily as bevel down planes
“… for the low angle blade profile to have the same projection as the common pitch plane it would have to have more than three times as much camber…”
Larry has a point. My own experiments have shown that BU planes require more camber than BD planes. It is for this reason that cambering BU planes has been considered a weakness in the design. Hopefully we can put an end to this view now. The fact is it is dead easy to camber a BU blade … it still will require a larger camber, but this is not a significant issue as long as you follow one simple rule. Let me show you how it is done.
The Way to Camber Bevel Up Blades.
Here it is in a nut-shell … grind the primary bevel on all plane blades to 25 degrees. Don’t try to camber any blade that is greater than this, such as one with a 38- or 50 degree primary bevel (such as those available as optional purchases through Veritas). The latter blades are perceived to be a shortcut to honing, but this is an illusion.
BU planes blades are best prepared with a microbevel. There is no difference if this is added to a 25-, 35, or 45 degree primary bevel. However, the steeper the primary bevel, the more steel to remove when honing/grinding a camber. With a 25 degree primary bevel there is relatively little waste to remove. With a 50 degree bevel … well, you’ll drive yourself insane trying to do so..
What kind of camber do you want?
Cambers vary from a .001” thin shaving on a finish smoother to that of the “traditional fore/jack plane used for roughing would have about 1/16" of camber”, as Larry notes. Mmm … can a BU Jack produce a cambered shaving that thick? Easy-peasy!
To illustrate that there is very little extra effort in preparing the camber on a (bevel up) Veritas Low Angle Jack compared to, say, a (bevel down) Stanley #5 ½, I prepared the following tutorial.
What I do
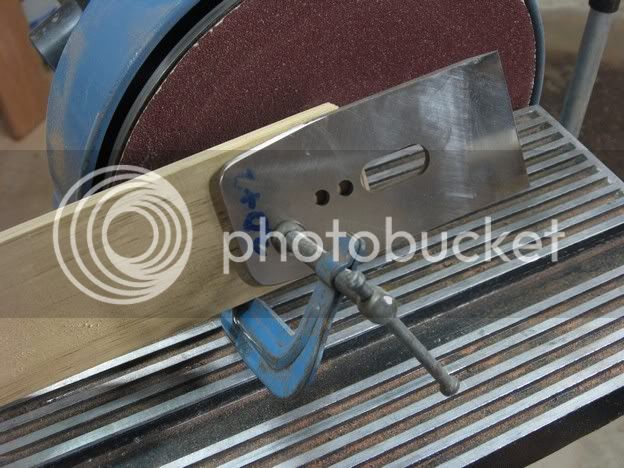
The first step is to start with a blade with a 25 degree primary bevel. I do my flat grinding on a belts sander on which I built a jig similar to a Tormek (this was published in a past FWW magazine). If I have to remove a lot of metal, I will use a 40 or 60 grit belt. This runs quite cool.
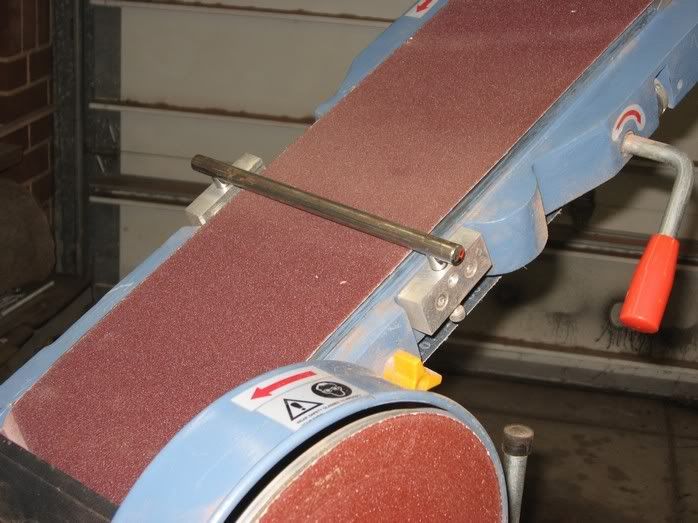
Here is an example of a 25 degree straight grind on the belt sander …
The second step is to construct a template for grinding the camber.
Prepare a block of wood the same width as the blade and mark off 1/16” at each end, then draw an arc across this. Remove the waste, so ….

Mmmm… I think I took off a bit more than 1/16”. Looks like 5/64”.
The completed template looks like this ..
and
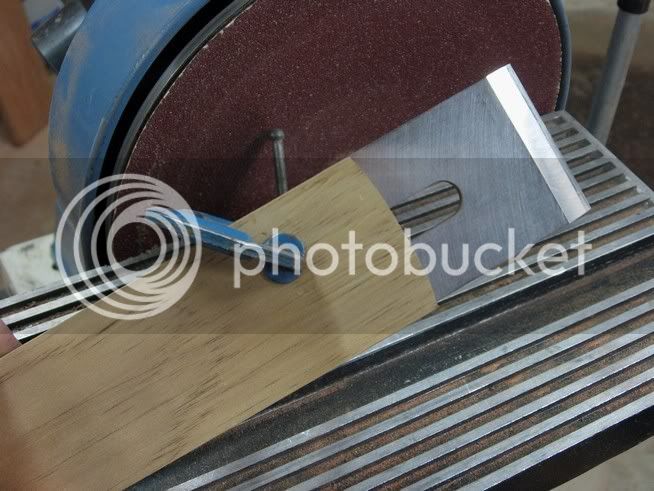
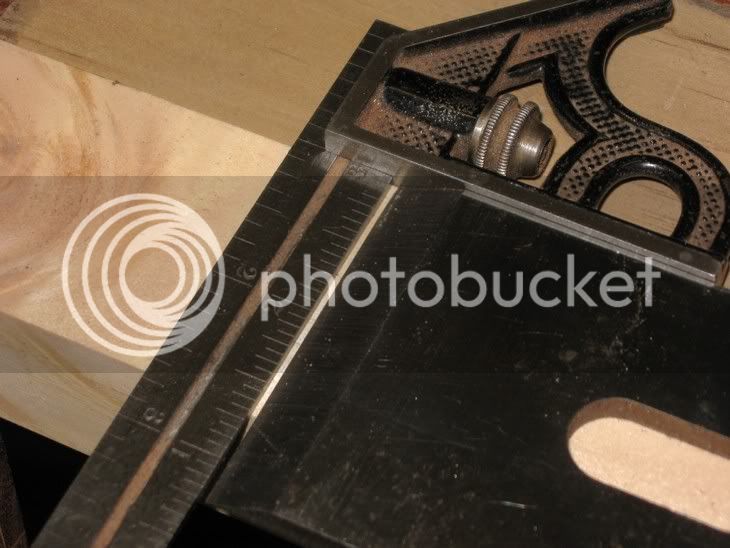
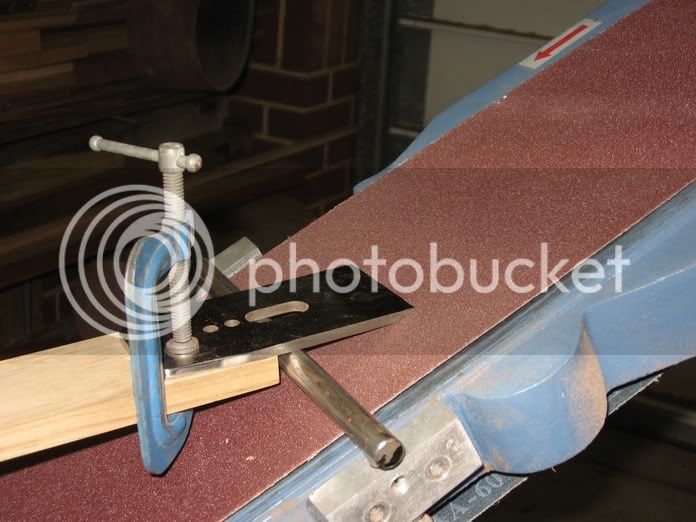
Adjusted to grind a 25 degree bevel, it works like this …
The result is a cambered 25 degree primary bevel ….
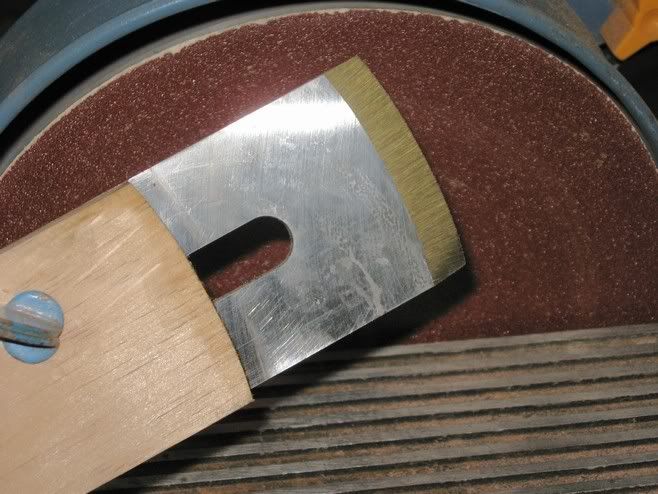
And, yes Bugbear, the camber does indeed match the template! Look …
Honing the Secondary Bevel
The aim is now to add a secondary microbevel of 35 degrees. This will create an included angle of 47 degrees, which is close to the 45 degrees of the typical bevel down cutting angle.
To do this I used a Veritas Honing Guide Mk II (with camber roller) and Shapton waterstones.
The honing guide requires a little modification. Draw a line at the blade stop to help determine the 35 degree setting. Users of this honing guide will understand this instruction.
The Shapton waterstones used were, in order, 1000/5000/8000/12000.

Here is the microbevel that was produced …
And here is the camber as seen from the mouth of the LA Jack …
Soooo .. what about the shavings? None of this means anything without any shavings ..
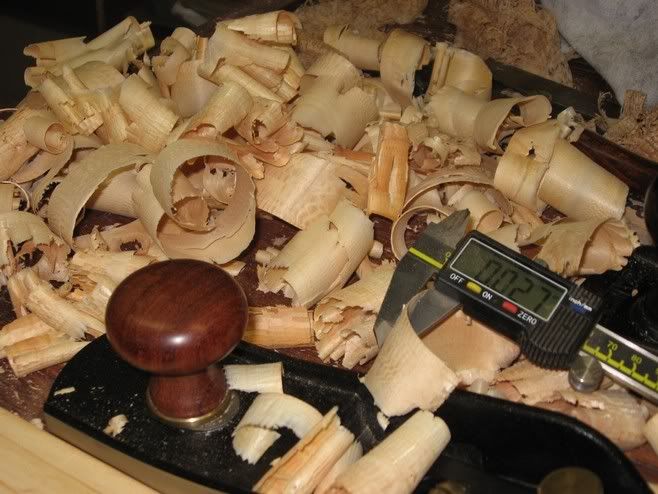
Here is a thinnish shaving …
… and a thickish one …
It is possible to go thicker still, but I did not do so here.
Instead, I took some pictures of cambered shavings on other BU planes….
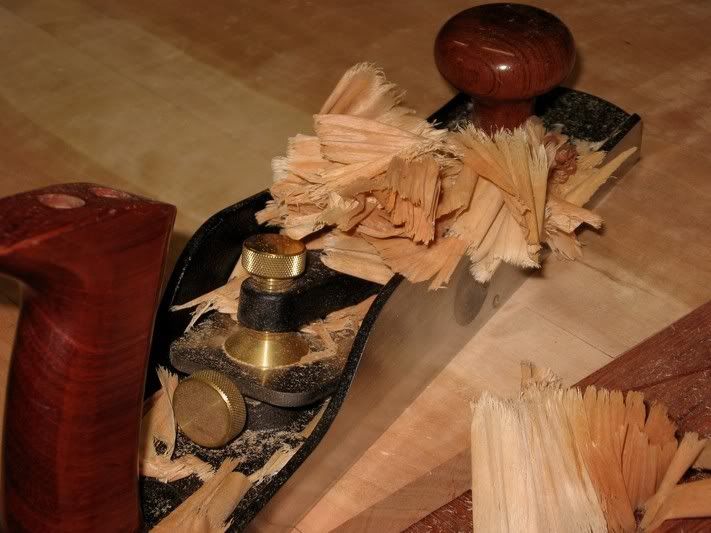
This is one on the Veritas BU Jointer on the edge of a pine board. Look at the thick center and the tapered edges. The shavings are identical to those taken by a cambered Stanley #7. I am sure that David Charlesworth would be proud.

And here is a finely cambered smoother shaving…. Tasmanian Oak planed by the Veritas BU Smoother.
What is relevant to note about these last two shavings is that the secondary bevel on each is 50 degrees. Further, these were created without a template – simply by extra pressure on the edge of the blade.
Following the 25 degree primary bevel preparation on the belt sander, the honing guide was set for a 50 degree micro secondary bevel. Ten strokes on the 1000 were enough to create a wire edge across the bevel face. An extra 5 strokes each side was sufficient to create the camber for the smoother, and 10 strokes for the jointer. The 5000 followed with 10 strokes to center, left and right. Ditto 8000 and 12000 ‘stones. The wire edge was removed on the 12000.
In conclusion
I agree with friend Larry that the camber on a BU plane needs to be steeper than on a BD plane. However I do not view this to be a negative factor. It is just a difference in honing, and one that one just accepts as part of the honing method when using these planes. When the secondary microbevel is added to a 25 degree primary bevel, the effort level is low. Camber away without fear.
Regards from Perth
Derek Cohen
October 2007
“… for the low angle blade profile to have the same projection as the common pitch plane it would have to have more than three times as much camber…”
Larry has a point. My own experiments have shown that BU planes require more camber than BD planes. It is for this reason that cambering BU planes has been considered a weakness in the design. Hopefully we can put an end to this view now. The fact is it is dead easy to camber a BU blade … it still will require a larger camber, but this is not a significant issue as long as you follow one simple rule. Let me show you how it is done.
The Way to Camber Bevel Up Blades.
Here it is in a nut-shell … grind the primary bevel on all plane blades to 25 degrees. Don’t try to camber any blade that is greater than this, such as one with a 38- or 50 degree primary bevel (such as those available as optional purchases through Veritas). The latter blades are perceived to be a shortcut to honing, but this is an illusion.
BU planes blades are best prepared with a microbevel. There is no difference if this is added to a 25-, 35, or 45 degree primary bevel. However, the steeper the primary bevel, the more steel to remove when honing/grinding a camber. With a 25 degree primary bevel there is relatively little waste to remove. With a 50 degree bevel … well, you’ll drive yourself insane trying to do so..
What kind of camber do you want?
Cambers vary from a .001” thin shaving on a finish smoother to that of the “traditional fore/jack plane used for roughing would have about 1/16" of camber”, as Larry notes. Mmm … can a BU Jack produce a cambered shaving that thick? Easy-peasy!
To illustrate that there is very little extra effort in preparing the camber on a (bevel up) Veritas Low Angle Jack compared to, say, a (bevel down) Stanley #5 ½, I prepared the following tutorial.
What I do
The first step is to start with a blade with a 25 degree primary bevel. I do my flat grinding on a belts sander on which I built a jig similar to a Tormek (this was published in a past FWW magazine). If I have to remove a lot of metal, I will use a 40 or 60 grit belt. This runs quite cool.
Here is an example of a 25 degree straight grind on the belt sander …
The second step is to construct a template for grinding the camber.
Prepare a block of wood the same width as the blade and mark off 1/16” at each end, then draw an arc across this. Remove the waste, so ….
Mmmm… I think I took off a bit more than 1/16”. Looks like 5/64”.
The completed template looks like this ..
and
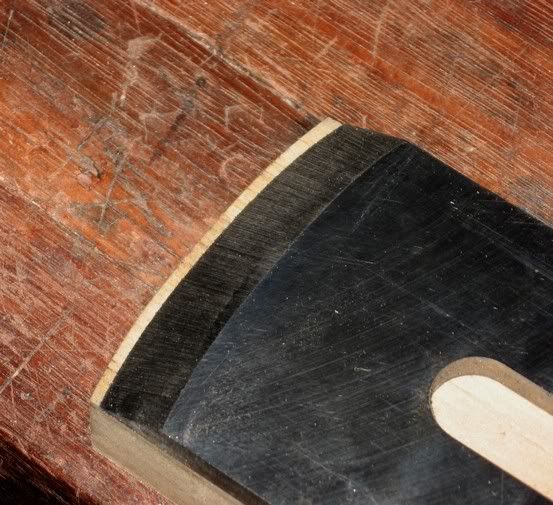
Adjusted to grind a 25 degree bevel, it works like this …
The result is a cambered 25 degree primary bevel ….
And, yes Bugbear, the camber does indeed match the template! Look …
Honing the Secondary Bevel
The aim is now to add a secondary microbevel of 35 degrees. This will create an included angle of 47 degrees, which is close to the 45 degrees of the typical bevel down cutting angle.
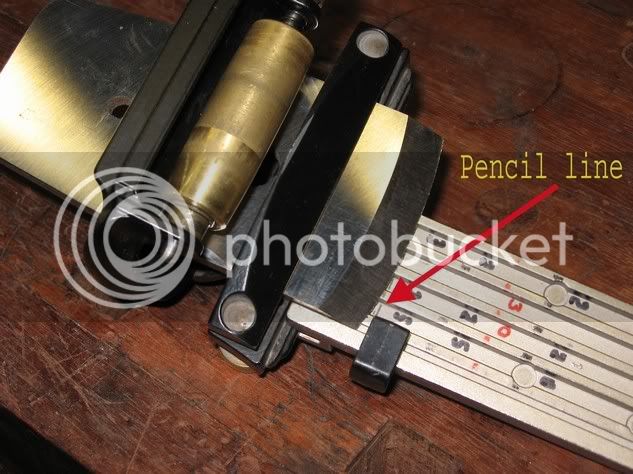
To do this I used a Veritas Honing Guide Mk II (with camber roller) and Shapton waterstones.
The honing guide requires a little modification. Draw a line at the blade stop to help determine the 35 degree setting. Users of this honing guide will understand this instruction.
The Shapton waterstones used were, in order, 1000/5000/8000/12000.
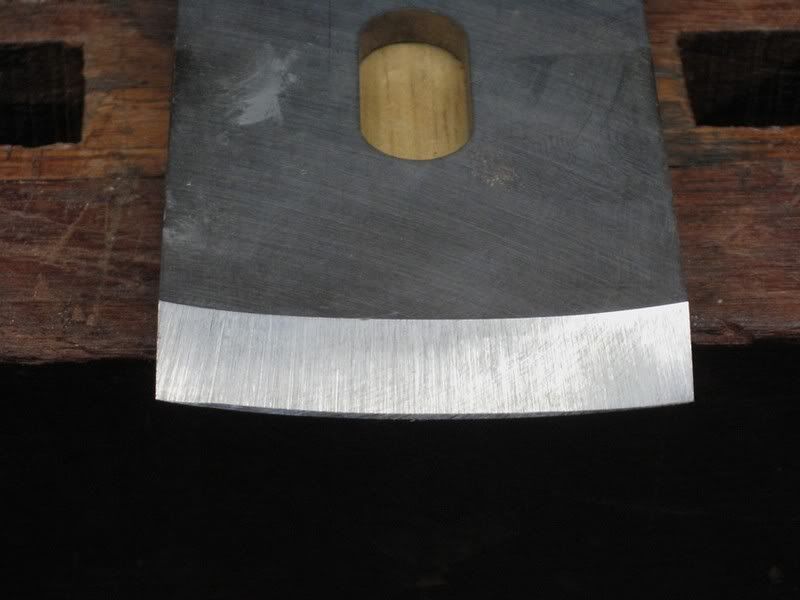
Here is the microbevel that was produced …
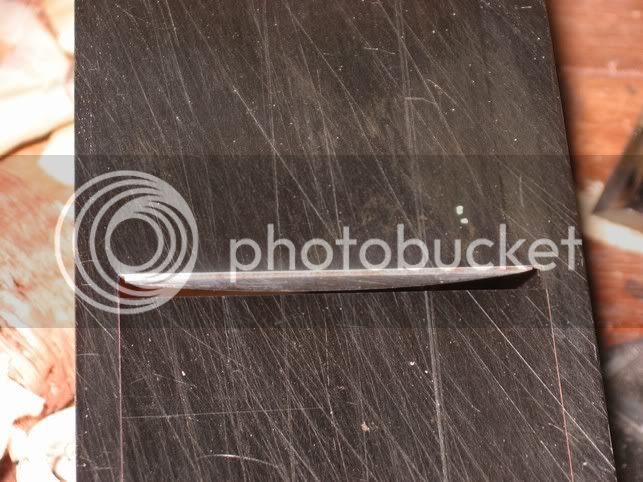
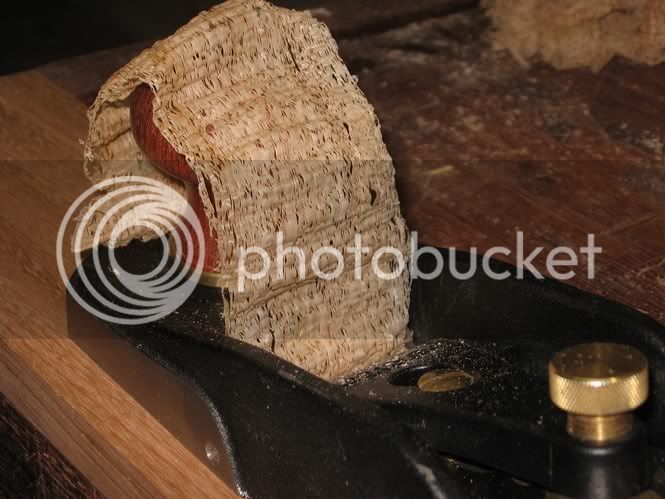
And here is the camber as seen from the mouth of the LA Jack …
Soooo .. what about the shavings? None of this means anything without any shavings ..
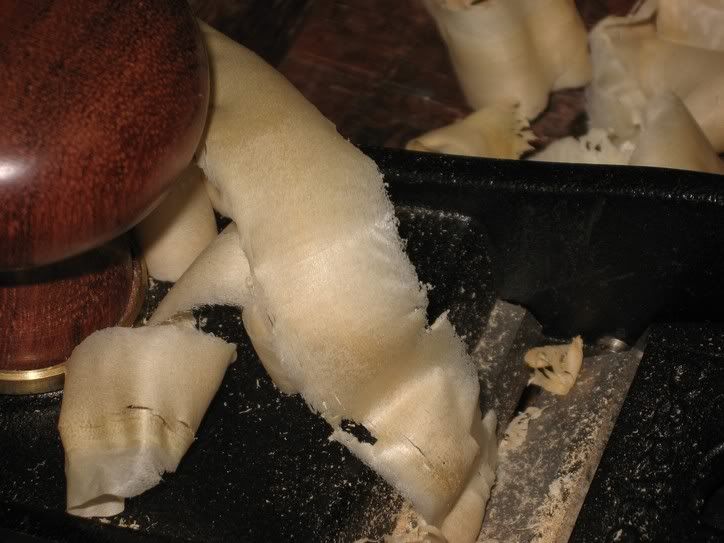
Here is a thinnish shaving …
… and a thickish one …
It is possible to go thicker still, but I did not do so here.
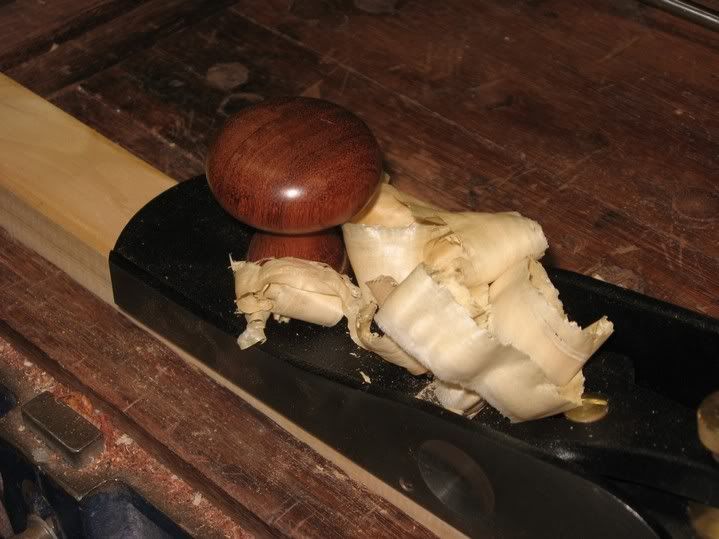
Instead, I took some pictures of cambered shavings on other BU planes….
This is one on the Veritas BU Jointer on the edge of a pine board. Look at the thick center and the tapered edges. The shavings are identical to those taken by a cambered Stanley #7. I am sure that David Charlesworth would be proud.
And here is a finely cambered smoother shaving…. Tasmanian Oak planed by the Veritas BU Smoother.
What is relevant to note about these last two shavings is that the secondary bevel on each is 50 degrees. Further, these were created without a template – simply by extra pressure on the edge of the blade.
Following the 25 degree primary bevel preparation on the belt sander, the honing guide was set for a 50 degree micro secondary bevel. Ten strokes on the 1000 were enough to create a wire edge across the bevel face. An extra 5 strokes each side was sufficient to create the camber for the smoother, and 10 strokes for the jointer. The 5000 followed with 10 strokes to center, left and right. Ditto 8000 and 12000 ‘stones. The wire edge was removed on the 12000.
In conclusion
I agree with friend Larry that the camber on a BU plane needs to be steeper than on a BD plane. However I do not view this to be a negative factor. It is just a difference in honing, and one that one just accepts as part of the honing method when using these planes. When the secondary microbevel is added to a 25 degree primary bevel, the effort level is low. Camber away without fear.
Regards from Perth
Derek Cohen
October 2007