motownmartin
Established Member
Nice one =D> =D> =D>


joiner_sim":1ct0pbvi said:What does the jig slide on, and how is it secured and made accurate?
Shultzy":av9yimtb said:joiner_sim":av9yimtb said:What does the jig slide on, and how is it secured and made accurate?
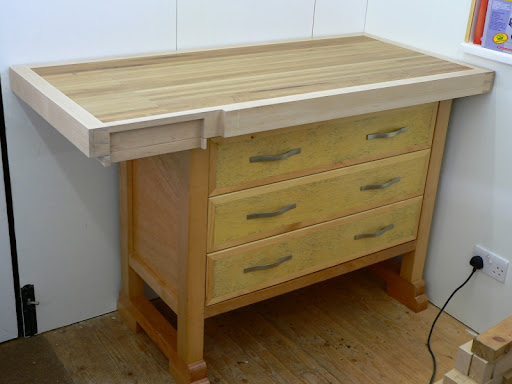
The accuracy starts from the two beams that support the jig. Lord Nibbo used cramp bars but I don't have any long enough so I used lengths of beech which will be used to surround the worktop. These need to be level side to side and front to back.


wizer":1wh57lqq said:Tremendous, well done. Something that will last for the rest of our life.
")
Enter your email address to join: