Shultzy's Shed (Workshop Build really - lots of pics)

UKworkshop.co.uk

Help Support UKworkshop.co.uk:

This site may earn a commission from merchant affiliate links, including eBay, Amazon, and others.
Well the rain here still hasn't stopped since last Monday and the forecast for the rest of the week doesn't look promising so I've had to find other work. This layoff has allowed me to compile a few notes that have arisen since I started which will hopefully be helpful to any budding workshop builders.

1. Don't order all of the materials in one go to save on the delivery costs. In view of the British weather this could be a bad move. Only order as you need it.
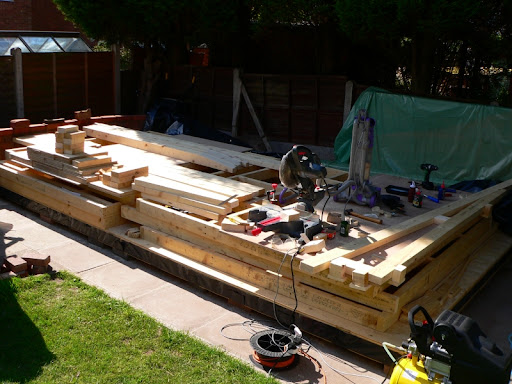
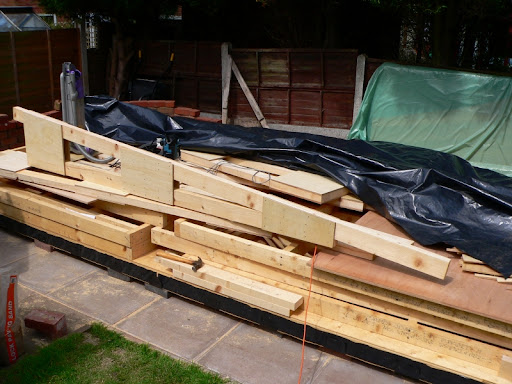
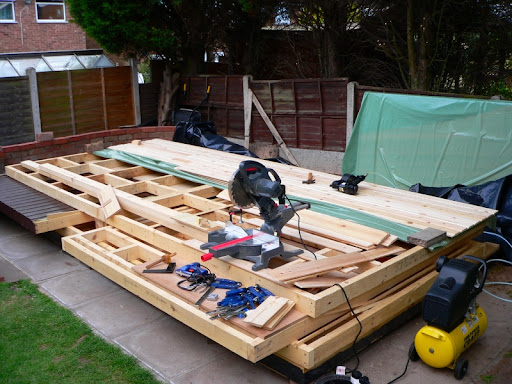
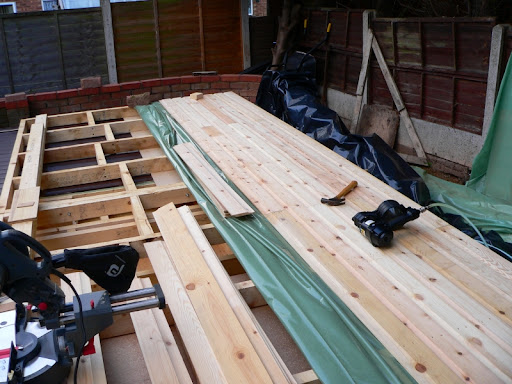
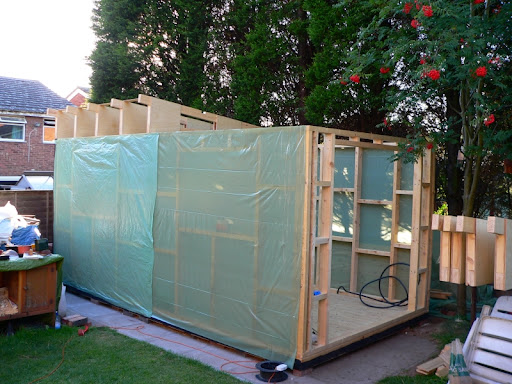
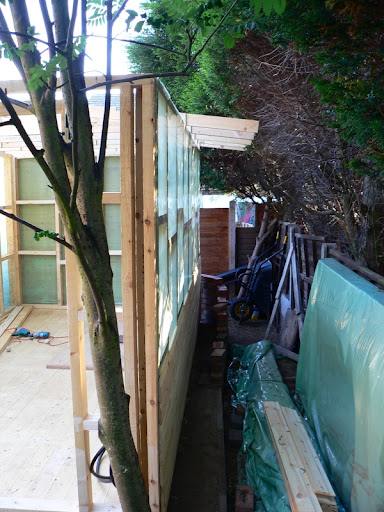
2. Order plenty of polythene. The pile of timber is quite wide and I had to cover it in two strips which has allowed the wind to drive some of the water underneath.
3. Make sure you have plenty of bricks or other items to lift the timber off the ground, and to hold the polythene down. Its surprising how little wind is needed to shift it.
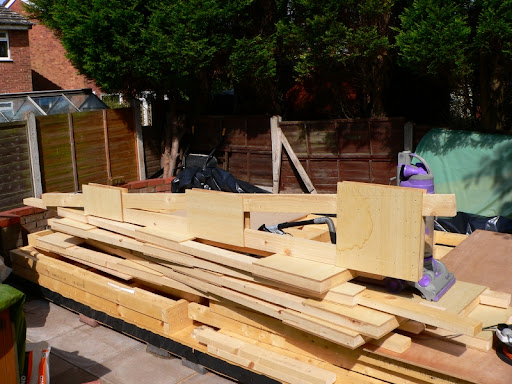
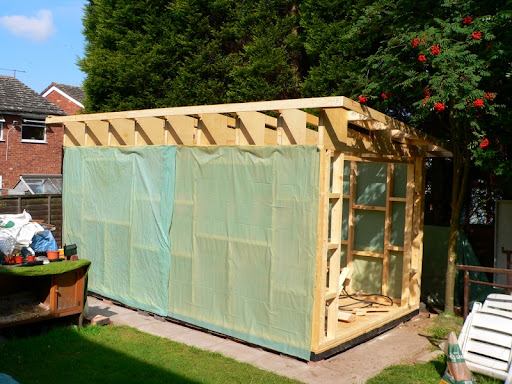
4. Don't underestimate the amount of space required to store all this timber. I have a reasonable amount of room but I still have had to keep moving it around to create space to work in.
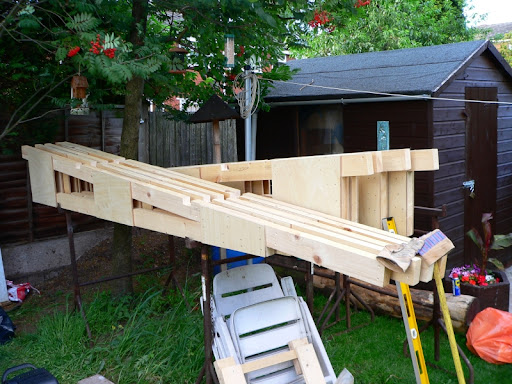
5. Don't underestimate how heavy a section can be. One section of floor consisted of 12no. 4"x2" (including noggins) and it was a struggle for two people to lift it.
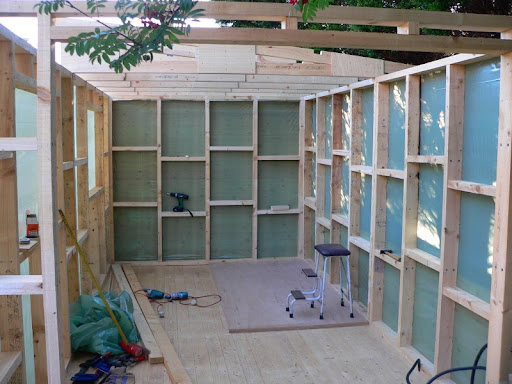
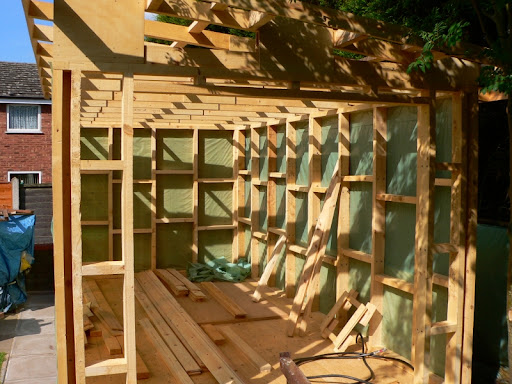
6. For anybody who has a back problem make sure you have adequate support, there is plenty of bending as a lot of work is at ground level.
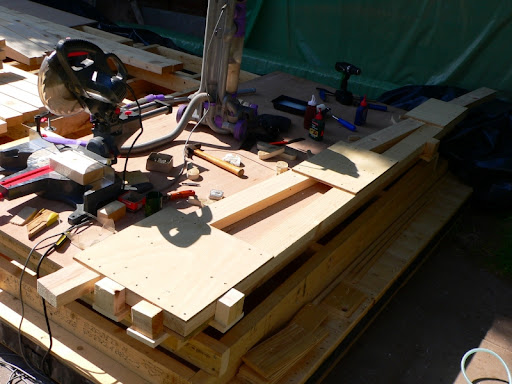
7. And finally make sure your tools are not spread around, a few spots of rain can send you scurrying around trying to put them away and cover everything up.

Hope these suggestions are helpful.
 
Pleased your getting on well Shultzy, pity about the weather holding progress up.

I notice that your workshop doesn't cover the full slabbed area. It would therefore seem that you could make your new workshop even bigger.

You can never have enough room, and now is the time to decide?

Think of all those extra lovely tools and machines you could put in it. :)

Keep up the good work. Esc.
 
Hi Shultzy

That is looking good - I hope the weather breaks soon so you can resume construction. Good tips on not getting snowed under with materials too.

Cheers
David
 
Esc, would have loved to make it bigger but swimbo and a tree in the way put paid to that idea.

David, you can learn a lot from peoples mistakes, that's if they admit them :D

PS. no rain today :D :D spent my time cutting timbers to length and sorting out the straighter pieces for the roof trusses.
 
Hi all, this is situation after 5 weeks of rain, frustration , and yet more rain. As you can see it equates to about a weeks worth of work. I've completed the floor and as Thursday was the first day of continuous sunshine for weeks I managed to finish all six frames. I spent 10 hours continuous working and at my age that's too much, and did I pay for it the next day. :(

Shed019.JPG


In order to make the roof trusses I made some cams to lock timber in a jig.

Shed020.JPG


These are the cams for the bottom half of the jig.

Shed021.JPG


Jig ready for truss assembly.

Shed022.JPG


Truss assembled awaiting ply gussets (glued and nailed).

Shed023.JPG


One side done, then I'll turn over and complete the other side. I have nine to construct then I'll cut the ply to shape with a bearing guided cutter.

Shed024.JPG


Rain again on Friday, bash Saturday, F1 Sunday, so hopefully I can do some more next week.
 
Hi all, here is the latest update. Due to more unsettled weather and domestic issues (wedding, visits etc.) I haven't been able to do as much as I would have liked. Having said that I feel that I've broken the back of the build and it should be erected in the next few days, weather permitting. I have erected it already to check the fit and drill all the fixing holes. One thing I forgot to do was to mark a pencil line around the floor to make sure the walls were flush with the floor edge when I re-erected the panels.

Here is a roof truss waiting for the excess plywood to be cut off with the circular saw.

Shed025.JPG


Roof truss with the plywood trimmed to size with a bearing guided cutter in a router.

Shed026.JPG


All the roof trusses finished, with the slots for the cross member cut out.

Shed027.JPG


The ultimate in flat packed workshops :D . On the left hand side you can see the end panel cladded and painted brown. This is because the wall behind it prevents any nailing to the lower half of the panel. I nailed a piece of cladding to cover the join between the wall and the floor, and to aid positioning when it is upright. I will be able to put one piece under it to cover the floor joist, and slightly below, to aid water run off.

For those of you who are contemplating building the walls on the floor, you might like to know that this panel (8'8" x 7' in 4"x2" with 3/4" cladding) is at the maximum weight limit that I can lift.

Shed028.JPG


Rear wall with a third of the cladding completed. This is for the same reason as above. I would have completed all of the cladding to this wall but the weight would have been too great for two people to lift.

Shed029.JPG


The SIP roofing nailer in the last picture has so far worked flawlessly and holds a 400 nail coil, so reloading is not as frequent as the 56 nail capacity of the framing nailer I had on loan.

The cladding is easy to fix when laid flat, but I suspect this won't be the case when the wall is vertical as the cladding is not the usual t&g and will need two people to hold it in place whilst nailing.

I'll post more later.
 
Hi Shultzy,
I've really enjoyed reading this so far. When the extension to my house is finished I have permission to reconstruct my workshop and have saved the old paving slabs and a load of hardcore. Somehow, two extra bulk bags of sand seem to be left over from the extension along with a couple of hundred metres of 4x2 and a whole host of other useful items 8) . I was planning do do the base like yours, thanks for convincing me it's a sensible way forward.
Look forward to reading/seeing more of your build - its very helpful.
Cheers, Andy
 
Looking good so far.

Are my eyes deceiving me or is Mrs Shultzy' Dyson being used as a dust extractor?

And does she know?

Gary
 
Maia28, glad the post has been useful to you. If you want specific info on the base pm me and I'll be glad to assist.

Gary and Paul you are right it is swimbo's Dyson, and as I'm the one that has had to repair it twice she can't moan :D And anyway she can always borrow my chop saw :lol: :lol:
 
Hi,all. Well the Eagle has landed (copyright N. Armstrong, B. Aldrin) :D . This is a day's work from the "flat-pack". It doesn't seem much but there was a lot of "plumbing and squaring and fixing" work to do.

Shed031.JPG


This is the inside ……..

Shed032.JPG


…… and this is down the side. It is pretty tight and I had to prune the neighbour's conifers to fix the roof.

Shed033.JPG


All the trusses up and the overhangs and outer perimeter boards fixed. I used a 4" strip of hardboard to set the first and fifth trusses at 8' centres as well as the third and seventh, ready for the plywood roofing. I used a flooring cramp the hold the sides in while I secured the trusses.

Shed034.JPG


More inside views.

Shed035.JPG


Shed036.JPG


"King of the Castle" - Swimbo catches me relaxing.

Shed037.JPG


All trussed up and waterproof. I made a mistake with the polythene covering; I put it on and secured it with staples – when it was hot!! – consequentially when it cooled down in the evening the polythene became as tight as a drum and tore at the staples. Remedied with patches of duck tape

Shed038.JPG


I think this is a major milestone and something to show for my efforts, and it will allow me to work when its raining :D .
A few observations – don't underestimate the amount of time it takes to carry out a task when working on your own, even the simplest of tasks can involve a lot of extra work. I found that with the restricted area I had to work in, it meant that there has been a lot of "double and triple handling" of materials.
So far the only additional costs have been an extra £31 for glue and more screws.
 
Steve,

Great progress, hard work by the look of it but well rewarded with a dry space for things. :D

I look forward to seeing the rest of the build completed, you will enjoy the shop once its finished. \:D/
 
Looking Good. If that green plastic is not temporary weather proofing then it is on the wrong side. it should be on the warm side of the insulation. sorry if this as granny/egg thing.

John
 
Hi Escudo, you are not the first to make that suggestion. My daughter even had the temerity to suggest that it could be used to house a sauna and jacussi. :evil:
 
Shultzy":3vd25m89 said:
suggest that it could be used to house a sauna and jacussi. :evil:
Just what you need to relax in after building an even bigger workshop, next to the spa sauna room. :shock: :roll: :wink:
 
When i look at the pictures the word precision comes to mind every thing is spot on even the fixings are all positioned the same, nice job.
Regarding the lack of breather membrane i do not think any harm to the structure will occur if you let it dry out after fully waterproofing and before applying the inner vapour barrier and sealing it well.
 

Latest posts

Back
Top