Shultzy's Shed (Workshop Build really - lots of pics)

UKworkshop.co.uk

Help Support UKworkshop.co.uk:

This site may earn a commission from merchant affiliate links, including eBay, Amazon, and others.
looking good shultzy
what you have effectivley formed is a "leading edge" with your solution to mounting the two mortice locks
 
Thank you for your comments Escudo (might see you at Harrogate).

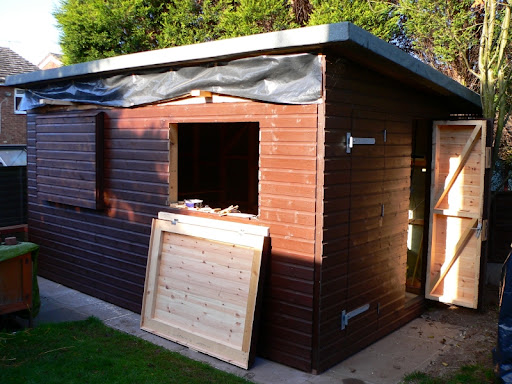
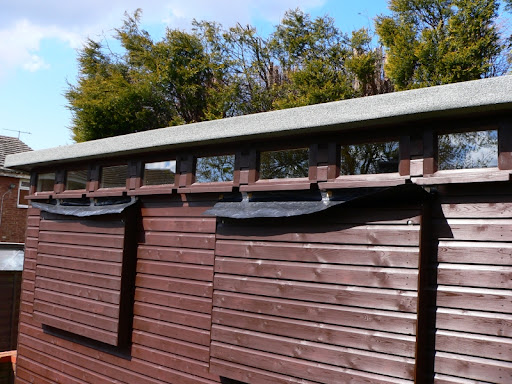
This picture shows the two shutters which are the final parts of the outside construction.

Shed053.JPG


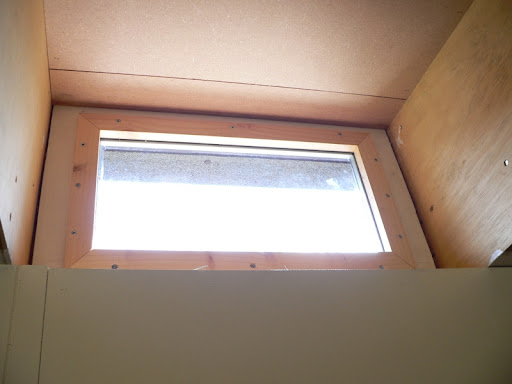
I'm leaving the windows construction until I've bought some new machinery :). The shutters are held by two stormproof hinges and two 9" coach bolts and wing nuts when closed.

This has been a very enjoyable build (excluding our marvellous summer :( 
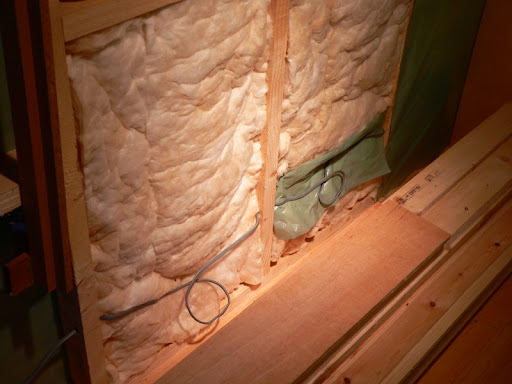
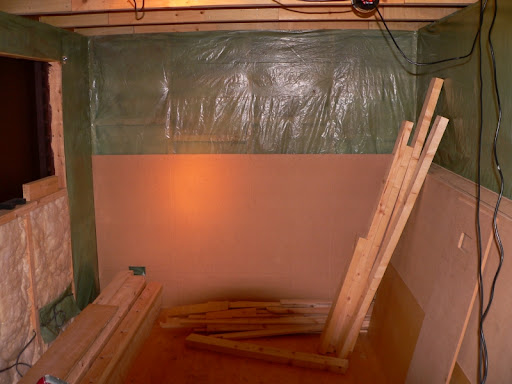
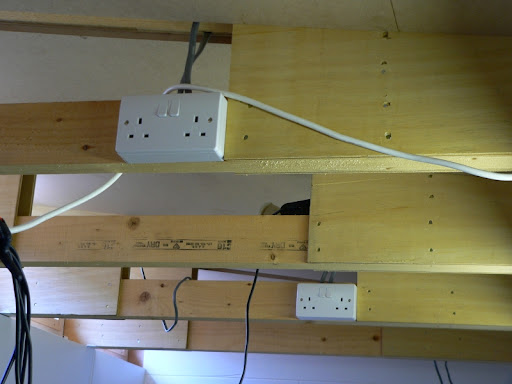
) but not without its problems. The biggest being ordering too many materials in one go. The inside is full of timber offcuts, timber for benches etc, which I don't need at the moment and of course tools. I also have 12No. 1/2" 8x4 MDF sheets for the lining, which with all the materials around are difficult to manoeuvre and cut. Not to mention 4 rolls of insulation, cable reels, sockets and lighting :x !!! I also have a 6 gang extension and a host of trailing cables for tools and lighting.

I must admit there have been one or two "incidents" :( .

So this is really a wakeup call to those thinking of building a workshop, to plan for storage of tools and materials outside the build area, or at least keep the area as free as possible.


This completes the outside construction, so now for the inside story.................
 
Thats looking very good. I like what you've done with the window protection, this might something I'll be considering as and when I get round to adding windows to my workshop.

It's funny about the storing of materials. I took the opposite approach of only ordering the materials as I needed them, and found this a real pain due to ordering the wrong stuff or finding out the materials I needed weren't available thereby enforcing a design oppurtunity. I think it does really come down to planning!

What angle is the slope of your roof?
 
I understand about the materials and I seem to be somewhat between you and ByronBlack. I'm either tripping over stuff or having to go and get things before I can do a job. I also have around 90m of 4x2 left over which I seem to be continually moving around.

Your workshop is looking great. I wish I had the patience and skill to do such a good job as that. I'm really looking forward to seeing how you fit the inside out.

Andy
 
Byron, I only ordered all of the materials together to get the discounts and save on delivery costs. Unless a covered area is available it might be better to plan to order perhaps 2 or 3 days in advance. Even with this approach there are is always the problem of offcuts cluttering the floor.

The shutters will provide security as well as protection from the cold in winter and direct sunlight in summer (the shutter side is south facing).

The roof slopes at 1 in 8, that's just over 7degs (7.19)

Andy, I will be posting about the inside as soon as I've taken some pics :D

Tony, I'll look out for someone leaning a lot then. :lol:
 
I've started on the insulation, electrics and mdf panelling.
This picture shows the lower ring main as it passes through each section of the 'shop. I've left a loop in the wiring for a socket, some will be connected and some left for future use. I've put a piece of plastic sheet behind the wiring to stop the insulation "invading" the socket box. Vapour barrier will cover this area before the mdf goes on.

Shed054.JPG


This is the rear end of workshop showing half panelling and socket cutouts. The jig for cutting these cutouts is on the rhs of the picture leaning against the wall. This lower ring circuit will be for the static machinery.

Shed055.JPG


I intend to put more sockets on the roof trusses for hand power tools. Although its difficult to see in the picture I've routed a "V" groove, on the mdf, in the middle of the verticals. This is to make sure I only screw into the verticals when fixing anything to the walls, even if I paint them.

This is the first time I've ever used mdf having only used "real" wood. What horrible stuff to work with, any cutting, routing just produces tons of dust. Thank heavens I invested in an Airace before I started.
 
Looking good 8)

Hope mine comes out half as well (and wish I'd taken as many pics :oops: )

Oh well, only 1 more work day to go before I can get cracking. Felting on my own on Saturday.... hope design holds my weight :D

Like the v groove idea, I was toying with surface mount conduilt for the cabling, but that is a neat idea! (Any one know where I can get a jig to cut spark symbols :idea: )

Si
 
Finally finished laying the electric cables and fixing the internal cladding.
This picture shows the corner by the side of the entrance doors where the consumer unit and main light sockets will be positioned. I'm going to screw these final boards on so any extra wiring (hopefully not) will be easier to fit. The hole at the bottom is for the 16amp socket, with a second one on the other side of the doors. This is a better view of the "V" grooves I've made over the verticals so I don't miss screwing into the studding. I've also routed a "electricity warning sign" on to the panels where the main cable comes into the 'shop (I didn't use a jig, Si, just freehand).

Shed056.JPG


I'm hoping to have a good clear out and vacuuming before I paint the MDF. Should I seal the MDF before I paint it, and if so can the next coat be just emulsion?
 
Can't believe it's 3 months since I last posted on my build. Well I have been busy but it's on those interesting things :? like wiring up, putting the insulation up (what a horrible job :twisted: , don't use rockwool) and putting the ceiling up.

Having said that I did manage to make eight windows which I have never made before. They are dg fitted from inside.

Shed057.JPG


Here's a closer picture.

Shed058.JPG


Here's a view from the inside. The moulding is "L" shaped to take up the difference between the window and seals thickness and the window rebate.
Shed059.JPG


I've put nine double sockets up on the trusses as well as thirteen at floor level.

Shed061.JPG


I'm making the large windows which sit behind the shutters and will post when I've finished them.

Just to update the costs I've spent about £550 on the electrics materials which brings the total to about £3,200
 
Thanks for the update, any pictures showing a more general view of the inside?

Also, a quick question, what thickness of mdf did you use to line the walls?

Thanks

StarGazer
 
StarGazer, I have some photos of the inside but there's not much to see as there's timber every where with not much room to move. I'll post some when I've made it look respectable :D .

I've used 12mm mdf on the walls fixed with 35mm nails.
 
Really enjoyed going through that.Looks really good but one thing i have learned is that mine is going to cost a lot more than i imagined.Was £3200 the final cost of everything?
 
Hi skipdiver, the only costs I have to add to the £3200 is the cost of the main window's DG, an outside light and an alarm. Bear in mind that this cost does not include the electrician's cost (I did a deal :D ) nor the cost of any internal benches, cupboards etc. I also made the windows which would be an additional cost if you had to buy them.
 
Thanks for that.The only stuff i will be buying is the raw materials.Everthing else will be made or has already been made.I have a fully kitted out workshop at my old address.Sold the house to my mate and will get all my machinery,benches etc when i have a new home for them.Going to go in the garden this afternoon and finalise sizes and positioning ready to make a start.Will post pictures if i can figure out how to do it.I'm a bit of a technophobe but her indoors will sort it for me.
 
Back
Top