Shultzy
Established Member
Hi all, I thought it was time to start another workshop build thread. I hope it comes up to the standards of this site. ")
A little bit of background. I've lived in my house since 1972 and although I wasn't very good at woodwork when I was at school, the thought of trying to kit the house with furniture on my salary was a no-no. Working in a garage I managed to purloin "green shield stamps" (hand up who remembers them ) to add to my collection and had a B&D drill with circular saw and jigsaw attachments from their catalogue. Those together with a box of Stanley tools (saw, square, marking gauge etc.) were the start of my kit.
My first project was a coffee table and then a set of built in wardrobes. This was the start of my love of woodwork. All my projects were made in the garage which had to be cleaned out and the car put away after work. Most of my project pics are on my web site and it just shows what can be made with a modest amount of tools and a bit of space.
I digress.
It was not possible to build a workshop in the garden until now (kids, and more kids), so after 35 years one of my dreams is about to come true.
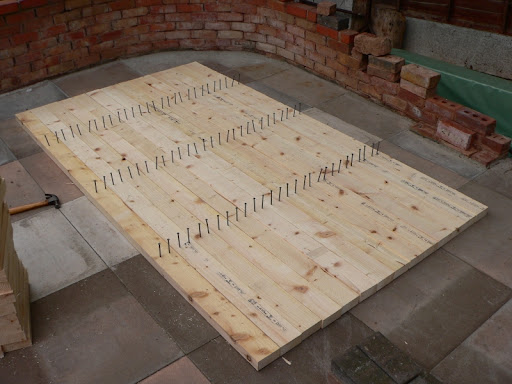
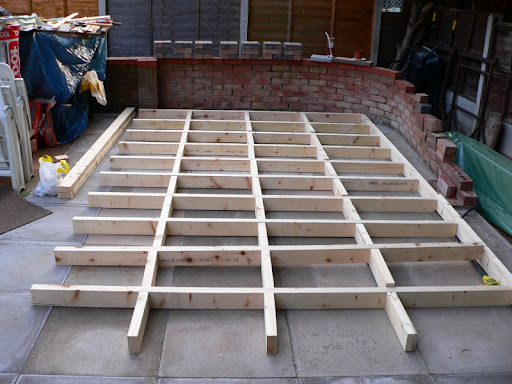
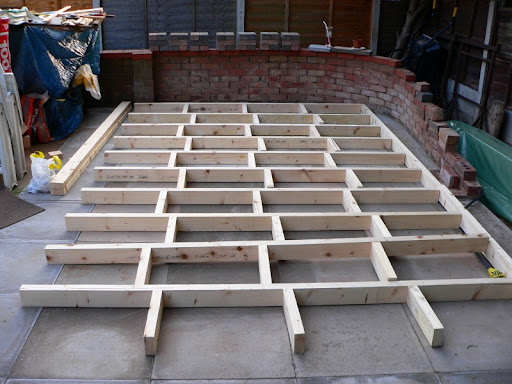
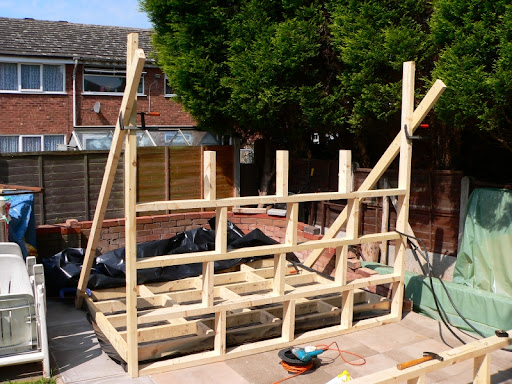
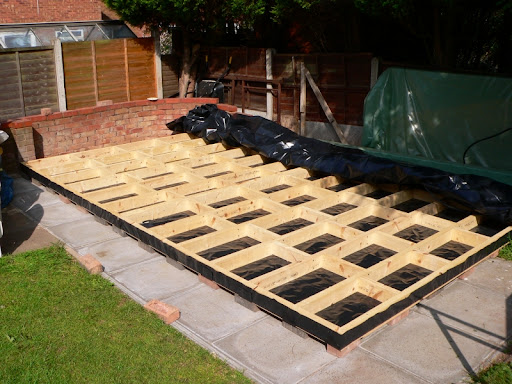
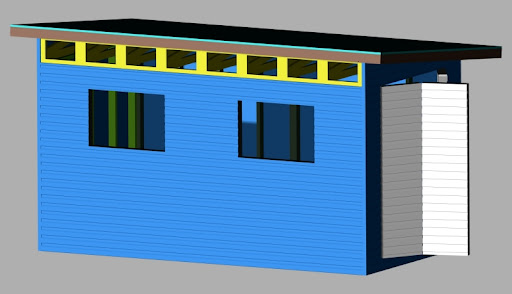
Here is the cad drawing of my proposed workshop. Its 16ft x 8ft (4.88m x 2.44m in new money) with 7'10" (2.36m) headroom. It has three, 2ft wide doors, two hinged together. The floor will be 7/8" x 5in t&g floorboards on 4"x2" @16" ctrs infilled with 4" fibreglass, with a vapour barrier and hardboard underneath. This will sit on dpc on top of block paving bricks. Walls of 4" x 2" covered with a vapour barrier and 3/4" x 5" shiplap. Roof trusses of 4" x 2" covered with a vapour barrier, exterior ply and Wickes "easyseal" covering. All internal coverings of 1/2" mdf over an infill of 4" fibreglass.
BTW the colours are only for my benefit so that I can see each section separately. If you want to know any more details, or any different views, I'll be happy to oblige.
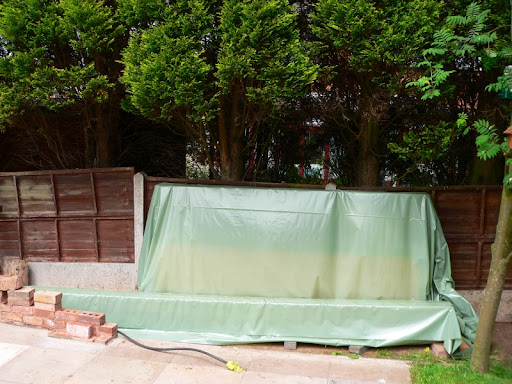
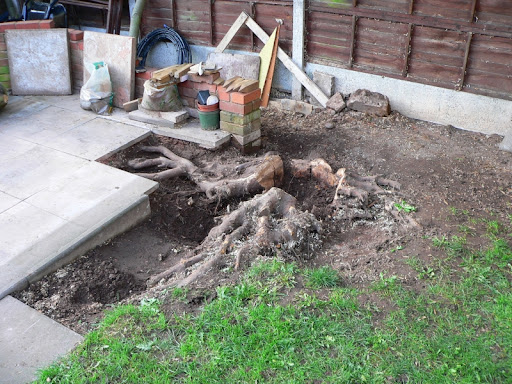
After moving the existing garden shed to the other side of the garden I had to take down a 40ft sycamore tree. After lopping off the branches it left a 10ft trunk. My chainsaw was next to useless when trying to detach the roots from the trunk as the number of stones embedded into the roots meant a re-sharpen after almost every cut. So a 1in chisel and mallet and almost 4 weeks later (on and off), it ended up like this.
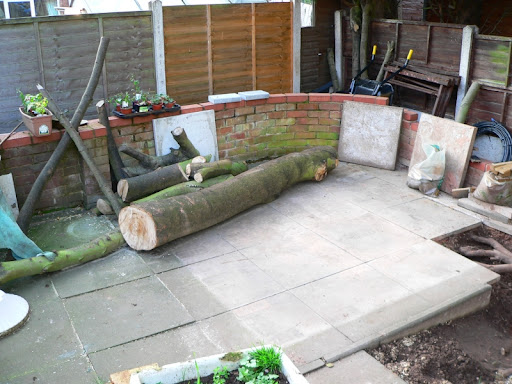
This is the trunk trimmed to about 8ft.
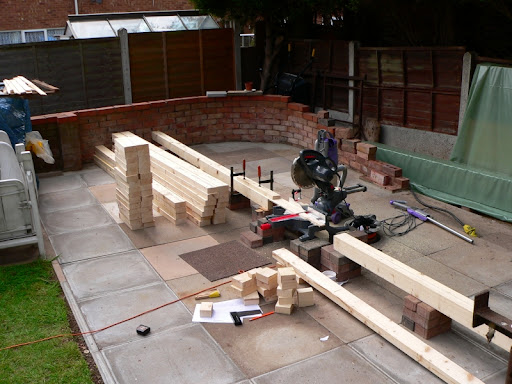
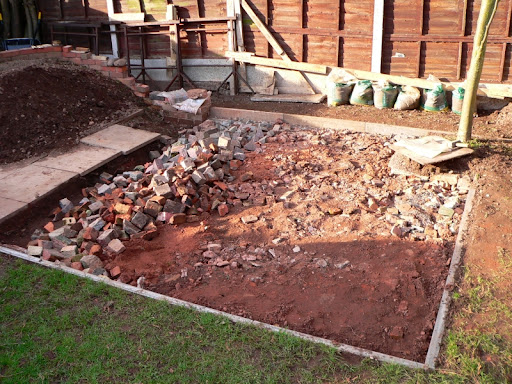
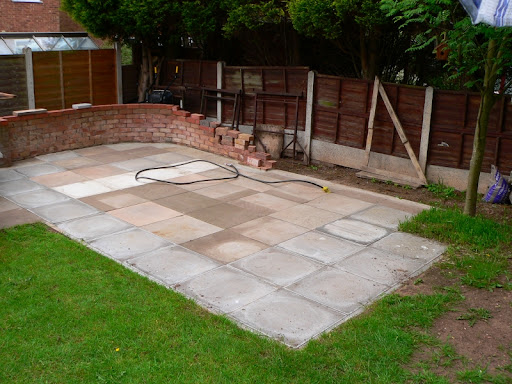
Area surrounded by edgings, dug out to a depth of 7 1/2in (4in hardcore, 2in sharp sand, 1 1/2in slabs). All of the hardcore is bricks I collected from around the estate, a nice bit of recycling.
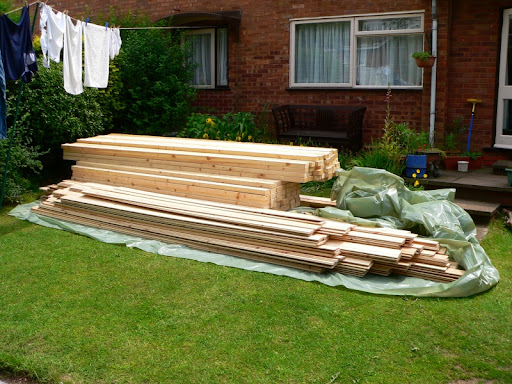
Finished at last, well the base at least. This part has cost about £240, I don't want to bore you all but if anybody wants a breakdown I'll be happy to oblige. I've ordered the wood and I should be able to start on Thursday.
Will post more info and pics as work progresses.
A little bit of background. I've lived in my house since 1972 and although I wasn't very good at woodwork when I was at school, the thought of trying to kit the house with furniture on my salary was a no-no. Working in a garage I managed to purloin "green shield stamps" (hand up who remembers them
) to add to my collection and had a B&D drill with circular saw and jigsaw attachments from their catalogue. Those together with a box of Stanley tools (saw, square, marking gauge etc.) were the start of my kit.My first project was a coffee table and then a set of built in wardrobes. This was the start of my love of woodwork. All my projects were made in the garage which had to be cleaned out and the car put away after work. Most of my project pics are on my web site and it just shows what can be made with a modest amount of tools and a bit of space.
I digress.
It was not possible to build a workshop in the garden until now (kids, and more kids), so after 35 years one of my dreams is about to come true.
Here is the cad drawing of my proposed workshop. Its 16ft x 8ft (4.88m x 2.44m in new money) with 7'10" (2.36m) headroom. It has three, 2ft wide doors, two hinged together. The floor will be 7/8" x 5in t&g floorboards on 4"x2" @16" ctrs infilled with 4" fibreglass, with a vapour barrier and hardboard underneath. This will sit on dpc on top of block paving bricks. Walls of 4" x 2" covered with a vapour barrier and 3/4" x 5" shiplap. Roof trusses of 4" x 2" covered with a vapour barrier, exterior ply and Wickes "easyseal" covering. All internal coverings of 1/2" mdf over an infill of 4" fibreglass.
BTW the colours are only for my benefit so that I can see each section separately. If you want to know any more details, or any different views, I'll be happy to oblige.
After moving the existing garden shed to the other side of the garden I had to take down a 40ft sycamore tree. After lopping off the branches it left a 10ft trunk. My chainsaw was next to useless when trying to detach the roots from the trunk as the number of stones embedded into the roots meant a re-sharpen after almost every cut. So a 1in chisel and mallet and almost 4 weeks later (on and off), it ended up like this.
This is the trunk trimmed to about 8ft.
Area surrounded by edgings, dug out to a depth of 7 1/2in (4in hardcore, 2in sharp sand, 1 1/2in slabs). All of the hardcore is bricks I collected from around the estate, a nice bit of recycling.
Finished at last, well the base at least. This part has cost about £240, I don't want to bore you all but if anybody wants a breakdown I'll be happy to oblige. I've ordered the wood and I should be able to start on Thursday.
Will post more info and pics as work progresses.