Sportique
Established Member
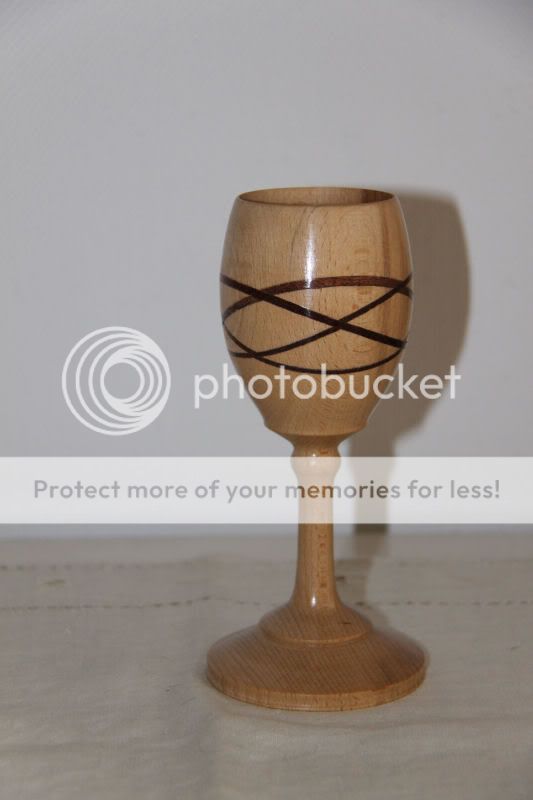
Continuing this huge learning curve on the round side, I have been experimenting with inlays.
I cut three different sets of veneer inlays into a square spindle - then turned it to sample the results.")
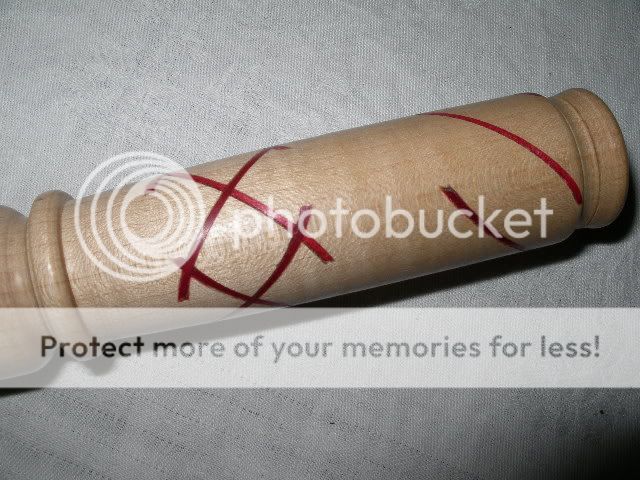
After turning I was able to see how different layouts of inlay give different results. :idea:
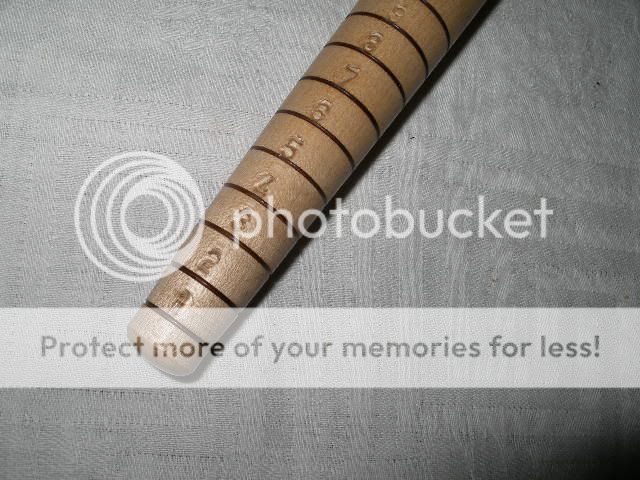
I then made the sampler into something pratical - a dibber.
Let me know what you think - tell me if it is rubbish
thanks for looking
Dave
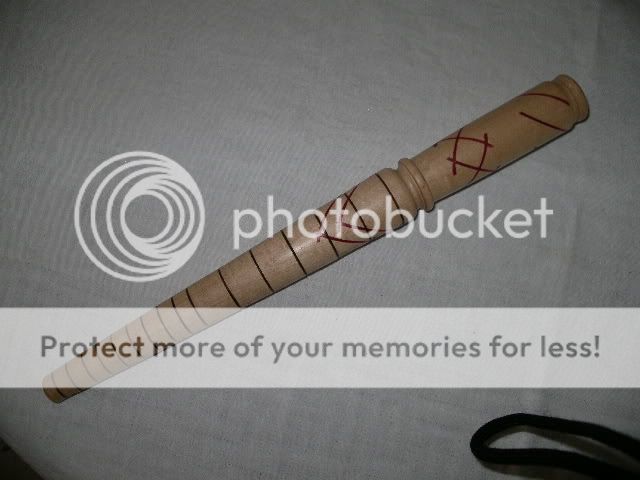
I cut three different sets of veneer inlays into a square spindle - then turned it to sample the results.
After turning I was able to see how different layouts of inlay give different results. :idea:
I then made the sampler into something pratical - a dibber.
Let me know what you think - tell me if it is rubbish
thanks for looking
Dave