jimi43
Established Member
Hi All
We have had bootfairs next door since Friday so it was no surprise that this morning the number of stalls had dwindled to just two little rows.
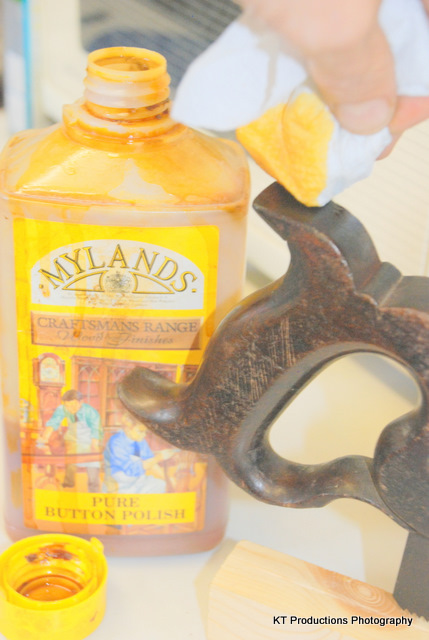
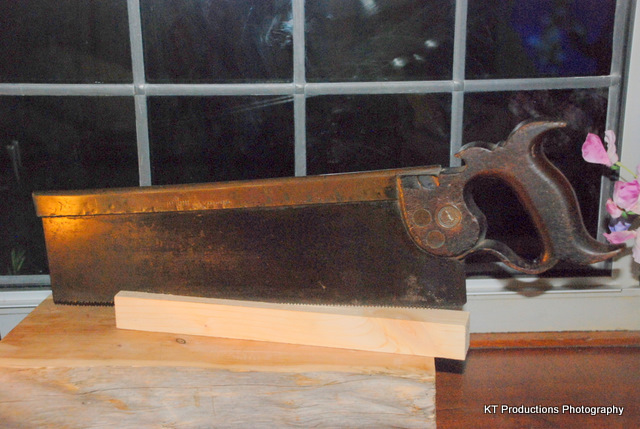
That being said...it was quality not quality...and amongst the dozens of finds that I found this weekend was this lovely little Robert Sorby backsaw:
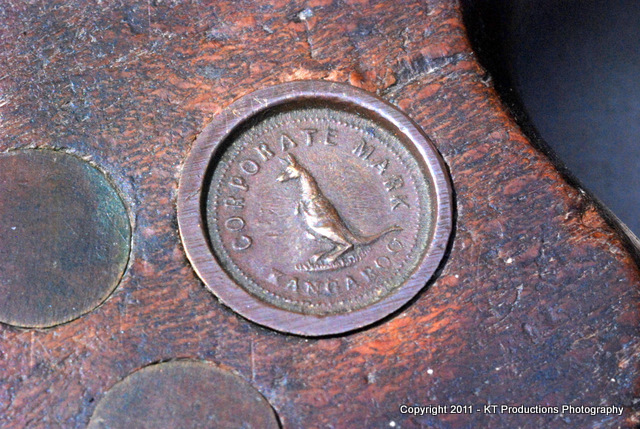
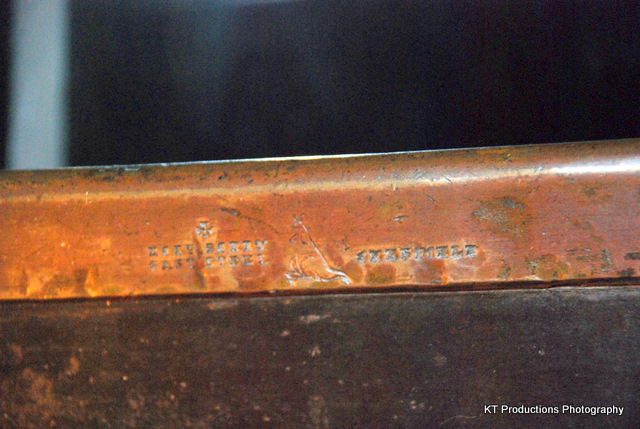
Not very clear pictures as it is quite dark outside now but the logo is very clear and crisp...
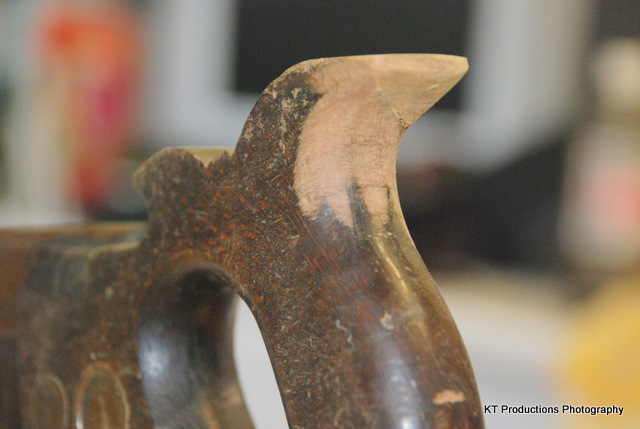
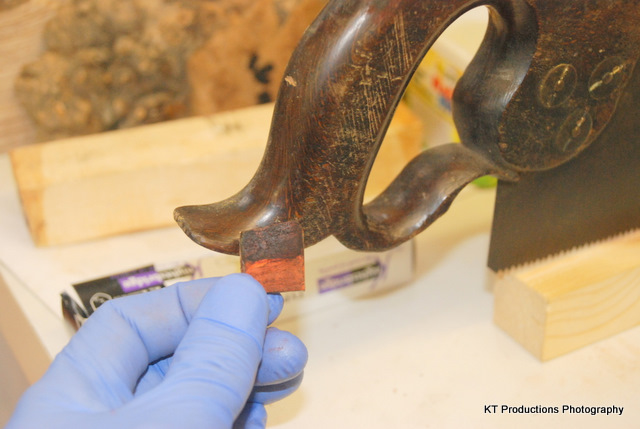
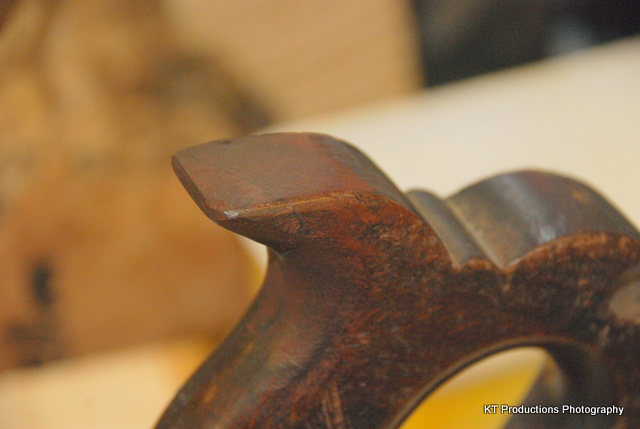
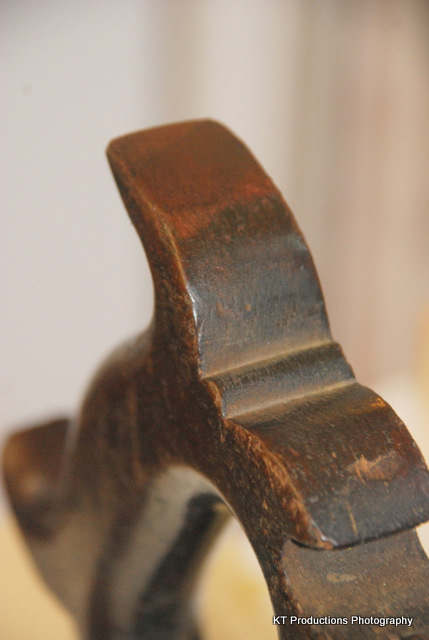
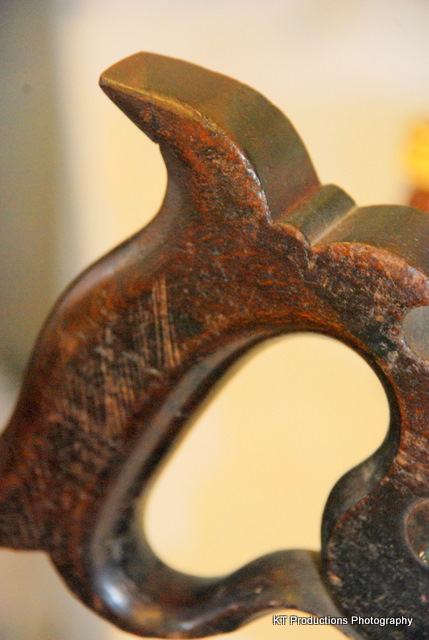
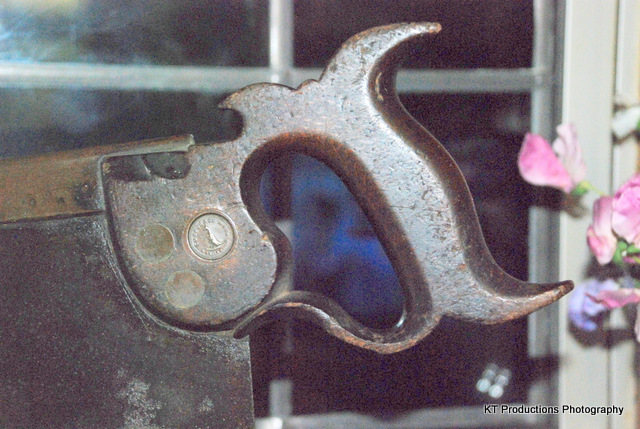
The handle is simply gorgeous....
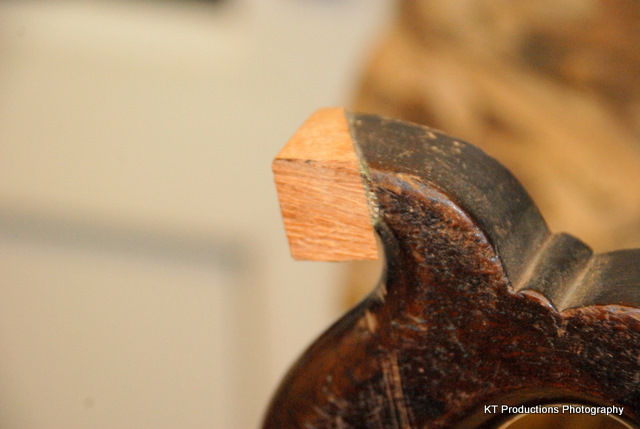
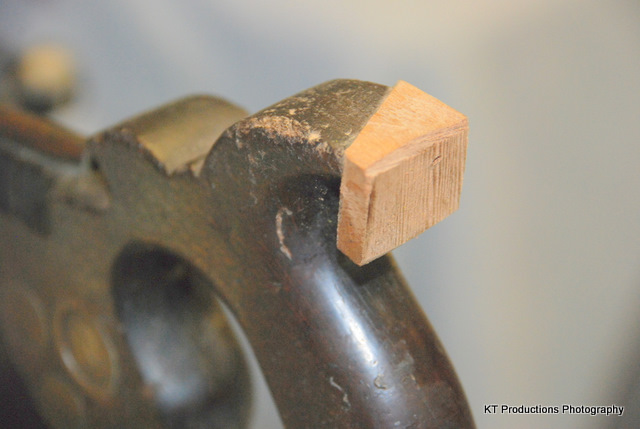
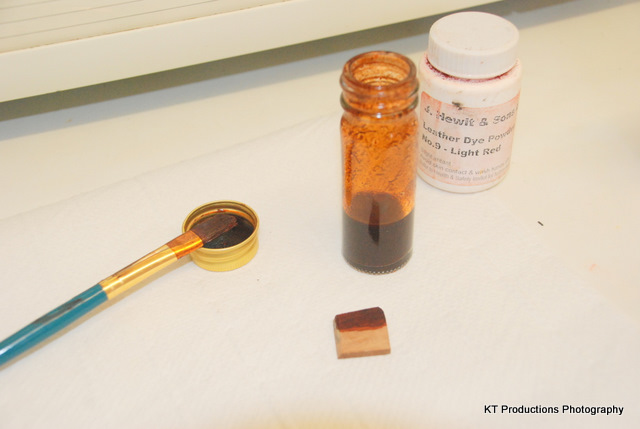
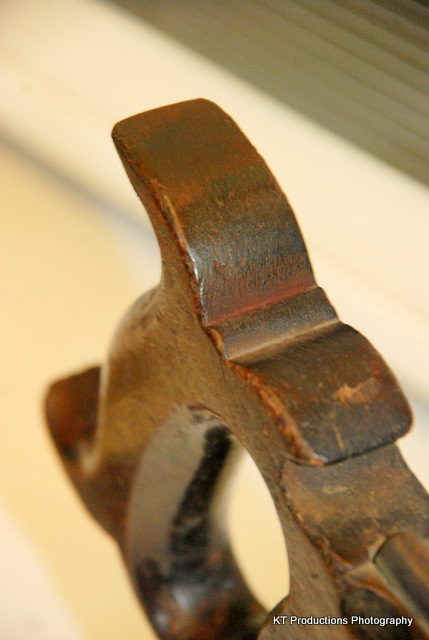
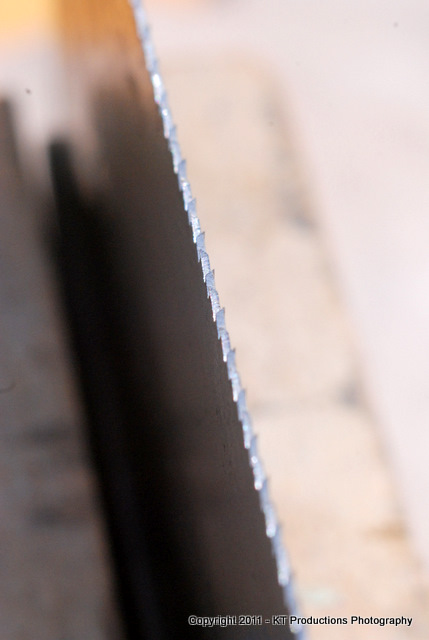
....but the only issue is a tiny chip out of the back of the top horn...
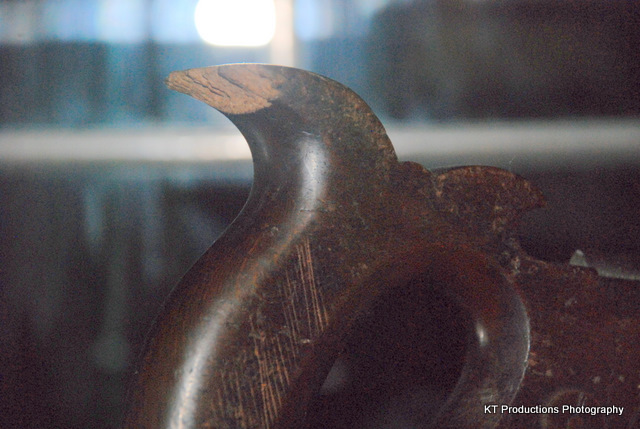
Any expert out there with any suggestions as to what I should do with this damage..I am tempted just to leave it.
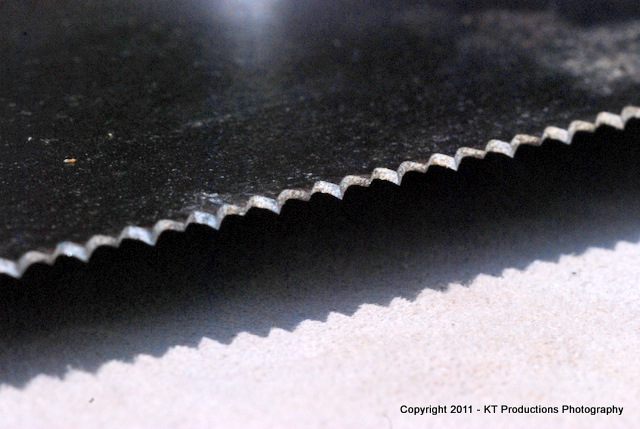
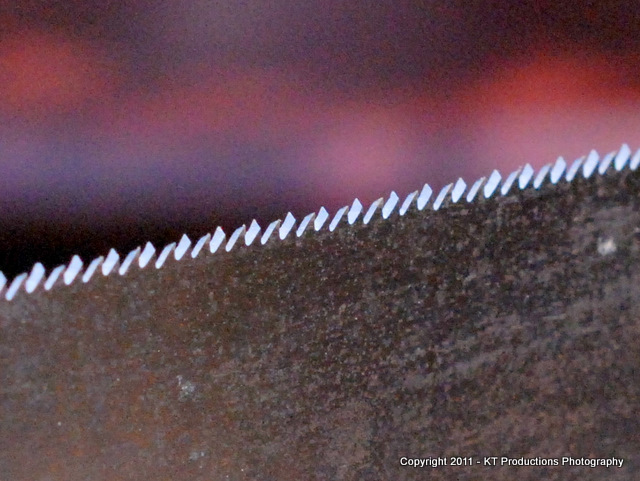
The saw is nice and straight...and it cuts very cleanly...it could do with a little sharpen and set but I ain't touching this one...I am not that practiced at that skill yet. Although I will consider sending it off to be done by a reliable artisan! I think it is worth more than the £1 already invested! :wink:
Pedder....what do you think mate?
Jim
We have had bootfairs next door since Friday so it was no surprise that this morning the number of stalls had dwindled to just two little rows.
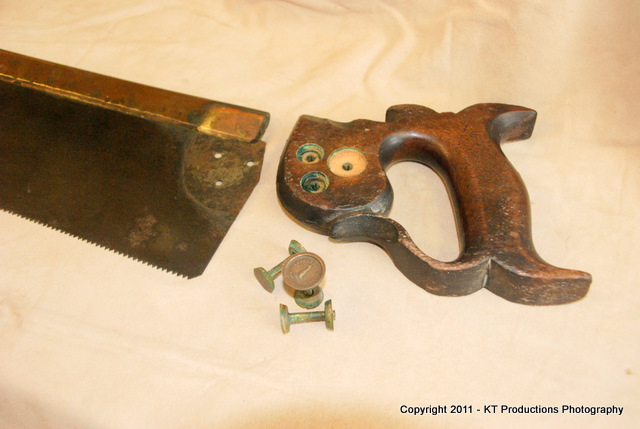
That being said...it was quality not quality...and amongst the dozens of finds that I found this weekend was this lovely little Robert Sorby backsaw:
Not very clear pictures as it is quite dark outside now but the logo is very clear and crisp...
The handle is simply gorgeous....
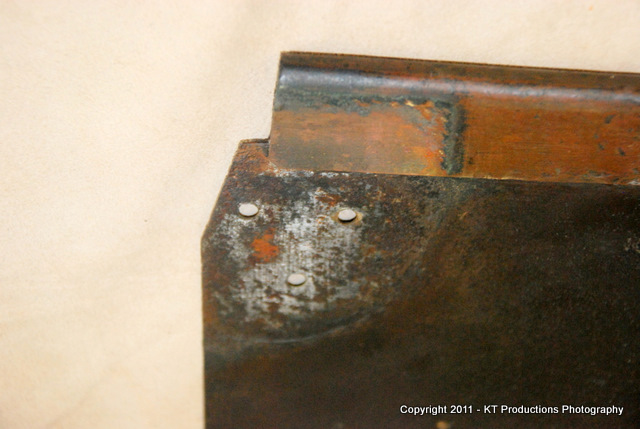
....but the only issue is a tiny chip out of the back of the top horn...
Any expert out there with any suggestions as to what I should do with this damage..I am tempted just to leave it.
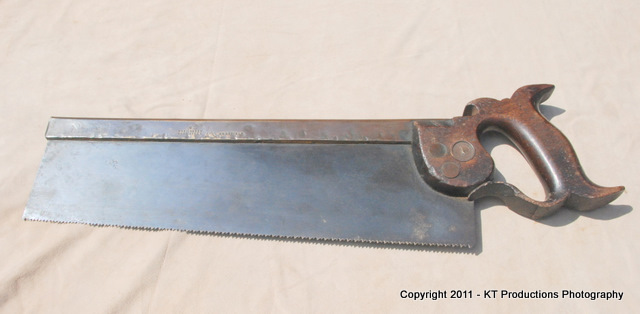
The saw is nice and straight...and it cuts very cleanly...it could do with a little sharpen and set but I ain't touching this one...I am not that practiced at that skill yet. Although I will consider sending it off to be done by a reliable artisan! I think it is worth more than the £1 already invested! :wink:
Pedder....what do you think mate?
Jim
")