New workshop taking shape (Now including RAS install)

UKworkshop.co.uk

Help Support UKworkshop.co.uk:

This site may earn a commission from merchant affiliate links, including eBay, Amazon, and others.

Jelly

Established Member
Joined
20 Sep 2012
Messages
1,366
Reaction score
338
Location
Sheffield
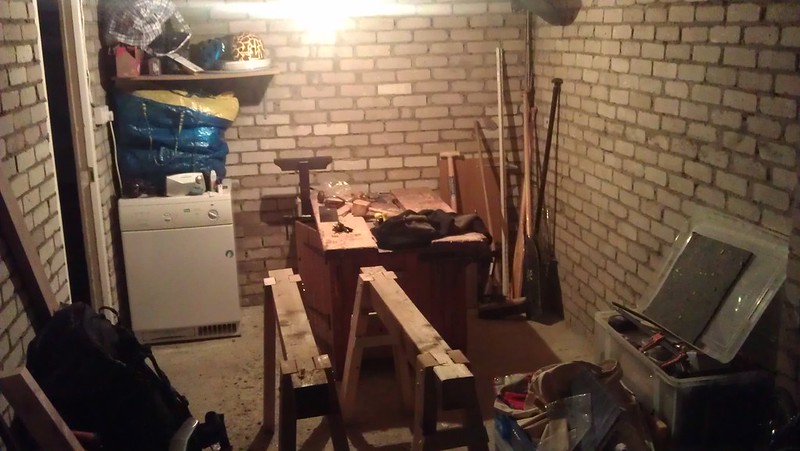
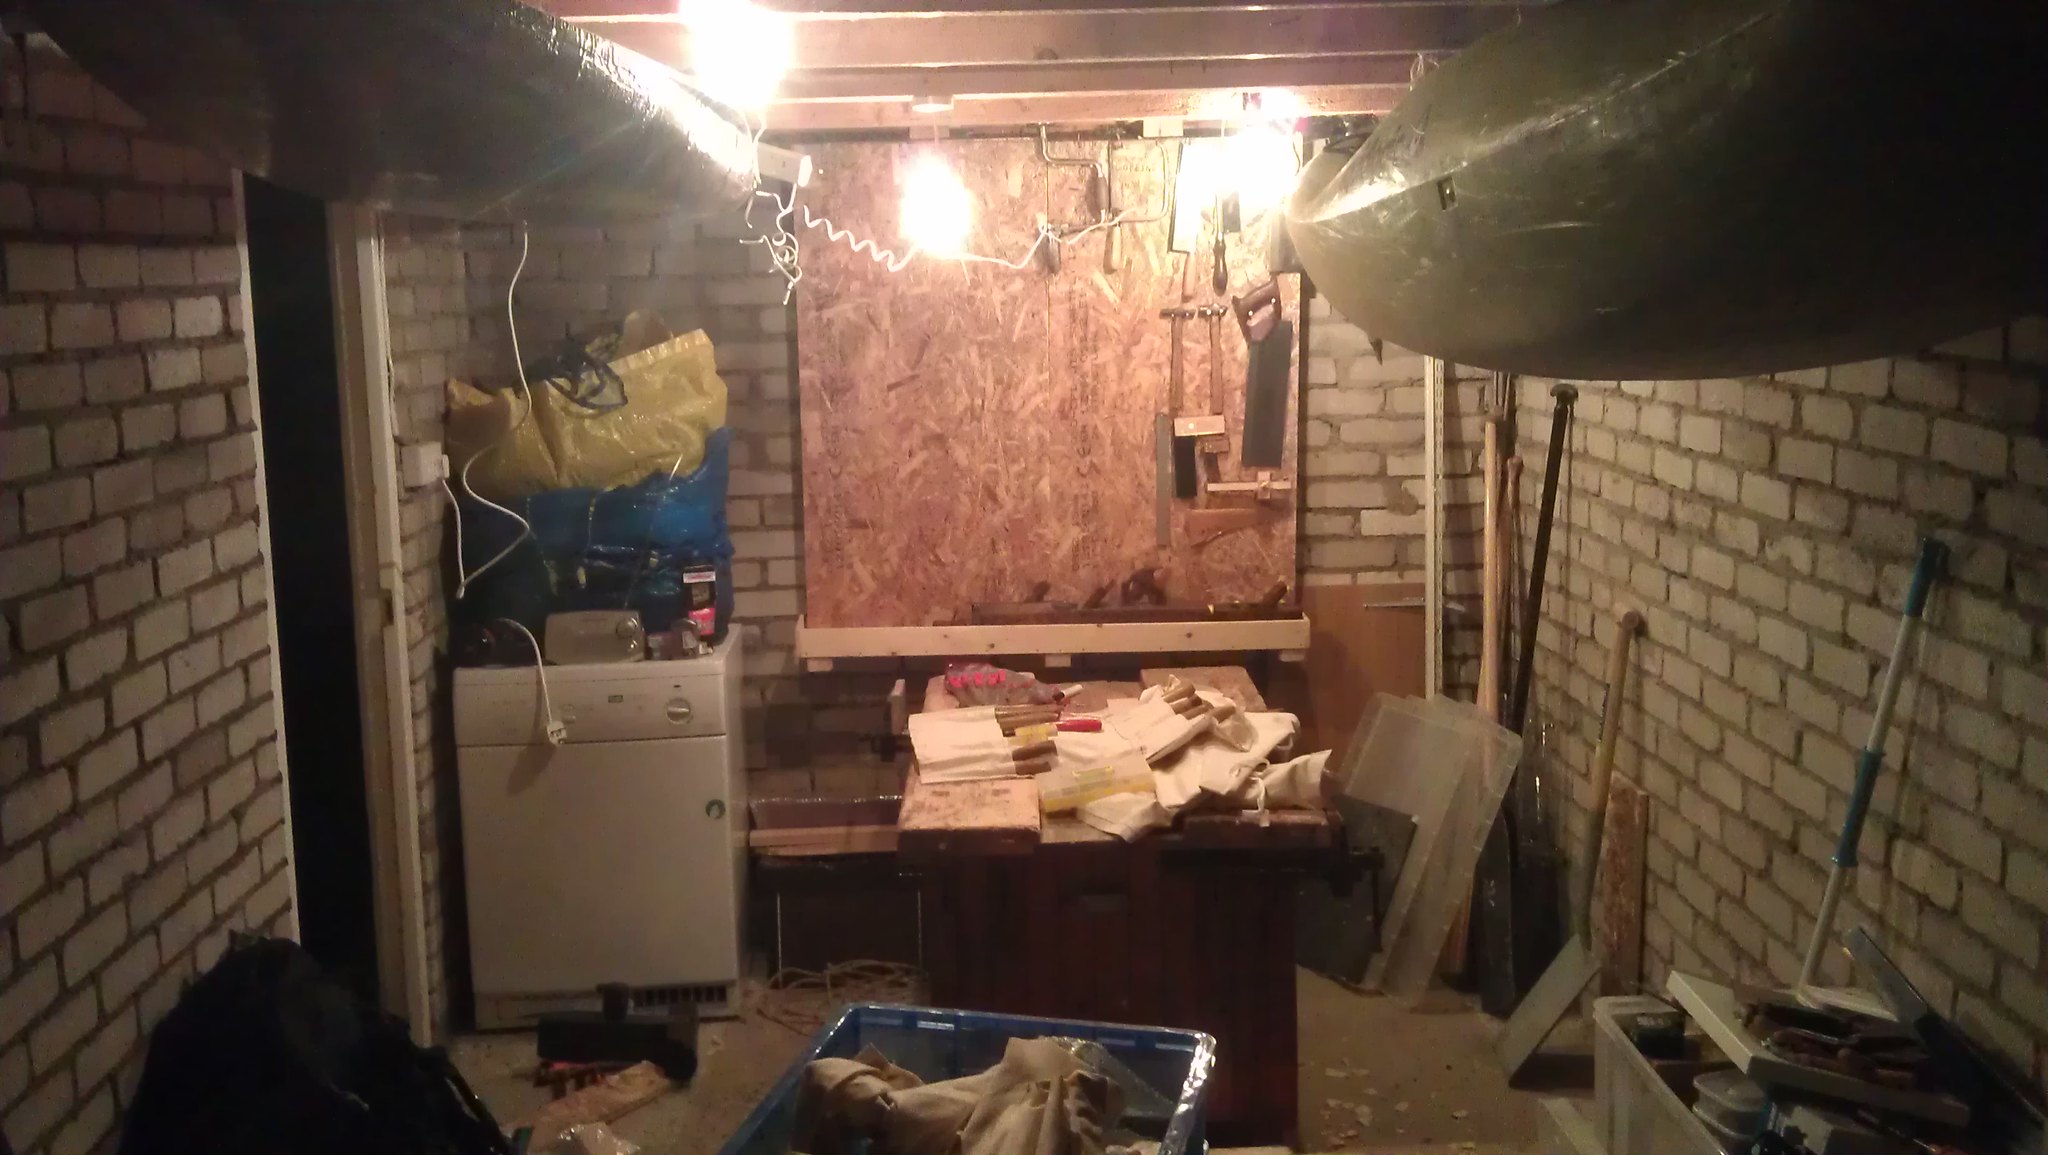
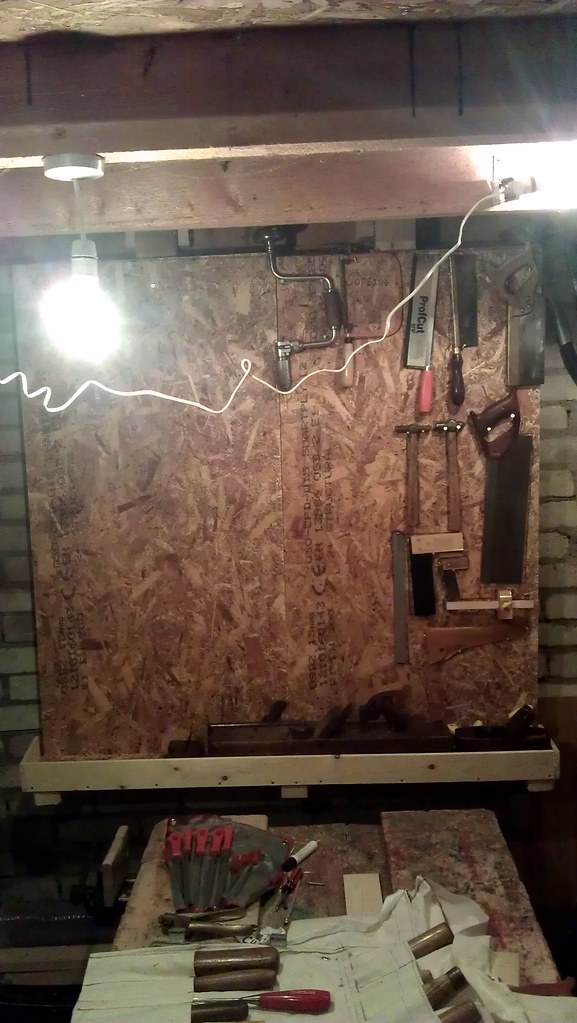
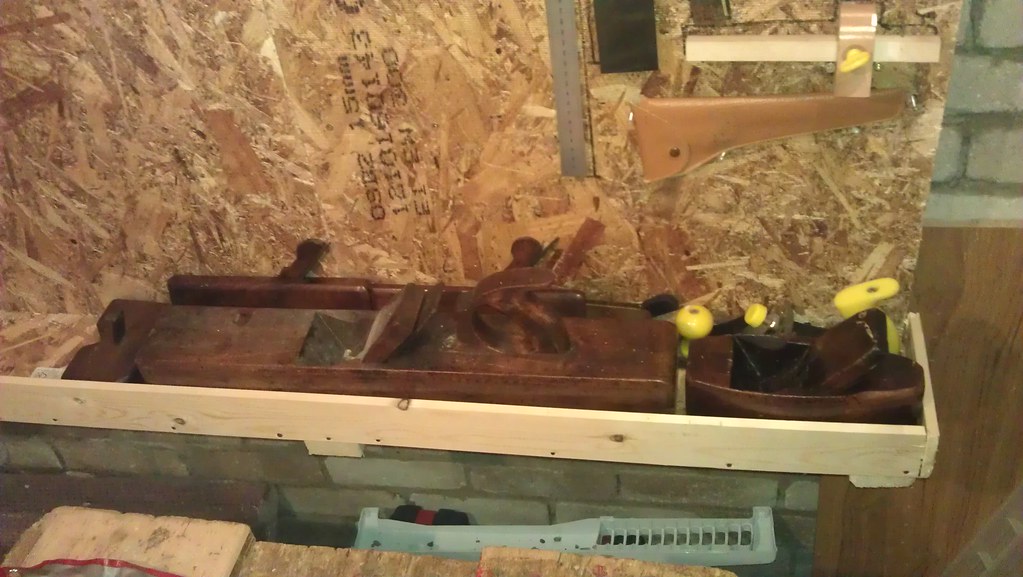
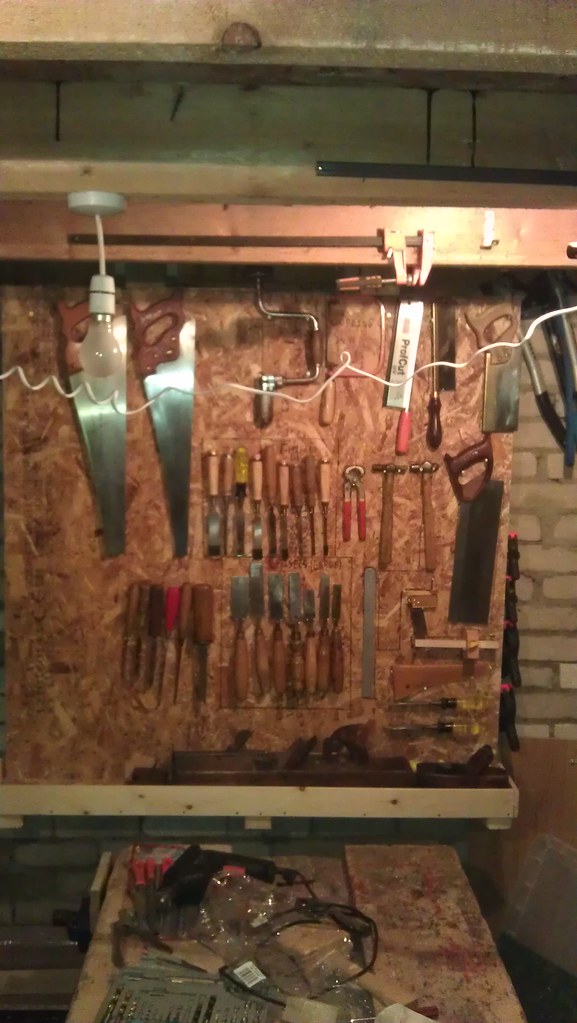
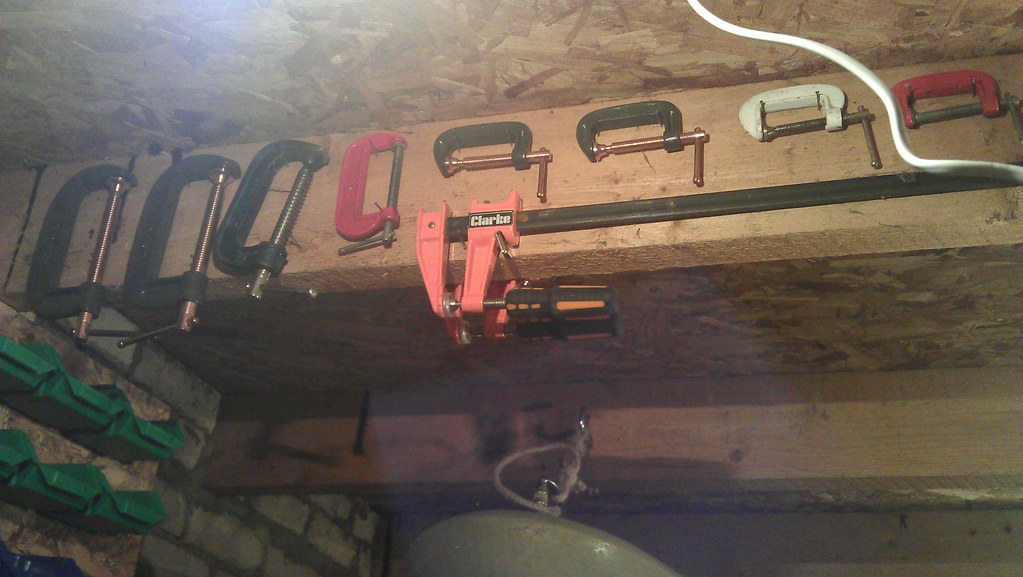
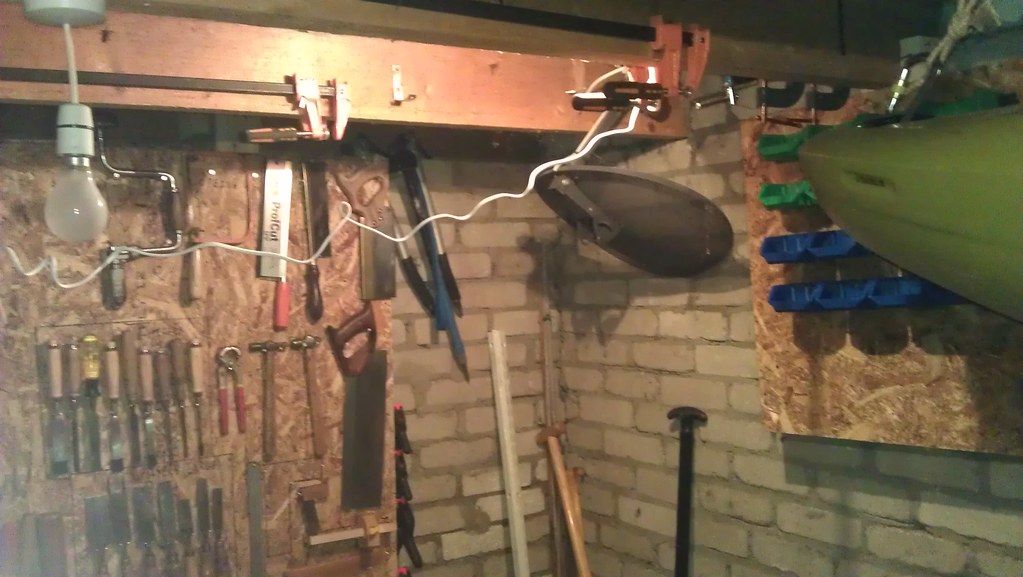
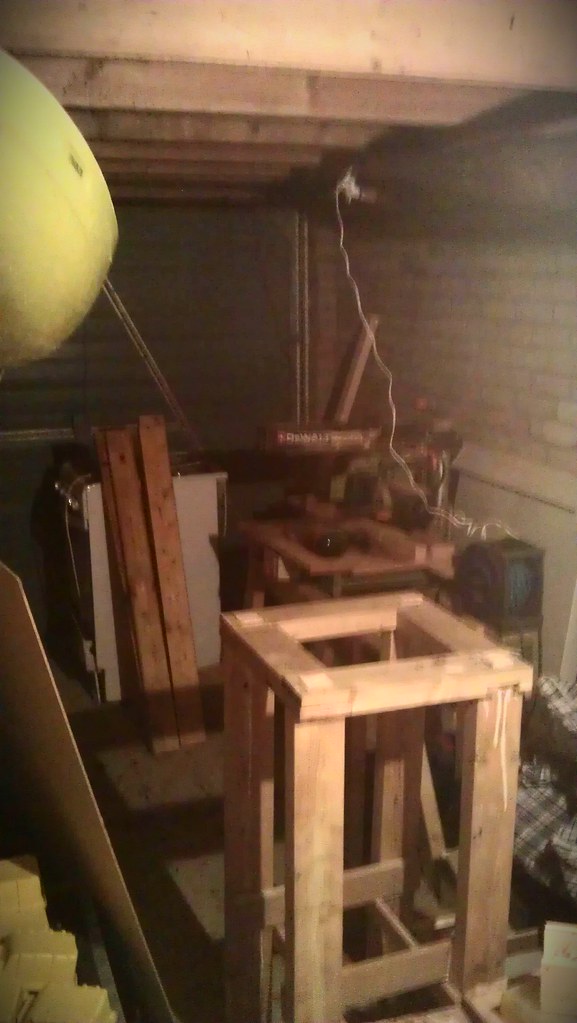
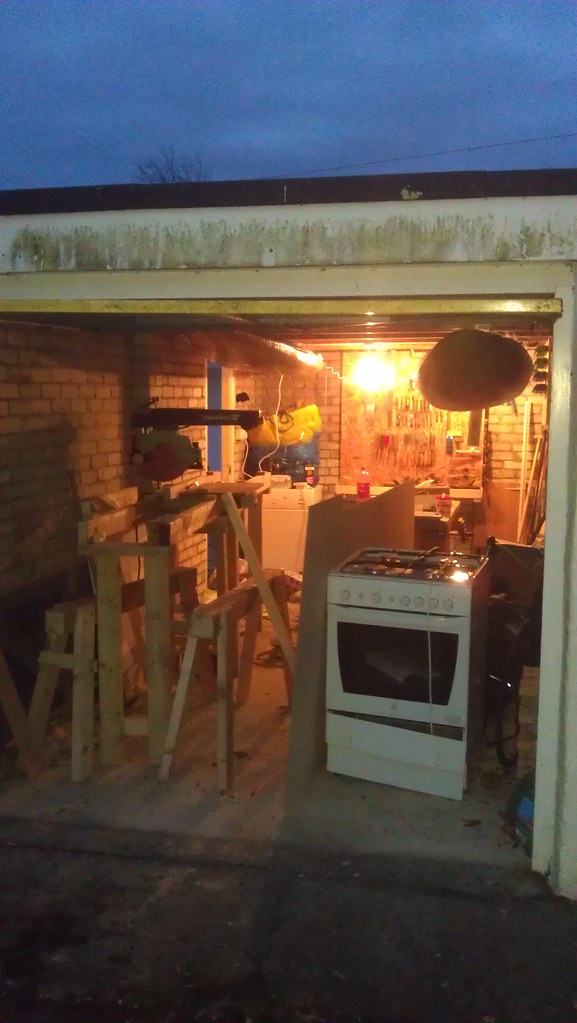
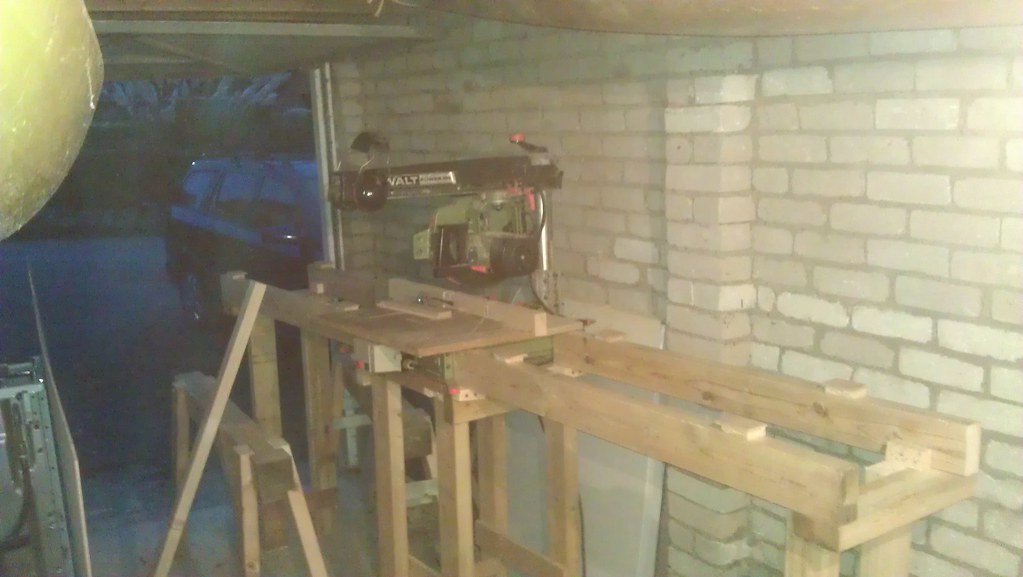
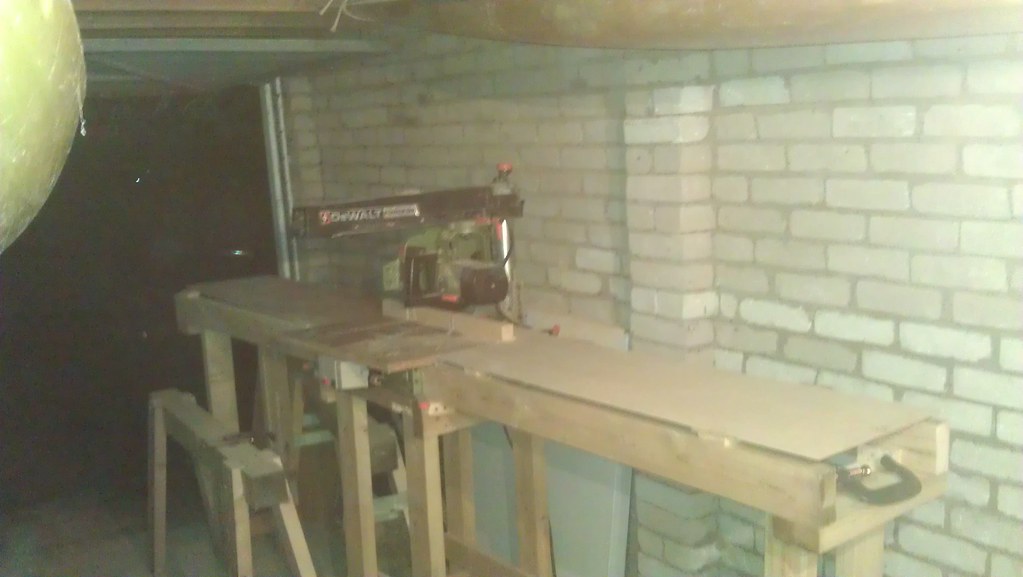
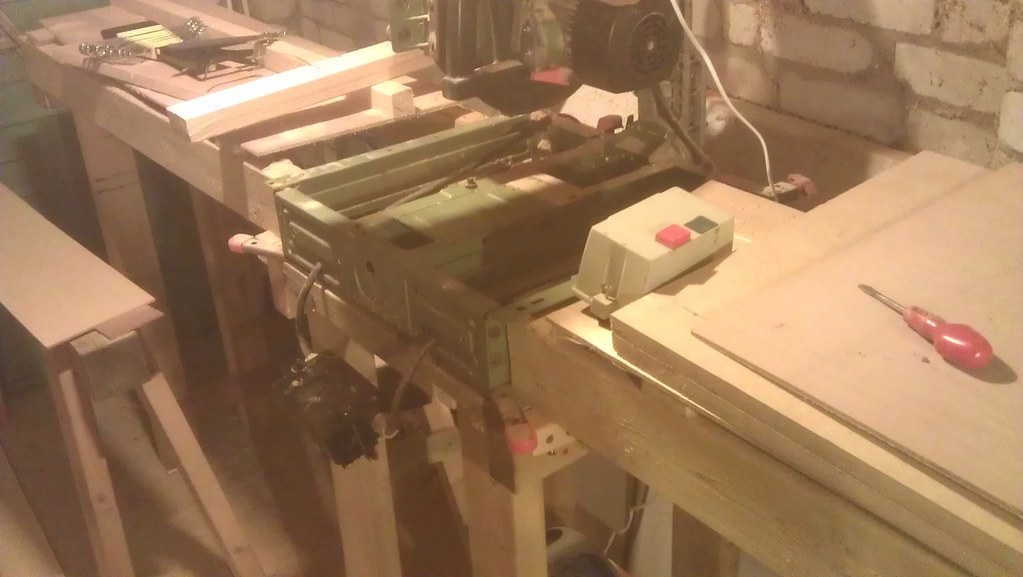
Having moved house last week, I now have a garage; there's some stuff from the previous tenant to shift, the roof is lower than ideal, and it has to double as a store for my bike, canoes, and tumble drier; but it offers a reasonable enough sized area for me to establish a workshop properly... I've got a bench, wheeled table and RAS on the way; so I figured I'd try to create a reasonable account of the process on here.

I'm using uni internet as I've not managed to get a hookup at home, so pictures will have to be added in either via smartphone, or once I get sorted out.

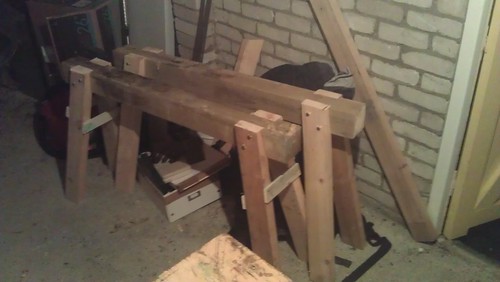
Anyway, as I'm waiting for everything else to arrive, I figured I'd whip up some sawhorses (after my last one died of the cumulative effects of woodworm and using it for resawing 12" by 7' logs); I looked at the article on Jacob's website, scratched my head a little and worked out that (I think) in simple terms, the legs want to be angled such that in the entire height of the trestle, they move outwards by the width of the stock they're made from, in both directions.

In my case that's 100mm in 750mm, the inverse tangent of 750/100 gave an angle of 82.4 degrees from the floor, or 7.6 degrees from perpendincular for the cuts in the legs... so I marked one by hand, cut it and used it as a jig to set up a friends mitre saw for the other 15 cuts (I prefer handwork usually, but you've got to be a bit lazy some times, and trying to accurately cut compound angles through damp 100*50 whitewood seemed as good a time as any).

Cheating done, I decided to deviate from the time honoured design a little (again out of lazyness) and omit the cutting of the cheek on the trestle, it makes for a lesser mechanical joint, but 8*75 coach screws and a liberal coating of glue ought to be sufficent for any load I put on them)... Went to the ironmongers for coach screws (£2.78 for a bag of 20, up yours B&Q!), and eventually got round to cutting the angled rebates for the legs to fit into.

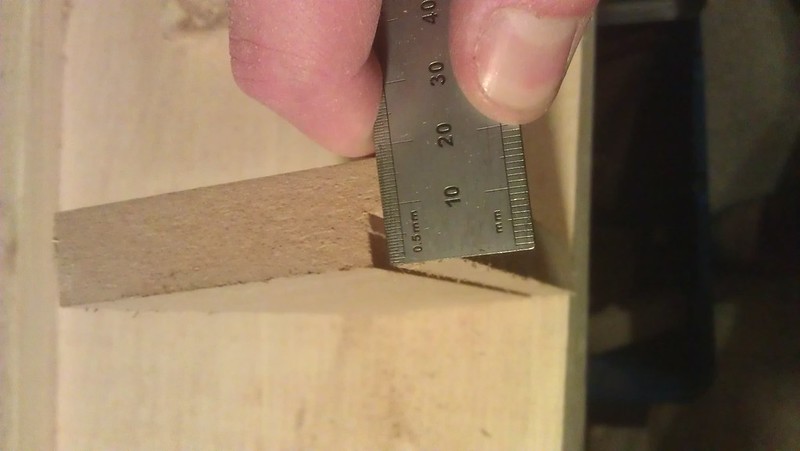
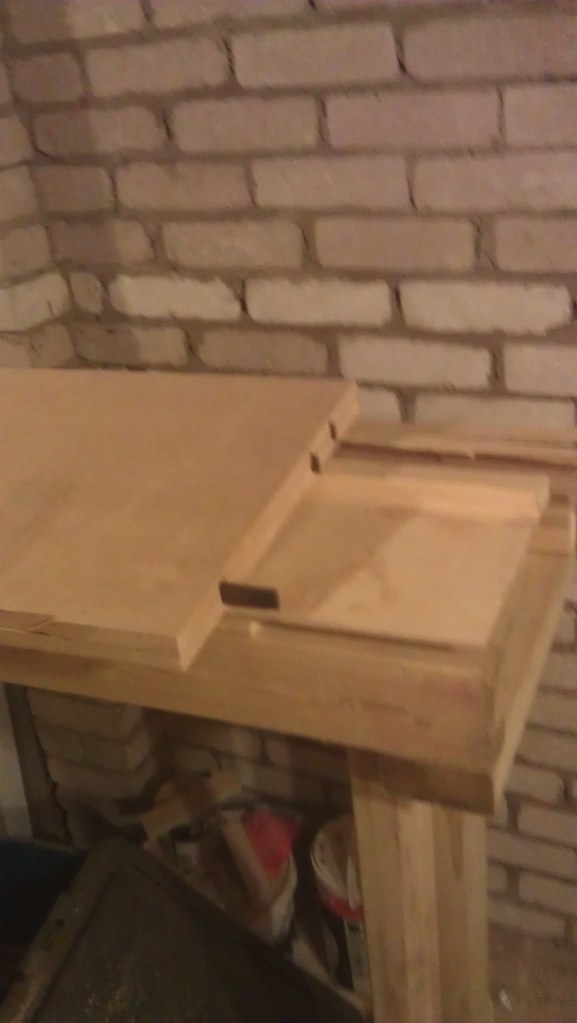
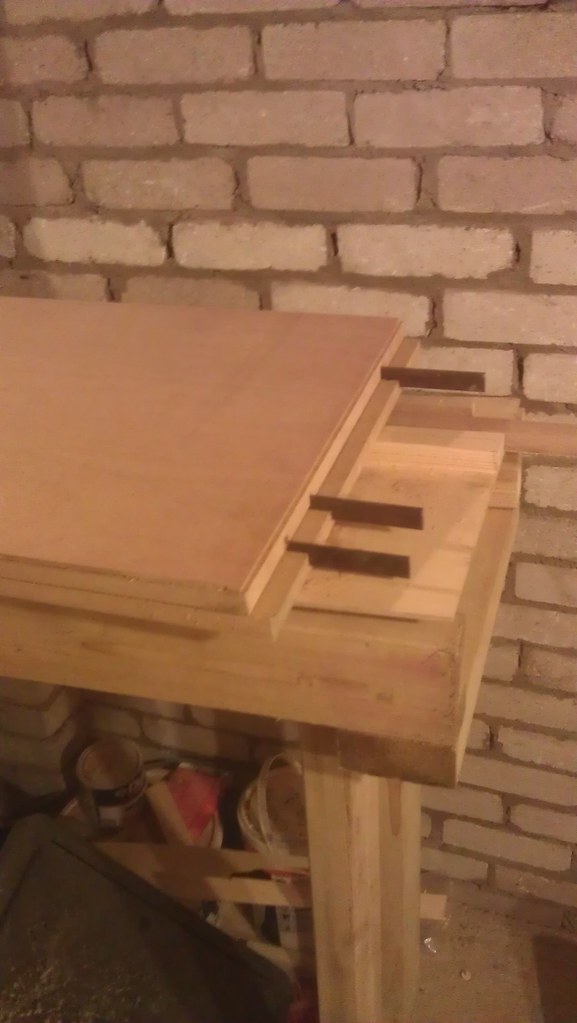
I decided to put them 25mm deep at the top (so as to not cut the load bearing part away entirely at the top, it only being 100*100) and worked out that this should have them exiting at a depth of 12mm from the bottom, with a shift of 13mm laterally from the top to the bottom of the rebate, so I marked all of this out and cut the two edges with a mitre saw...

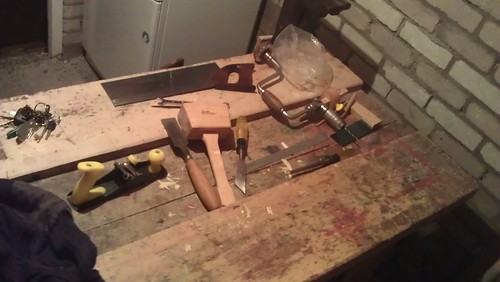
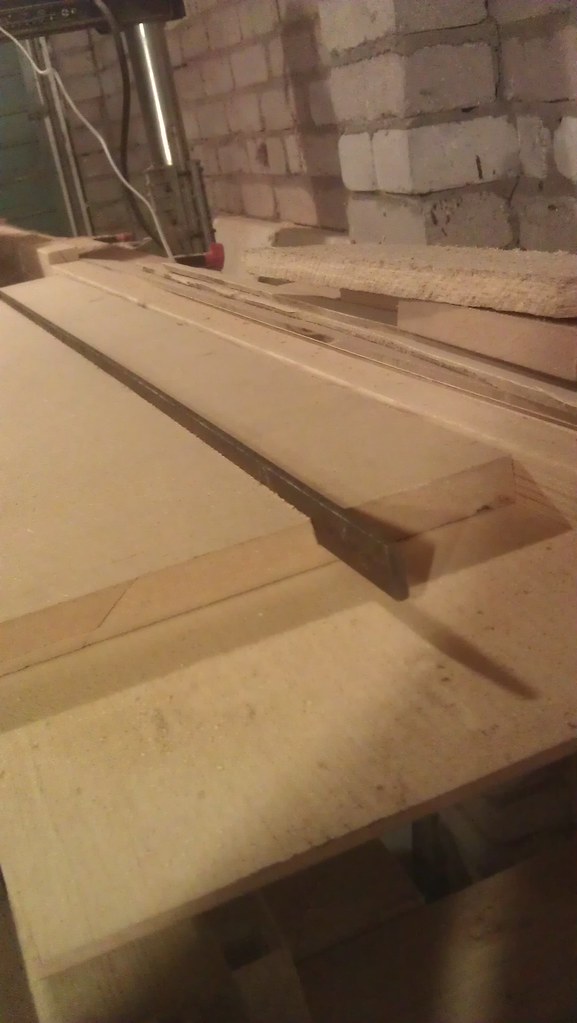
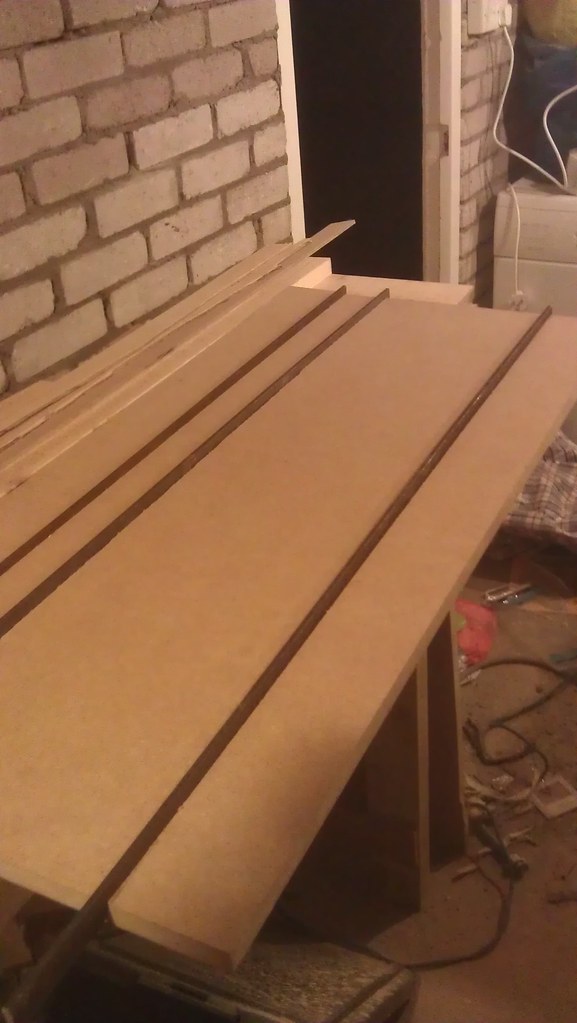
Now for the fun bit... Accurately cutting out the waste... I selected a 1½" firmer chisel and proceeded to belt it mercilessly to remove material down level to the shallower line on the bottom, then flipped over for the deeper line and slightly more gingerly (though still with a lot of force) chopped out waste down to the deeper line, this time at an angle, until there was a noticable crown of waste in the middle, using my 1" skew chisel, I pared a small flat on this crown and proceeded to use my my scrub plane (with an uncambered blade fitted :shock: ) take out the waste, going down to a relatively fine cut once it was nearly there and worked it until the sole could simultainiously rest on both of the marked and chopped lines.

After that, it was a simple matter of clamping the leg in place, drilling two 6mm pilot holes with a bit and brace (discovering in the process that the brace would really benefit from a new chuck, or at least some attention giving to the old chuck) and turning the coach screws in to temporarily secure the joint.

Next, repeat the process 7 more times :D

Anyway, I'll try get some pictures of both the garage as it is now, "before" if you will... and of the process of making the trestles (as I have a few more of those joints to cut yet) tomorrow to illustrate all of this.
 
Ok, pictures... forgive the quality, they're off a smartphone.

A view from the garage door, I have my back to an old cooker and various other bits and bobs which need to go.
8170218439_80e033c710_c.jpg


The bench is one from an old school, solid hardwood, with two 9" quck release record vices and no less than eight adjustable planing stops; I got it from a bloke in barnsley who had another 20 or so, but that was the only one that fitted into the car.

Most of my tools are boxed still, pending attaching a rack to the end wall.


Now the Trestles:
8170216057_f864c2e214.jpg

that's the finished product, no WIP unfortunately... they're pretty beefy even with the shortcuts I chose to take.

and a picture of the tools used to build them, which is something I always like to take when I finish a project...
8170216977_450948b2de.jpg

pretty basic, but getting all of those angles right took a bit of doing...

Next is clearing space and installing the RAS against the left hand wall after it arrives monday, then racking for hand tools on the far wall, and then perhaps another two tall narrow trestles to provide a base for a removable extention table for the saw.
 
Before you fill it up with too much and have things installed, I'd suggest giving the walls a coat of paint to brighten up the space :)
 
Sim, The landlord was insistent that the only modification I'm allowed to make is screwing into the joists... I've added two extra movable 60W bulbs which makes it more than bright enough, if ugly still.

I've hung my canoes from the roof, scrupulously maintaining headroom around the bench and where the RAS is going.

The racking/toolboard is now up, It's made from 50*100 planed and eased whitewood and 18mm OSB2, strong but ugly and blooming heavy.

Its 1200*1200 with a 150mm shelf, and was assembled on the two trestles, rather than in situ; which was all fair and good until I tried to get it up on the wall... I had to hoist it into position using some sash cord i had lying about then tie off with a hitch, and use my bodyweight to hold it to the wall whilst it was screwed in place... A second and possibly third pair of hands would have been useful.

I stopped putting tools up on it at about 11:30 when I realised the time and decided I might just be being antisocial making noise still.
 
always good to see how others begin to use their space, as I'm currently work g on my workshop space i loving seeing threads like this... keep it up, more pics when you can.
 
More pictures!

The workshop as it is now:
8173674368_c08f9f5319_k_d.jpg

Being as it is half-organised, things are everywhere and having taken down a shelf to get the toolboard up I now need to find a home for my winter climbing kit; keeping heap of sharp pointy objects on the floor is probably a bit of a hazard.

The Toolboard itself:
8173672426_3378e77fd3_b_d.jpg

Ugly but functional, I debated using dowels but decided that woodscrews would do just fine to hang things on; pondering how best to rack my chisels tomorrow.

And the plane shelf:
8173585227_2bbefc3384_b_d.jpg

There's a router plane, 3/8" & 1/8" grooving planes, a little infill shoulder plane, Try plane, Coffin smoother and that pressed steel scrub plane; my Jack plane is special (see my thread in the hand tools forum to learn more) so it'll continue to live in its box.


As an addendum, I was shocked at how effective planing the edges of OSB boards straight was... I bought a B&Q value hardpoint saw specifically for cutting the sheet materials, and the blade buckled within the first 400mm of cutting... Which was fixed using judicious blows from an engineers hammer, but had still caused the cut to wander.

As a further addendum, I also realised that I don't have a claw hammer, or at least have lost track of the one I'm sure I did have.
 
Looks a bit like my garage only much, much tidier!
It never fails to impress me how people manage to create working solutions in a less than ideal situation. Nice work Jelly, keep us up to speed with your progress.
 
I've spent a fair while putting my chisels up and also hung my handsaws up, the latter occupies a lot of space, so i'm debating moving them; though I have few other woodworking tools to go up, the remainder are mainly overly specialised, metalwork, engineering and mechanics tools, all of which can live in the bench or in boxes.
8176532910_b8ca22d271_b_d.jpg

It was with great pride that I've noticed that all but six tools on the board are sheffield made... Something that has arrisen by happy accident, rather than design.


I also hung my clamps from the roof, as it keeps them out of the way but in easy reach.
8176519578_00ea5d29fa_b_d.jpg


Finally for this evening, I hung a second panel for little tubs, green for screws, blue for pins and nails; There are some larger yellow ones to go up yet for bolts, coach screws etc. I have another set of these tubs to go up on the wall next to my (hand cranked) drill press when I get it set up, £4 a dozen with brackets at the Range (not my choice to visit, but they do seem have a lot of cheap ironmongery and electical fittings in their DIY area).
8176492419_a6cdb81e24_b_d.jpg

Unfortunately, they're obscured somewhat by one of the boats.
 
I picked up the RAS on monday, got it set up on the trestles and used it to start making it's bench. The bench is 1m (3'4" ish) high, more than usual, but a good working height for me, the central portion which the Saw sits on is currently glued up and curing (held with panel pins).

The main lectern like portion that takes the saw base is constructed from 50*100 the top is half-lapped with a 50mm mortice through the joint, with the legs being tennoned in, then braced with scrap MDF ripped from the edge of board for the new table. Rather than mucking about trying to cut the Laps and Tennons with the RAS I simply used it to cut the shoulders then split off the material with a Chisel, much quicker! The Mortices were hogged out with four holes from 25mm auger and tidied up with a chisel.

8183565381_d50910a090_b.jpg


Next step is attaching the extentions (both 1.2m long, giving a total length of 2855mm) these will be screwed into battens that screw to the main base, partially to raise it above the mounting surface to allow a flush fit with the saw table and partially to make it break down into sections I can fit in the car should I need to relocate it (I may be moving again next year and I dont want to have to scrap several hundred pounds worth of wooden 'furniture' just because its bigger than the van I have access to)

Initially I'll be putting a ply skin on the extention, but the intention is to take that off in time and put rollers in when funds allow.

After that I need to assemble the new table (mr sawdust type with a steel strengthened sub table beneath a replacable sacrificial top surface) realign it, brace the whole thing against the wall, mount an eyelet for a counterweight, paint a red square 300mm either side of the blade, add a hook or shelf for my ear defenders, safety glasses and push stick and finally add a bracket to hold my worklight in place.

That should see the workshop "finished" at least until I can get my pillar drill from my parents house.
 
Ok the RAS is installed, I need to do the new table, position it finally, brace it fully and install the counterweight, then i'll be done for the time being.

Saw mounted on main console and infeed extention table attached.
8185578483_6539024a38_b.jpg


Both extention tables attached.
8185615252_318f30c502_b.jpg


Extention tables with temporary ply tables on.
8185575575_3e8549bbc3_b_d.jpg
 
Now for the Mr. Sawdust table... I've been asked to do this in a bit more detail, but you'll Have to forgive me for mixing metric and imperial dimensions.
I've done all of this on the RAS that the new table is going on, so it's possible, but if you're not entirely happy doing so, DON'T! I wouldn't want anyone to get hurt doing something they're not confident with...

First start with two 36" (3') by 17" (1'5") boards of 18mm MDF (or ply, or OSB if you prefer) the easiest way to get this is to rip a 606 by 1829mm "half sheet" to width and chop it in half. If you haven't done this on an accurate panel saw then mark the long edge that was cut at the factory/ yard on both boards... this *should* be dead square and will be the 'fence edge'

Next you'll need three 3' lengths of 5 by 20mm steel bar stock, I got mine as 1m offcuts from my friendly neigbourhood steel merchant, They'd have cut it to length if i'd been buying from stock, but a mate of mine has a chop saw (friction saw if you prefer) so when he's free i'll pop in and chop it down to size.


Now to begin, we're going to Cut a slightly larger than 5mm by 10mm grove in the boards near the fence edge, Mr Sawdust says to put it 2" from the fence, unless it interferes with the bolts, on my saw it does, so I went for 3". Set your saw up to make a 10mm deep cut 3" out from the fence, then using an offcut, make a test cut, and measure it to be sure (it doesnt need to be vernier accurate, just so long as its not too shallow).
8186957616_79b233cccd_c.jpg


Having checked, run both panels through the saw, put them down and move the saw/fence out by one kerf width). Now run both panels through again, check that your Bar Stock fits into the groove.
8186960738_3959944222_b_d.jpg


Now repeat that process again for the offside edge of both boards. Ideally you won't emulate me in discovering that this edge of one of the boards is a bit rounded after making the first cut and subsequently hamming the whole thing up.

Now we want to put a third groove in, this should be less than half way out from the fence edge, how far doesn't matter too much. Cutting these grooves is done in the same fashion as the previous four.
8186969314_34c4933573_b_d.jpg


Now test fit the three bars and two panels together... I find it easiest to put the bars in one panel, then slide the other one on to it, self aligning then.
8186972238_4f72ac674f_b_d.jpg


Now we're going to cut a 36" by 17" panel of 6mm ply for a sacrificial top... If you're as lucky as I am the cheapest local merchant will only stock full sheets and lack the facility to dimension it; so much fun getting that home on the top of the car!
8186973448_ee26372f95_b_d.jpg


That's all the cutting done; now make sure your RAS is unplugged and set to taking the table off.
Once it's off get it lined up on the new table, the fence edge and right hand edge of the old table should be flush with the same edges on the new table.
8186975746_b8425d560a_b_d.jpg


Now mark the bolt holes... I used a woodscrew of the same diameter as the existing hole and a hammer, then circled them in pencil just to be sure I don't loose them. Don't drill anything just yet.
8186976312_a818eb3c32_d.jpg


Finally, now the table is off you can get the no-volt coil switch that doubles as an emergency stop off the frame; In my case this required removing the front case, then unscrewing the screws on the back of the case whilst holding the bolts at the back.
8186977962_d84c036098_b_d.jpg

The reason for this may not be immediately obvious, but once the new table is on, it would be underneath; meaning that in the moment of need it will no longer be possible to hit the stop button with your knee/belly/flailing arms/whatever else you have that isn't in the process of being cut off.
So next time, that will be shimmed out by 5" or so.
 

Latest posts

Back
Top