New Meddings owner. If I've learnt one single thing...

UKworkshop.co.uk

Help Support UKworkshop.co.uk:

This site may earn a commission from merchant affiliate links, including eBay, Amazon, and others.
Got some Info through from Meddings, taken me a while to work out how to convert pdf inf into images. Mostly cos I'm a bit slow on the uptake tbh. Posting these here for the general good and to save future buyers of Meddings some pain.

YdvVmsC.jpg


ouj2dPW.jpg


ecj3k3T.jpg


DHpTzlH.jpg


Quick update on mine:
Jesus Christ! Learning Curve doesn't quite cover it for the beginner. Think: Fat Lad decides to do a quick ascent of K2 on a whim. Wonders why knees hurt. Has moments of wondering why he didn't just go to Macdonalds and buy a big mac. Remembers he hates big macs. Slowly climbs mountain with renewed fortitude. Will it end well for our poor fat hopeless hero? Tune in next week for the next episode!

Who dares wins Rodders. :D
 
Cheers Andy. I couldn't work out why it was so hard to get this info on the net that's freely available from Meddings.
I've had the front belt wheel off and derusted. Started prepping the body and it's godawful last paint job. Can't get the rear belt wheel off for love nor money. Replacing the front wheel I realised I might have f'ed up a bit. Time will tell if the belt height isn't borked. I find i have to concentrate a lot on this one. It's outside my skill set really. Still. We'll get there.
Regards as always. I'm off for a pint.
Cheers
Chris
 
Re: rear pulley. Seem to remember mine being really stubborn, I probably used stronger language at the time.
Have you found the little grub screw? Remove it completely, apply lots of penetrating fluid, and then a judicious amount of heat.
meddings-mf4-rebuild-t102573.html
If replacing lower seal on the gearbox, I went down one mm on the internal diameter, still leaks a little.

Enjoy the meddings. You'll love it when it's done.
Hope this helps.
 
Thanks. I was hoping you'd turn up tbh. I've already learnt a lot from your restoration so thanks. Spent yesterday stripping rust and keying any solid paintwork. I've had the front wheel off and derusted it then realised I wasn't sure what height it was set at. Put it back on level with the rear wheel. I've been spraying the rear wheel as you suggest. Probably a good thing it's seized so I didn't take them both off and then have no reference. :oops:
The seller told me the reverse doesn't work but I'm a bit leery of opening up the gearbox at the moment... Really should check it all out and do it properly. Getting a bit more confident as I go but I don't want to end causing more problems.
Cheers
Chris
 
Wow what a cracker, very happy for you mate and you're right it's all about patience

I think I might have a bit of an addiction for these old drills and I fear I might end up with 10 or so at some point! I recently acquired a Fobco Star for £85 while all others around it on eBay were going for ridiculous money. The only advice I will give you as you seem to have the rest pretty figured out is on lifting it to your workbench: I could pick my Fobco out of the boot and move it around at waist height or below but couldn't raise it above that via brute force.

To get it on my workbench I grabbed an offcut 4 x 2 and put it under the base by leaning the drill to one side to raise the stand slightly off the ground, feeding the wood through, then to the other to get it out the other side. I enlisted my sister to just stabilise the top of the drill while I lifted it off the ground by the wood. This made it really quite easy. As a physicist I cannot for the life of me explain to you how I increased my mechanical advantage doing this, but I think I did as it almost made it easy. Hope that helps
 
I nearly gave myself a hernia lifting my fobco star onto the bench.

I tried it in two pieces and realised I didn't have the overhead clearance to lift the drill onto the pillar! So I had to lift the whole thing on my own. Managed to get it lying down on the bench, then couldn't stand the bloody thing up. Took me a while to realise that if I dropped the drill to its lowest point it would be easier to stand up, just about got there in the end.

Totally solid piece of kit, when i rebuild my shed, I'm going to have to build it around the drill.
 
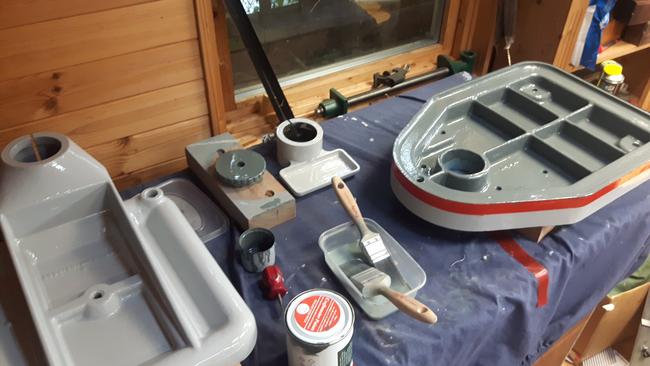
Thought I would post a few pics of progress for those who like such stuff. It's mostly just painting. And Sanding. And painting. And cutting off the odd drip with razor blades while thinking about painting it a bloodygain. etc etc etc... :| (Dooo try to stay awake at the back).
I won't include any advice on anything because obviously, as we all know I don't a bleedin' clue what I'm doing. Relying mostly on blind optimism, beginners luck and asking daft questions in other threads such as this one for cutting threads on the new arms. cutting-threads-on-new-arms-for-meddings-imp-metric-info-t107292.html (More on that later).

Let's get any semi technical info out the way. Started off with a Euro car parts primer to try and save money. Mistako Biggo. What I should have done was spend the money on the Craftmaster gear in the first place. I'd never seen Craftmaster on here as far as I recall but took a gamble because the website is eminently sensible. Of course there's vastly more experienced types on here who could have told me that or given other options but I didn't find it or know to look for it.
Turns out the Craftmaster paint is a joy to use as I'm sure are several other brands/types of paint. O:)

Onwards and upwards. Let's smash through these like some neighbours holiday slideshow you don't like but don't want to offend either.
'Here's Margo and I at the Parthenon, I think we were the first people there that day weren't we Margo? Magnificent. Simply Magnificent. Another dry sherry?'

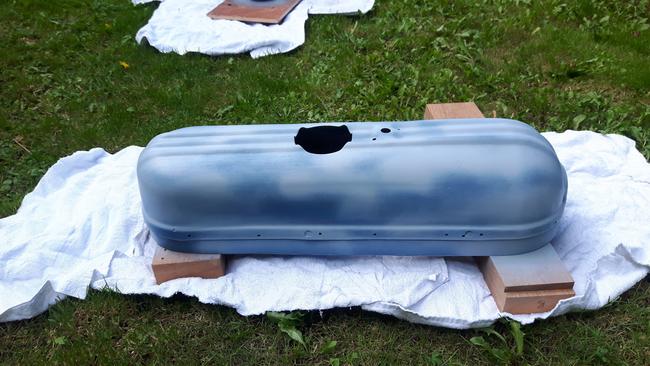
Gittin' started. Thanks Workmate.

rGVSPcQ.jpg


Very nearly Left It Like This and painted an epic WW2 dogfight on it. If I could paint Epic WW2 dogfights and Spitfires and Me109s I actually would have done. Shame.

QxLFlXT.jpg


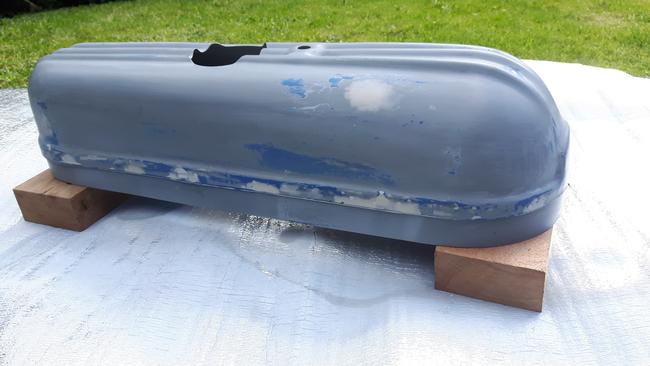
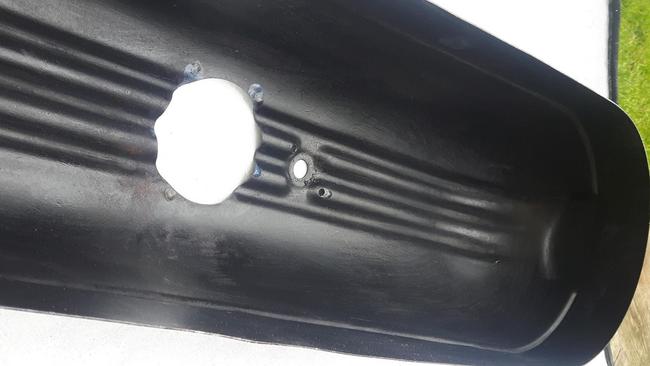
Filler an' that. Upol. Nasty gear, hate it. Annnnnnnd I've gone off in 3 seconds. FU upol. The skirt was added by a previous owner, not sure why. Lazy Monkey. Easier to leave it there than fill holes in metal by removing. :-"

IaxLlTn.jpg


Irritating the Mrs by getting paint on her Ferns. Oops.

WLOvzqt.jpg


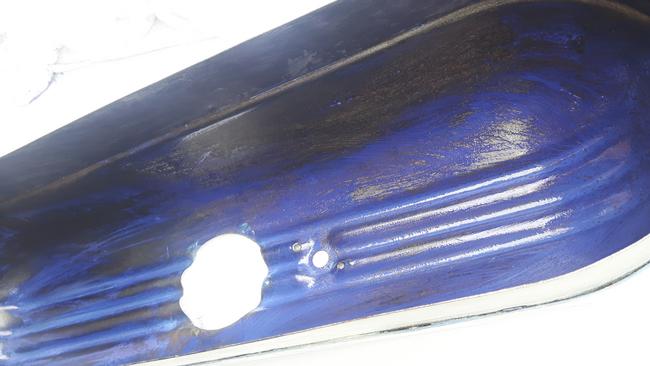
Did a tiny review of this Hammerite gear, Kurust. Not a fan of the paint personally but this gear is top notch. Wipe on, wait for it to go black. Paint it. Job done. Ideal where it won't be seen.

pFyP4oq.jpg

Jo2SzEt.jpg


*Next slide please Margo.

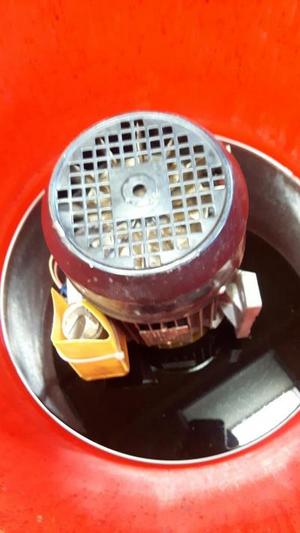
Couldn't get the rear fly wheel off the motor for love nor money. In the end had a moment of simpllicity and took the mountain to Mohammed. Upside down in the diptank. Nice.

CsI1Cmn.jpg


Sweet.

AK2GzRU.jpg


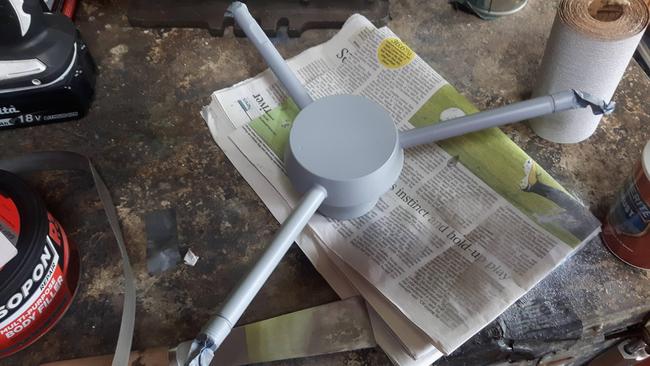
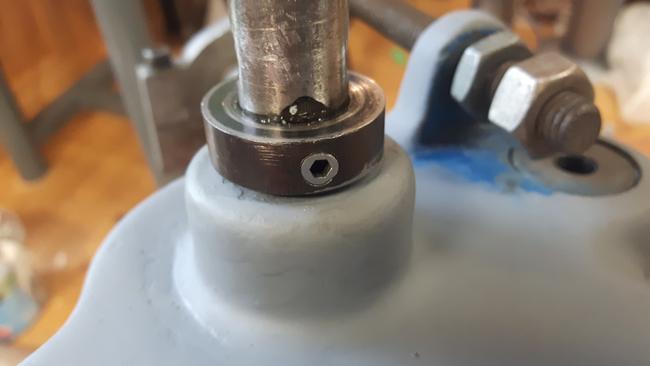
Original arms on the starwheel before I decided to stop being a donk and do it properly.

NO9vpaG.jpg


Which led to a whole new thread, lots of help and kindness. Thanks as always. You know who you are. :D

608o4zv.jpg


Incidentally. Searching for hard black balls is an eye opening experience on the internet. Try WDSltd instead. Being Imperial (I'm learning) I got my hard black balls undersized and tapped them out with my bsf tap. Bosh.
Next Slide Margo. Margo? Margo's popped off to the ladies room for a moment. :shock:
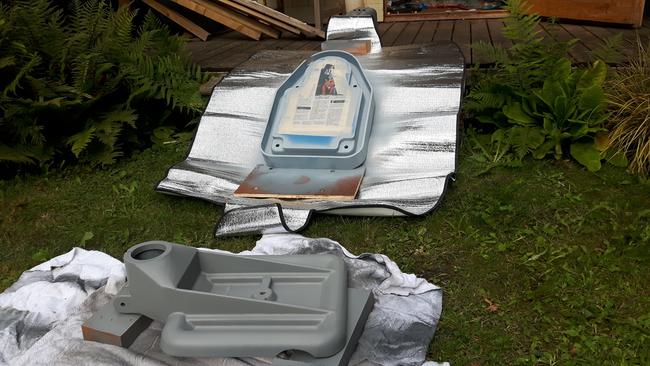
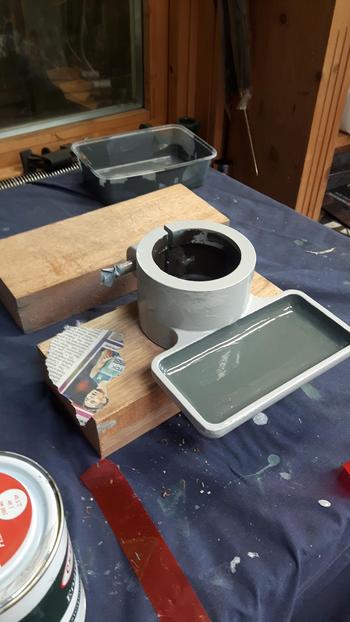
More painting.
Meanwhile, the Myford Grey had turned up to join the Colchester Dove Grey. (Yaaaaawn.)

yOaxPMI.jpg


Cut the missing hex bolt on the clarkey down to size. Woooo!

ImZDCxR.jpg


Gittin' fancy pants with the painting yo. Margo's back looking flushed.

qQnohin.jpg


Managed to heave the drill head onto the column and painted bits today so I can finish that. Had a moment where I thought my eye would pop out while holding it and trying to get the clamp in place with my fu****g eyebrow.
:| Turns out I'm quite sweary.

I have a question. Don't think I posted all them photos for nothing did you? :D
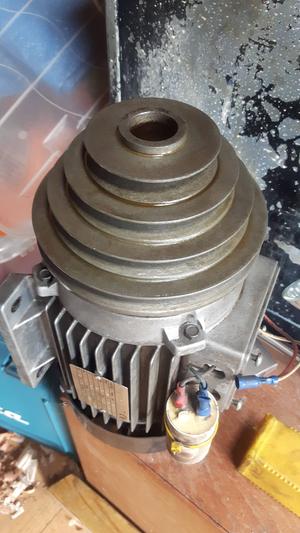
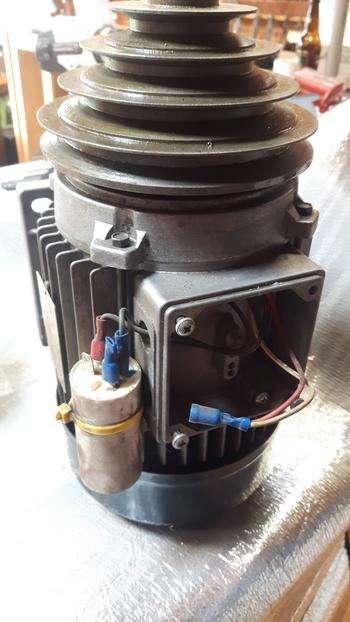
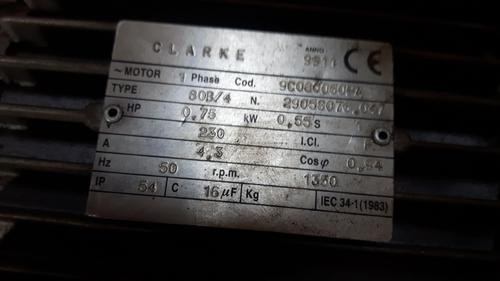
The seller told me the reverse is borked.
Mindthatwhatouch mentioned that reverse is done electrically.

UZ1682B.jpg


iFvDM4o.jpg


My grasp of motors is fundamentally basic. Wiring miss connection, fault with motor, what's that white bit. Could replacing it help. Please excuse what I humbly recognise is a huge lack of knowledge. :oops:
As always. Glad of any bones you could throw me.

Thanks as always for looking at my daft attempts and preposterous lack of technical ability. :D

All the best,
Chris

(slightly edited for for a couple of typos)
 
Brilliant thread, thanks guys. I bought a meddings A10 radial arm drill a few months ago, I haven't had time to touch it yet but its basically an MF4 head on a different body. I was about to start searching for diagrams and I find the info under my nose!

P1060292.jpg


It is a bit rough, it has had a run in with that silly person that pours hammerite over everything without using a brush and is missing the belt cover. I've been looking for a donor machine and missed one while I was in hospital having surgery. Everything seems to work and it came with a 3 phase motor.

Cheers
 

Attachments

  • P1060292.jpg
    P1060292.jpg
    85.2 KB · Views: 281
My lord. That's a beast Andy. That's making my previously herniated disc nervous just looking at it. I'll send you the pdfs Meddings sent me by PM as the images are a little hard to read. I'd put them on here but I'm not sure how to share them on a forum.

Does anyone have any thoughts on the reverse function being an electrical fault? I know it's almost impossible to diagnose by wild guessing over the internet but I have so little knowledge of motors and such that I'm completely in the dark. I'm not even sure what that little white jobby does. There's no markings on the casing. Some sort of resistor/transformer (eeek!?!) I'm guessing but I really have no clue. What I'm wondering is that if the wiring/connections are sound, (it could probably do with replacing like for like) would replacing the white jobby have any effect. My luddite logic tells me that if the motor is producing power (and I saw the drill fired up), it must be one or other of the former causing issues not the actual motor. That would be the ideal. Rewiring it wouldn't be a bad idea anyway tbh. Hung for a sheep as a lamb and all that although I don't look forward to it tbh.
Does that make any sense at all? :shock:

Cheers guys.
Chris
 
The white thing is a capacitor Chris, nothing to do with reverse. You can change the direction of a 3 phase motor by swapping any two of the stator wires but this would be via a switch somewhere on the drill I'd have thought. Sorry I can't be of more help, I know nothing about that particular drill.
 
Chris, I know very little about motors but I believe the lump on the outside of your motor is a starter capacitor.
There used to be a really useful sticky with a guide to motors by Bob 9fingers. I think he stopped posting on here but might be back under a new name. However, a little light searching led to this download link which I hope he won't mind me mentioning - https://drive.google.com/file/d/0B_GZrX ... JtUDQ/view

Have a read and see if it will help.
 
Oh and just to add, if that motor is marked "Clarke" afaik it's a generic replacement from Machine Mart. So worst case, it could be replaced again with an equivalent.
 
Thanks Chaps. It's a start. Will hand crank the google search engine.
PS Hotstuff, yeh, the drill has a manual switch on the side. Will get it off and post some pics.
Cheers guys! We'll get there. :D
Chris
 
Bm101":102via1k said:
My lord. That's a beast Andy. That's making my previously herniated disc nervous just looking at it. I'll send you the pdfs Meddings sent me by PM as the images are a little hard to read. I'd put them on here but I'm not sure how to share them on a forum

Many thanks Chris, I've contacted you regarding the PDFs. I haven't reversed a single phase motor before however depending whether the motor supports it, it doesn't sound difficult. I have a warco mill/drill with single phase motor and reverse, I could try and reverse engineer it to see how it does it. Loads of info on google that may help.

As others have mentioned, the white cylinder(s) is/are start and/or run capacitors. Easy enough to replace, I've done it on my compressor and the Tormek grinder. If it's a dodgy start capacitor you can test this as the motor will start once you get it spinning if the cap is blown. Obviously you need to be careful when spinning the motor manually. Some are very obviously blown as the innards erupt from the capacitor, other times it's more subtle.

Cheers
Andy
 
Sorry Chris, I don't know how I got it into my head that it was a 3 phase motor you had, not even on the malt last night so no excuse. Same sort of principle involved but it's the starting winding that gets reversed, that'll be live feed in and one of the wires off the capacitor that need to go via the switch.
If it starts and runs happily in one direction then the cap should be ok so the switch wiring would be the next suspect but as Andy says there's plenty of info online and a visit to YouTube will show it all much more clearly than my explanation.
Take care with the capacitor, they still hold a charge when everything is switched off and you don't want to discharge it through any of your body parts.
 
Back
Top