New Bench WIP - update 4 November - Finished

UKworkshop.co.uk

Help Support UKworkshop.co.uk:

This site may earn a commission from merchant affiliate links, including eBay, Amazon, and others.
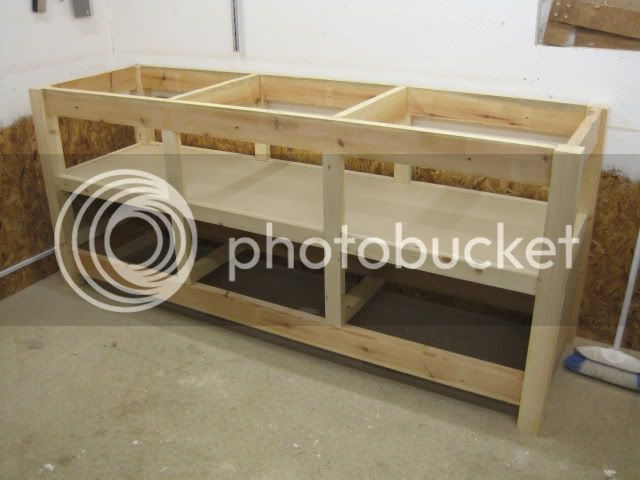
After several stages the glue up is complete. I think it was 6 in all. First time using titebond III and am very impressed, I managed to get each set of glue ups completed in under 8 minutes (thanks for the advice Rob)so can't really comment on the max open time, but even at 8 mins it was starting to go slightly tacky.

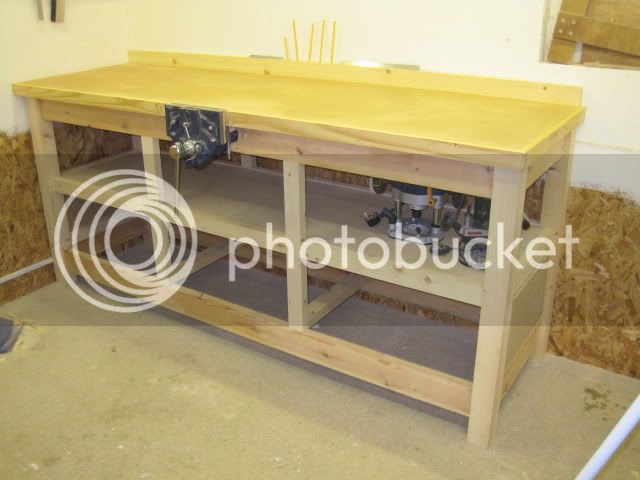
The all important final fit went well with all the tenons lining up exactly as well as the shelf sliding nicely into the rebate.

IMG_0356.jpg


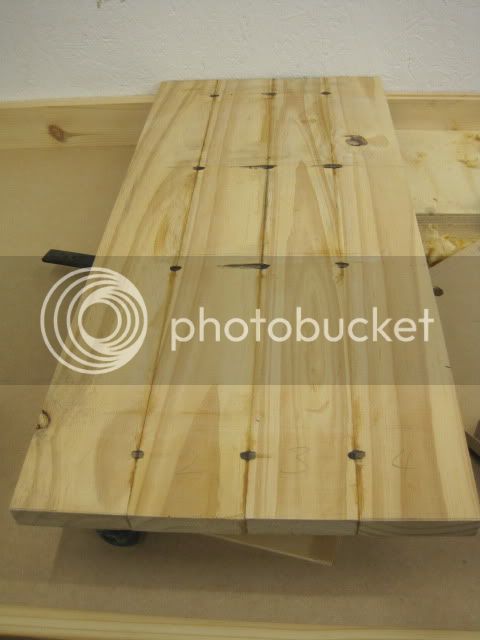
Under the shelf there will be 3 large drawers to put power tools in so next job was to start on the drawers fronts. I have some boards that were the base of our old bed and thought they were pine but now not so sure.

IMG_0359.jpg


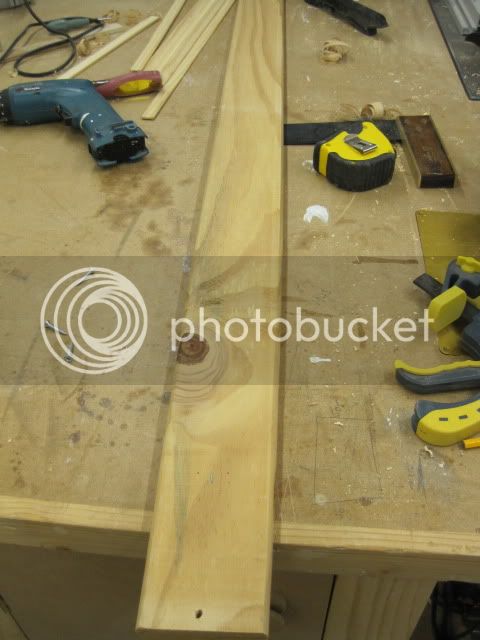
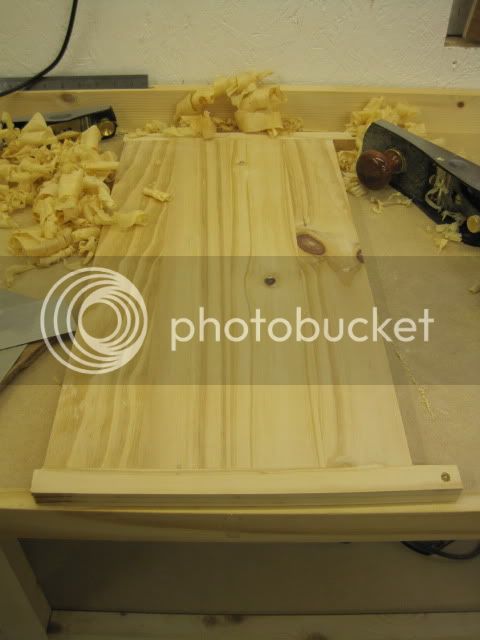
They finished very nicely in the P/T and smelt vanilla (ish) when sawn.

IMG_0358.jpg


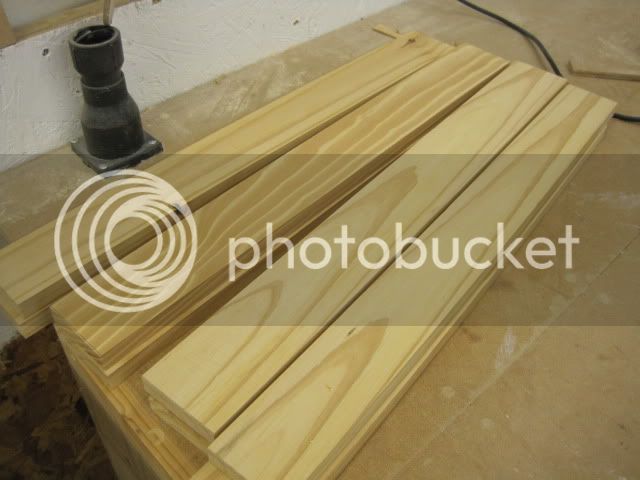
Its also very pliable.

IMG_0360.jpg


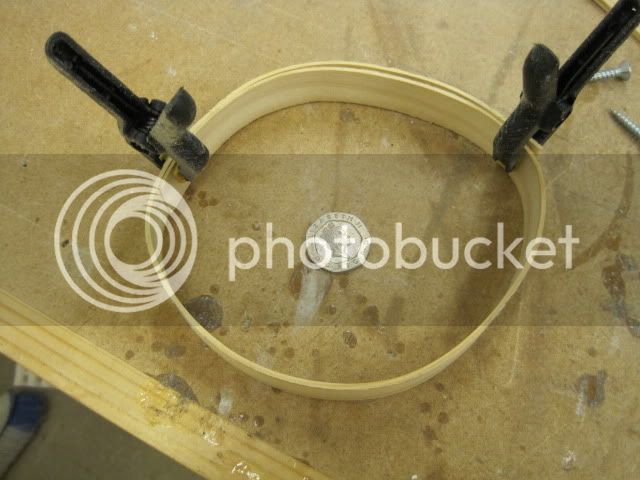
So is anyone able to offer an opinion as to what it may be or is it indeed pine.

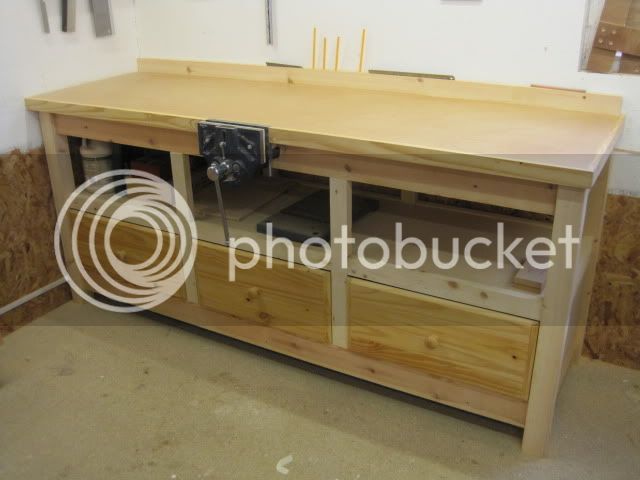
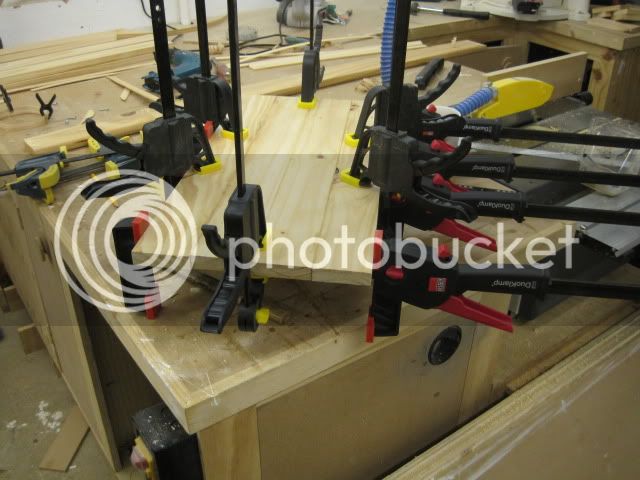
Don't know if I've used enough clamps for the drawer front glue up.

IMG_0361.jpg


Cheers

Vinny
 
There is light at the end of the tunnel.......

Bench top now complete -2 layers of 18mm construction ply topped off with 9mm mdf, vise installed (what a pita that was) wrapped the whole lot with some of the mystery 'bed board'. Installed a 'bumper' strip at the back and routed some holes and slots for pencils and a couple of rulers.

Have given the surface a liberal dose of Liberon neutral liquid wax, will repeat tomorrow and then that should be that job jobbed.

All that remains is the drawers, plan to make a start on the carcasses tomorrow and put the bread board ends on the drawer fronts before theyre cut to size, then its Sunday...........................:

Korean Grand Prix
Unwilling drag round Sainsburys
Unwilling drag round Chippenham
Unwilling visit to people I know (friends would be taking it a bit too far)
Willing 4 pack of Ruddles County
Long snore
Argument
Silent tea
More snores
etc etc

Then its Monday and 4 days in t'shop - gotta love this shift work mullarkey :wink:


IMG_0362.jpg


Vinny
 
First drawer front glued and ready for the next stage - making it look better than this (this is another front but the original was in similar shape):

IMG_0364.jpg


It's too wide for the P/T so I was forced to try something that I've been putting off for a while - flattening by hand :shock:

Initially I knocked of the glue residue with the belt sander, then it was out with the BU smoother, 5 mins on the scary sharp and I was ready, oh joy of joys, it actually worked, nice whispy shavings all over the shop, all over the dog, ergo all over the house - oops.

Then disaster - rip out !!! quite deep as well so reversed the panel and attacked from the other direction, this worked to a fashion but theres still some evidence of it, should I keep going until its all gone or is there something else I should do (sand paper, filler, cabinet scrapers ?).


Next step (I think) will be on to cabinet scrapers, but before that I've got to watch Matthews video on how to use the carbide burnishing thingamy.

This is where we are at present:

IMG_0363.jpg


Cheers

Vinny
 
Tis done.

Drawer fronts given a wipe over with danish oil, power tools in drawers. I've had a bounce on the top and there no creaks or groans so looks like the tenons are OK. Will probably fit intermediate legs front and back as was suggested earlier in the thread but we'll see how it goes.

IMG_0371.jpg


Cheers

vinny
 
Looks very nice!

Have you decided what to do about clamping end to end on the surface?

I expect you know the Veritas bench dogs/pups - and will have seen Roger Chapman's mdf-topped bench with suitable holes. It's been in many similar threads - eg this one:

https://www.ukworkshop.co.uk/forums/lighter-wight-worktop-only-help-t24379.html

Btw, I think your bed slats might be spruce. I have some matching ones, and although they are not 'joinery grade' they have been very useful.
 
Andy

Dogs are on the agenda - soon.

To save some pennies I plan to make them myself. The initial design was to partly sheath some 15mm hard wood dowel with blue mains water pipe (something I have a pretty good supply of - old fella is a retired plumber with a yard full of the stuff). The wall of the pipe is about 3mm which would have made a nice "step" to contact with the bench top, however...... I can't find a 15mm drill bit (flat) in my drill drawer nor can i find one in any of the sheds, the sizes go 12,13,14, 16,17 etc. i do have a 15mm forstner bit but am quite aware of the fact that under the top sheet of mdf to lies 2 sheets of construction ply which were randomly screwed and glued together - I did mean to remove the screws after the glue had dried....but didn't. i don't really fancy wrecking an expensive forstner bit so its back to the drawing board.

Vinny
 
Nice bench. If all else fails grind equal amounts from each side of a 16m flat bit to make the required 15mm. Paint it RED so that you know it is not the stated size. Or use it and chuck it, wish I had done! :(
xy
 
If you don't fancy grinding down a flat bit, which is a good idea, how about using a pipe detector, the kind you use on walls to find pipes and wires. Make sure you have one that detects metal and not a magnetic field. This will tell you where the screws are!
 
I'd recommend flat bits for drilling dog holes - I used them in my MDF workbench and they drilled very clean holes. For best results use the drill in a drill press with the head swung round.

The best flat bits for getting clean holes have spurs ground on the edges like the one on the right in this picture

Spadebit1.jpg


You will also find that many have threaded points. These are OK in a cordless drill which stops when you release the trigger but if you are using them in a mains-powered drill I'd recommend filing off the thread (I did this in the one on the right in the picture above). If you don't you'll find that the drill doesn't stop immediately the trigger is released and the bit carries on getting drawn into the wood until the drill stops - can be a bit lethal if you're not careful :shock:

Cheers :wink:

Paul
 
Paul - sorry for calling you Roger!

I must take more cair!
 
Paul

Do you know the manufacturer is of the flat bit with the spur ? I've had a quick flirt round the usual suspects but can't find anyone who makes them, or did you grind the spur yourself ?

Many thanks

Vinny
 
Vinny":3ml6fx37 said:
Paul

Do you know the manufacturer is of the flat bit with the spur ?

Bosch make them and B&Q currently stock them. CK also do them and there are no doubt other makes as well.

Cheers :wink:

Paul
 

Latest posts

Back
Top