Need a flocking kit! Can you recommend one?

UKworkshop.co.uk

Help Support UKworkshop.co.uk:

This site may earn a commission from merchant affiliate links, including eBay, Amazon, and others.

OscarG

Established Member
Joined
3 Jun 2016
Messages
988
Reaction score
3
Location
London
I'm after a flocking kit, hopefully one with the puffer pump thingy wotsit that I've seen our American cousins use on YouTube.

Only one I've found is this>>

https://www.amazon.co.uk/DIY-FLOCKING-K ... s=flocking

Not sure if it's any good, not sure I like the squeezy bottle applicator on it.

Anyone got one they use and would recommend?

Cheers :ho2
 
Make sure you do your flocking well in advance. I got caught out last year when making a last minute attempt at a gift.


.
 
ScaredyCat":imwqdzkp said:
Make sure you do your flocking well in advance. I got caught out last year when making a last minute attempt at a gift.
.

Cheers for tip!

Did you do it before or after you finished the item?
 
Lazurus":1g481t8g said:
https://www.turners-retreat.co.uk/search/FLOCKING?search=FLOCKING

I use this set from Turners Retreat - very effective and easy to use

Ah that looks just the thing!

Many thanks! (hammer)
 
I use the turners retreat one.

I always cover everything with wipe on poly before using the flocking though. I found that a couple of times the paint / adhesive soaked through the pores of some woods and stained the outside of the box. Same will happen if you have a pinhole in the glue joints.

Make sure you mask off everything else. I wrap the entire box in masking tape, even the base, to stop any colour splashes. Flood the thing with flocking, rotating it so that you apply to all sides as well as the base. leave it 24 hours. turn it over and knock out the excess. Leave it another 24 hours before brushing out the last fluff.

Apply it in a large clean box, because you can re use all of it, again and again.
 
Cheers Bob,

Ah so you apply poly even on the bits you'll cover with the flocking adhesive?

I'm planning on using Danish Oil but I guess the same goes for that.

I actually like my box drawers with the plain wood but they're a little loose fitting, I saw a vid where a guy flocked the inside cavity as well as the drawer inside and created snugger fit. I thought if I did that it would close up the gaps a little.
 
They got some lovely stuff on that turners-retreat website, got horribly sidetracked =P~

Ordered the kit, many thanks chaps!
 
OscarG":1xz2knax said:
Did you do it before or after you finished the item?

I flocked the inside before finishing, then blocked out the flocked bit with blue tape ( but not sticking it to the flocking material) and then did the finish.

.
 
After having to scrap two separate boxes because of bleed out with red paint I now use wipe on poly ESPECIALLY on the drawer inners. It seals the wood and blocks any minor gaps in the glue lines.
I dont know if oils would stop the paint / adhesive from sticking, so youre on your own on that one :roll: :D

I flocked the inside of this walnut oval yin yang box, you can just see the black of it around the front.
Hmm, I think its something you need to try to see if you like it. But bear in mind you cant get it off if you dont :shock: .
walnut oval small.jpg


Its a lot easier making another larger false front if your cut is too wide. make sure you do a very gentle roundover on the hole and the drawer, that helps to disguise the gap.
 

Attachments

  • walnut oval small.jpg
    walnut oval small.jpg
    93.1 KB · Views: 450
Hmmm got me worried now, maybe I should get some poly! Do you use the Minwax stuff?

Wow, that box is gorgeous Bob!

Did you bandsaw those 2 contrasting Ying-Yang pieces taped together back to back in order to get that join so precise?

I've sanded the main part of box (paws, eyes and feet to be made soon) and done a light round over but you can see the gap at top is big. I'm hoping the flocking might raise the bottom.

wP7MAmk.jpg


The other solution I was tempted to try was put a couple of ramps/shims in bottom of cavity to raise the drawer when it's closed but wondered if that was a naff way of doing it.
 
Oh man, you really have got to get eyes on that top drawer sharpish like, and dont set them looking downwards :shock: =D> =D> =D> :D


I'm not saying you cant use oil, I'm just saying that I dont, so have no advice to offer.
I cant afford minwax, i doubt Bill gates could manage more than 2 litres at a time. :shock: :shock:

Any OIL based clear poly (NOT water) mixed with white spirit at 60% poly to 40% spirit will do fine. Gloss, satin, matte, your choice. Buy a small tin of poly, you only need a couple teaspoons at a time. I normally end up throwing away about a quarter of the tin as it skins over before I use it all.

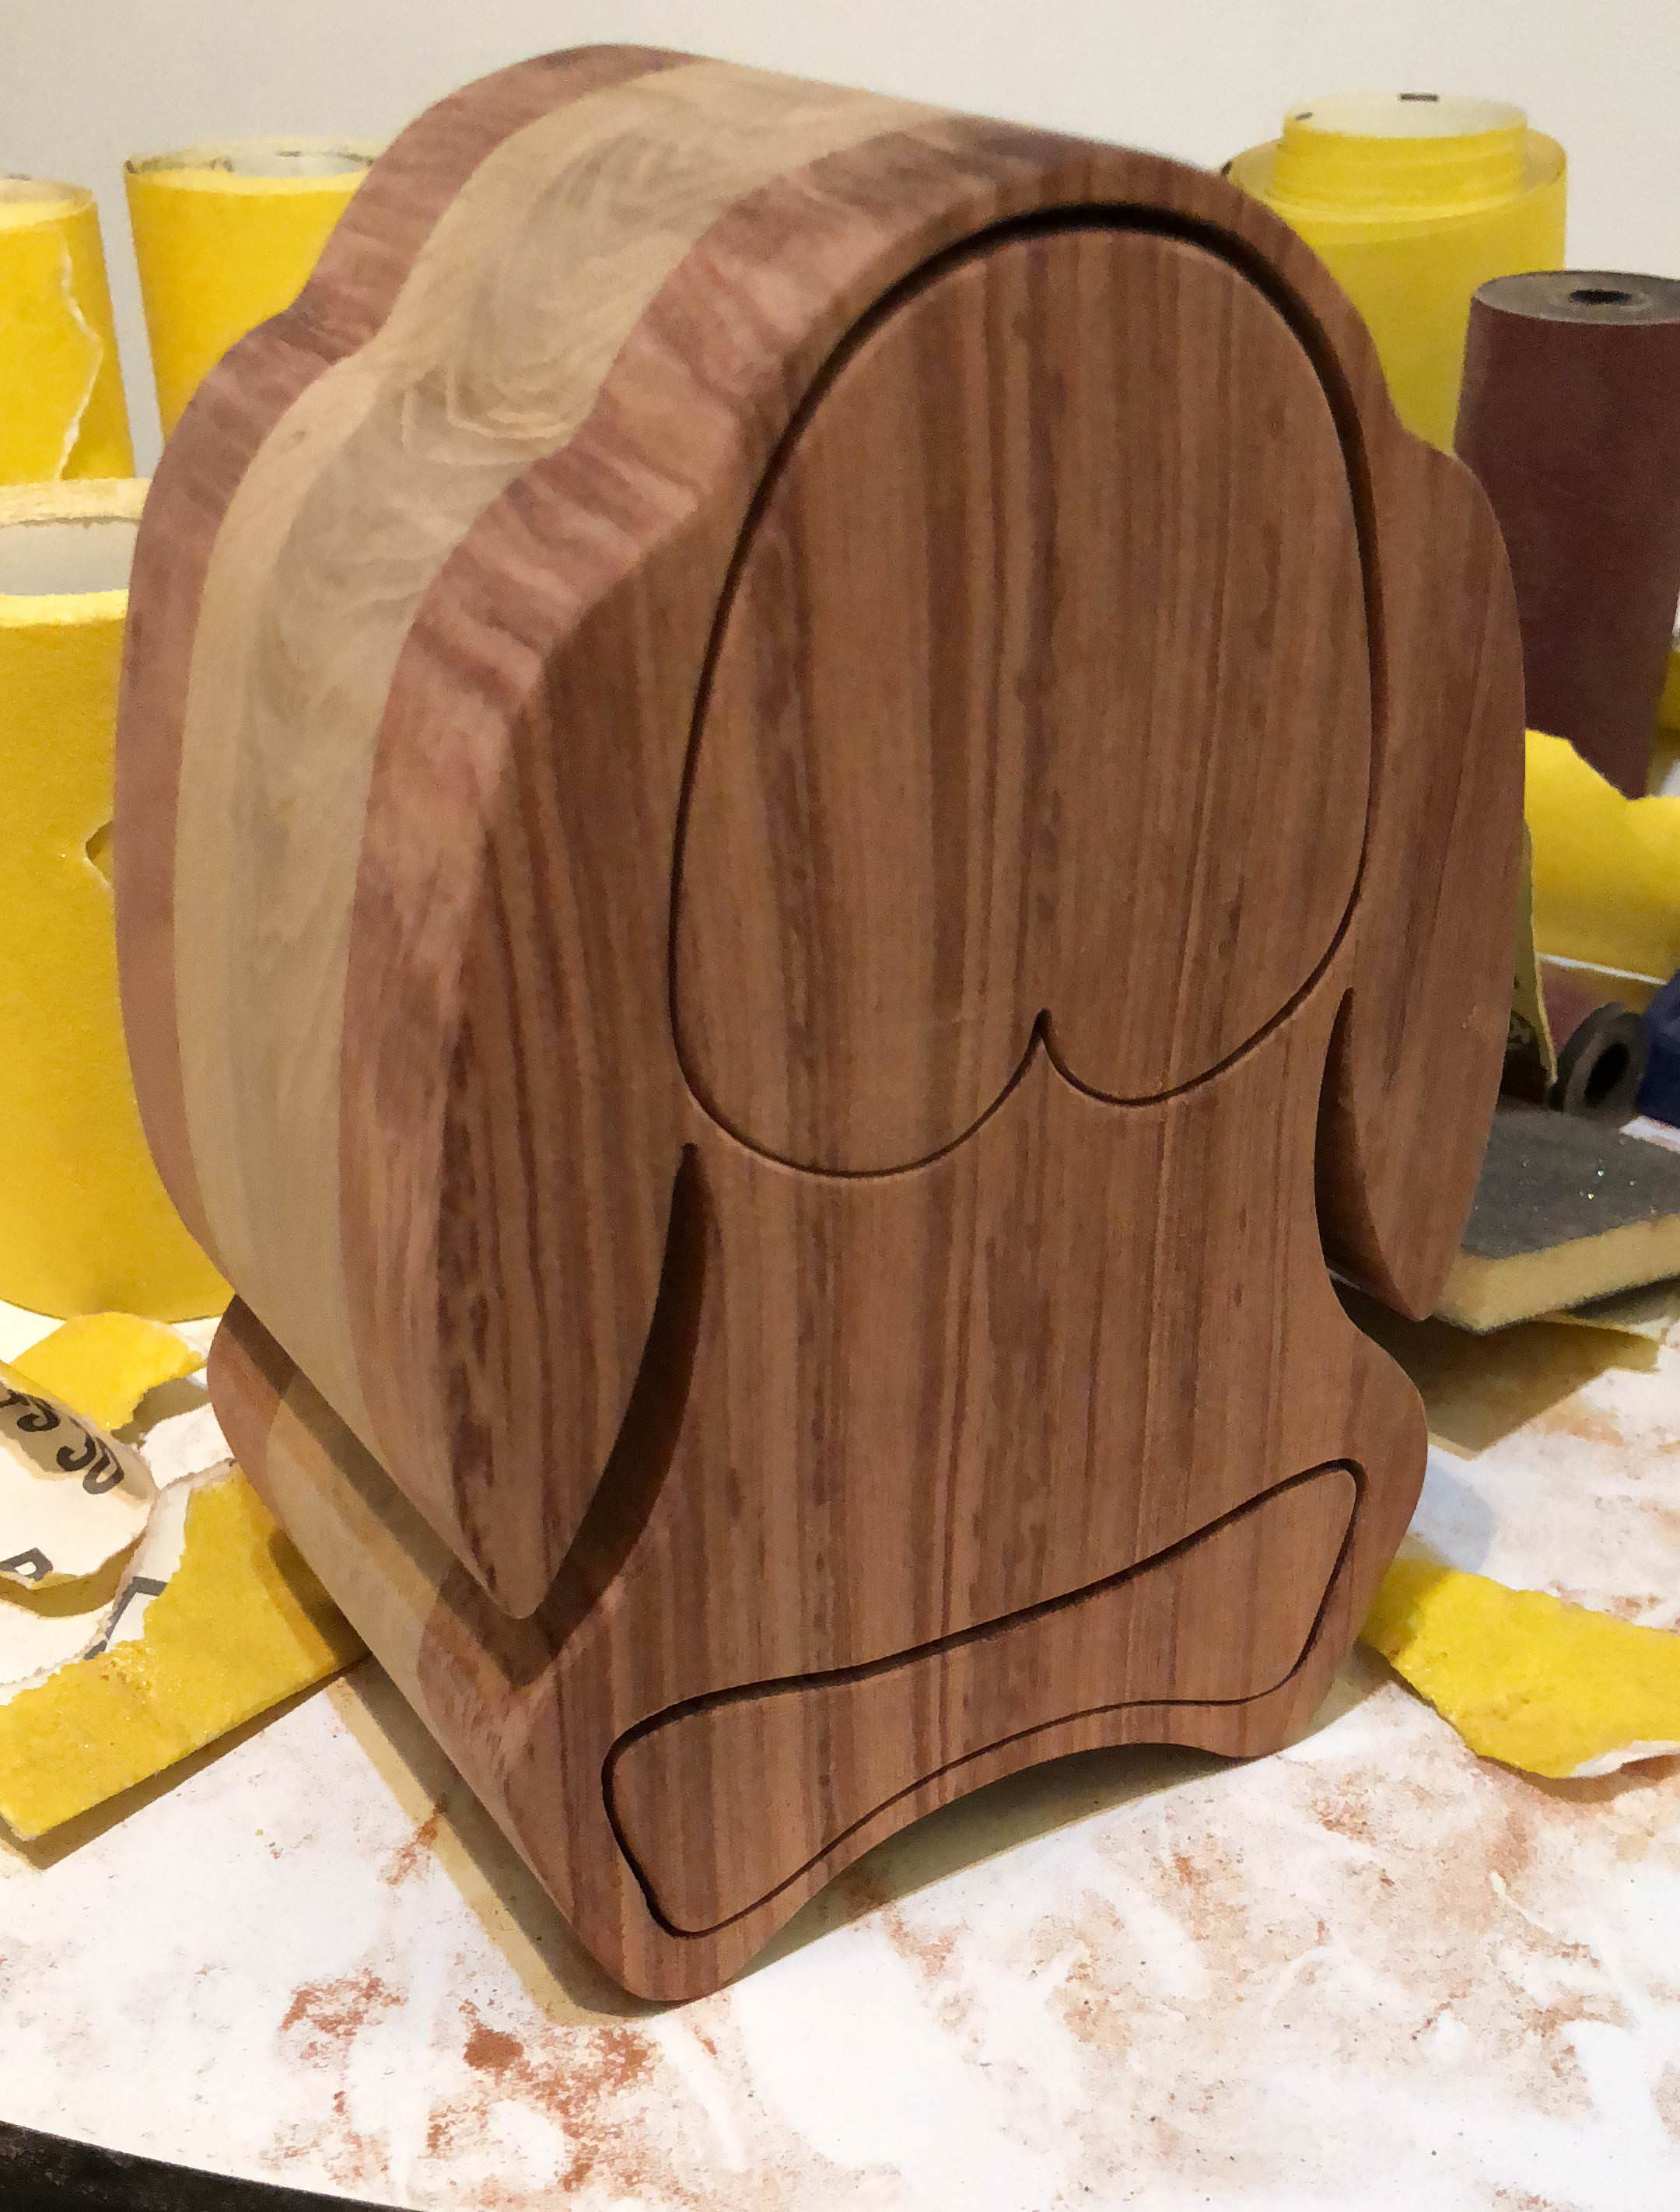
The front yin yang was drawn, with the help of someone here, who, I am embarrased to say, I cant remember his name. He gave me a program to squash circles. I cut one shape on the bandsaw and then spent several days sanding the other to fit (good job I'm not trying to make a living at this). It was only in replying to this thread about flocking inside that I realised this box had never been photographed properly. I shall take a couple more tomorrow as I think the end grain on the back of the box is really good. I'll get one of the whole inside flocking as well and will try to post those tomorrow as long as I dont forget #-o

Felt dots on the floor can be used, but theres a "boink" as the drawer falls out of the hole with them. If you feel you need, get some sticky backed black felt large squares, and cut a couple thin strips and stick them the whole length front to back to the underside of the drawer, NOT the box. Nobody turns a drawer upside down to look at the bottom, but once the drawer is removed any dots or strips on the floor will be very obvious.
 
I also use the Turners Retreat supplies and they are very good. I have a large clear plastic box that I do the flocking in. It's then easy to gather up the excess and re pot it for next time.

With box drawers, I always coat the drawer voids with two coats of sanding sealer to prevent bleeding through. Also as various coloured woods can show light and dark after flocking, after the sanding sealer, I also give a coat of black matt paint. Once dry I then use whatever colour glue/paint for the flocking and the finish is nice and even looking.
 
heres more pics as i promised.

A word of warning on flocking inside the drawer cavity. It wears out!
This box is used often, and you can see the wear lines of the drawer rubbing the bottom of the outer box.

inside flocking.jpg


And also here, as I completely flocked the inner drawer face

inside drawer flocking small.jpg


So there are risks attached to coating everything.
You can see the grain pattern in this shot.

Heres the full back of the box showing the 2" square sticks end grain. I used 16 sticks;

oval grain pattern small.jpg
 

Attachments

  • inside flocking.jpg
    inside flocking.jpg
    88.4 KB · Views: 409
  • inside drawer flocking small.jpg
    inside drawer flocking small.jpg
    2.7 MB · Views: 409
  • oval grain pattern small.jpg
    oval grain pattern small.jpg
    3 MB · Views: 409
Just been looking at the Turners Retreat site, I see the actual flocking is sold in 3oz batches.
How big an area will 3oz of flock cover?
 
Depends on how much you need to do, but it goes a long way. It comes in plastic bowl with airtight lid and I mainly use black and red, although I have other colours also. One tin of adhesive will be more than needed for one 3oz colour and that will cover approx 20-30 drawers of bandsaw boxes ???

Just get the initial kit in the colour of choice and Turners Retreat are very efficient with ordering more if and when needed
 
Garno":2wblidqx said:
Just been looking at the Turners Retreat site, I see the actual flocking is sold in 3oz batches.
How big an area will 3oz of flock cover?

3 oz goes a LONG LONG LONG way. You powder puff the item while its inside a dry clean large box. You recover 100% of the flocking that does not stick.
Like alexam says, many many drawers. :D
Just make sure to get the same colour glue as the flocking used.

Note, because of restrictions on flammable items on airlines I cant get any of the dedicated adhesive here. I use Hammerite of the same colour. I have used the dedicated adhesive once, and i cant tell the difference after the box has fully dried out.
 

Latest posts

Back
Top