adzeman
Established Member
I have built a number of gates recently and the boss (my wife) wanted one now! It was required to be completed before:-
1. We took delivery of a spa and
2. Before I went to Hospital for a minor operation.
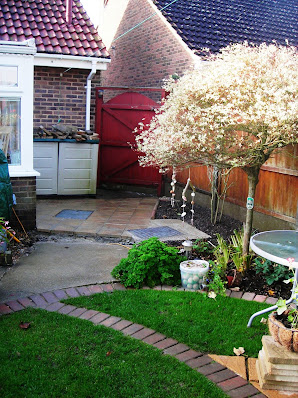
The original gate
I failed the completion target.
I did manage to at least partially complete it, there were a couple of changes of spec.
1. A change from painted to stained.
2. The insertion of an observation window.
The original spec called for it to be a security gate. Have an arched top. The top to line up with the top of my neighbours gate.
I also had to first persuade my neighbour to repair his fence, repair the gate and replace his post which was rotten and not into the ground.
Partially completed ready for paint
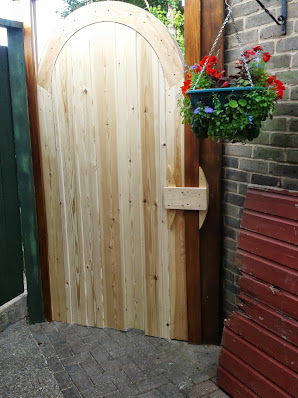
The main part of the construction is forming the arch and an essential for this was half a sheet of 20mm ply. I used this as a rod for the whole door.
All dimensions were marked on a staff taken from the existing opening at no time during this construction was measuring tape or ruled used.
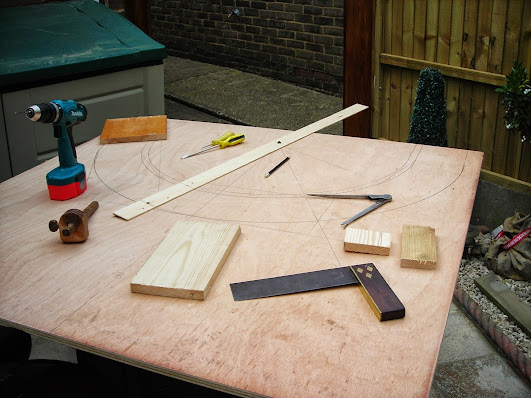
The equipment used in setting out this project.
For the angle of the segments I settled for 30/60 degrees. The cuts for the segments are not very forgiving and most of you know when working with angles accuracy of cut is paramount. Therefore, with the use of the dividers I could set an accurate angle by producing an equilateral triangle. Drawing the radius using the trammel and stepping out the segments on the external diameter. By using the external diameter in drawing out the spokes any error (say by thickness of pencil) is halved while if using the internal diameter is doubled.
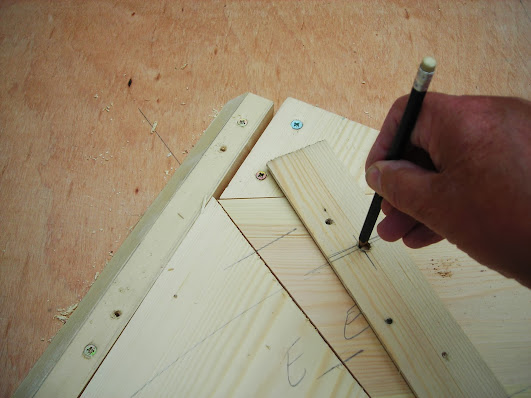
The segments are in three layers, the centre layer forming the rebate to take the vertical boarding. The joints being carefully cut, making sure they were straight and square. No wobbling, I did not want any touching up if |I could help it. I wanted it to be glued up straight from the cut. That was 22 cuts which at that point I was pleased with. When cut I jointed them with two biscuits to each joint.
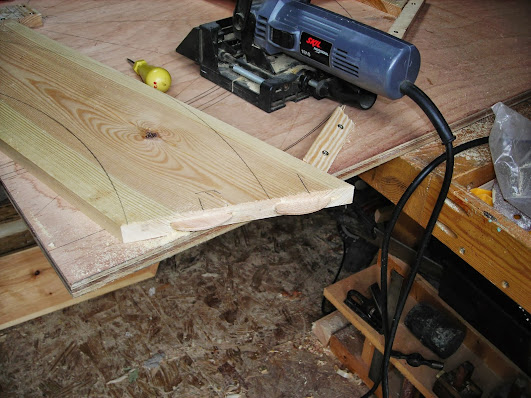
The segments were placed on the ply secured in position and the diameters marked to ensure one biscuit is central to the segment and the other is central to the waste. I used two to assist with alleviating twist.
The segments were glued together using the ply rod as a cramping table.
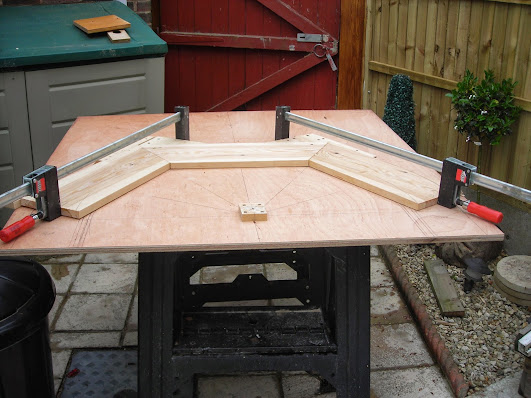
The segments were then cut to the crescent shape using the router on a ply radius jig. The radius being taken off the ply rod.
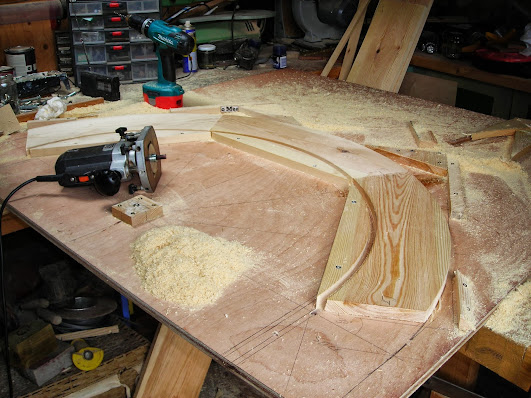
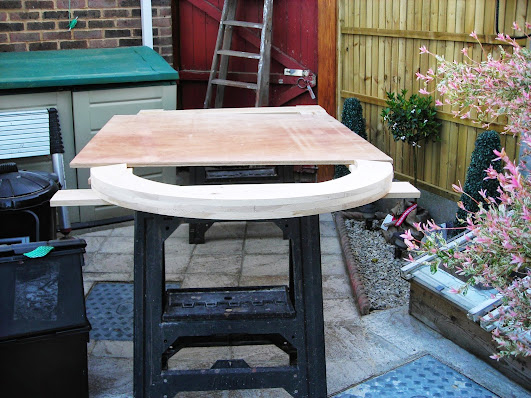
And the three crescents glued one on top of each other carefully lining each crescent up with the one above and in line with the marks on the ply rod.
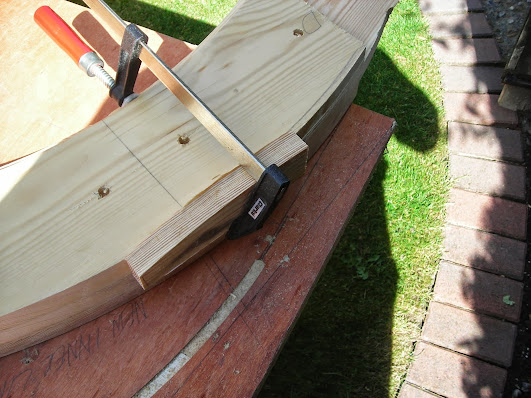
It was at this point some discrepancies became apparent as they do when you start a glue up. Of the 22 cuts one or could be two were found not to marry up. It was less than a sixteenth but looked huge! My Japanese saw came to the rescue. Cramping the joint up and inserting the saw with a backward cut gives a sharp fitting cut.
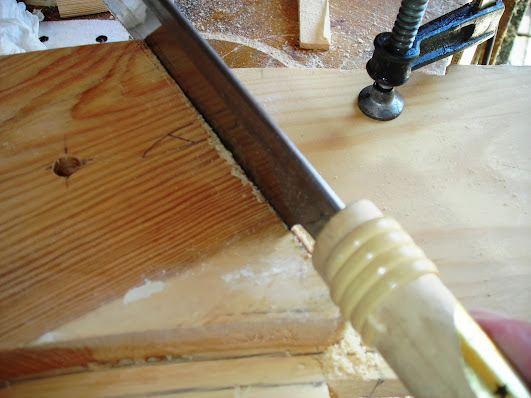
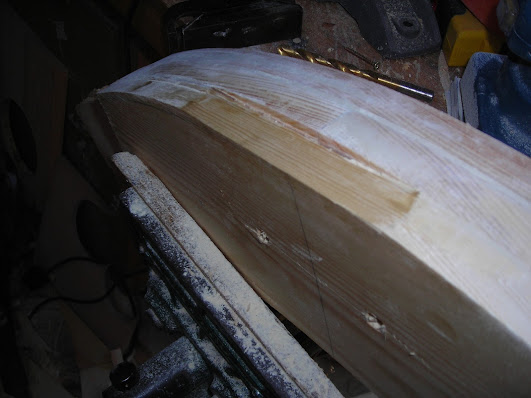
When the glue had set the now heavy block was sanded down and checked for defects. One was identified which was cut out and a splice inserted.
Planed and sanded off.
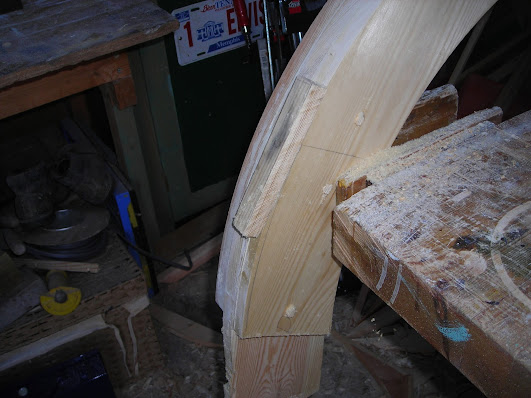
The arch was attached to the main frame with a bridle joint.
Boards fitted and fixed.
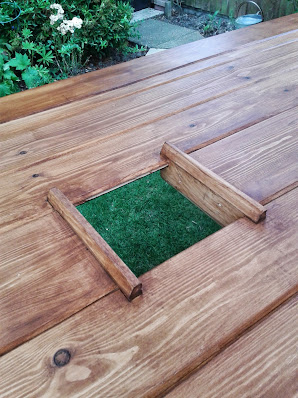
The requirement of an observation light added.
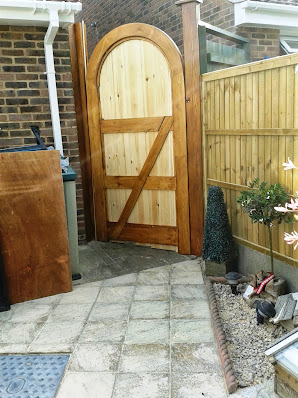
Ready for a hanging
1. We took delivery of a spa and
2. Before I went to Hospital for a minor operation.
The original gate

I failed the completion target.
I did manage to at least partially complete it, there were a couple of changes of spec.
1. A change from painted to stained.
2. The insertion of an observation window.
The original spec called for it to be a security gate. Have an arched top. The top to line up with the top of my neighbours gate.
I also had to first persuade my neighbour to repair his fence, repair the gate and replace his post which was rotten and not into the ground.
Partially completed ready for paint

The main part of the construction is forming the arch and an essential for this was half a sheet of 20mm ply. I used this as a rod for the whole door.
All dimensions were marked on a staff taken from the existing opening at no time during this construction was measuring tape or ruled used.
The equipment used in setting out this project.

For the angle of the segments I settled for 30/60 degrees. The cuts for the segments are not very forgiving and most of you know when working with angles accuracy of cut is paramount. Therefore, with the use of the dividers I could set an accurate angle by producing an equilateral triangle. Drawing the radius using the trammel and stepping out the segments on the external diameter. By using the external diameter in drawing out the spokes any error (say by thickness of pencil) is halved while if using the internal diameter is doubled.

The segments are in three layers, the centre layer forming the rebate to take the vertical boarding. The joints being carefully cut, making sure they were straight and square. No wobbling, I did not want any touching up if |I could help it. I wanted it to be glued up straight from the cut. That was 22 cuts which at that point I was pleased with. When cut I jointed them with two biscuits to each joint.

The segments were placed on the ply secured in position and the diameters marked to ensure one biscuit is central to the segment and the other is central to the waste. I used two to assist with alleviating twist.
The segments were glued together using the ply rod as a cramping table.

The segments were then cut to the crescent shape using the router on a ply radius jig. The radius being taken off the ply rod.

And the three crescents glued one on top of each other carefully lining each crescent up with the one above and in line with the marks on the ply rod.
It was at this point some discrepancies became apparent as they do when you start a glue up. Of the 22 cuts one or could be two were found not to marry up. It was less than a sixteenth but looked huge! My Japanese saw came to the rescue. Cramping the joint up and inserting the saw with a backward cut gives a sharp fitting cut.

When the glue had set the now heavy block was sanded down and checked for defects. One was identified which was cut out and a splice inserted.

Planed and sanded off.


The arch was attached to the main frame with a bridle joint.

Boards fitted and fixed.

The requirement of an observation light added.

Ready for a hanging


