


A
Anonymous
Guest
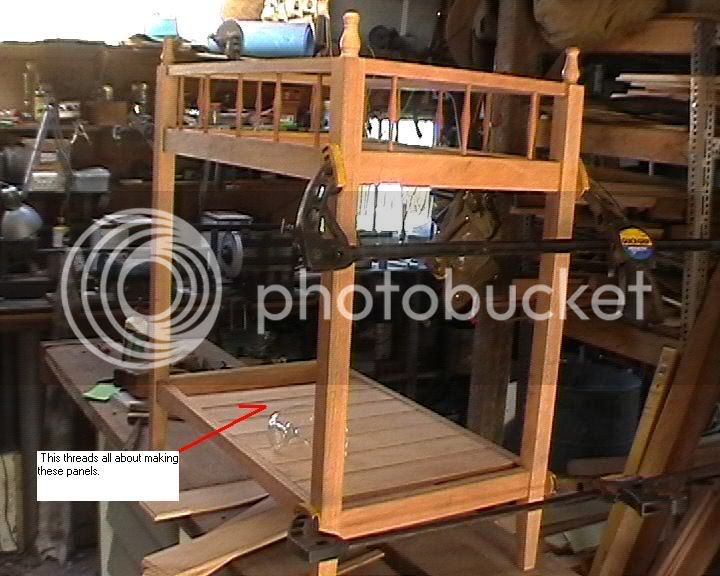
Making a cot stand. Basket sits in top. Rolls around on wheels etc. Misses thinks its a waste of time. Should just make a normal cot instead she says. But, thats not what this other bloke wants.
There's a couple of shelves that he wanted just ply inserted in. But, I had some offcut strips of silky oak that I wanted to find use for. So I thought I'd use that instead.
The only way I felt I could use these strips is with T&G joints running in grooves. So, I took some photos as I went. Thought , it be nice to see others find practical use for these planes.
Many ways to skin a cat. So this is just a example of how you could do it. I usually kinda fall into joint making, often started simply by which plane I see first on the shelf. An approach that has got me into trouble more than once. :lol:
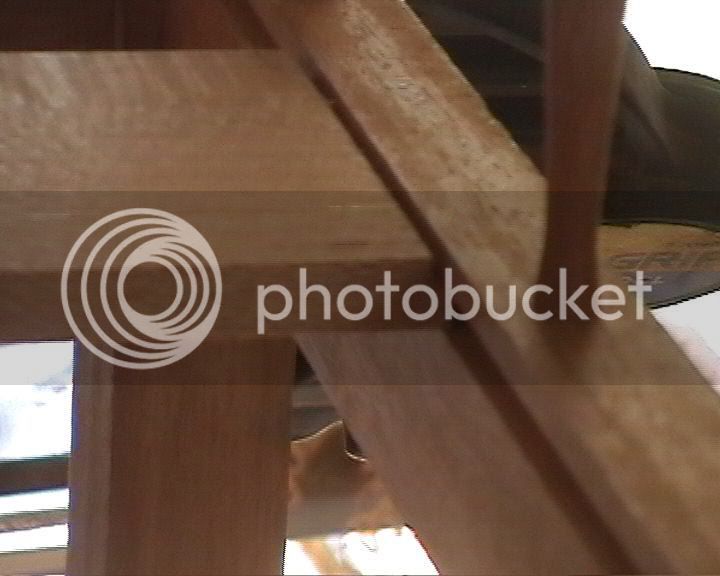
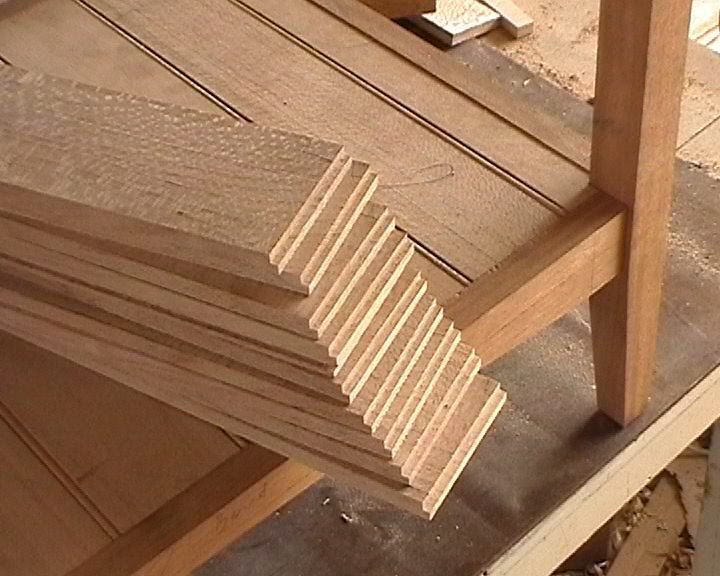
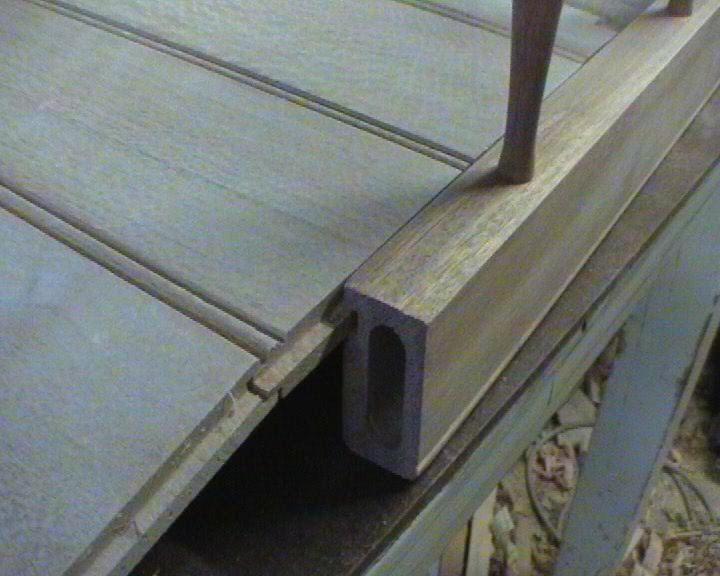
Anyway the panels go in grooves like so (excuse, some of the pictures are a bit blurry...there's no way I can re-take these photo's now)
Basically, a rebate in the end grain slots into the groove
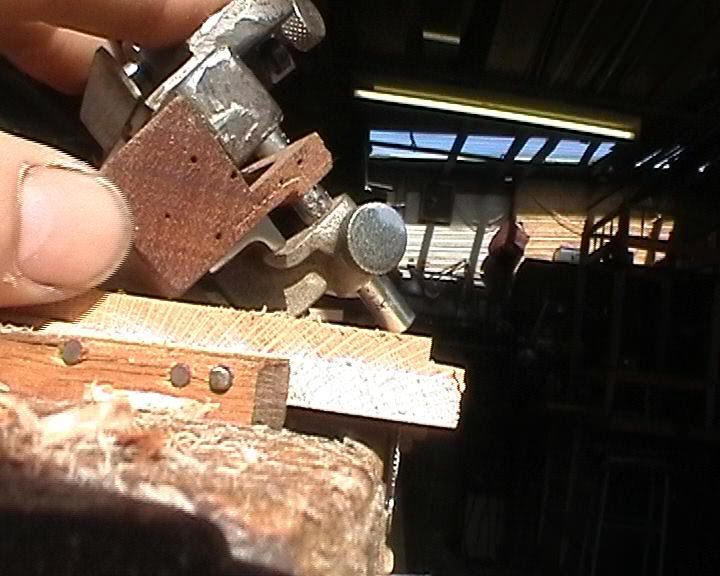
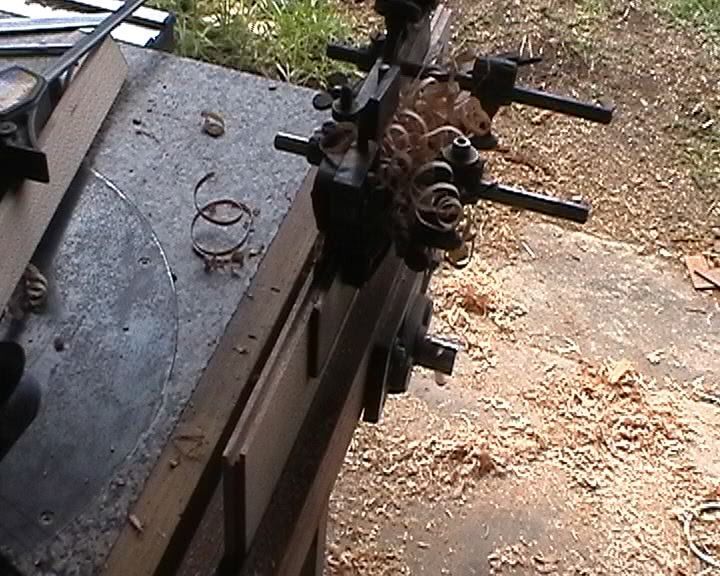
You can cut them cross grain if you like with a spurred plane, but lately I've found these much faster cut dropping straight into the end grain with a deep face on the fence and a tearout board clamped tight
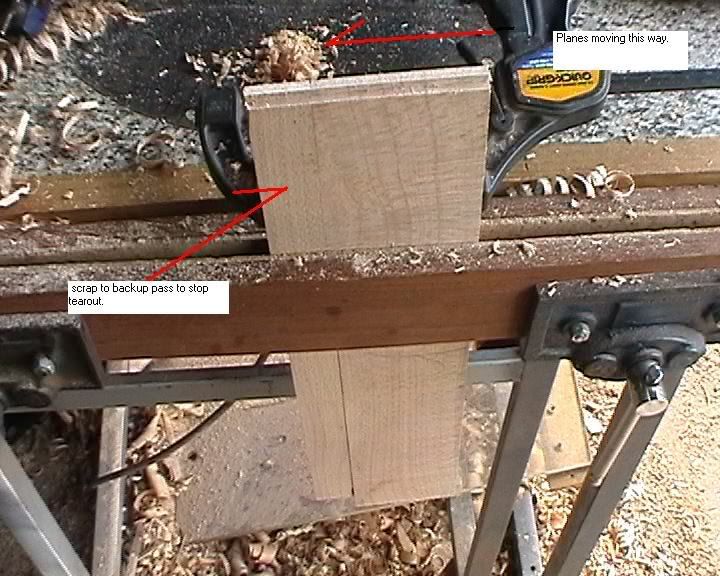
You can use any rebate plane....I prefer my 289 because it can take a heavier cut I've noticed with the thick blade I've installed.
So, I put a rebate into both ends of each panel..... must remember to cut off square the tearout board before every cut, else it won't back out properly
 You can do many at once if you like. But I didn't want to stuff about today since it can be fiddly I've found ensuring they don't slide out of alignment.
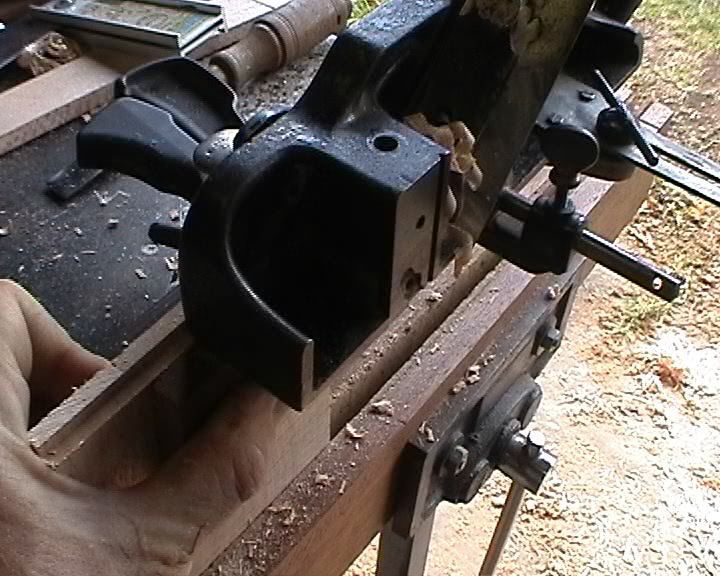
End grain stuff done.....cut the T&G. Setup 4 planes for this. Actually you only need 3 really, but I didn't bother to centre the plough cut right, so I needed two different depthed rebates.
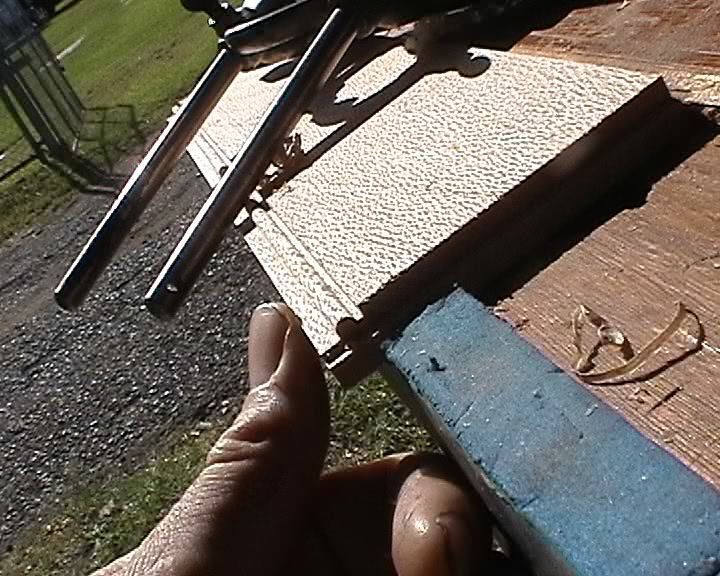
just a little fillister I made to cut the first rebate
Then I beaded it......normally I'd bead first for better fence bearing, but I hadn't sharpened the left side of the blade properly for centre beads, so it could be messy. So I cleared the left side first with a rebate, and it was ok....beads are decrotive anyway.
This ones a bad shot...sorry.....Just a 78 rebate cutting a rebate on the other side to form the tongue .....cutting down with the timber held vertically.... quick stable way of doing a rebate. Would have been better to do the first rebate this way too. But I didn't put much planning into it.
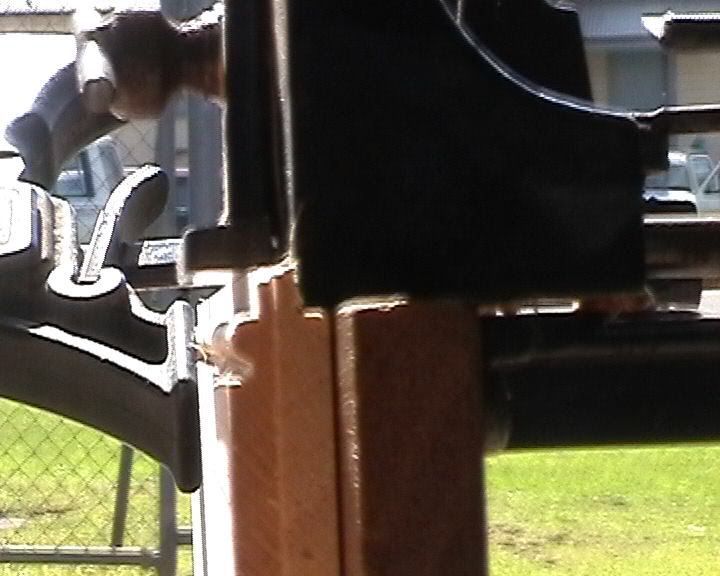
Flip it and do the matching plough. My personal reminder, especially since its not centred properly, is to run fence on the right side !....
End up with this sort of thing.
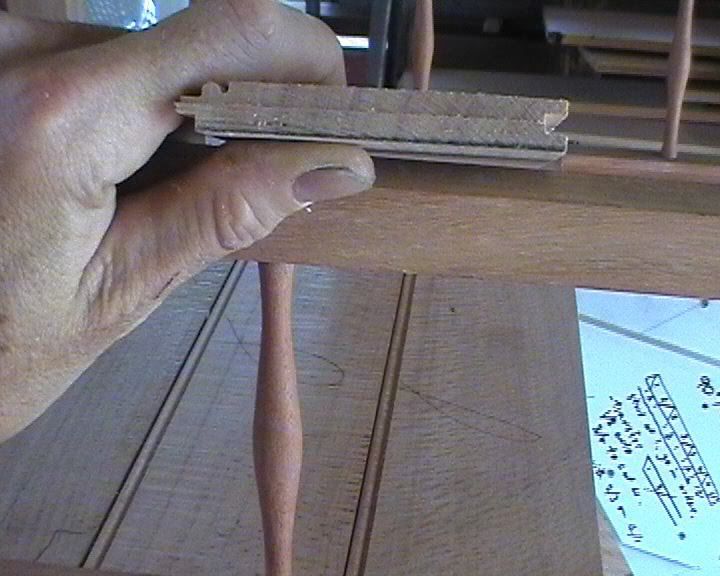
Still don't like the look of it. But it looks better than ply, and I used up some offcuts....which is hard work eh. Like most I save most offcuts, but they often arn't used and just take up space. :lol:
There's a couple of shelves that he wanted just ply inserted in. But, I had some offcut strips of silky oak that I wanted to find use for. So I thought I'd use that instead.
The only way I felt I could use these strips is with T&G joints running in grooves. So, I took some photos as I went. Thought , it be nice to see others find practical use for these planes.
Many ways to skin a cat. So this is just a example of how you could do it. I usually kinda fall into joint making, often started simply by which plane I see first on the shelf. An approach that has got me into trouble more than once. :lol:
Anyway the panels go in grooves like so (excuse, some of the pictures are a bit blurry...there's no way I can re-take these photo's now)
Basically, a rebate in the end grain slots into the groove
You can cut them cross grain if you like with a spurred plane, but lately I've found these much faster cut dropping straight into the end grain with a deep face on the fence and a tearout board clamped tight
You can use any rebate plane....I prefer my 289 because it can take a heavier cut I've noticed with the thick blade I've installed.
So, I put a rebate into both ends of each panel..... must remember to cut off square the tearout board before every cut, else it won't back out properly
End grain stuff done.....cut the T&G. Setup 4 planes for this. Actually you only need 3 really, but I didn't bother to centre the plough cut right, so I needed two different depthed rebates.
just a little fillister I made to cut the first rebate
Then I beaded it......normally I'd bead first for better fence bearing, but I hadn't sharpened the left side of the blade properly for centre beads, so it could be messy. So I cleared the left side first with a rebate, and it was ok....beads are decrotive anyway.
This ones a bad shot...sorry.....Just a 78 rebate cutting a rebate on the other side to form the tongue .....cutting down with the timber held vertically.... quick stable way of doing a rebate. Would have been better to do the first rebate this way too. But I didn't put much planning into it.
Flip it and do the matching plough. My personal reminder, especially since its not centred properly, is to run fence on the right side !....
End up with this sort of thing.
Still don't like the look of it. But it looks better than ply, and I used up some offcuts....which is hard work eh. Like most I save most offcuts, but they often arn't used and just take up space. :lol:
