Good Surname or what ?
Established Member
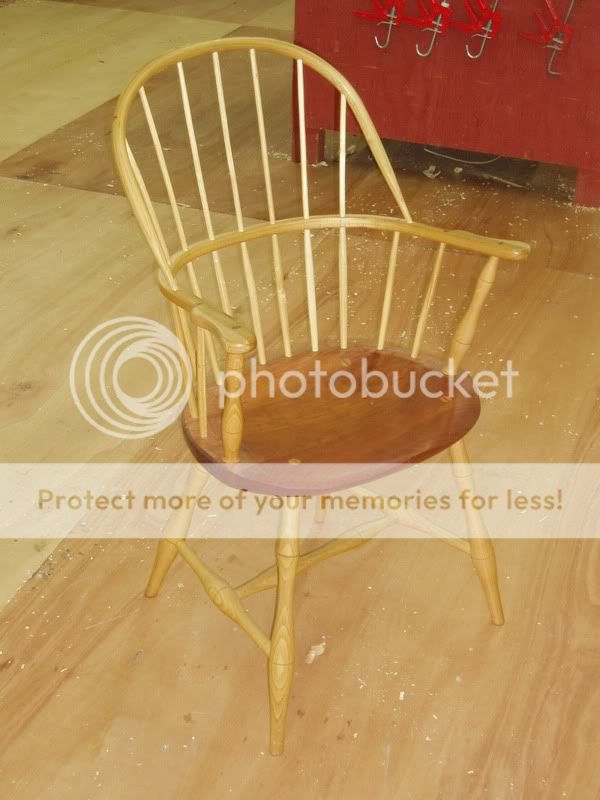
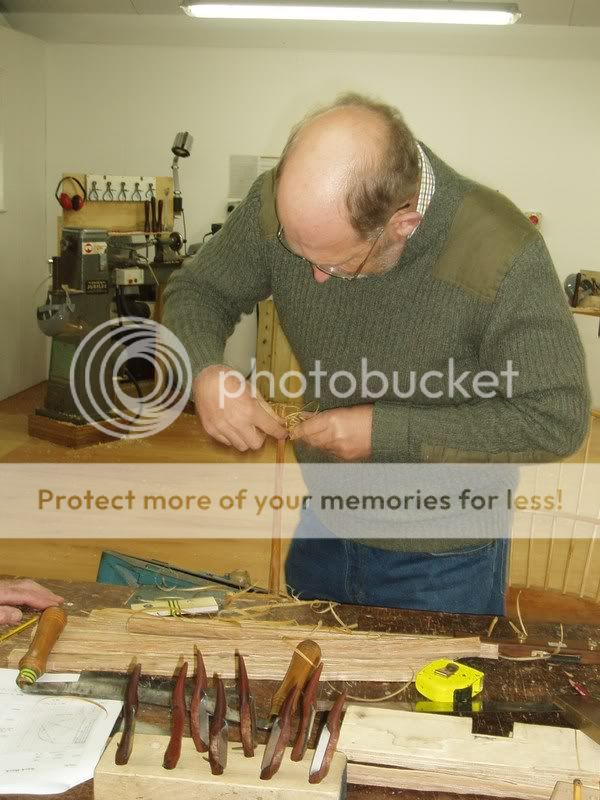
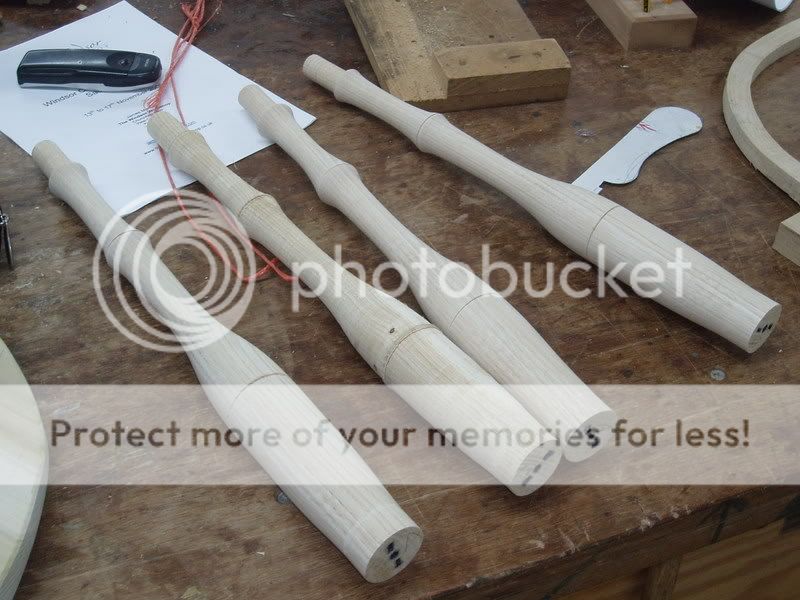
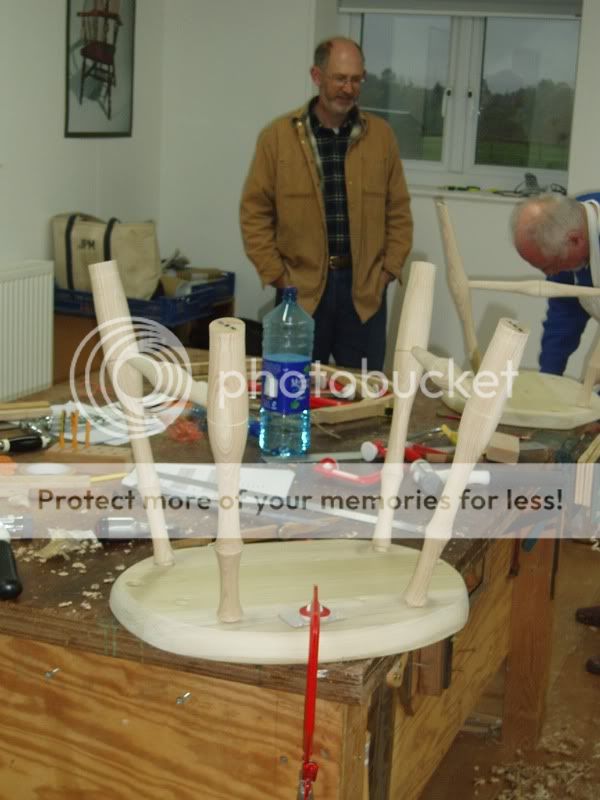
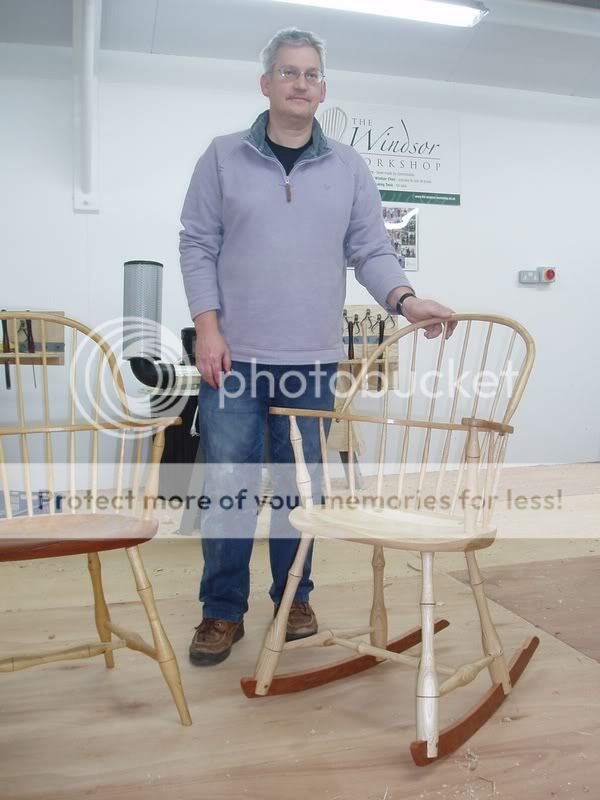
After my earlier experience at the Windsor Workshop I've come back this week to make a Sack Back Chair - like this one.
Phil
Phil


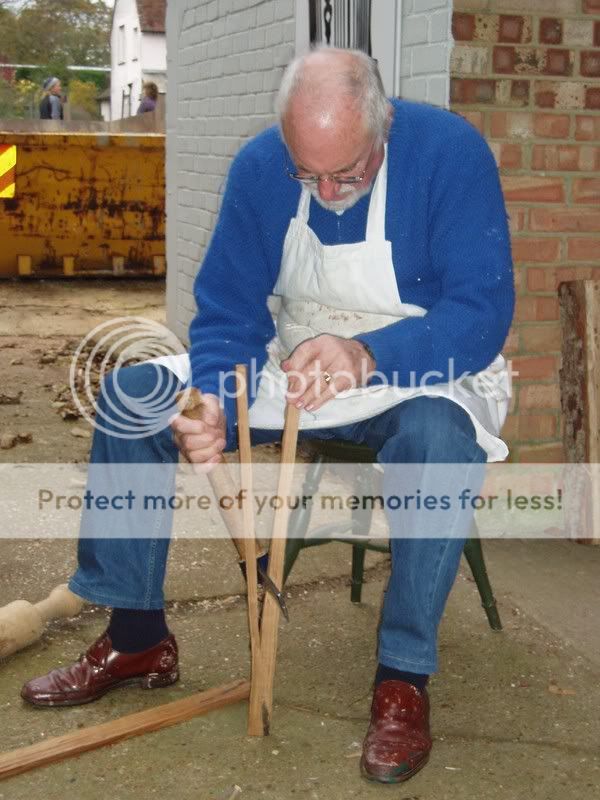
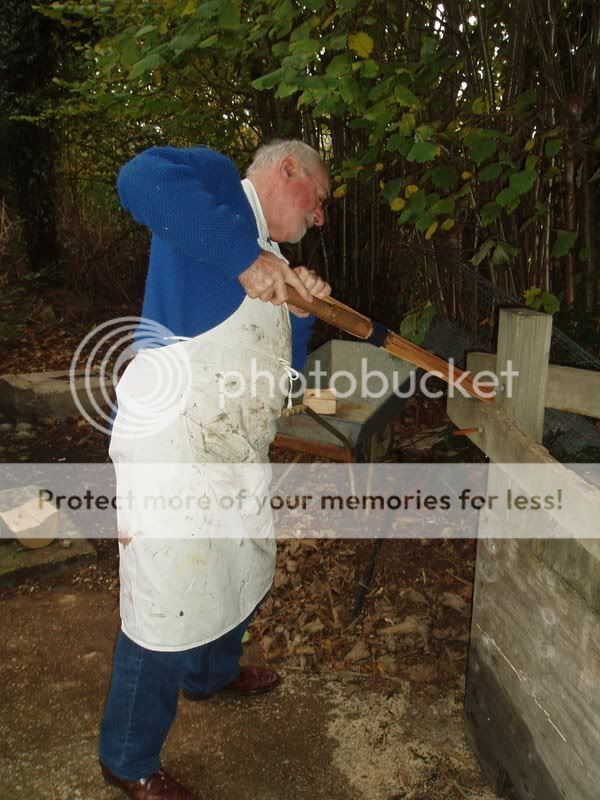
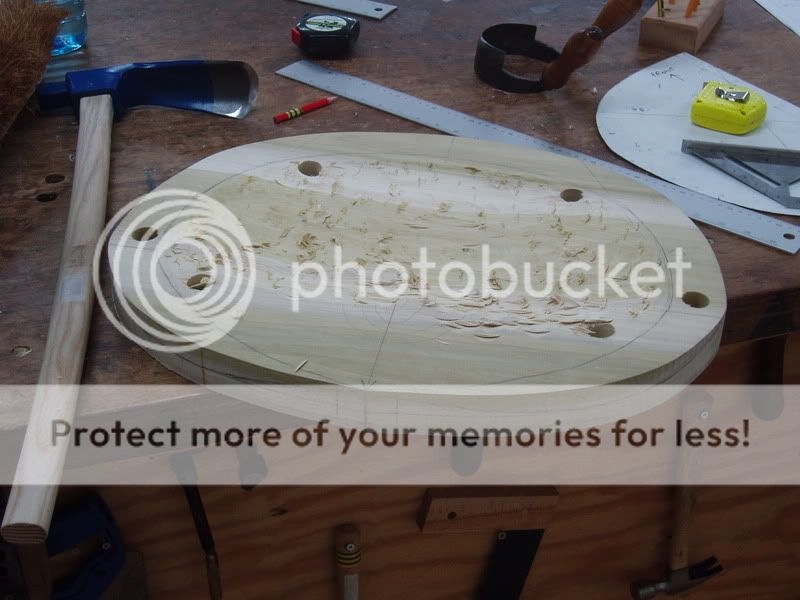
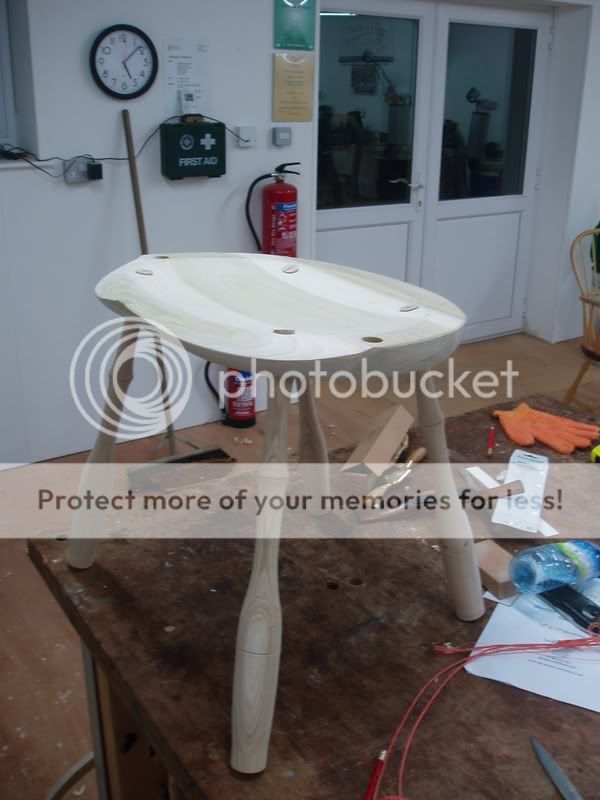
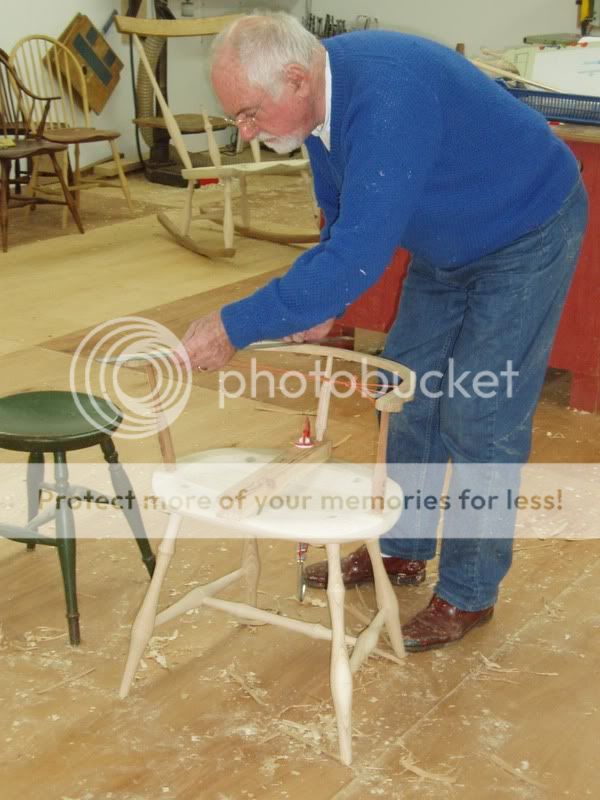
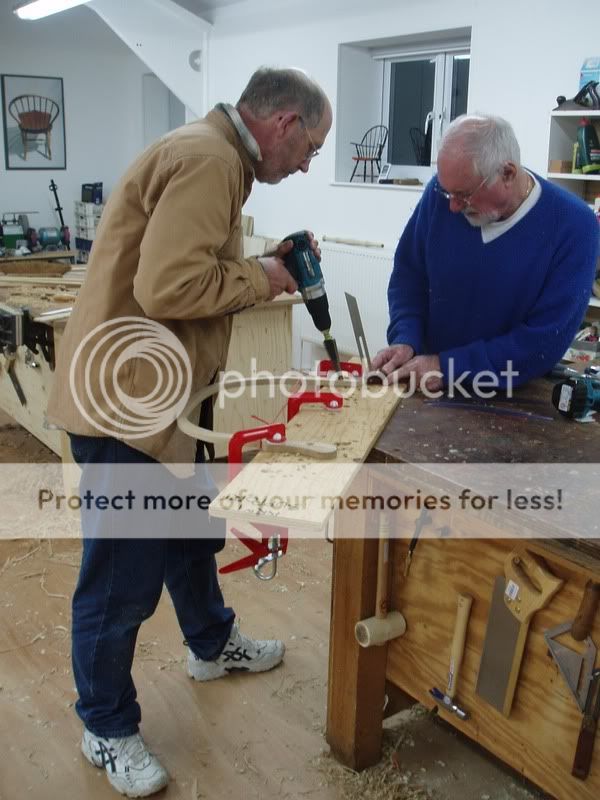
 )of the shape was following by scraping and sanding. We were relegated to the open air for this final exercise.
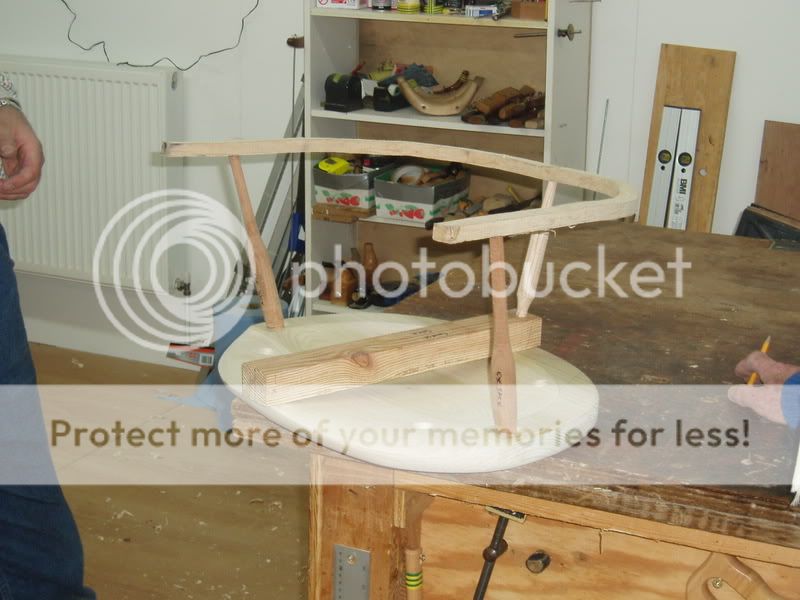

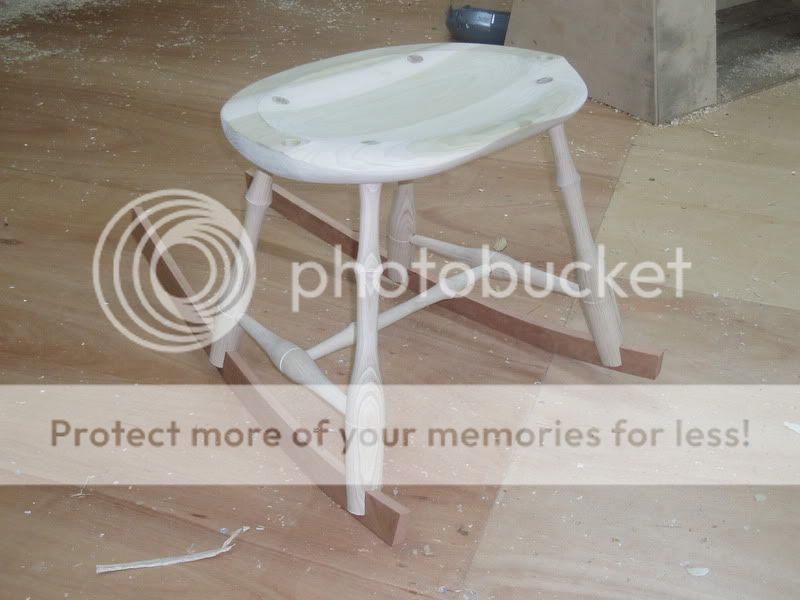
it's time for a well earned beer.
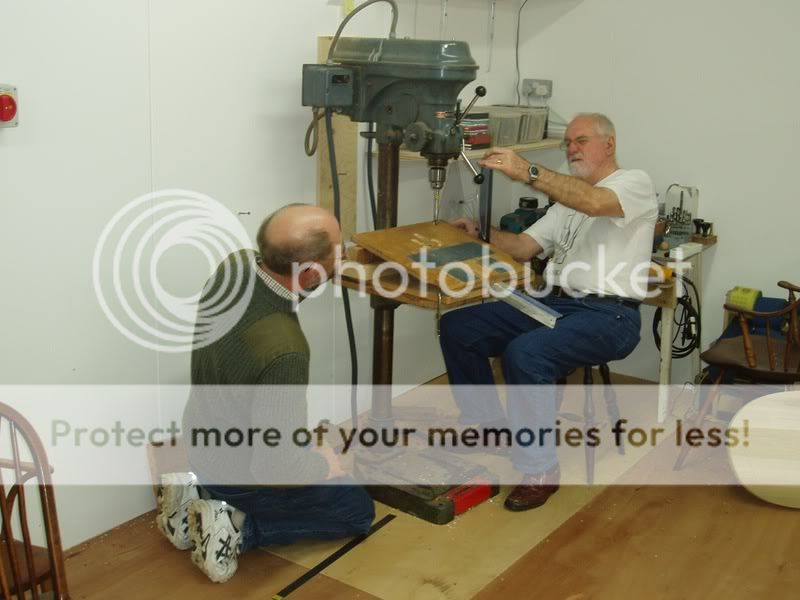
Good Surname or what ?":3iheuck1 said:Day 3.
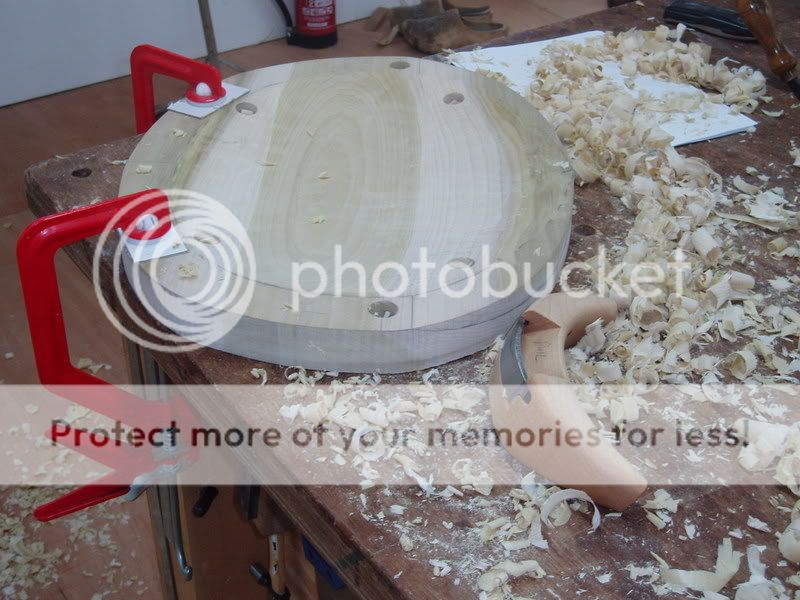
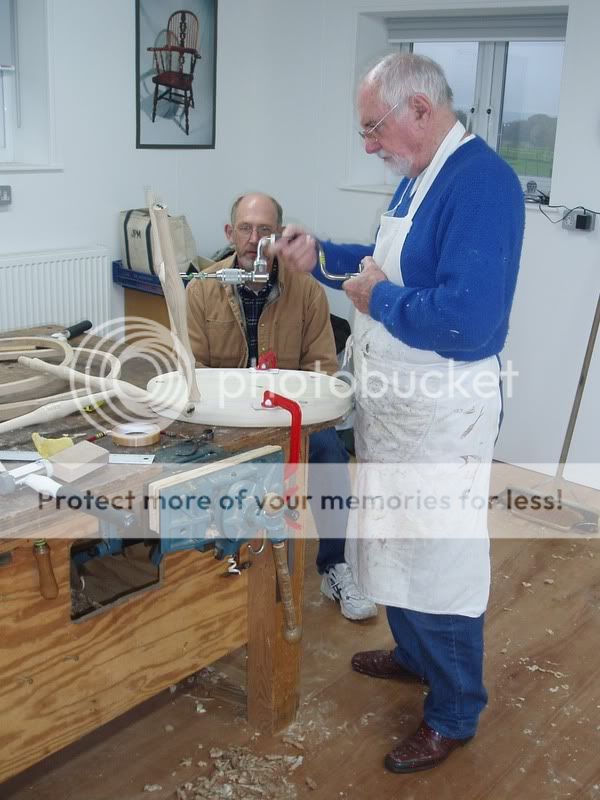
... speaking of travishers. This one I bought from James earlier in the year is a wonderful tool.

Enter your email address to join: