


dchenard
Established Member
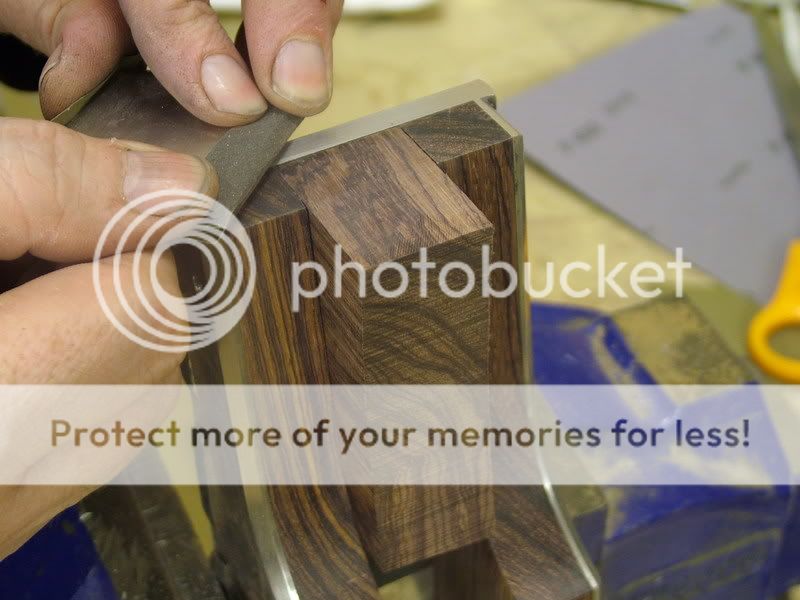
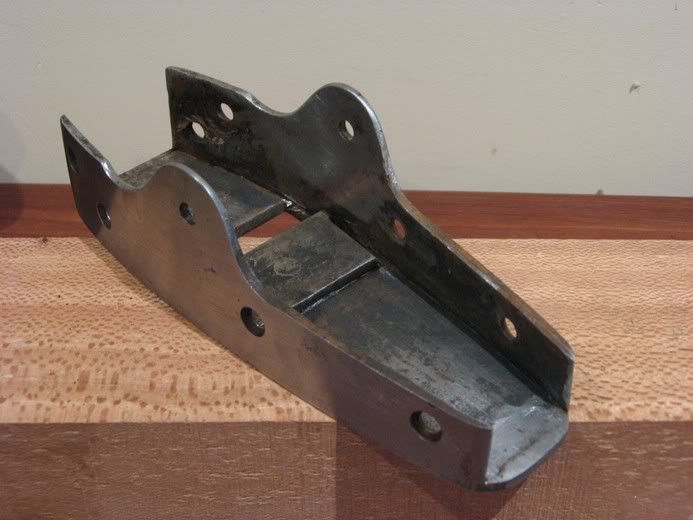
My materials gathering is progressing on my Shepherd Spiers #7 kit. I have the dovetailed shell, and some rosewood to build the infill.
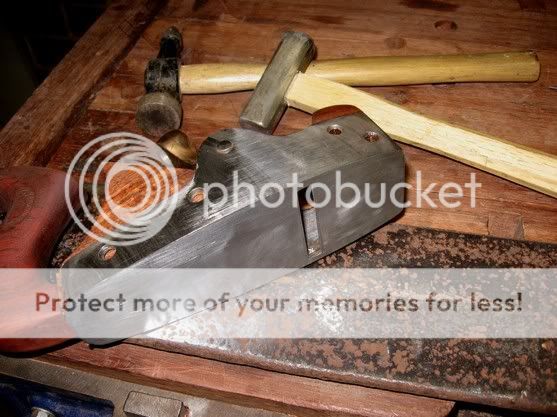
I need to make decisions on what iron to use (with or without a cap iron), whether to include an adjuster, and choosing between open and closed tote.
I am not attempting to make an exact copy of the original, if there are improvements that can be made to improve the performance of the final product, I'm all for it.
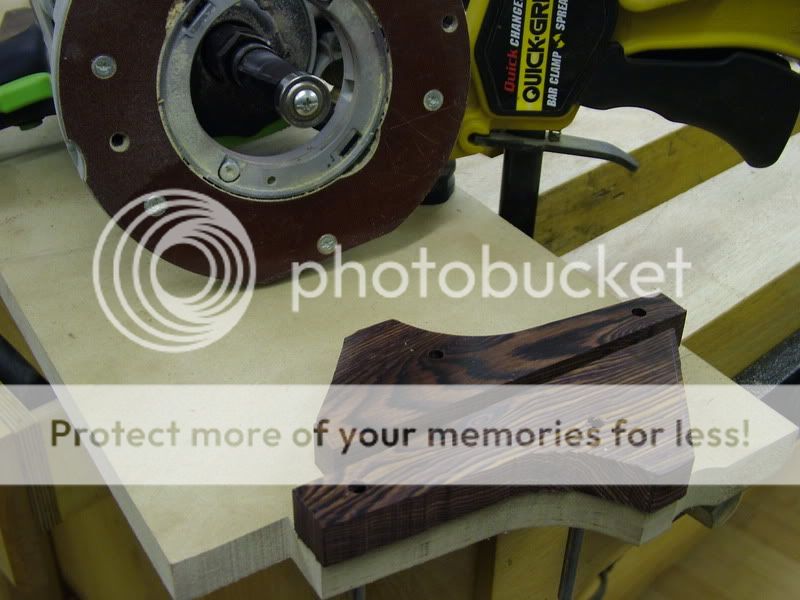
One thing that has me scratching my head is how to shape the tote if I am to use a closed one. Roughing out the shape is no problem, but how does one bring down the width of the tote section? All I can think of for now is to use a tailed router with a template. Is there another way to do this?
If anyone has suggestions, I'd like to hear them...
Thnx,
DC
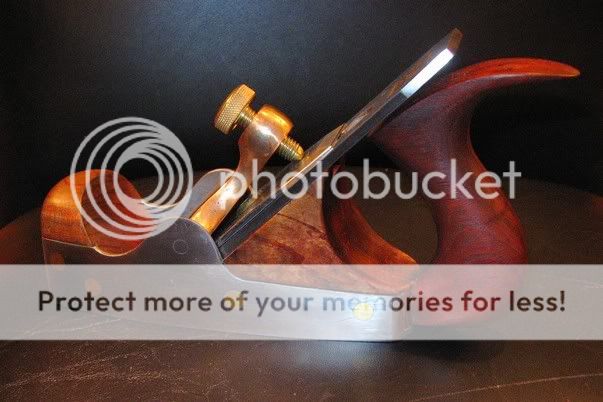
I need to make decisions on what iron to use (with or without a cap iron), whether to include an adjuster, and choosing between open and closed tote.
I am not attempting to make an exact copy of the original, if there are improvements that can be made to improve the performance of the final product, I'm all for it.
One thing that has me scratching my head is how to shape the tote if I am to use a closed one. Roughing out the shape is no problem, but how does one bring down the width of the tote section? All I can think of for now is to use a tailed router with a template. Is there another way to do this?
If anyone has suggestions, I'd like to hear them...
Thnx,
DC

") ). His advice is pretty much in line with what was given here. One thing that he got me hooked on is choosing CPM3V as the choice steel for the iron, he likes it a lot. I'm looking for sources, I have a few leads, any suggestion would be appreciated.
). His advice is pretty much in line with what was given here. One thing that he got me hooked on is choosing CPM3V as the choice steel for the iron, he likes it a lot. I'm looking for sources, I have a few leads, any suggestion would be appreciated.