I have really messed up this time. Polyurethane gone wrong

UKworkshop.co.uk

Help Support UKworkshop.co.uk:

This site may earn a commission from merchant affiliate links, including eBay, Amazon, and others.

oligadd

New member
Joined
24 Nov 2017
Messages
3
Reaction score
0
Location
Tamworth
Hi all,

I am having a bad time of messing up at the moment
Various projects are going wrong and wonder if anyone can advise on this one please?

Recently got married and chose an unusual guest book in the form of a wood slice/slab. Guests have written messages on it in sharpie and I realised it needed protecting.

It has split in parts but I dont mind the look of that just not sure if it will carry on splitting until its only good for fire wood but thats the longer term secondary issue.

My main problem is I have got smudges in my varnish as I clearly didnt let it dry for long enough before doing the back, I thought dry meant dry! Clearly I have to be very careful with sanding as I dont want to sand through to the pen which has already faded in random parts.

Its had four coats of blackfriar clear gloss polyurethane varnish. It advises not to thin so I followed that instruction. It didnt go on as nicely as I would have hoped, but good enough for my novice eyes. I wondered whether a light sand and possibly some form of spray on finish may help?

Also wondering if the splits and bark edges will cause any major problems and if there is any way or need to seal them?

Hopefully my pictures paint the picture.

Feel free to ridicule me relentlessly for making such a silly mistake.....and I dont mean the getting married part!
 

Attachments

  • IMG_20171124_25925.jpg
    IMG_20171124_25925.jpg
    254.5 KB
  • IMG_20171124_34740.jpg
    IMG_20171124_34740.jpg
    149.9 KB
I would leave it dry for several weeks before you think about sanding it. It can be several days in this weather before polyurethane is anything like properly dry, and probably weeks.
 
That crinkled bit is what happens when you have a too thick layer. The very top dries and skins over but it's still soft underneath. The solvent in the under layer has to diffuse through the skin or through the wood. This is a slow process, especially if it's cool and damp, like a shed in winter.

You can learn a lesson from this, which is obvious with hindsight. Never use a new finish on an important job. Always get to know it on scrap first.

What makes it harder is that manufacturers label their products really poorly so it's hard to know what you are buying. Different products go on very differently - some are good with a thick layer and no brushing out - the marks just subside naturally. Others need careful brushing out with a decent brush or wiping over with a cloth.
Some finishes need a second coat within a few hours, others need the first coat to be completely cured.

I think your best bet is to leave it as it is and not risk making it worse.
I know slabs of unseasoned wood seem to be popular at weddings but I don't think experienced woodworkers are responsible for the trend - it will distort and split whatever you do.
 
It could have been worse, at least you picked a finish that left the written messages intact!
As Andy said, leave it alone.

Sanding or burnishing it out sounds a wizard plan, but pound to a penny you'll cut right through to the substrate, plus you can't sand a thick finish until it's fully cured, and the problem with poly varnishes is they don't actually bond very well to themselves, so even if you think you've pulled it off and it looks okay when first done, there's a fair chance it'll de-laminate soon afterwards.
 
When you eventually come to sand this back in a few weeks time, don't, whatever you do, go anywhere near it with a belt or disc sander. Hand sanding only, with a block, and stop often to check. You'll probably have to go through the grades in the normal way. In the meantime, build up the exact same layering on some matching scraps, and practise on that first. You might find that when you have finished sanding that a polish with Brasso or T Cut takes the last of the sanding scratches away.........but, as I said, do this on your practise pieces first.
 
I'd take the highest resolution photo of it you can with perfect lighting etc before doing anything else to the finish - but I agree with the chap above, I'd leave it as-is finish-wise, maybe beef the structure up if it's going to break but it's not ruined at all; and can be another tender, heart warming source of vicious recrimination and self-loathing throughout your marriage :)
 
Let’s focus on the positives. It appears as already stated to have been caused by the poly. being spoiled too thick. There are at least 4 coats of poly. on it. That’s a good thickness to sand back through without hitting the actual wood.

I would again as stated wait unti Xmas before thinking about solving the problem. Then hand sand using a block. The block will reduces the localised pressure and reduce the chances of you sanding through. You will need to sand with a high grit, say minimum of 220. It will be slow, time consuming and you will clog the paper quickly and it will need replacing. I would personally use micra net mesh sanding paper and their hand block which you can hook up to a vacuum / extractor to elongate the life of the paper. You should use a high grit to reduce the depth of the scratch pattern.

In the interim, make sure you have sealed the ends of the wood. It’s through the ends that most moisture is lost and the imbalance causes in moisture creates internal tension within the wood that creates the shake or cracks. The poly will have exacerbated the imbalance as water wont evapofrom anywhere that’s covered.
 
Hi all,

Wow many thanks for all the valued contributions it is very much appreciated. So kind of everyone to share their experience.

The smudges appear to have been caused by the towel that I used whilst doing the back (to protect it from scratches! ](*,) ) ie The pattern of the smudge is of the towel fibres. Does this change anything?

I will take on board all of your advice and see how it looks mounted from a distance with squinty eyes! Its all I can do for now anyway.

I do have a feeling that the smudges will stand out and taunt me every day, well until the divorce at least...(every cloud!). So its duly noted that I must sand lightly, which I have done previously because I was scared of going through and losing the writing. Is it right that if I can smell it its not dry?

Was it a bad choice of product? I cant understand how anyone can wait that long to finish a project. I guess impatience and finishing are incompatible.

Sickasapike, is the high res pic for use as a momento if I mess it up further?!

Deema, really useful advice, when you say seal the ends I may have messed this up as well as I used the same poly on them?

Cant thank everyone enough, some things cant be replaced so I really appreciate all your help.

Oli
 
oligadd":2ddwv1z9 said:
The smudges appear to have been caused by the towel that I used whilst doing the back (to protect it from scratches! ](*,) ) ie The pattern of the smudge is of the towel fibres. Does this change anything?
Nope. Same salvage procedures can be used regardless of the cause of surface defects.

oligadd":2ddwv1z9 said:
Is it right that if I can smell it its not dry?
Basically yes. What you're waiting for is a full cure, not drying per se. Varnish and most paint dries first and then cures, where a chemical change results in the finish becoming fully hard and cohesive.

oligadd":2ddwv1z9 said:
Was it a bad choice of product?
Shouldn't be, Blackfriar stuff is quite decent to very good. It's just that the thick varnish coat wasn't hard enough yet.

oligadd":2ddwv1z9 said:
I cant understand how anyone can wait that long to finish a project. I guess impatience and finishing are incompatible.
Full hardness is achieved after curing has completed, which is nearly universally said to take "from two weeks to a month" to cover the range of drying conditions (with an added safety margin). Finishes can cure more quickly than this in good drying conditions, i.e. when it's dry and very warm. I have a friend who only needed to wait a week because he lived in Arizona, but in Blighty you can usually expect it'll take much closer to the maximum time even in the summer!

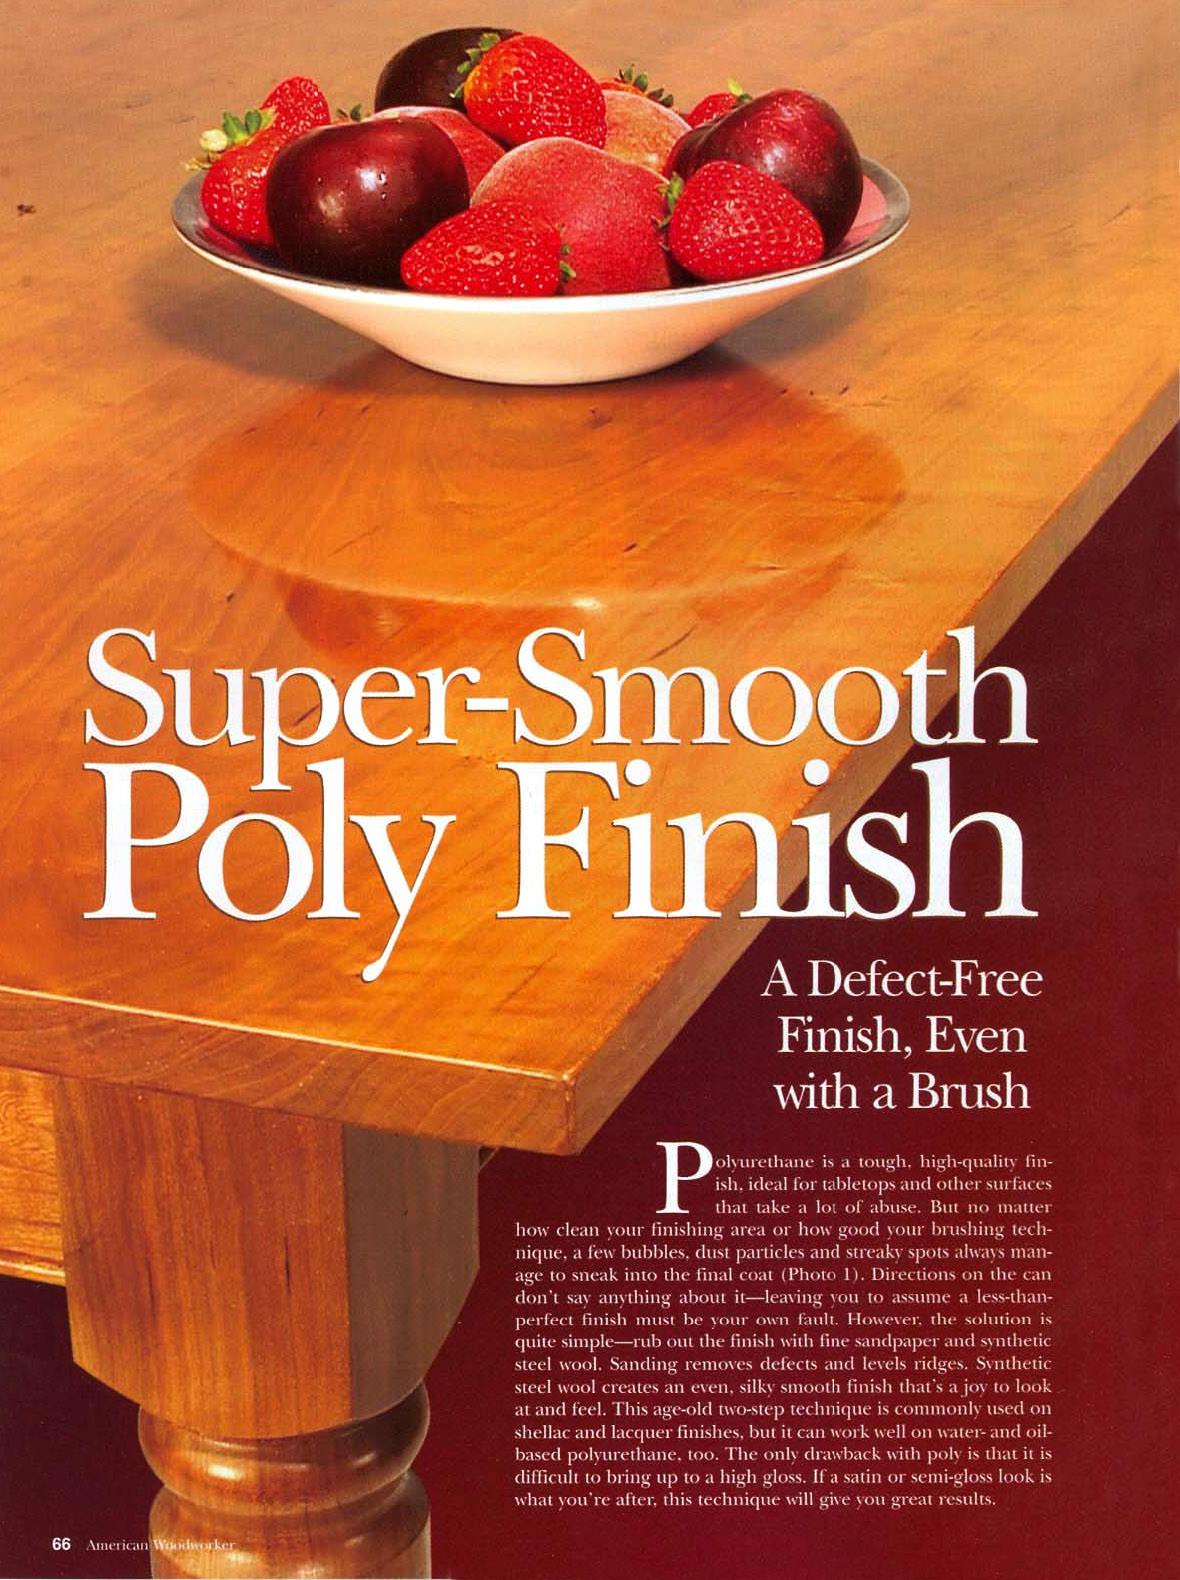
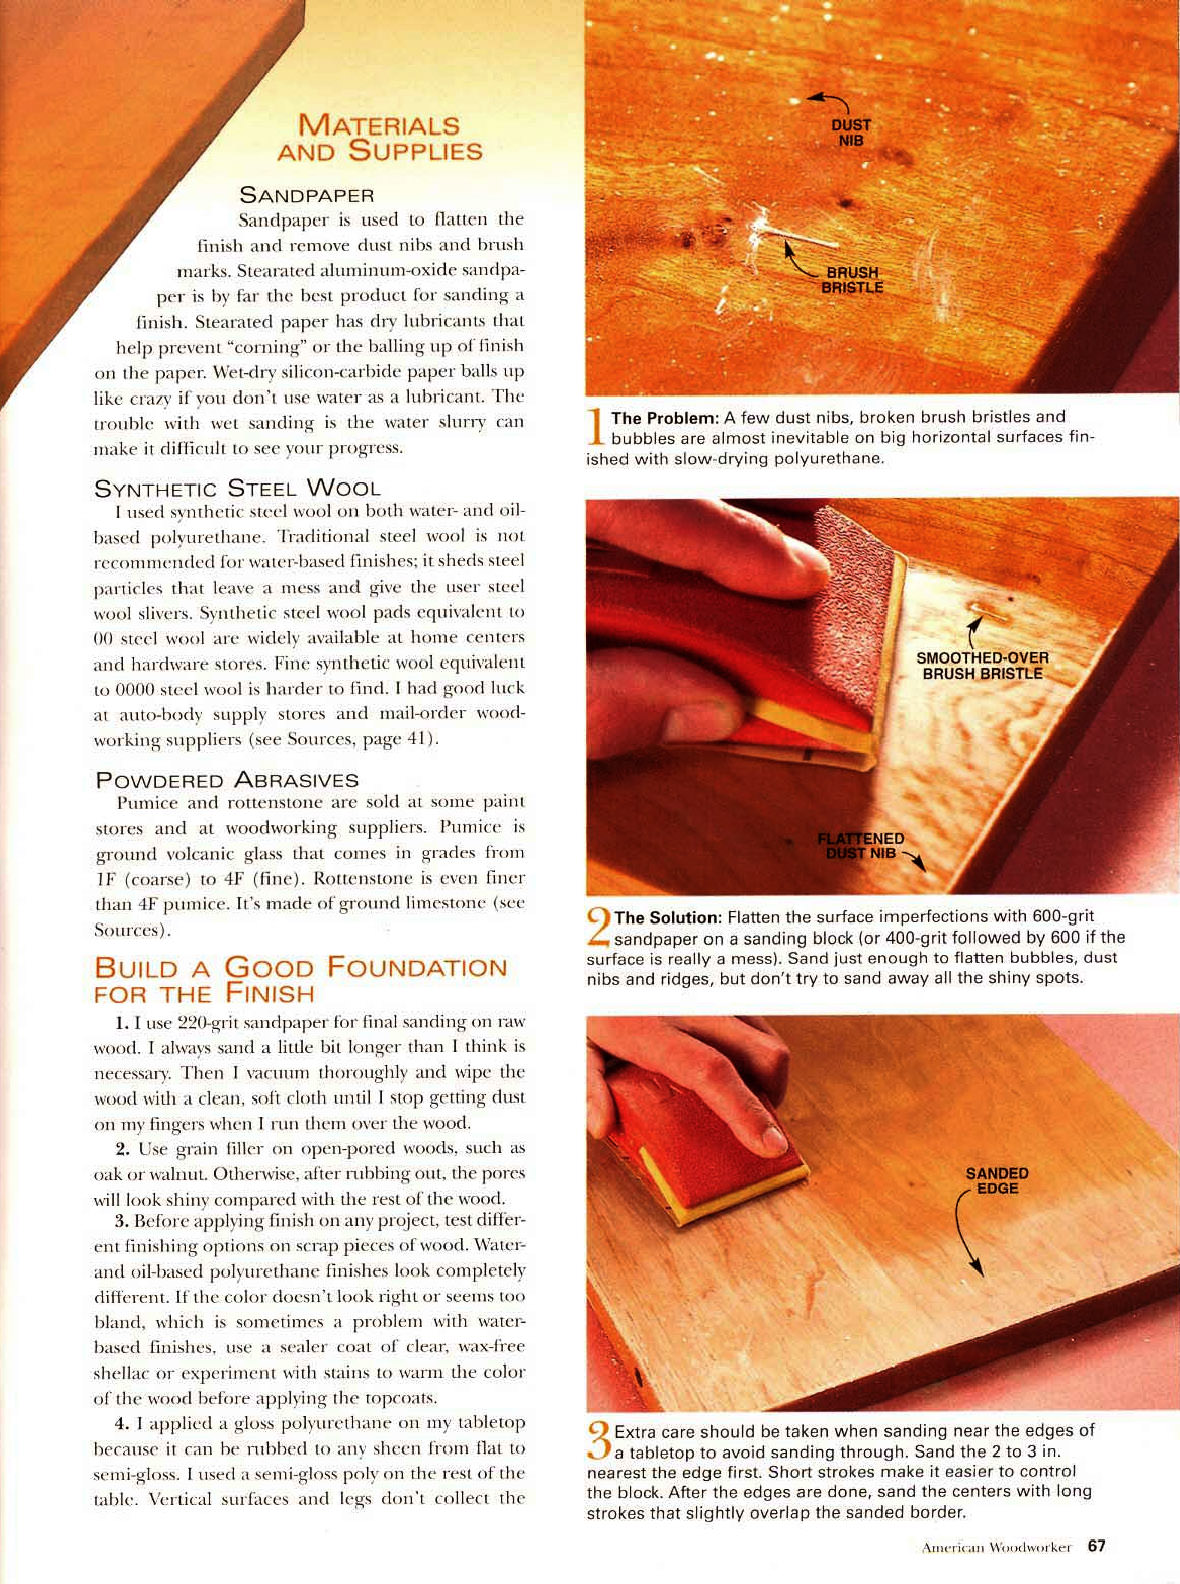
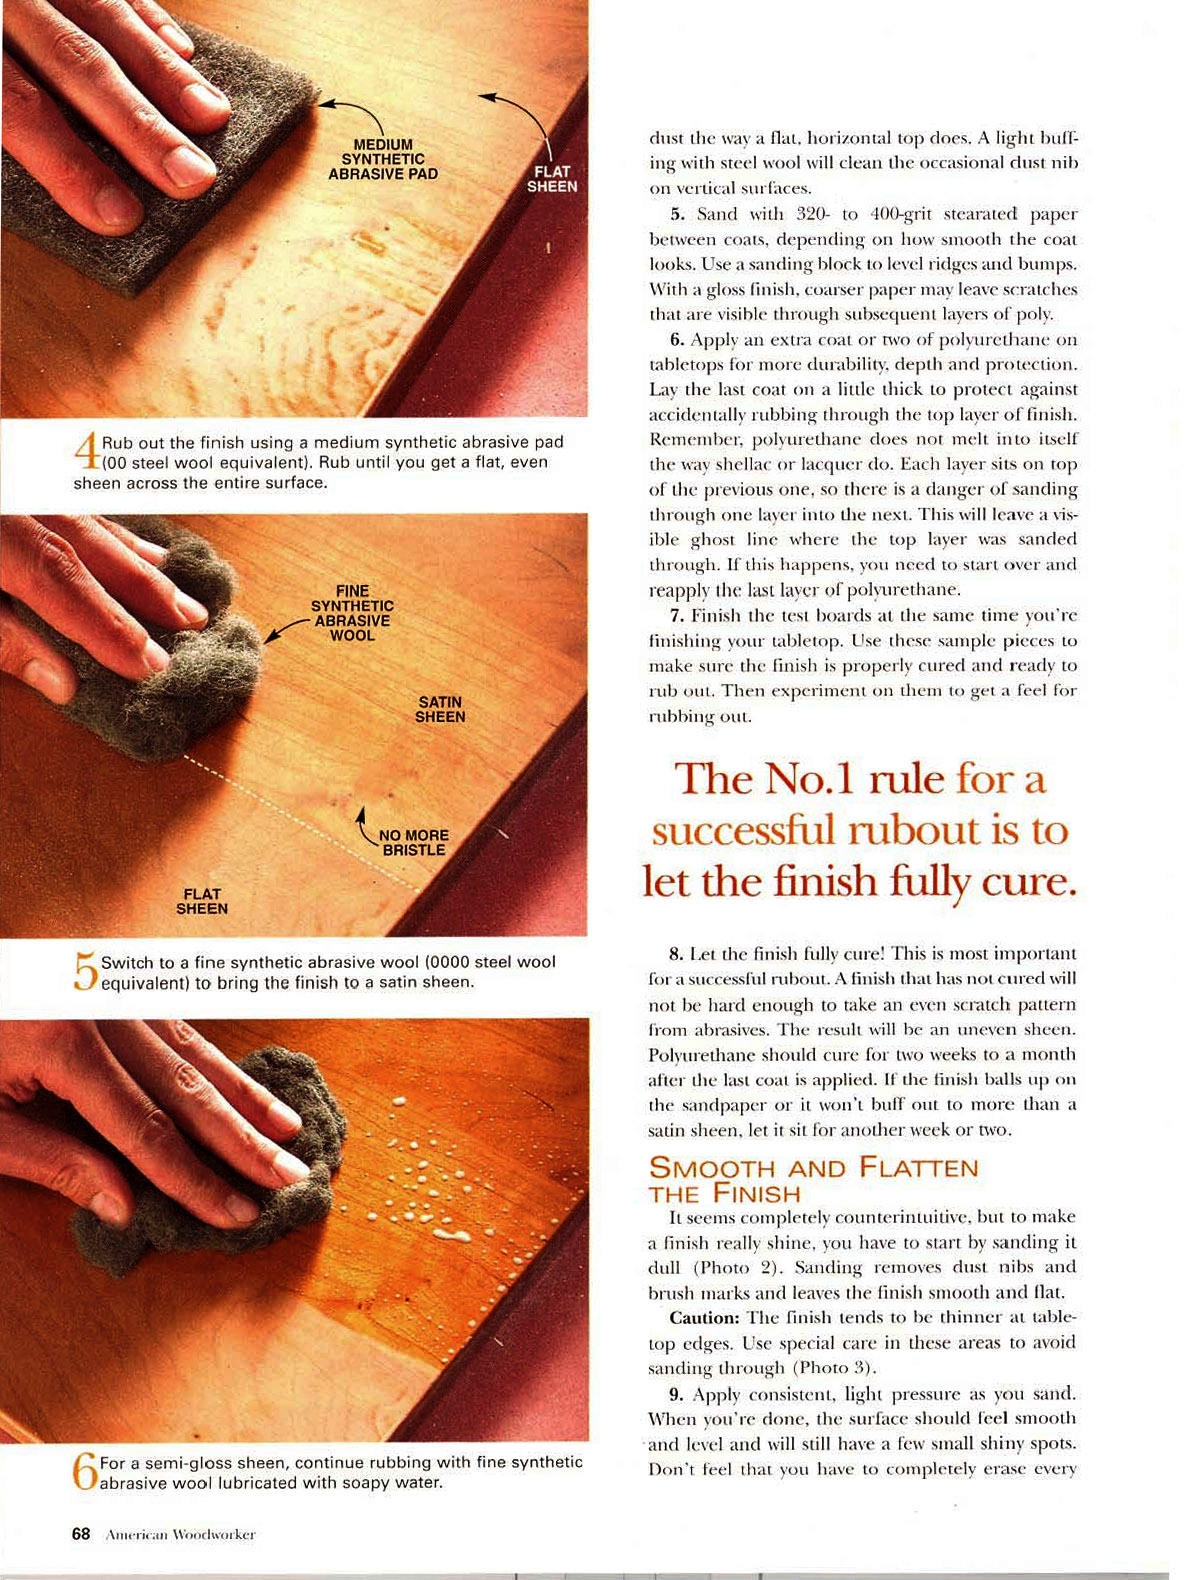
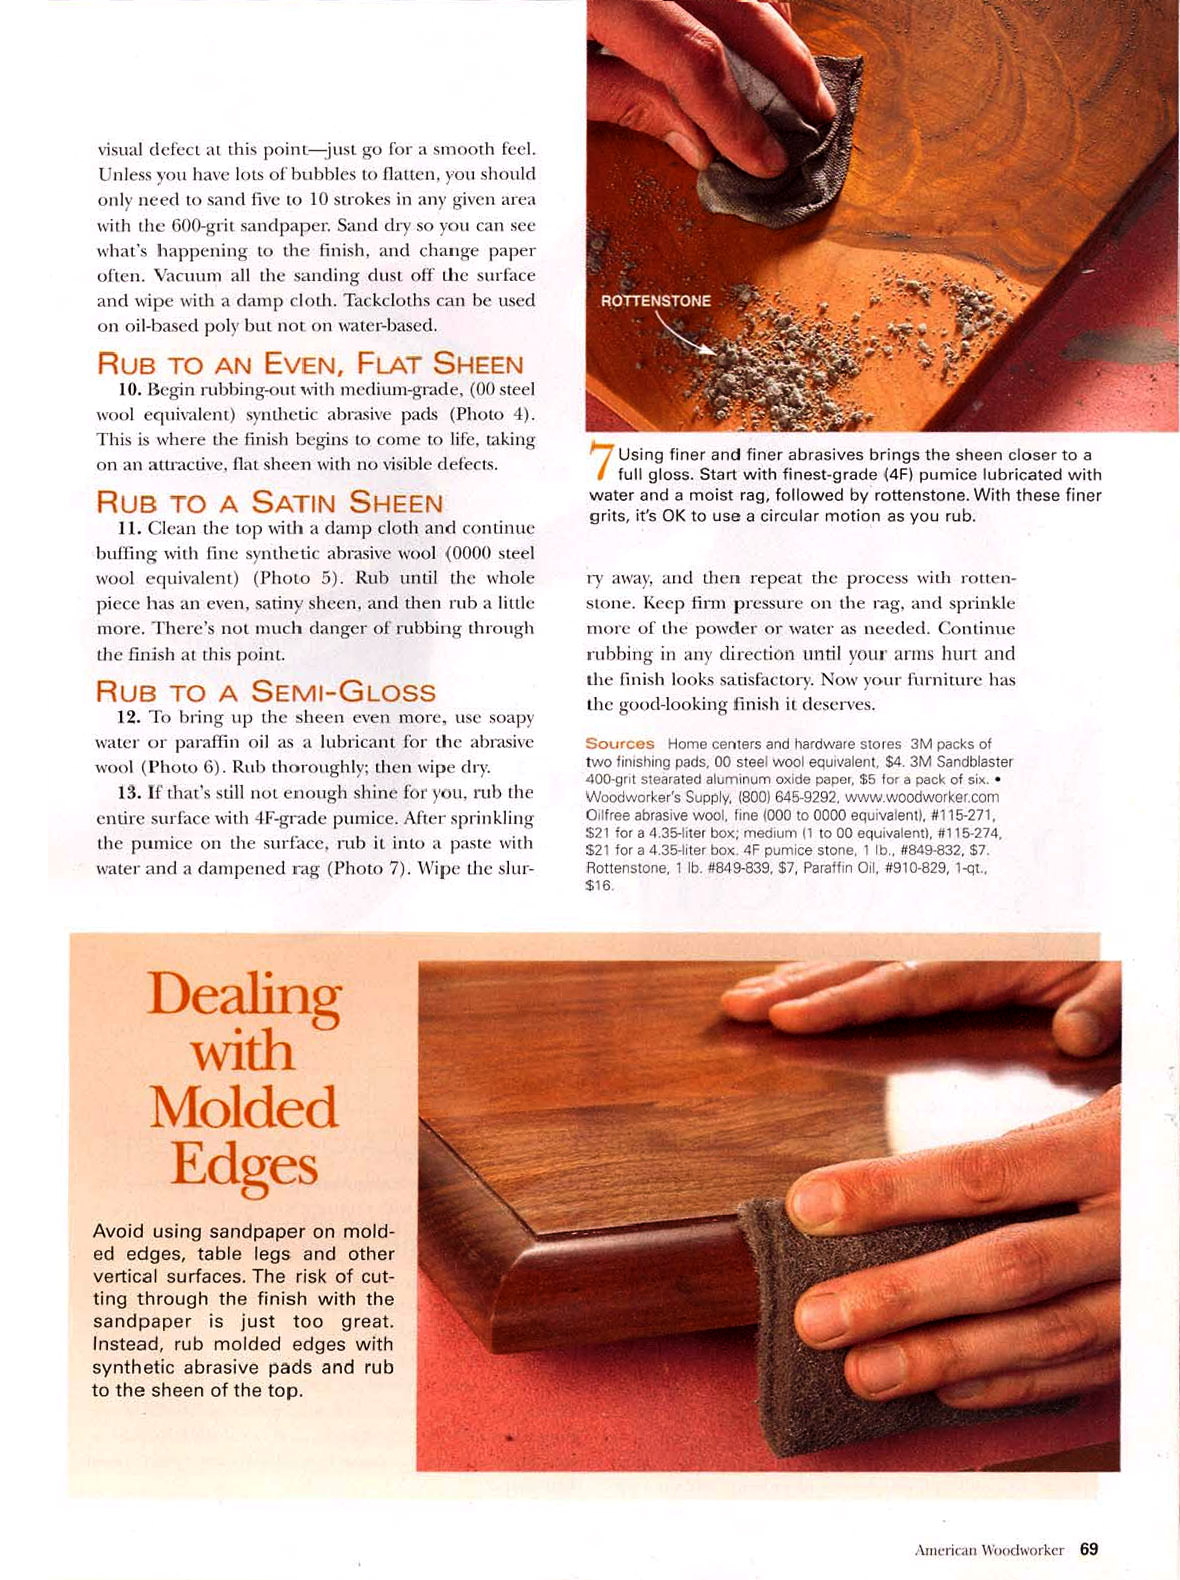
So anyway, you're looking at sanding and buffing out the finish to fix the surface and this oft-reprinted article from American Woodworker should give you a great start on how to go about this:

g3W61mA.jpg

79YwSO9.jpg

SX9Xf9x.jpg

9Eu37tb.jpg


There is a lot online about rubbing out a finish if you want to read up on the process in more depth.
 
Don't worry, the sheer panic of destroying something irreplaceable will pass; I videoed a pub burning down over the top of our wedding video.
That was a long time ago and we're still married.
 
Thanks for all the advice and really useful extract Ed65, that will come in very handy.

Monkeybiter, thanks for the morale support, its always nice to know when youre not the only one to mess up! Top effort, I wonder how you broached that subject!!

Cheers all, I will report back after xmas.
 
Oligadd, check out how to flatten and polish paint on some of the car painting websites. What you need to do is the same process.

I wouldn't start with 240 though, IMHO that is far to aggressive for an item that holds so much sentimental value. My usual starting point for flattening paint on a bit of car is P800 wet and dry, used wet (warm water with a single drop of washing up liquid in to break the surface tension) so maybe start there.

You need to use a block with the paper as this will remove material slowly and evenly. Stop regularly and wash the surface down and then dry it with a clean cloth, this will reveal where the surface has been sanded and which bits need more work (the unsanded bits will still be shiny).

Once the whole surface is a uniform matt appearance you have a few options.
Firstly you could apply more varnish to replace that which you removed in the flattening process, this will bond to the previously applied varnish because it will have been keyed by the 800 grit paper.
The other which will be more work though the end result nicer is to then sand perpendicular the previous direction with successively finer grits of wet and dry (P1000, P1200, P2000, P2500 all used wet)(Meguiars Unigrit paper is good and lasts well but is a little bit pricy). Then finally polish the surface with a scratch removing polish like Meguiars scratch X to get a mirror finish. Don't both with stuff like rottenstone the car finishing stuff is much more refined and effective.

Alternatively you could do both but, as others have stated, after applying more varnish you will need to wait for it to fully cure before doing the flattening and polishing step.

All the stuff need you can usually get from an autofactors or you could order from amazon.
BTW I don't have anything to do with Meguiars apart from having used their products in the past and liked them.

As a side note, I used Blackfriars exterior varnish on a project recently, I didn't see the advice not to thin it so added about 10-15% white spirit. I found that the raw unthinned product far too thick to get it on evenly and achieve the finish I was aiming for. Thinning it worked nicely and as yet I've not noticed the finished surface showing any signs of degradation. It did take quite a long time to harden though.
 
Back
Top