Steve and Tweedy (and everyone, of course) ...
There is a build of a dovetail saw on my website, which includes sharpening and setting the teeth:
https://www.inthewoodshop.com/ShopMadeTools/MakingADovetailSaw.html
Here is the sharpening and setting info:
Part Two – Filing and Setting the Teeth of a Dovetail Saw
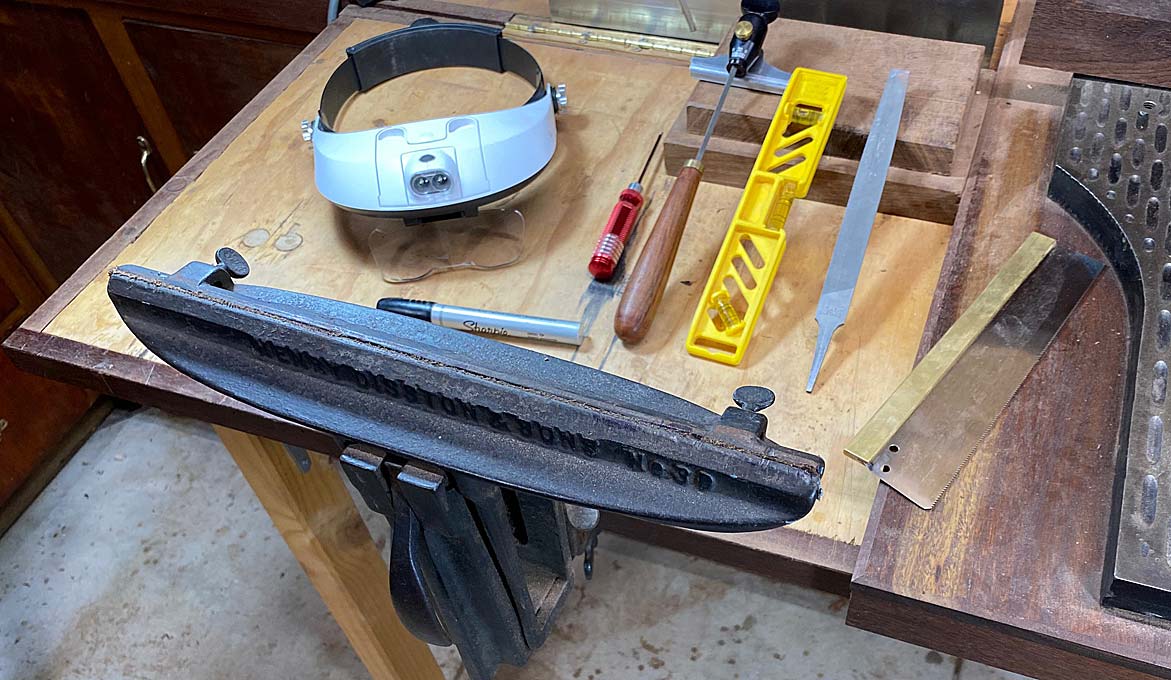
We start here. On the right is the saw plate glued to the brass back. In front is a saw vise. Not least of all, as much light as you can find and a lensed visor for magnification of the tiny teeth …
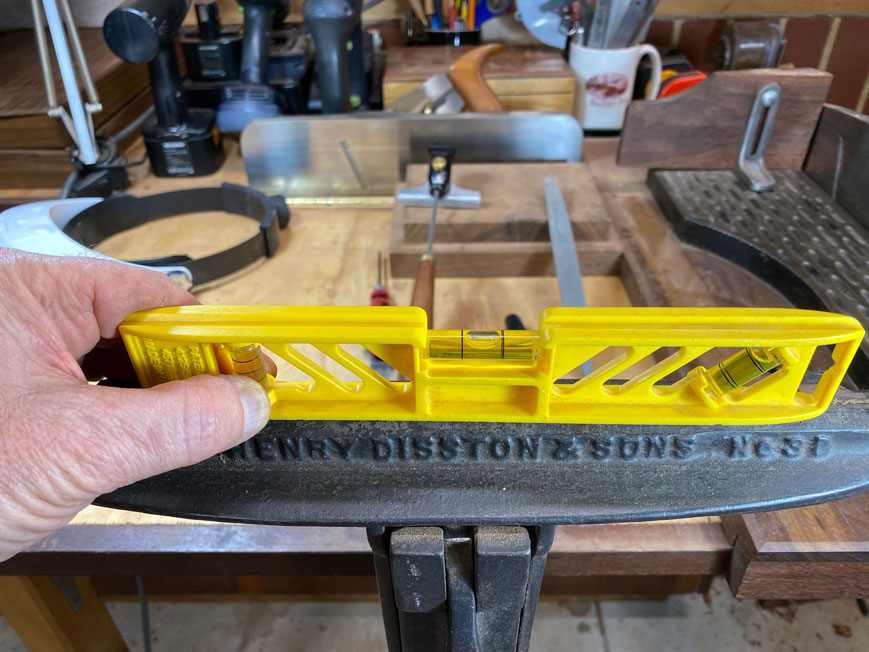
The plate is inserted and clamped with about 1/8” showing above the top of the vise. This is levelled …
Why levelled? This is the first step in ensuring that the rake angle of the punched teeth are maintained exactly. I like 5-7 degrees rake for a dovetail saw.
This is the Veritas saw file holder. Modified (of course!) with a small Stanley spirit level added. The file is a 4 ½” extra slim triangular file. Vallorbe and Bahco are two available brands.
The file is inserted in the gullet, and the holder levelled …
This indicates that the rake is 6 or 7 degrees …
… on the protractor, which is marked in 5 degree increments.
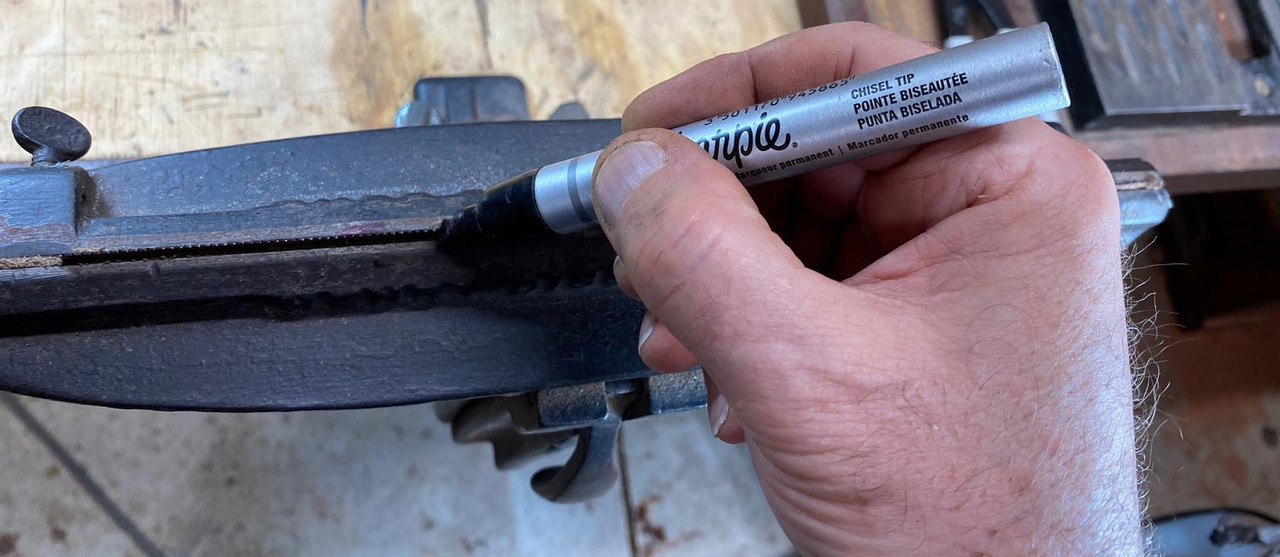
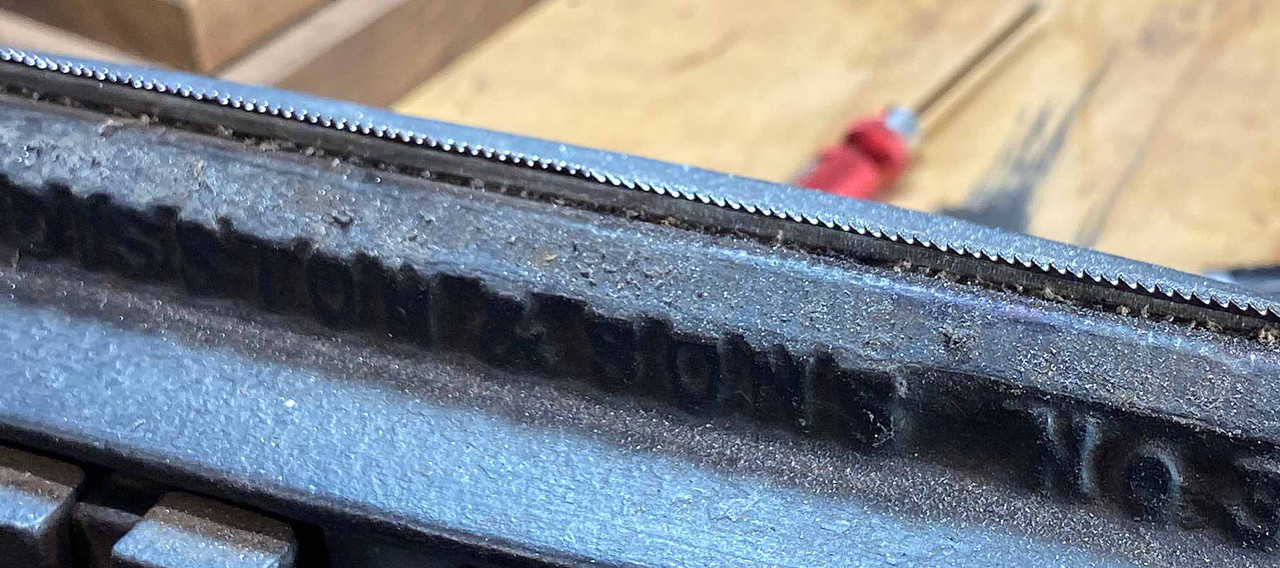
The next step is to run a Sharpie along the tips of the teeth …
… and then run a mill file along the teeth. This will leave a silver tip on each tooth. Think of this like the light shining off a wire or dull edge on a plane blade. The aim of sharpening is to remove the silver tip. Doing so leaves level teeth and two intersection sides. I do this each time I sharpen a saw blade.
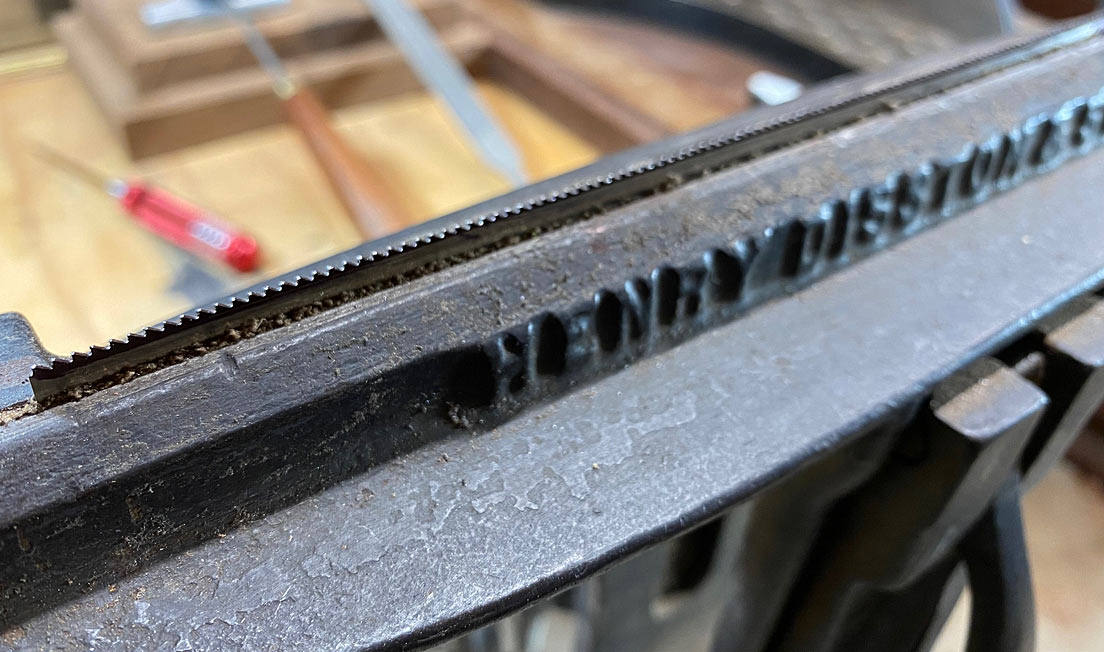
Filing the teeth is easy. Start at the heel end, keep the guide square and level, and push one stroke. That should be enough to sharpen each tooth.
Half on the right are done, with the other half yet to be done …
Continue until all the teeth have been sharpened. Now go back and check there are no shiny tips left. File these teeth again, if necessary. Also check the spacing of the teeth. If these is one too close to another tooth, you can “move” the tooth by filing with more pressure against the offending side.
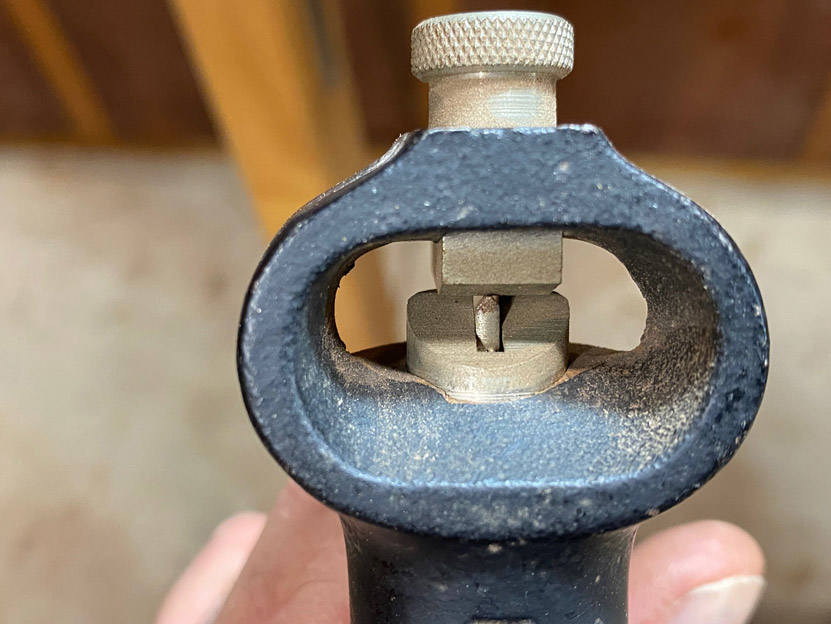
Once all the teeth are done, it will be time to set the teeth. These are the more popular two pistol setters: Stanley #42X at the top, and Eclipse #77 at the bottom. Both work well, both may be tuned for different size teeth. Tuning involves filing the width of the hammer (the pointy bit, below).
Setting the teeth involves bending a tooth over fractionally. This increases the width of the kerf as the teeth cut, and prevents them jamming. The teeth are bent alternately, creating an equal amount of set each side of the plate. This is easier in theory, and more consistently achieved with practice.
One of the difficulties in creating set with the setter is seeing the teeth! As you move along the saw plate, setting each alternate tooth, then flipping the saw over to set the other side, you eye will glaze over, you will begin to see double, and the result will be that you lose track of what you have set. This is a problem since uneven set on each side of the plate will cause the teeth to cut inaccurately … more to one side than the other.
I have a method to make this easier to be consistent.
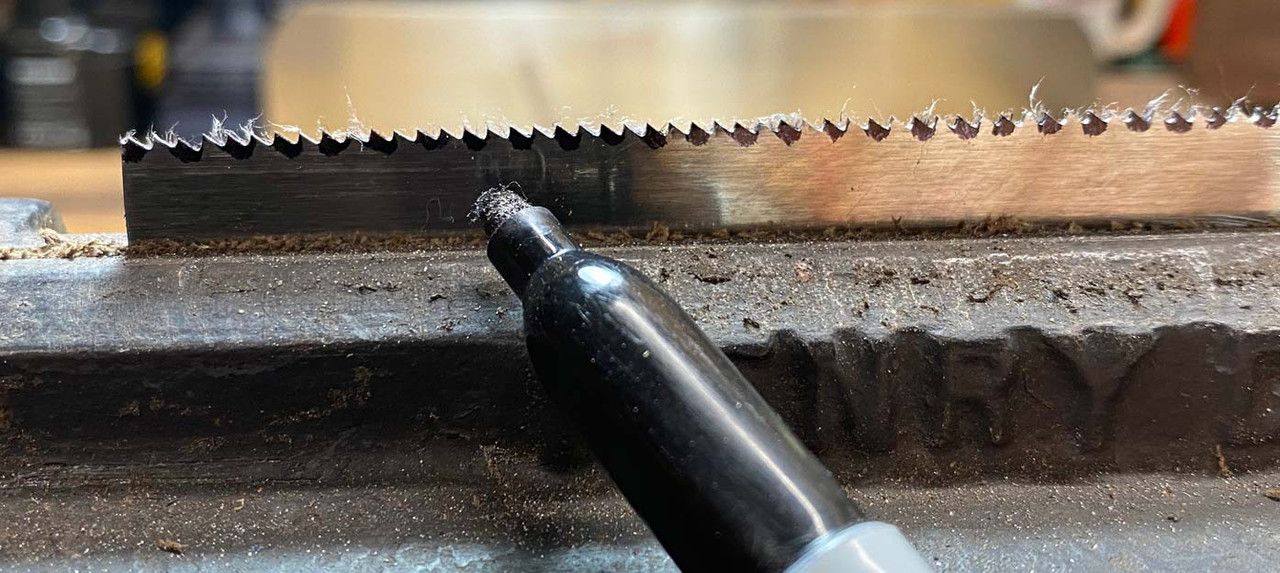
Take a fine Sharpie and mark each alternate tooth on one side …
Now go ahead and set the teeth on that side. Once done, wipe the ink off with alcohol, and repeat on the other side of the plate.
This method is extremely helpful with setting new teeth. Teeth which have been set previously will retain some of the past set, and you can take a cue from this. It is not always necessary to reset the teeth each time you sharpen. An indication that setting is needed is when the teeth do not cut freely, acting as if dull, or the saw binds in the cut.
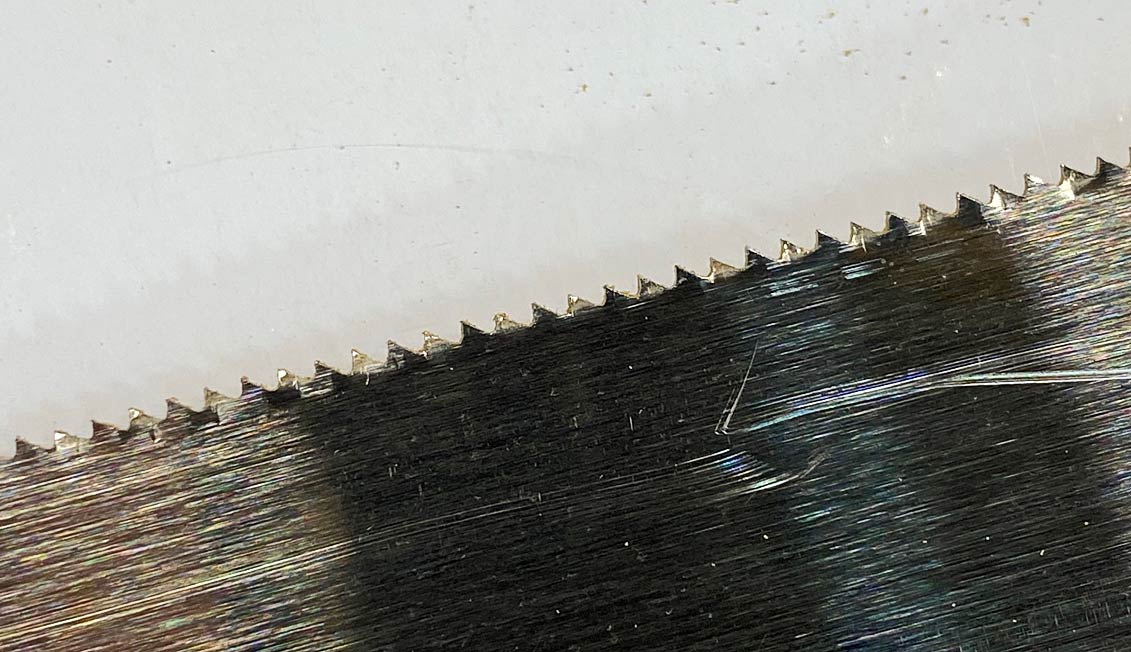
Here are the sharpened and set teeth. Look closely at the tips of the teeth to see a tiny dimple where the hammer left its mark …
Before we move on it is a good idea to test the saw and see if it cuts straight. If it does not, then the set will need to be tuned. This involves using a fine diamond stone to remove some of the set on the side that is moving most. One stroke is often enough. Rather take off too little at a time than too much and have to start over. It is often also a good idea to lightly run the diamond plate along both sides to remove any set that is sticking out further on some of the teeth, and even all up.
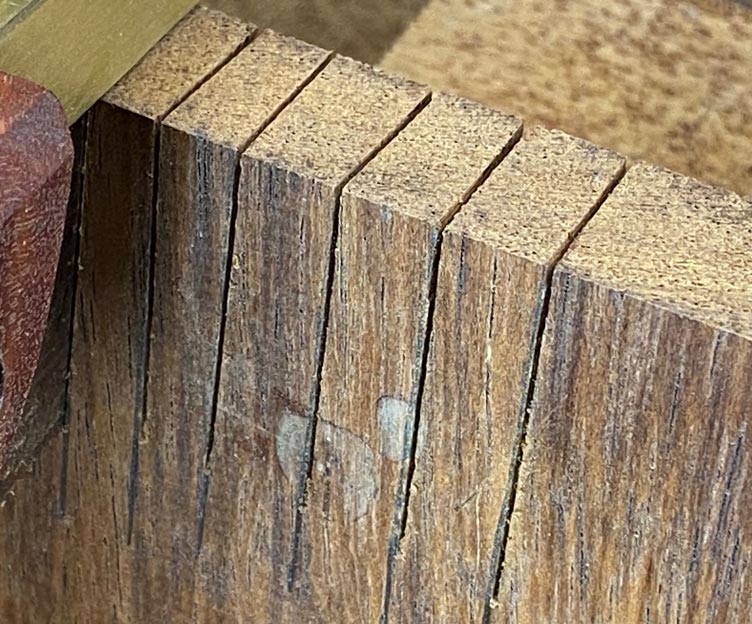
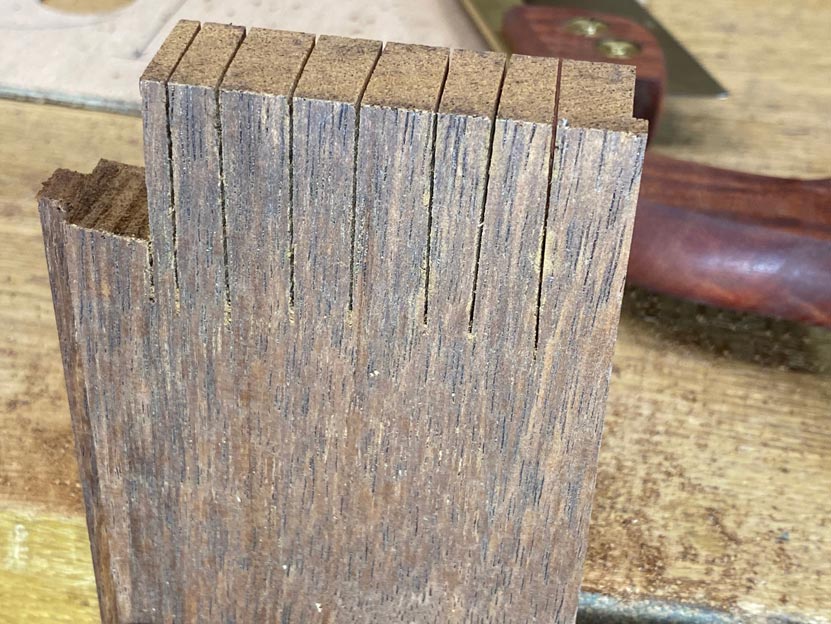
A test cut in very hard Merbau scrap. The aim is to follow drawn lines …
This looks good – the saw kerf follows the line. And the kerf looks clean from the side (evenly set teeth leaving even marks)…
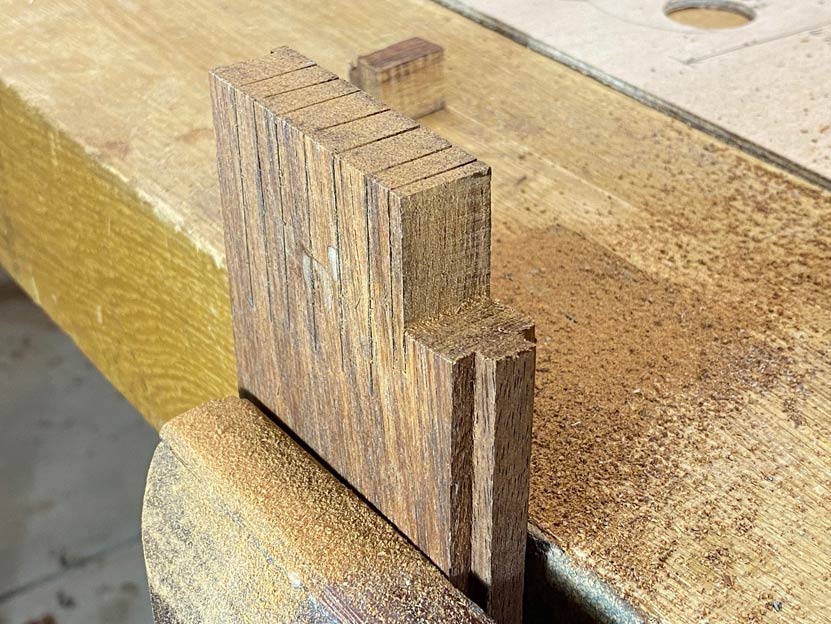
… as does the other side of the board …
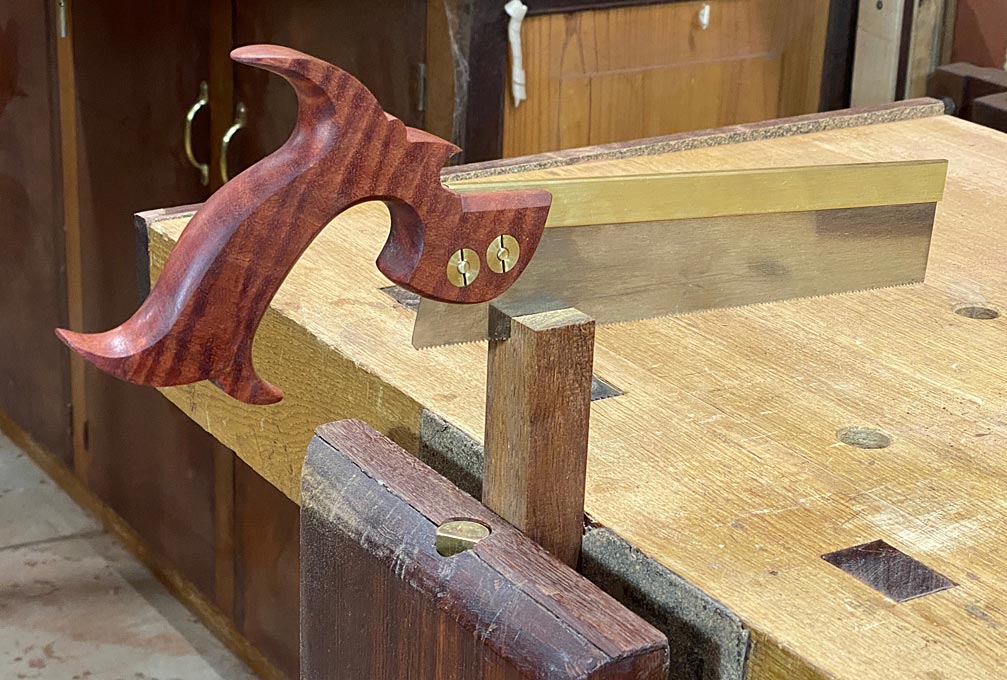
The saw is done. Here are final photos …
Regards from Perth
Derek