Hand painted kitchen

UKworkshop.co.uk

Help Support UKworkshop.co.uk:

This site may earn a commission from merchant affiliate links, including eBay, Amazon, and others.
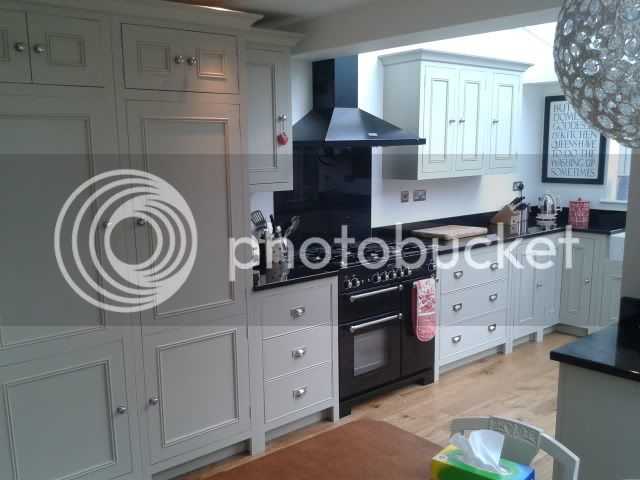
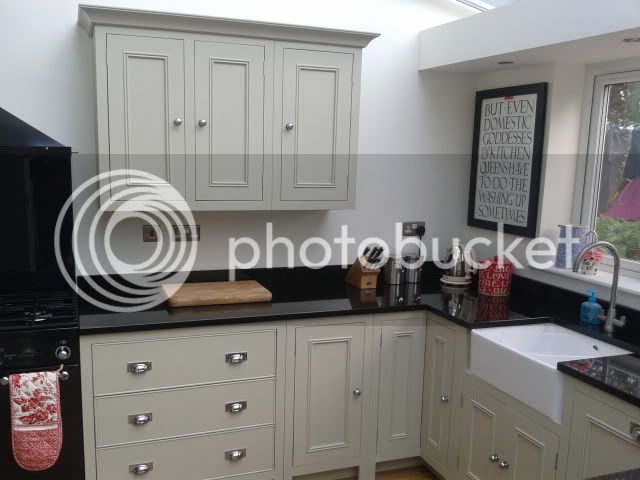
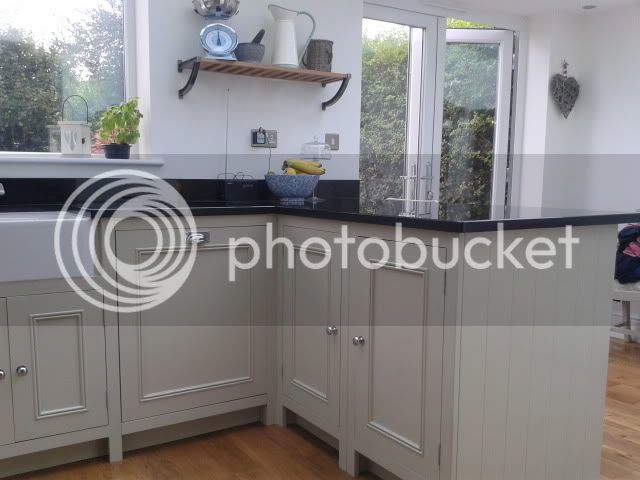
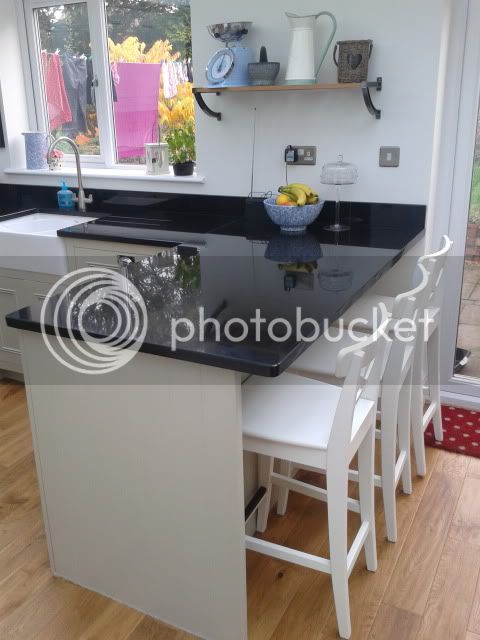
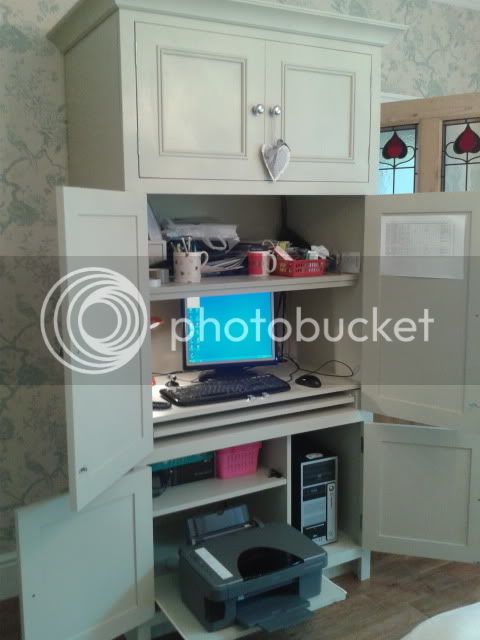
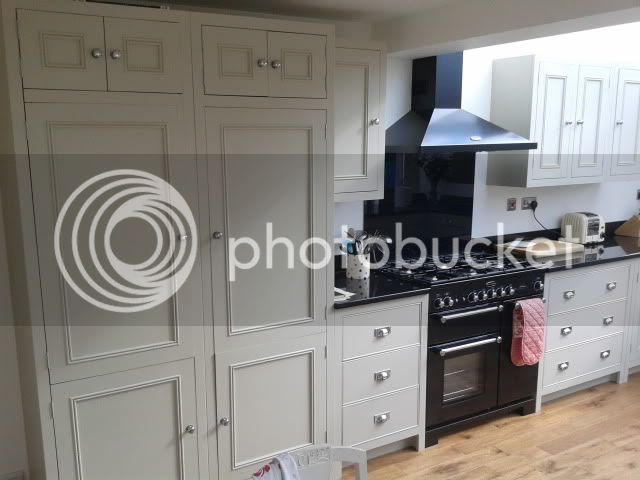
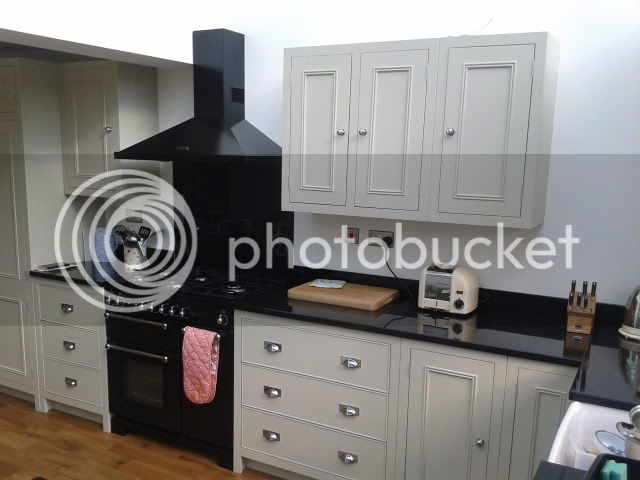
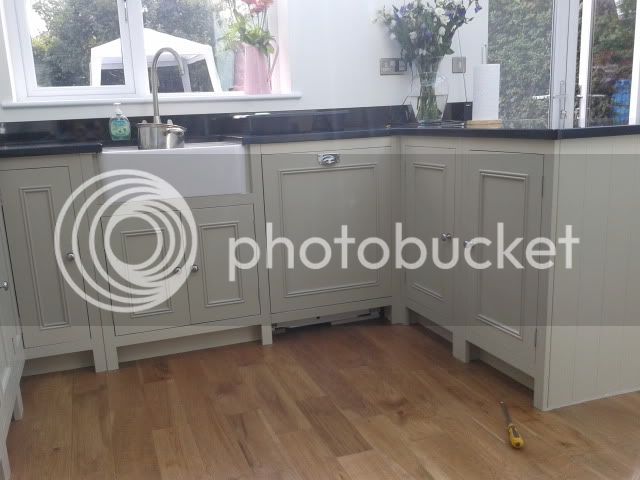
Just a quick update on this thread. I am going back on Tuesday when the customer is back from holiday to take some pics of the kitchen and deliver another couple of things which they asked me to build. I've been working on these since yesterday morning.

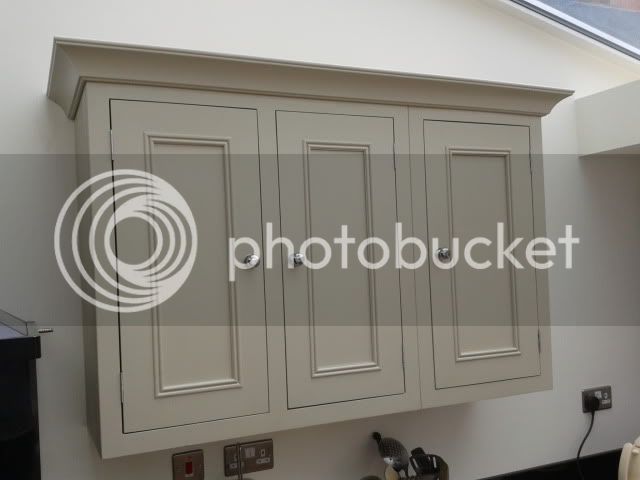
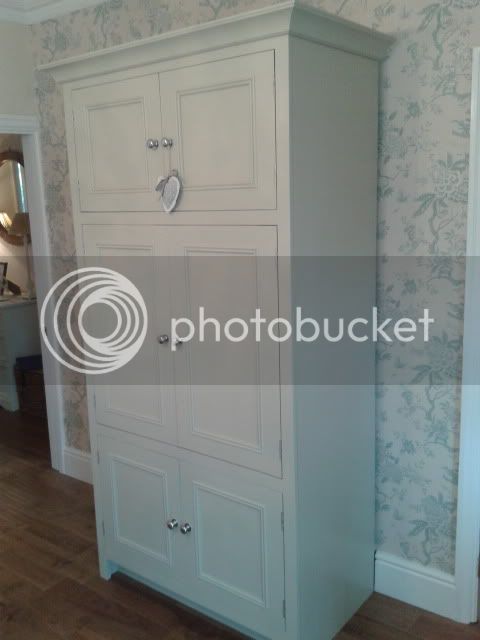
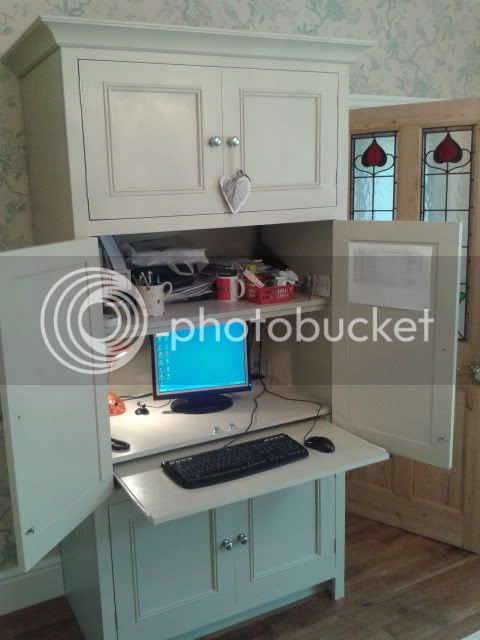
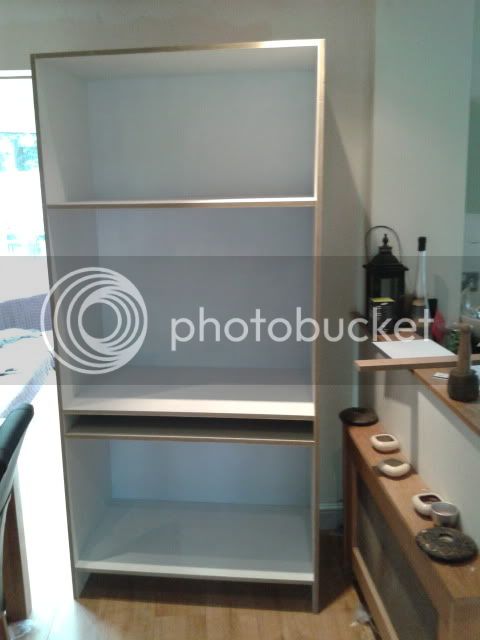
A computer unit, in a matching style to the kitchen units. Here i've built and primed the carcass, ready for the doors and face frame to be made up this weekend

2011-08-12141835.jpg


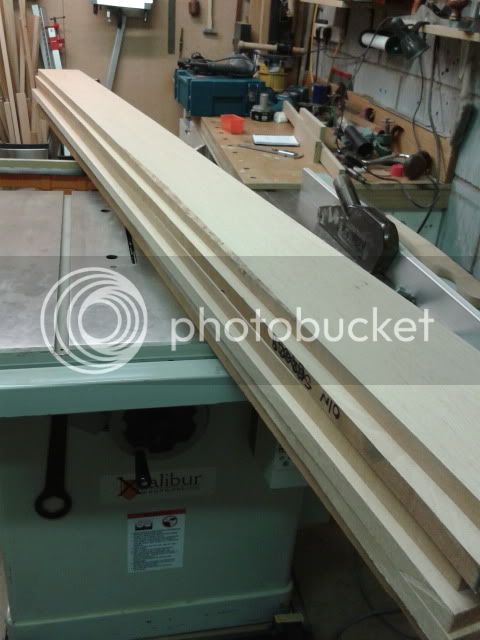
I bought some more Beech - 6 lengths between 6" & 8" wide, 8' long. £43 inc VAT, which I thought was pretty good. Nice stuff too

2011-08-12141645.jpg


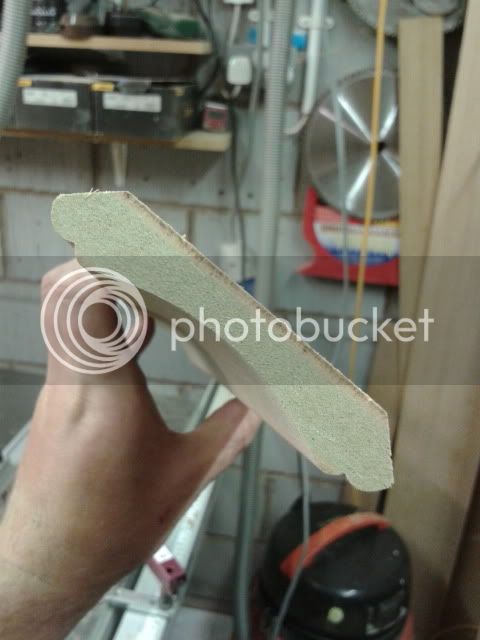
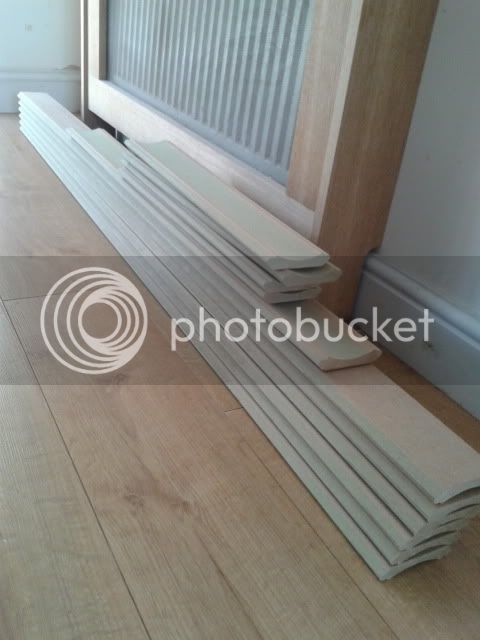
I also have a wine rack to build - this image shows the carcass and the horizontal dividers

2011-08-12141631.jpg


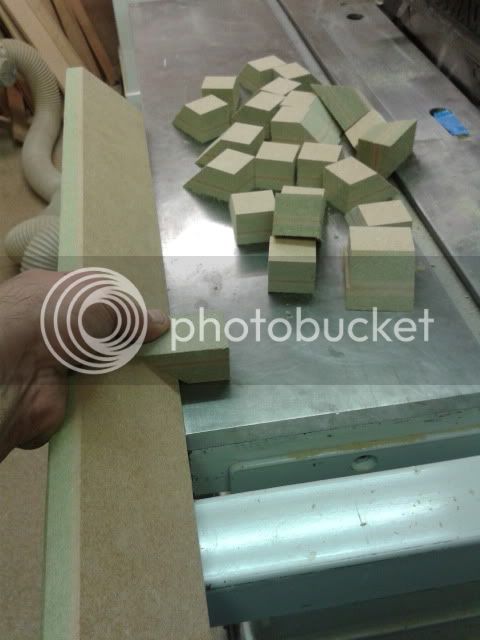
And here are the vertical dividers

2011-08-12141623.jpg


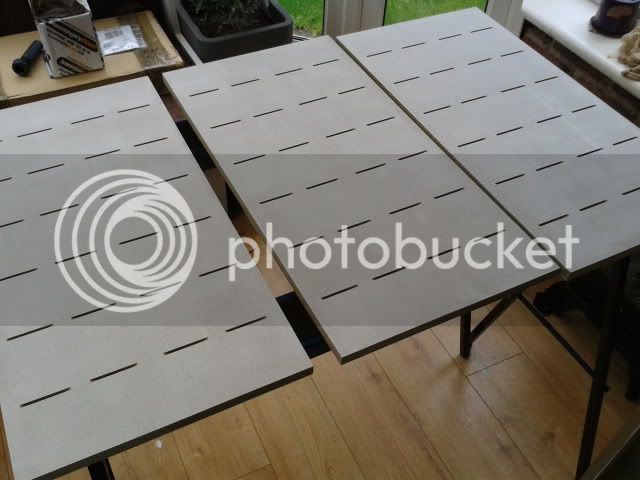
Again, a face frame will wrap round the front of the unit. T&G end panel. Granite top. The storage section needs to be removable as the stop cock for the water supply is situated behind the unit #-o

Thanks for looking

Cheers

Karl
 
Karl,

Great job on the kitchen. Simple query though. Most of my kitchen jobs have been assembly and fit of kitchens from the likes of b&q etc and wall cabinets come with adjustable hangers and very thin back panels.

How do you go about securing your own cabinets? 6mm backs and screwed through or do you also use some type of hanger to aid fitting and adjusting?
 
Very nice. I was also wondering about the fitting of the wall units as mentioned above.
 
Sorry for the delay in replying - i've only just got back from holiday.

The wall cabinets have an 18mm void in the back, to which a piece of 18mm MDF is attached. A piece is also attached to the wall so that the cabinet rests on it - a sort of french cleat, but without the chamfer. The cabinets are then fixed to the wall with 4 screws through the back panel (12mm panel and 18mm void filler) with a nice stainless screw and cup washer.

Some pics of the kitchen - these were taken a while ago (before summer holidays started to interfere with schedules!)

2011-08-05084933.jpg


2011-08-05084923.jpg


2011-08-05084914.jpg


2011-08-05085002.jpg


There was some debate about whether there was to be a cornice fitted. First yes, then no, then yes, then which style etc etc. Anyway, the cornice design has now been agreed and i'm waiting for some knives for the spindle moulder.

I'll update with some final pics once the cornice is done.

Cheers

Karl
 
Thats a much bigger job than I thought it was from the wip pictures. Looks fantastic level of finish.
 
That's looking brilliant. I've bookmarked this thread for reference when i start my own kitchen build in about 6 weeks!
 
Looks great Karl! Nice work, excellent finish :)

Quick question - The rail beneath the intergrated dishwasher door. Did you have to put a large chamfer on the back top edge to allow the door to open? I only ask as it's something that caught me out and I had to do it on fitting. I was wondering if there was a way around it.

Cheers, Jim
 
jimmy rivers":otpzjc0w said:
Looks great Karl! Nice work, excellent finish :)

Quick question - The rail beneath the intergrated dishwasher door. Did you have to put a large chamfer on the back top edge to allow the door to open? I only ask as it's something that caught me out and I had to do it on fitting. I was wondering if there was a way around it.

Cheers, Jim

Yes - a large chamfer on the back edge gives clearance for the d/w door. It also had to be removeable so that the d/w could be removed if needs be, so it is held in place with some angled screws through the bottom and into the side face frame pieces, and a couple of tabs were attached to the rear with some double sided tape pads attached to hold it to the rear of the face frames.

Cheers

Karl
 
Really great looking job, could I ask what the colour and type of paint you used for the exterior it looks great against the worktop and white walls.

Cheers.
 
My cornice knives came at the weekend - big thanks to Doug Perry at Cutting Solutions for all his help in sorting them.

Grabbed a couple of hours this afternoon to make up a sample - both to see how it turns out, and to refine the process. It is made of MDF strips laminated together, then ripped into a triangular section 65mm square (if you know what i mean).

I then set up the spindle moulder, with a false bed and a break through board.

2011-09-19200305.jpg


The stock is then run against the fence as shown below - note this is a retro picture to show how the profile works. I had a overhead guard in place and used a pushblock and pushstick to guide the piece past the cutter.

2011-09-19200846.jpg


Once one edge has been profiled, I flipped it and ran the opposite edge. This gives a nice symmetrical profile.

2011-09-19200800.jpg


After a little sanding to remove the shadow lines where the curvature overlapped slightly, this is the end result (I primed it first to clearly show me where it needed sanding back).

2011-09-19200831.jpg


It will be fastened in place using some blocks attached to the back - pics to follow.

I'm happy with this, and think it'll go well with the kitchen. I will be on with making the rest of it on Wednesday, ready to be fitted on Friday when, hopefully, i'll be able to take some final pics.

Cheers

Karl
 
Nice job Karl,

Not sure if anyone's already asked this but why did you go to all the trouble of m&t'ing the face frames when you could have just used pocket hole screws ?

Chris
 
Thanks Chris.

On the face frames, I principally did it this way 'cos I don't have a pocket hole jig :D I had bought the Trend jig as a way of doing the doors, and it really didn't take that long to do the joints on all the face frames. I reckon that in total the m&t's for the face frames took a couple of hours - it's very quick with the Trend jig. One setting serves both mortice and tenon.

Cheers

Karl
 
It was pointed out to me over on WWUK that there was a problem with the cornice being made up of laminations (joint lines showing in the future), so an hours work this morning, and this is the revised moulding

2011-09-21112733.jpg


2011-09-21112650.jpg


Little pile of cornice ready to be sanded and painted

2011-09-21113336.jpg


Also made up some blocks to attach it, using the offcuts from the aborted attempt

2011-09-21112756.jpg


Cheers

Karl
 
AndyC Longwood":2iezgv8r said:
Really great looking job, could I ask what the colour and type of paint you used for the exterior it looks great against the worktop and white walls.

Cheers.

Sorry, this Q slipped by unanswered.

The paint is Dulux diamond eggshell, not sure of the colour. It was from a Farrow & Ball sample, "Bone" springs to mind. I can find the paint code though if you need it.

Cheers

Karl
 
Cornice fitted this morning - easy peasy with the little blocks i'd made

2011-09-22123841.jpg


This is the computer unit i'd made reference to earlier

2011-09-22123902.jpg


I've got some alcove doors to fit tomorrow, so i'll take all the final pics then.

Cheers

Karl
 
Great build!!

Having done my own then I found it easier to paint the sheet stock before I made it all up, then ws very careful not to damage. That Diamond Eggshell is not cheap but works well.
 
Well I finally got back to take some final pics today.

2011-10-13100335.jpg


2011-10-13100236.jpg


2011-10-13100254.jpg


2011-10-13100355.jpg


2011-10-13100034.jpg


2011-10-13100104.jpg


2011-10-13100503.jpg


2011-10-13100055.jpg


2011-10-13100014.jpg


Computer unit

2011-10-13095747.jpg


2011-10-13095854.jpg


2011-10-13095934.jpg


Thanks for looking

Cheers

Karl
 

Latest posts

Back
Top