Hand painted kitchen

UKworkshop.co.uk

Help Support UKworkshop.co.uk:

This site may earn a commission from merchant affiliate links, including eBay, Amazon, and others.
shim20":3o7hlib0 said:
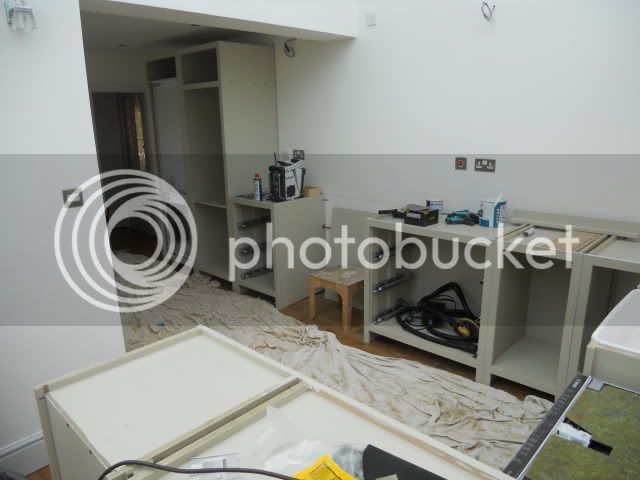
looking great, oil based paint or water based?
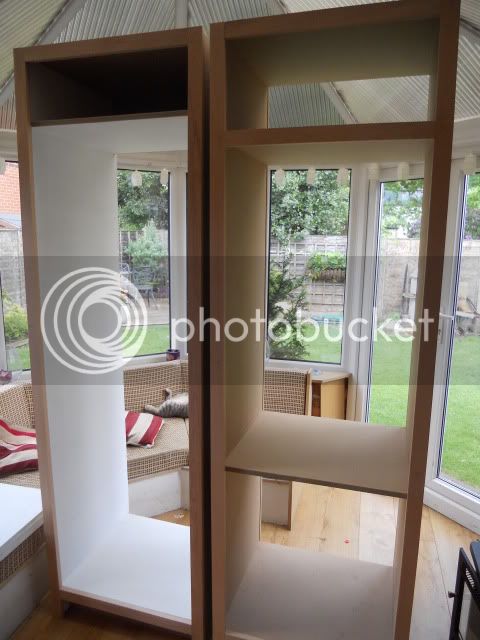
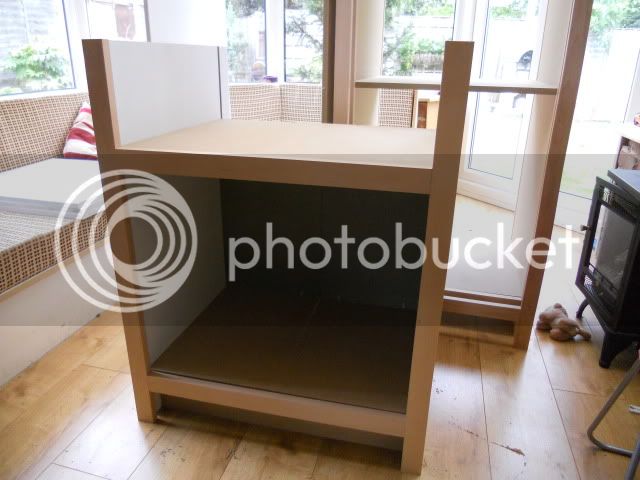
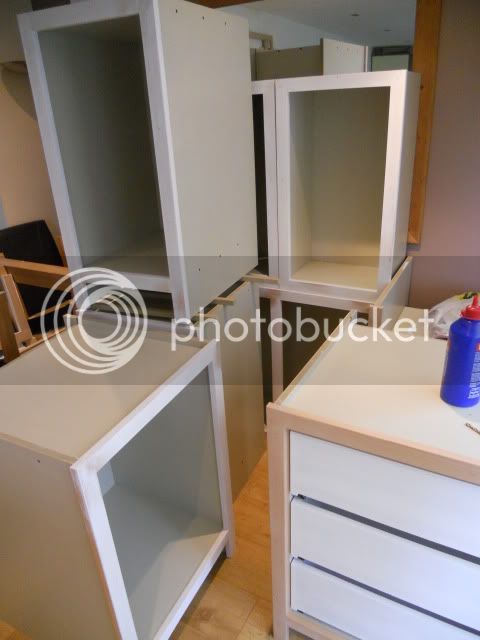
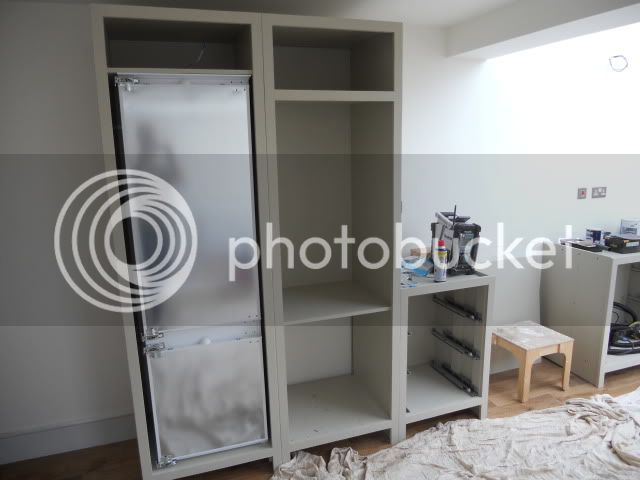
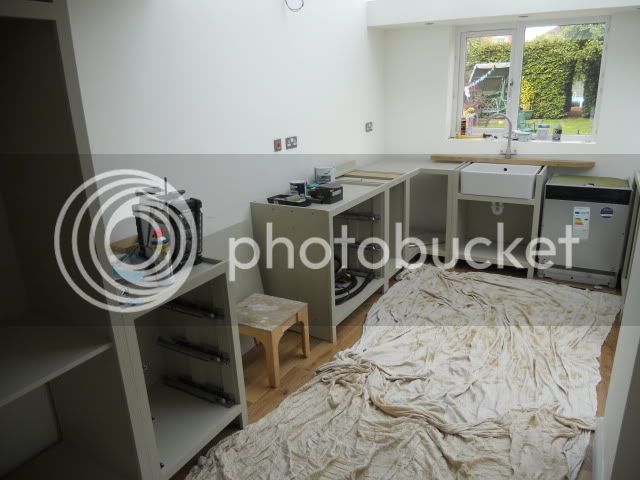
Water based. This afternoon i've got all 10 panels primed, 2 coats.

Cheers

Karl
 
Karl":1q477g83 said:
Adam - the fronts of the cabinet sides will be left full length, but the section behind the kickboard will be removed and stubby adjustable legs fitted to aid installation. The kickboard will be removeable - that way just the front 3" or each side panel/face frame needs scribing to the floor.

Cheers

Karl

So is each unit going to have it's own plinth then? Or am I misunderstanding?

Looking good so far mate. Bet you can't wait to get that painting out of the way though! What style of face frame/door are you going for?

Adam
 
Aces and Eights":3rp83wfk said:
Karl":3rp83wfk said:
Adam - the fronts of the cabinet sides will be left full length, but the section behind the kickboard will be removed and stubby adjustable legs fitted to aid installation. The kickboard will be removeable - that way just the front 3" or each side panel/face frame needs scribing to the floor.

Cheers

Karl

So is each unit going to have it's own plinth then? Or am I misunderstanding?

Looking good so far mate. Bet you can't wait to get that painting out of the way though! What style of face frame/door are you going for?

Adam

Correct - each unit will be a standalone unit. The face frames will be flat, 45mm wide stock, with a simple chamfer on the outside edge where units abut each other. Doors will probably be shaker, but that may change as they've mooted the idea of having an applied beading detail fitted round the inside of the panel where it meets rails/styles.

Cheers

Karl
 
Got some of the beech out for machining the components for the face frame on the 2 tall units. All other components will be no longer than approx 1m, so it's nice to get these larger pieces out of the way. The 'shop is only 16' long, so there's not much room to play with when planing these longer pieces.

I selected the straightest boards I could to minimise wastage. I was going to provide YouTube linky to see the Minimax Monster in action 8), but YouTube isn't playing ball at the moment.

After rough thicknessing I jointed the edge

015-4.jpg


To check the straightness of the edge I keep an 8' offcut from a MDF veneered board in the 'shop. The 1.8m tables on the Minimax really help with getting the edge flat along the length.

002-7.jpg


Timber selection - this piece would have had too much wastage/work to get it straight on the p/t (15mm)

003-9.jpg


005-10.jpg


Chose another piece, thicknessed and edge jointed it again - two boards side by side.

010-5.jpg


These will now be ripped down to a shade over 45mm, and then all pieces put through the thicknesser on edge to bring them to uniform width.

Cheers

Karl
 
You're making good progress with this mate.
Did the Minimax fit in alright then? I seem to recall you thinking you may have to chop a hole in the wall?
How you getting on with the spindle?

Adam.
 
006-2.jpg


Hole in the wall!

The minimax is a bit too big if i'm being honest, but it's such a great machine that I think it's worth sacrificing space for. The beds are 1.8m long, 14" width of cut.

Haven't used the spindle in anger yet. Will be doing so in the next couple of weeks to make the doors/cornice/mouldings.

Cheers

Karl
 
Got to work making the face frames for the larder and fridge units today.

This beech moves quite a bit when it's being ripped down!

003-10.jpg


All of those pieces are in the same board order in which they were ripped. Thankfully, the two outer cuts remained pretty straight - it was only the centre piece which went banana's.

Having thicknessed the pieces I had a set of components for making the two face frames.

004-8.jpg


I set up the Trend M&T jig. I bought it specifically for this job as I couldn't afford Domino :cry: 
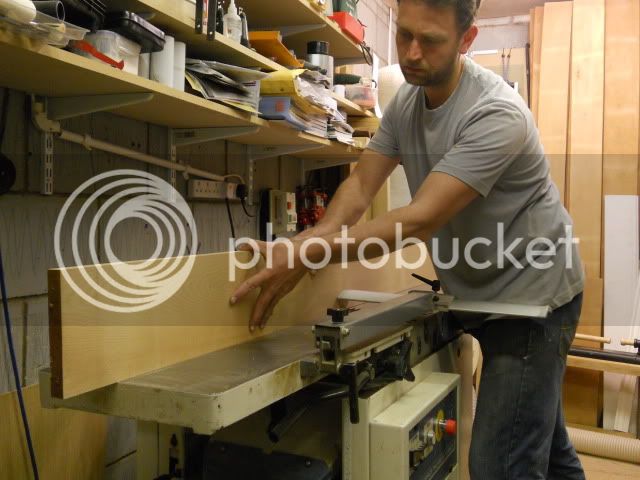
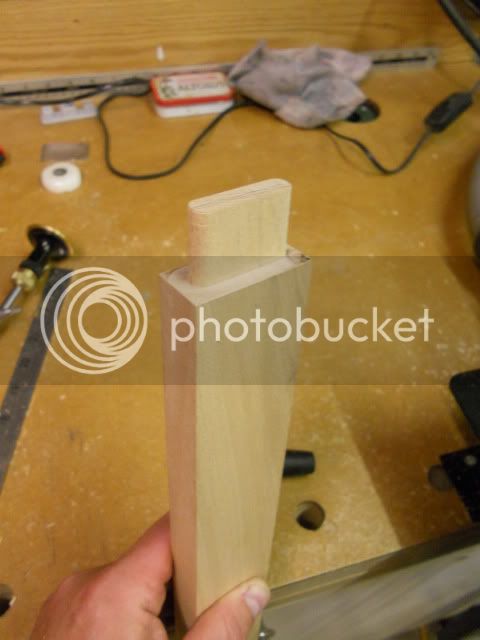
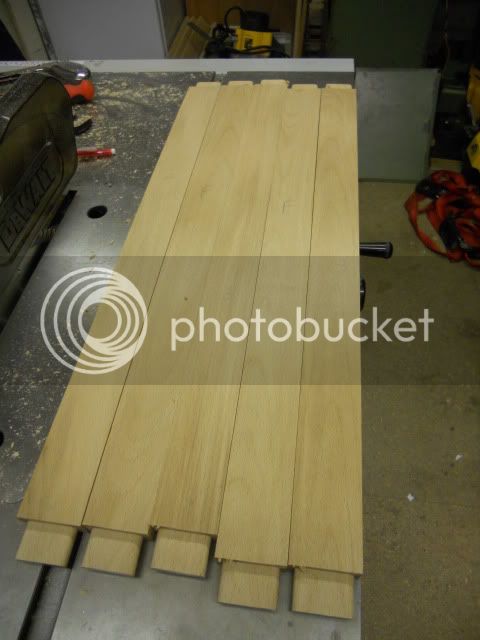
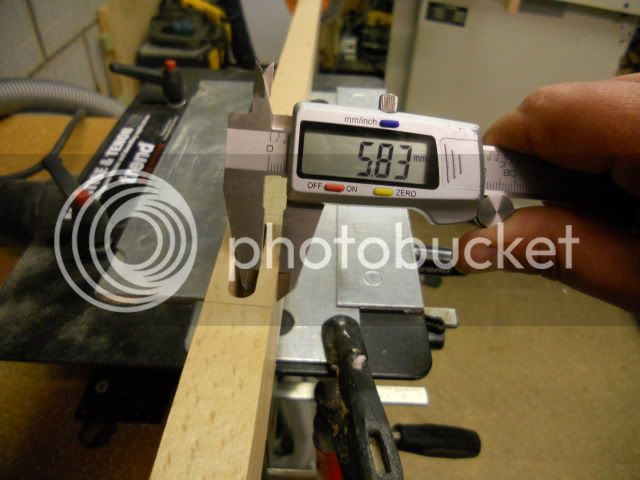
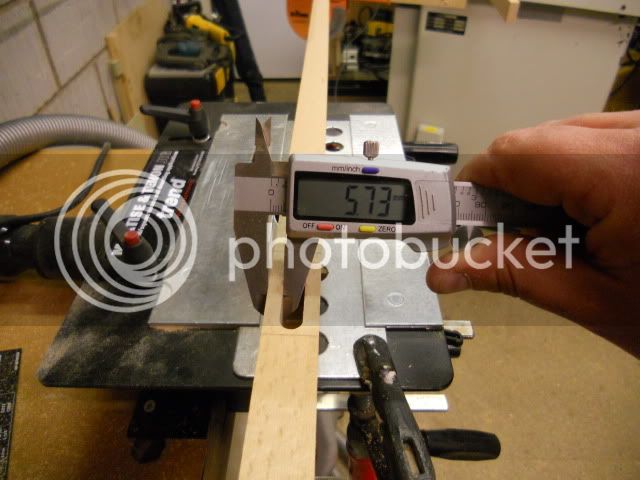
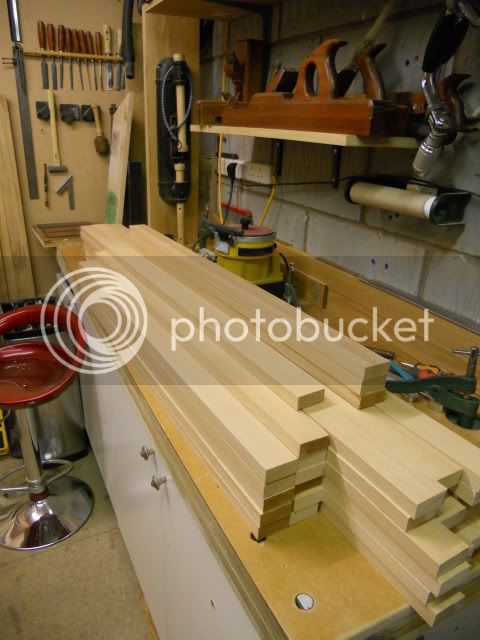
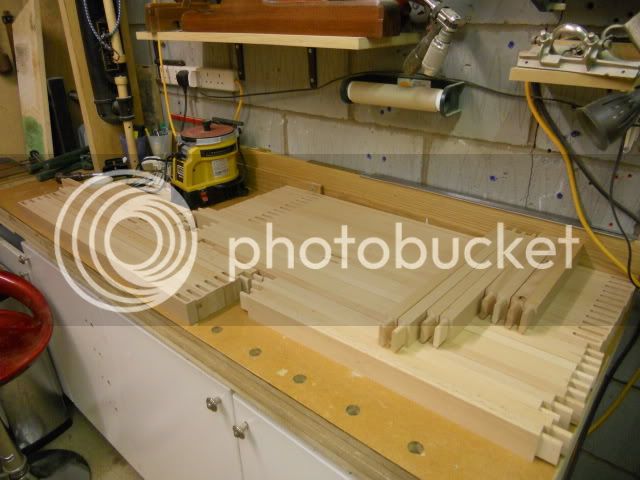
Took about 1hour to get it set up and work out how it works - resulting tenon
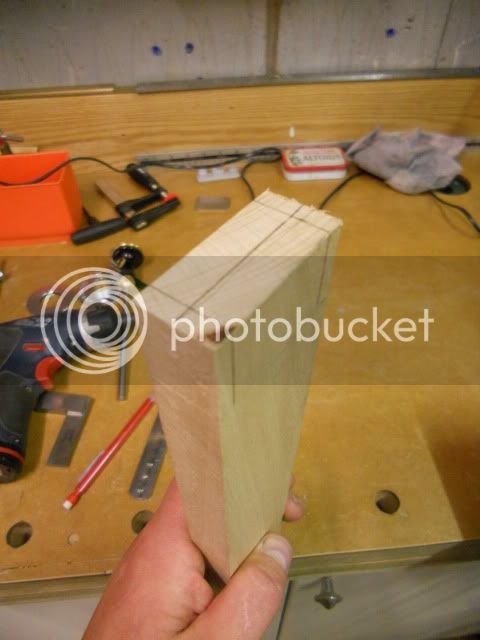
010-6.jpg


013-3.jpg


Quick work (about 10mins) to get the rest of the tenons cut.

015-5.jpg


What I really like about this jig is that, once it's set, you don't make any adjustments to it to make the mortices. You simply change guide bushes and router bits. Here you can see that the mortice is pretty well centred on the stock

016-1.jpg


017-3.jpg


This meant that it wasn't vital to reference off the same side for all the longer pieces - I only had 1.7m to the left of the jig, and the longest pieces were 2.2m.

Anyway, dry fit of the face frames for the units

019-1.jpg


That's it for today.

Cheers

Karl
 
Looking good. I think if I was building a complete kitchen from scratch I'd also build the cost of a Domino into the job, personally, but that Trend jig looks like it's doing the job nicely.

Cheers, Pete
 
Not much progress today - child minding commitments got in the way.

Got the sink unit made up, with the face frame put together ready for glueing up.

001-15.jpg


The rear panel has been split into two and is fixed to two beech batons which run on the top/bottom shelf.

002-8.jpg


There will be supporting pieces mounted underneath the sink shelf to the left and right. Obviously it will be supported at the front by the face frame, and at the rear it is all screwed together with the back panel. Hopefully that will give adequate support.

Cheers

Karl
 
There's been a few weeks hiatus to this job whilst a couple of design issues were ironed out, which couldn't be resolved until the steels had been put in by the builder. This opened up the space and the customer could see what layout they wanted, which was a good job as it changed quite a bit!

Anyway, no real pictures as it's more of the same as has gone before. All base cabinets now built and 2 coat primed, this week is building the 3 wall units and finishing the face frames.

More pics this week.

Cheers

Karl
 
Very nice work Karl

Makes me feel like I am still working in the dark ages, I must get and adgustable groove cutter, a trend M&T Jig, some digital calipers and I dont even want to know what or how much Domino is.
 
With all the cabinets built and primed, I got a good day in today - started by raiding the Beech stack

001-20.jpg


And prepping the stock for the remaining face frames

002-10.jpg


A few hours work on the Trend M&T jig gave me all the components cut and ready for assembly

006-12.jpg


Then started putting them together with 10min PVA - once they were clamped up square I fired a 15mm brad through the back of each joint. This saved on the need for clamps.

007-16.jpg


Tomorrow I will get the remaining frames put together, then sand and prime them. I'll also get a start on prepping the stock for the doors.

Thanks for looking.

Cheers

Karl
 
Schedule is fine thanks Bob. Should be finished this week.

Anyway, slight change of plan. I decided to get the cabinets painted and built before I make the doors - that way I can shoot them in as they've been built.

So I got to with a couple of days painting - two coats of primer had already been done, then the internals of the cabinets had 2 coats of Dulux diamond eggshell, whilst the outside (ie the non-seen surfaces) got 1 (there's a few more cabinets out of photo shot).

001-22.jpg


I also got the drawers made up for the 2 drawer banks

002-11.jpg


Face frames were fixed in place with PVA and brads. 2 pack filler for the pin holes and then ready to be painted.

Cheers

Karl
 
Sorry for not keeping the thread upto date - I lost the charger to my camera.

Made a start on fitting the units yesterday. Got the d/w, fr/frzr and sink plumbed in too.

006-13.jpg


007-17.jpg


008-14.jpg


009-8.jpg


010-9.jpg


The granite is being templated tomorrow morning.

Cheers

Karl
 
Thats a pretty big kitchen, I imagined it to be much smaller. Have you made all the doors etc? What goes on the back of the island bit that you can see the rear of in the one from last picture?
 
All components for the doors are done. I am gluing them up today and painting them up this weekend.

There is a T&G panel going on the back of the breakfast bar units as well as on the end of all exposed units.

Cheers

Karl
 
Back
Top