Getting there SLOWLY

UKworkshop.co.uk

Help Support UKworkshop.co.uk:

This site may earn a commission from merchant affiliate links, including eBay, Amazon, and others.

houtslager

Established Member
Joined
16 Nov 2002
Messages
1,344
Reaction score
106
Location
South of France / Chipping Norton
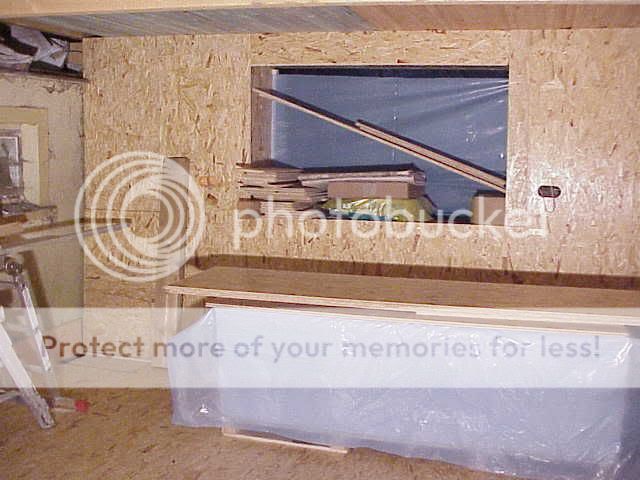
Well as some others are bounding along, with their workshops.I thought it was time now the sun is shining to play " catch up " :D

MVC-011S.jpg


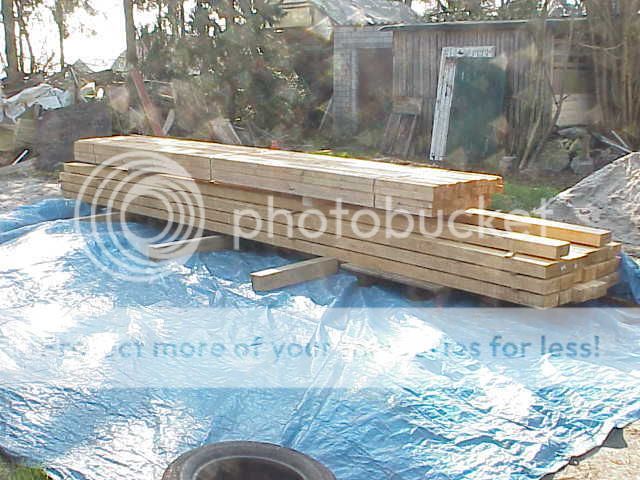
thats the second load of timber, this will be the roof rafters,each one weighs approx 80kg :? and I am trying to get them up 7 m onto the roof junction, let me tell you it ain't been easy.

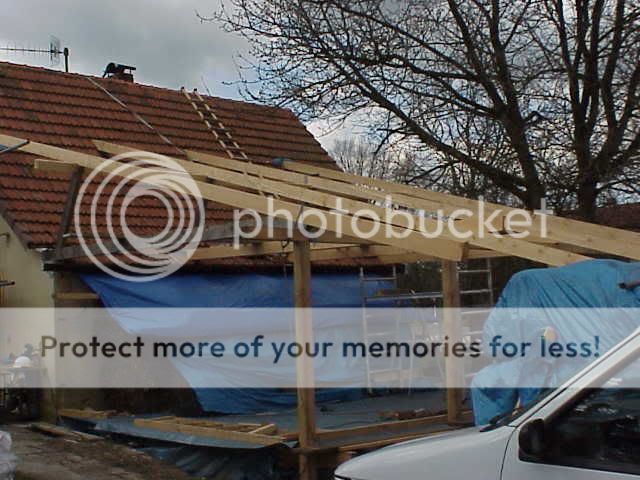
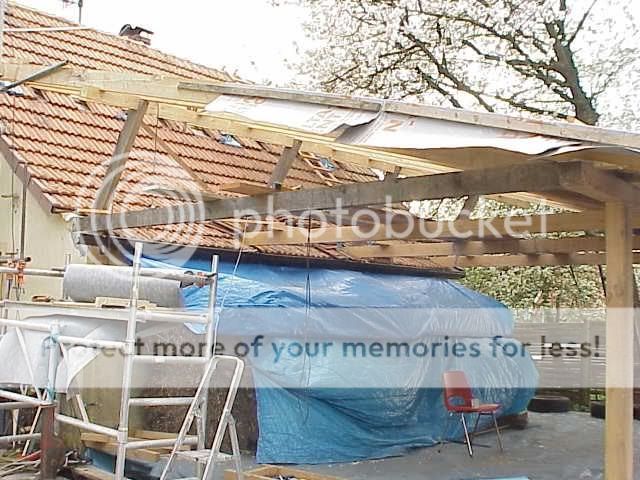
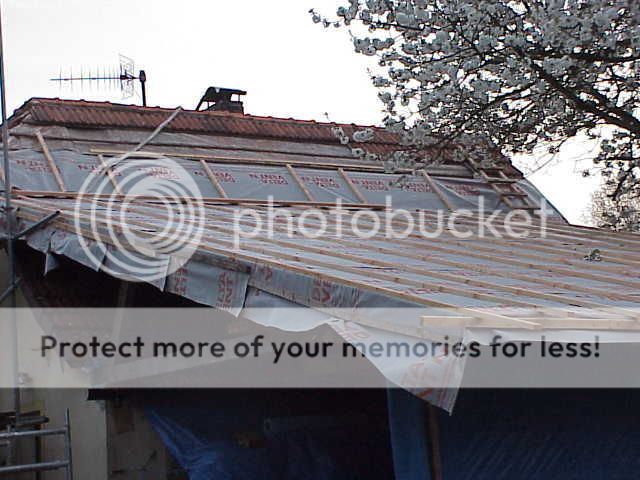
So, the main Timber Framebents are up and fixed.

MVC-012S.jpg


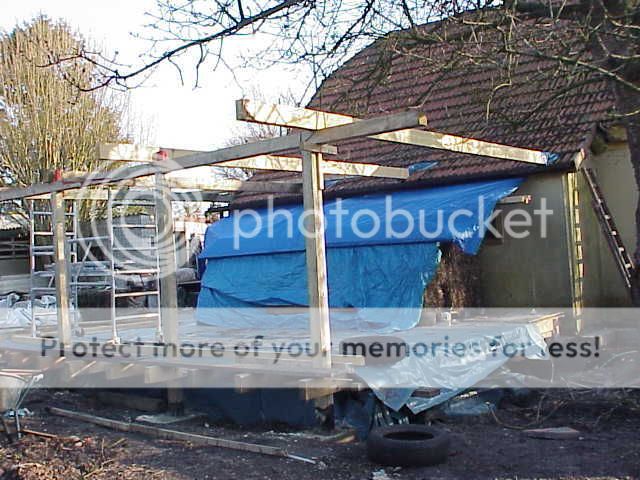
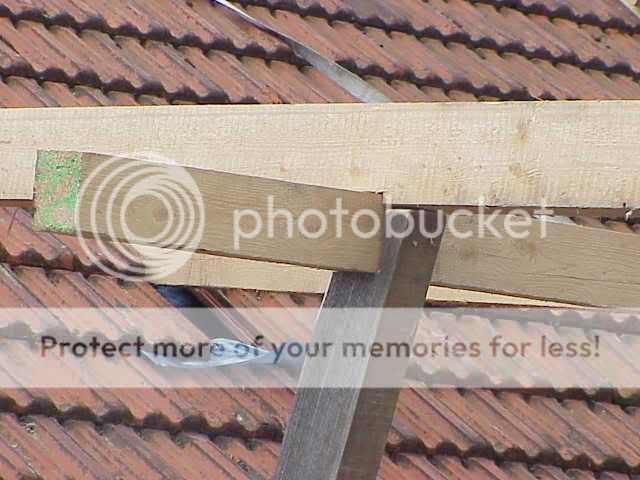
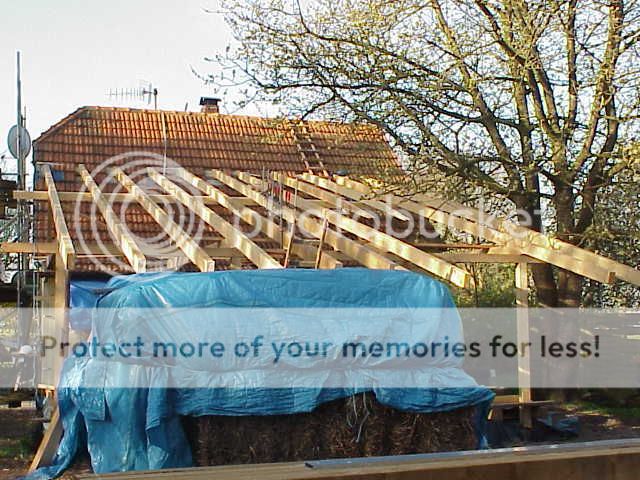
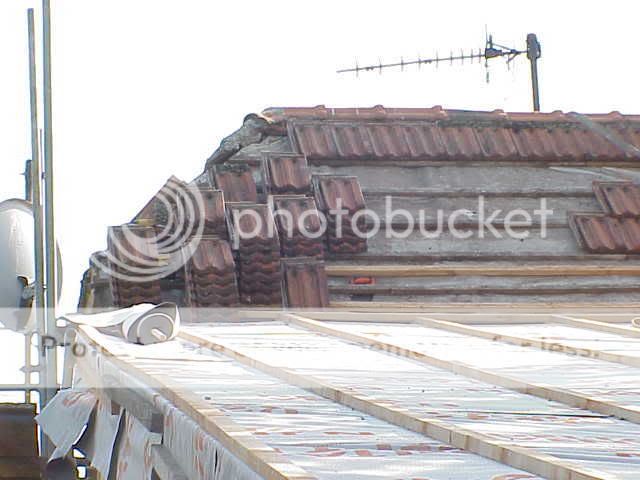
here is the first joint into the house, the beams are placed on the top of the exterior wall plate where the old roof rafters rest on.This has been beefed up with a couple bucket loads of concrete, and steel rods.

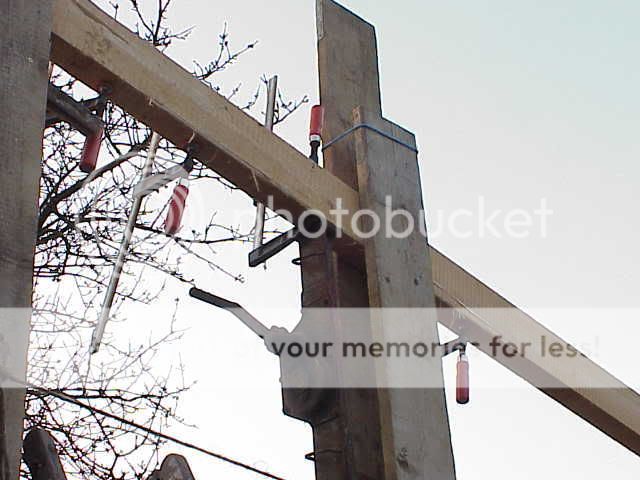
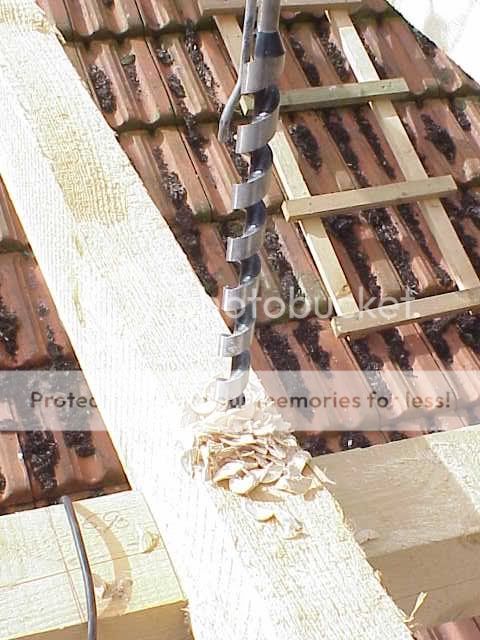
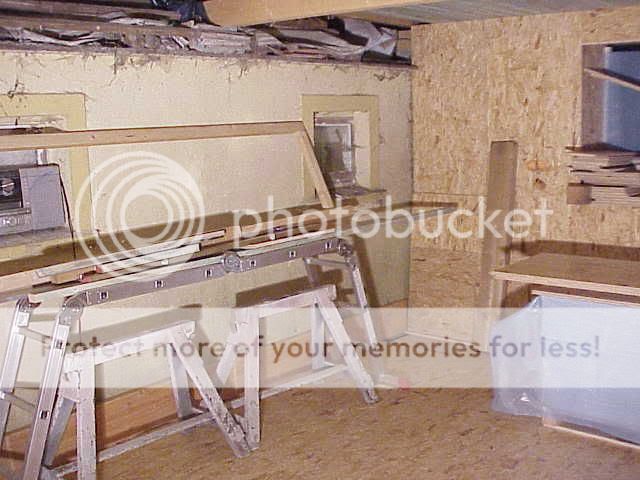
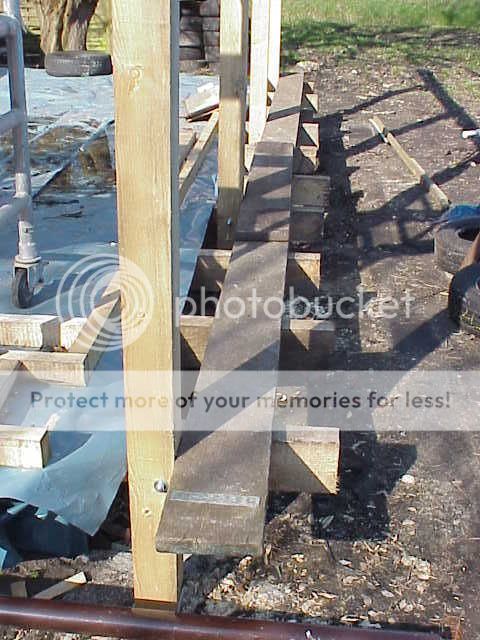
This is a pic of the joints where the "bents" are bolted to the floor joists which are concreted into the ground.

MVC-009S.jpg


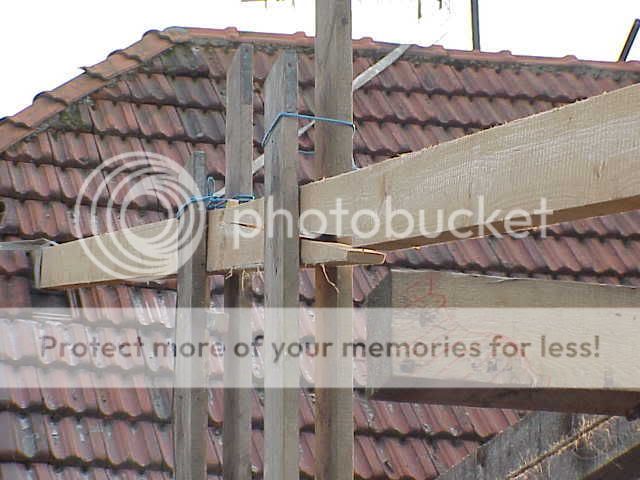
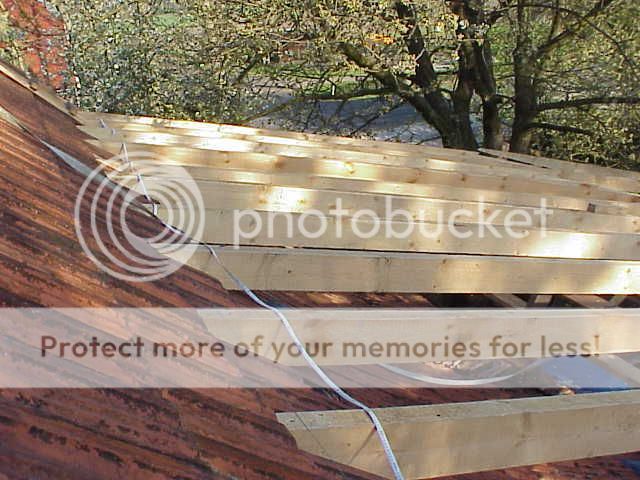
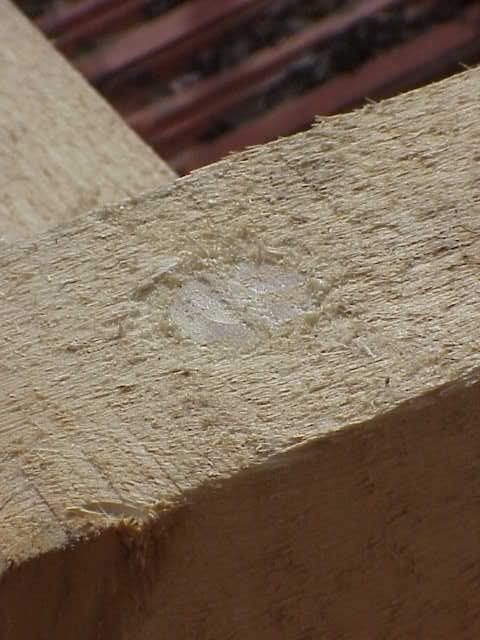
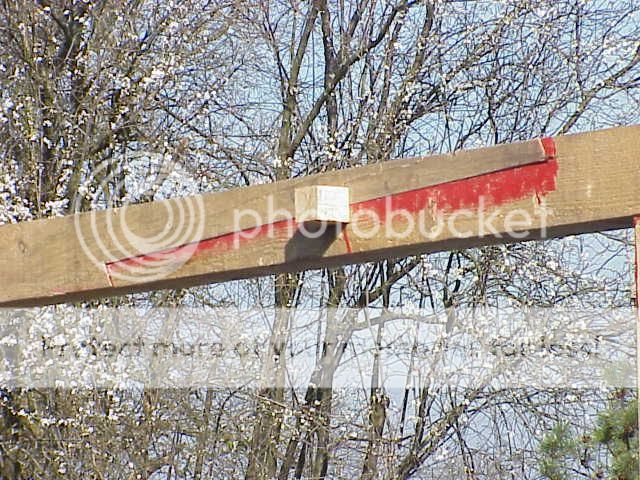
here is the scarf joint on the top of the timber bents.

MVC-008S.jpg


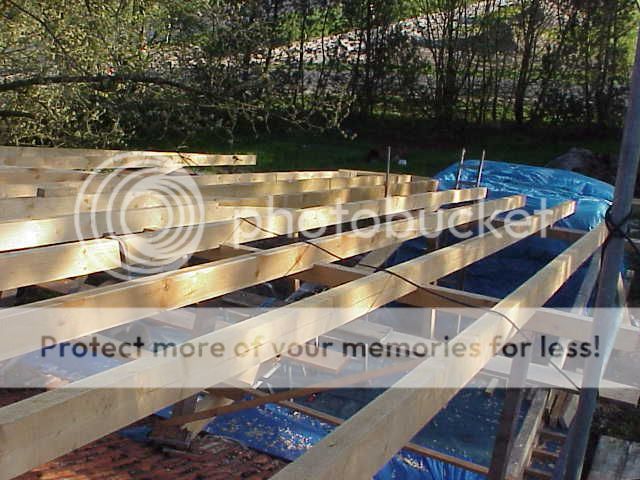
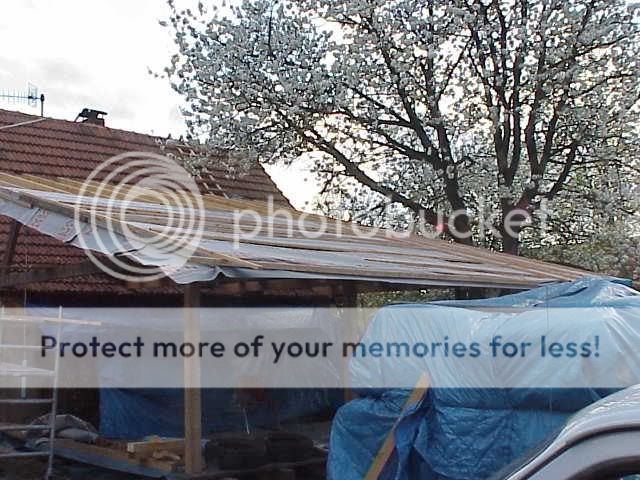
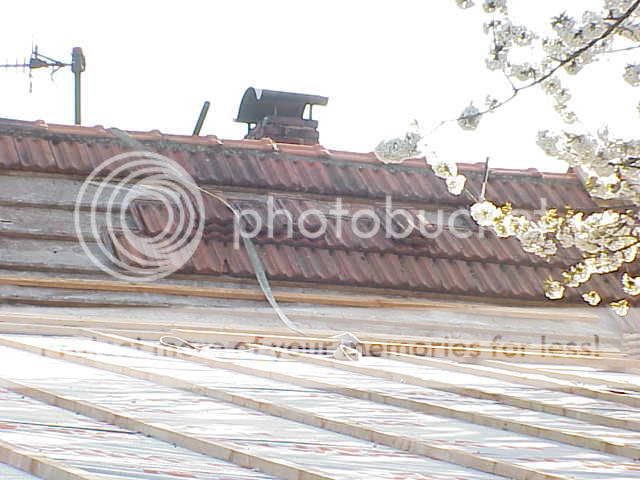
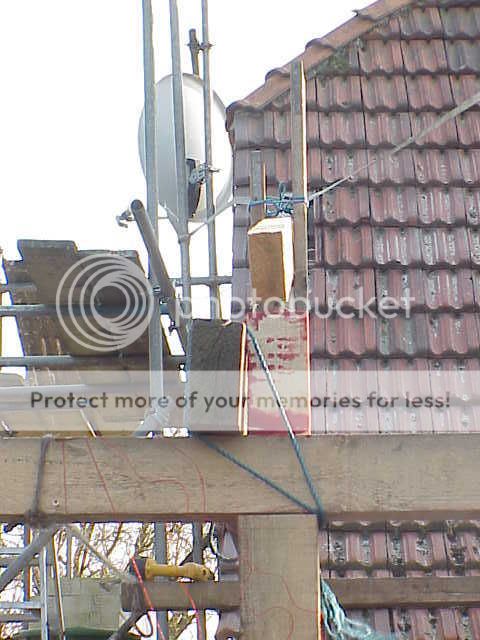
and here is a head on view towards the house, which I hope to have the second rafter mounted onto with a 1.6m scarf joint . :)

headonview.jpg


so, there you have folks, as you can see all big timbers, so anyone want to have a elu scms as its too small for my present workload :D

All the best from Oost Friesland, in the sunshine :) .
 
Good going! It's nice to see a different type of construction from what us 2x4 guy's have been doing, i'll be watching this one with interest!
 
Hmm, thats a much more serious level of construction!

Coming along nicely!

Adam
 
That there's a rootin' tootin' barn raising ya'll got going there, boy. Yessir. The aim is straw bale walls iirc? Interesting to see the progress.

Cheers, Alf
 
houtslager":f95mx30j said:
Got the second part up, scarfed in and glued up! some more pics for your pleasure 8)

Dumb questions I know, but can you explain more about the scarf? Why is it needed? Can longer timber not be purchased? You talk about glueup? Is their mechanical method as well for strength? e.g. bolts?

Adam
 
I'm too wondering about the scarf joint........... It looks well done but whats it function and surely there quicker and easier ways of doing it

Interesting build though I'll be great to follow the progess of this one :D
 
:shock: have you guys tried lifting a piece of timber 6 x 18 x 12M :shock:

as I am doing this on my own without any extra bodies, I have to make the main trusses in two, otherwise I'll be in hospital with a triple hernia ! :?

The secondary cross bent arrived today, its only 12 x 12 x 9M, and I have too get that mounted asap before the remaining trusses get made, this is to ensure alignment and the roof is all " richt und fast " :)

just back from 3 hours of German bureaucracy :?
 
Looking good Houtslager.

Was over Oost Friesland a couple of years back - loved it!
 
well I am a stage further, so here are a few more pics.The weather has been kind to me and allowed me to get the four main rafters and the main purlin.

rafters.jpg


Here you can see the purlin, it is 12 x 12 x 8.5m and was difficult to get up and into place, glad its done :D

12x12x85m.jpg


Here is the joint from collar tie beam, strut and main rafter.

tiebeam.jpg


Am now taking a break for Easter in Amsterdam, so any1 up for a beer or two :p
 
houtslager":23zk1bo5 said:
:shock: have you guys tried lifting a piece of timber 6 x 18 x 12M :shock:

Nope but done 10" x 3" x 7m joists on my own. Not a huge amount of fun :D
 
with this good weather I am trying to get the rafters all up and installed so I can start the on the painful work of fitting the membrane and tile battens.

Here is where I finished yesterday, as its the weekend I decided to grab a pass and go into a'dam for a beer :)

nearlydone.jpg


A snap from the scaffolding.

viewfromabove.jpg


and finally for this post,

viewfromabove2.jpg


The notched joint of the rafters and purlin are pinned using "broom handles" no really , it was quicker then digging out a lathe and turning some extra large dowelling :lol: will take a close up on Monday for those interested.

Hope to get the final rafters up on Monday, and to have made a start on the membrane/battening.
 
:) well another day at the roof , got the last rafters lifted and put into place.
Spent ages on the rafters drilling for the over sized dowels :)
and I even got started on the roof membrane.

104.jpg


wedged dowel
105.jpg


the roof membrane going on
102-2.jpg


finally for tonight
106.jpg
 
Now that the last few days have been warm,sunny and more important still - no wind :D
I have been putting more of the membrane onto the rafters, and taking the original roof tiles off. In preparation for the new tiles.

And, I have placed the first STRAW BALE in the wall :D woo hoo !! 8)

here are today's pics.
109.jpg


and the roof
110.jpg


107.jpg


the hard part done and now its up to the ridge and over :shock: :)

110-1.jpg
 
Great progress. Keep posting the piccies, its very interesting.

Adam
 
Now, the bale walls are in,stapled and ready for lining. :D

I'm using 18mm OSB tongue and grooved for ease and speed.

Starting in the far corner from the door way, one can see the original outside wall of the house, where the window is, I'll be knocking a big hole in the wall there to make the new interenal doorway.

newworkshop-liningout6.jpg


here, is the window clockwise from doorway.

newworkshop-liningout7.jpg


This is the new side wall of the house, with a window looking out onto the main garden area. In front of this window, is the next pallet load of plaster board, for inside the house. I'll leave it as plain OSB for the time being :oops:

newworkshop-liningout8.jpg


Going to the back wall of the house, here I will be fitting the piece above the window , when I can a couple more sheets of OSB. :p

newworkshop-liningout9.jpg


newworkshop-liningout11.jpg


This is the back doorway, :oops: still to finish, getting tired, do that in the morning, :)

newworkshop-liningout12.jpg


newworkshop-liningout14.jpg


Well there you have it, just to install the cieling, finish the electrics and buy some weindows / glass , make and fit the back door.

Oh ! and then start bringing the machinery and tools together inthere.

HS cream crackered in East Friesland.
 
Back
Top