


Finishing is by far the most challenging aspect of turning, so much can, and indeed often does go wrong at this critical stage, and correcting such comes with its own attendant risks and problems, so achieving a high quality finish without having to make minor repairs or corrections is a prize to be enjoyed, because it is also a rare thing! (at least it is to me so far anyway!)
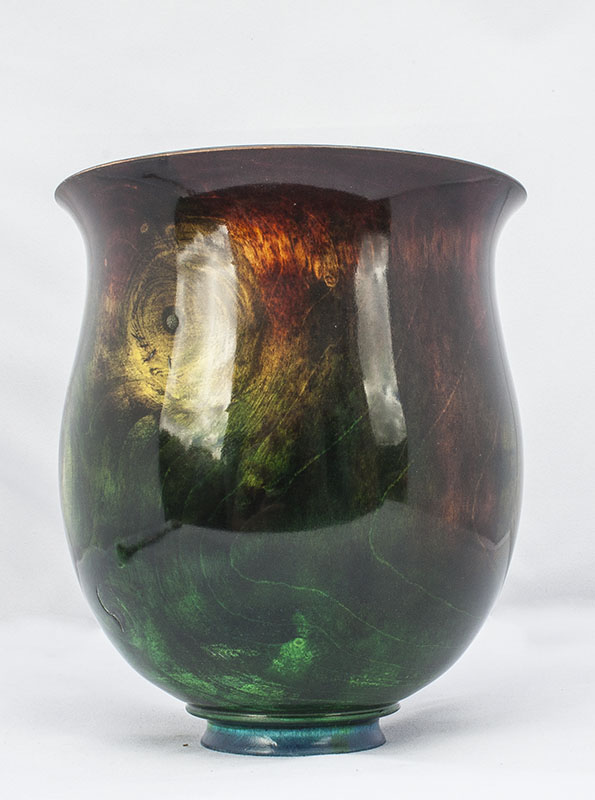
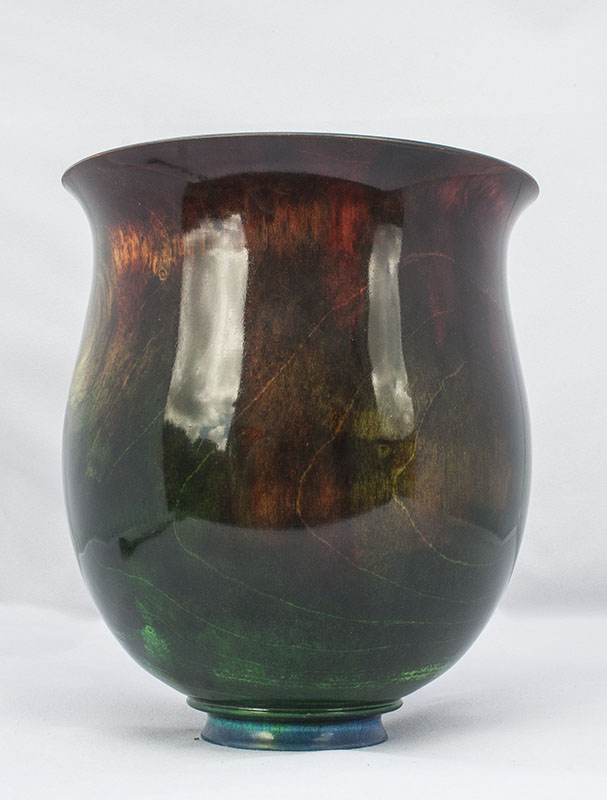
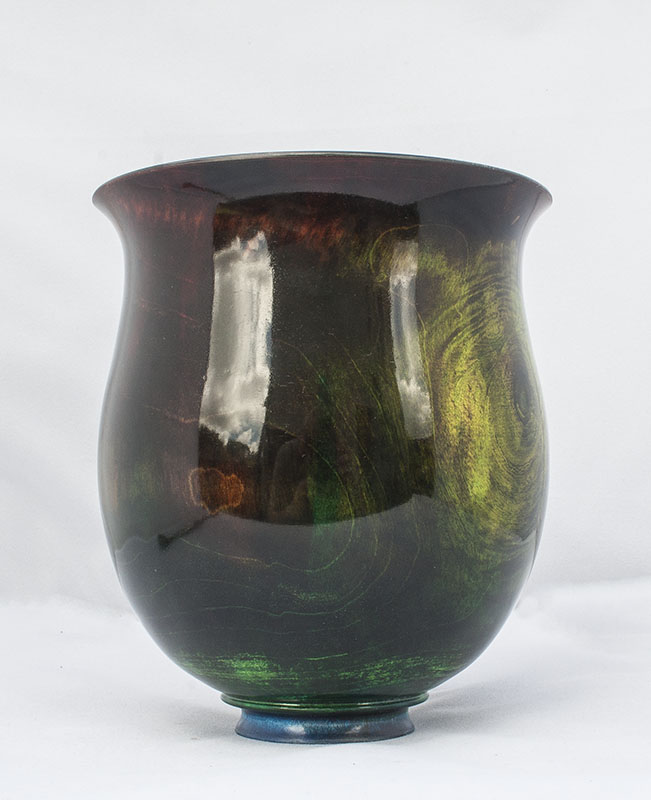
So it was with some trepidation and an element of disbelief that I looked at this finished vase, was it truly done without a hitch? No. But! The outside was! (The interior was a little more troublesome and did require some patching after reverse chucking the vase left some serious marks in the applied finish)
Nevertheless, the crucial part of the item from the standpoint of most visual aspect, the exterior, did indeed go as planned, with a lot of care and much careful hand sanding to denib etc prior to the final buffing and polishing went without anything causing me to bemoan my actions.
The end result is a very high quality gloss finish, glass like even, I finally got the "wet look" I was after.
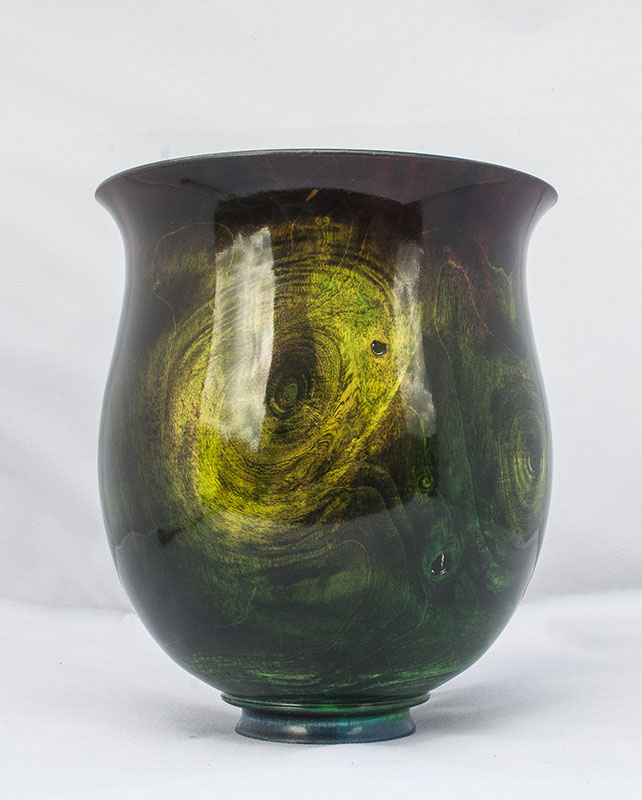
The Vase is in Sycamore, taken from a small log with three side branches, these provide the "eyes".
To me the impression the colours and overall look of the thing remind me of walking through a deep woodland.

A look inside
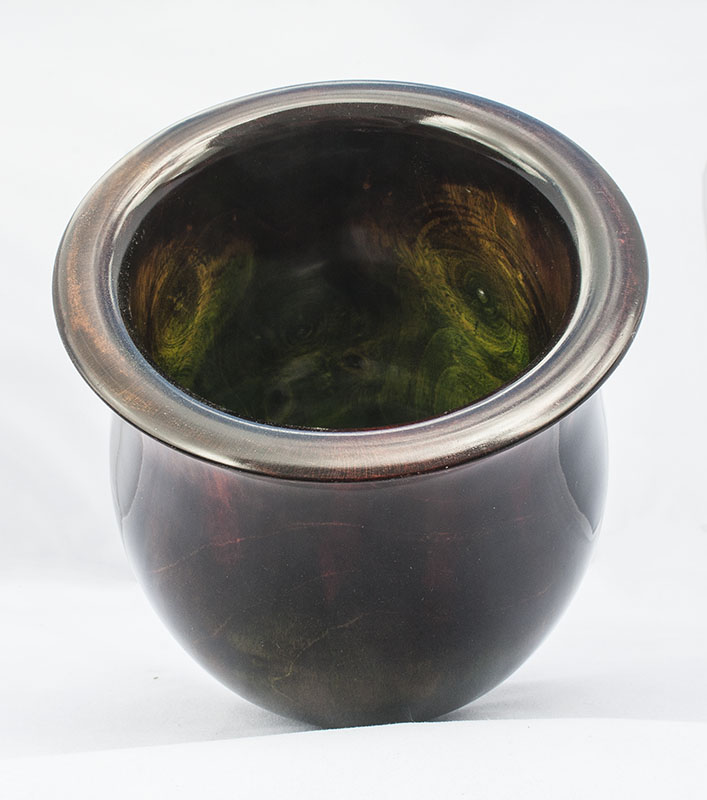
So it was with some trepidation and an element of disbelief that I looked at this finished vase, was it truly done without a hitch? No. But! The outside was! (The interior was a little more troublesome and did require some patching after reverse chucking the vase left some serious marks in the applied finish)
Nevertheless, the crucial part of the item from the standpoint of most visual aspect, the exterior, did indeed go as planned, with a lot of care and much careful hand sanding to denib etc prior to the final buffing and polishing went without anything causing me to bemoan my actions.
The end result is a very high quality gloss finish, glass like even, I finally got the "wet look" I was after.
The Vase is in Sycamore, taken from a small log with three side branches, these provide the "eyes".
To me the impression the colours and overall look of the thing remind me of walking through a deep woodland.
A look inside
")