Garage Doors

UKworkshop.co.uk

Help Support UKworkshop.co.uk:

This site may earn a commission from merchant affiliate links, including eBay, Amazon, and others.

Tusses

Established Member
Joined
21 May 2008
Messages
1,014
Reaction score
1
Location
coventry
So , my mate asked me to make some garage doors for him, as his were going rotten.

He just wanted pine and similar to what he already had. No talking to him about oak would make him change his mind .

So - anyone no where to get decent pine/redwood in the Coventry area ?????

I know where to get hardwoods !

so off I went to my local timber yard, to get some sawn timber.

I picked the best bits I could get at - they weren't happy mind :)

I took an inverter and my jigsaw along with my cutting list, and cut everything roughly to length so I could fit it in my van.

Sticked it up in the workshop for a couple of weeks to stabilize.

Now it was ready to start.

1st off, cross cutting on my TS with a sled. My mitre saw wont cut 7x2's, but I prefer the TS regardless !
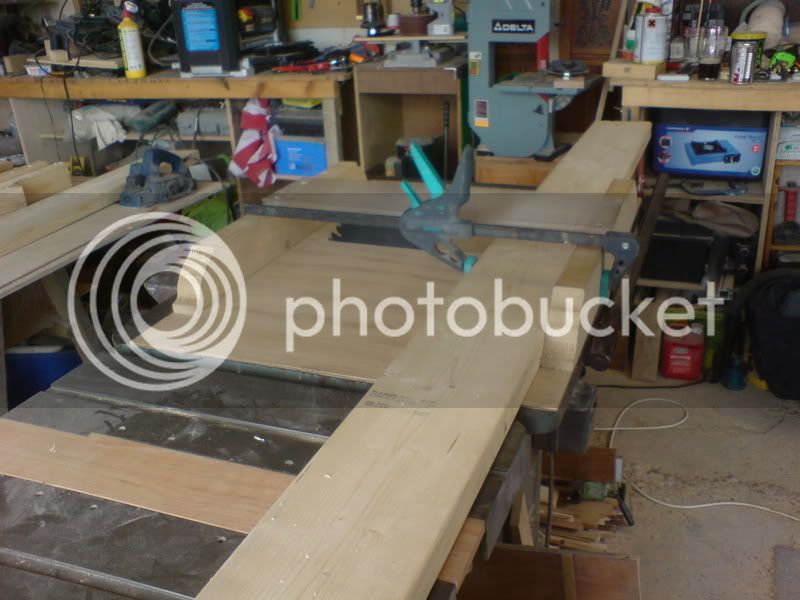
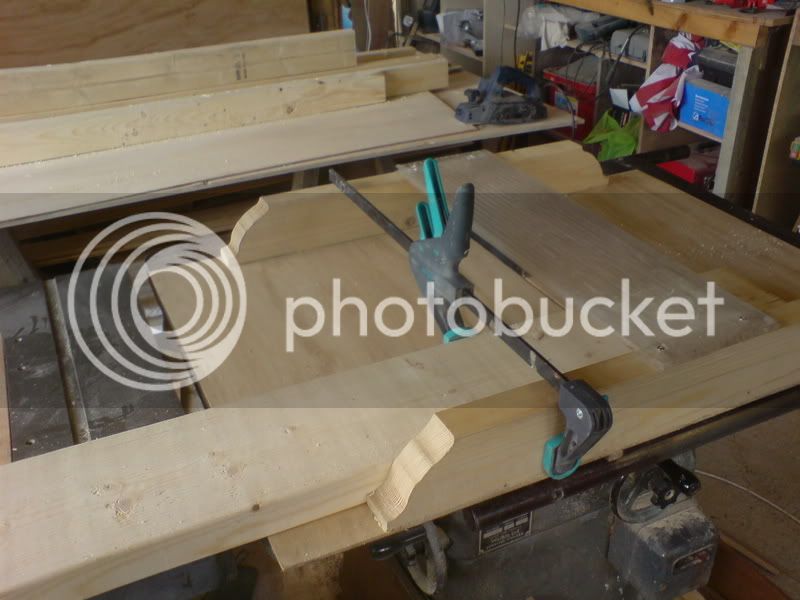
DSC01988.jpg

DSC01989.jpg

DSC01990.jpg


nice and square
DSC01991.jpg


everything cut to length
DSC01993.jpg


now for a while on the thicknesser
DSC01994.jpg


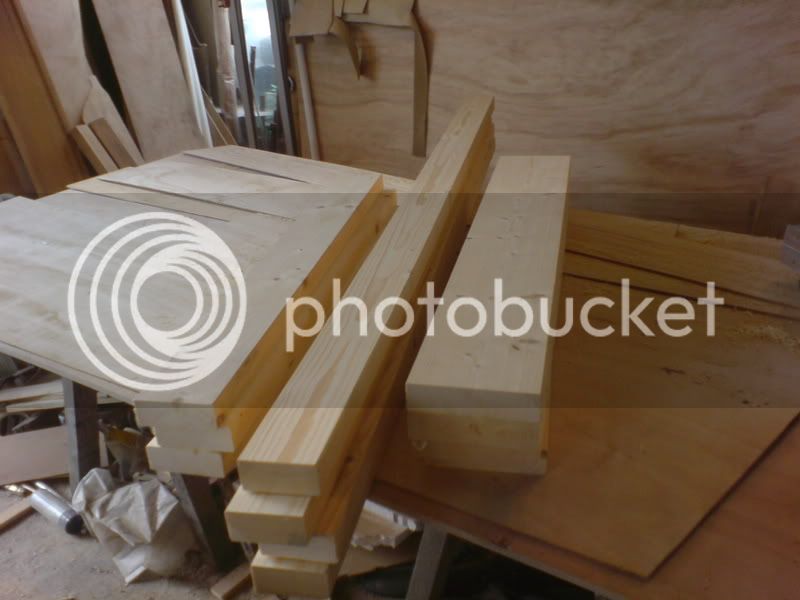
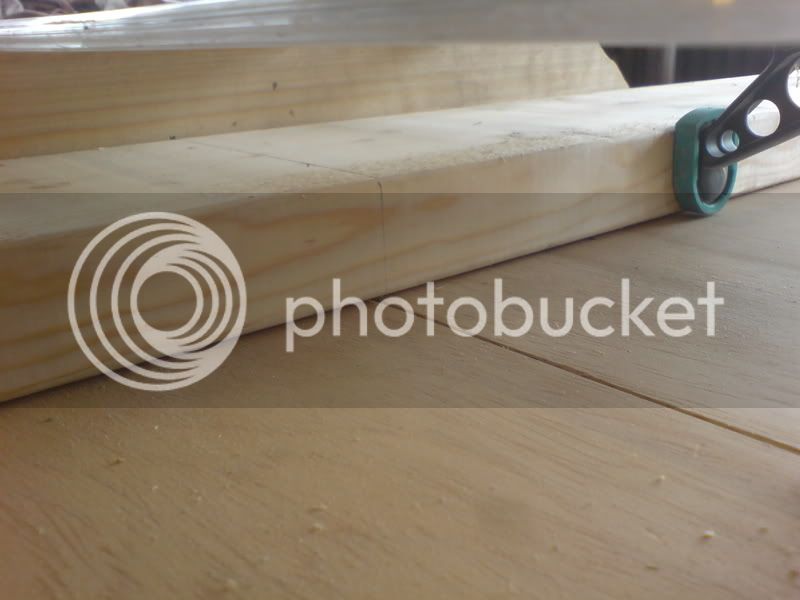
and trued up the sides by ripping on the TS
DSC01995.jpg


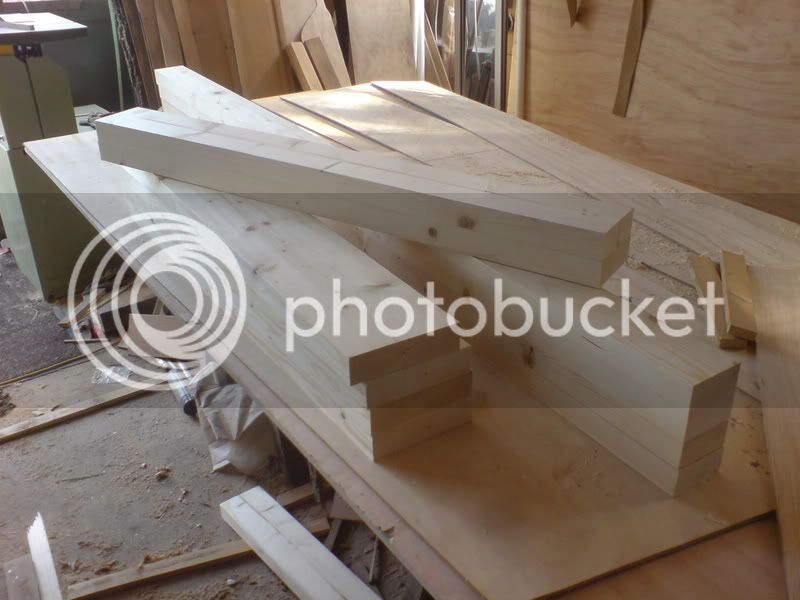
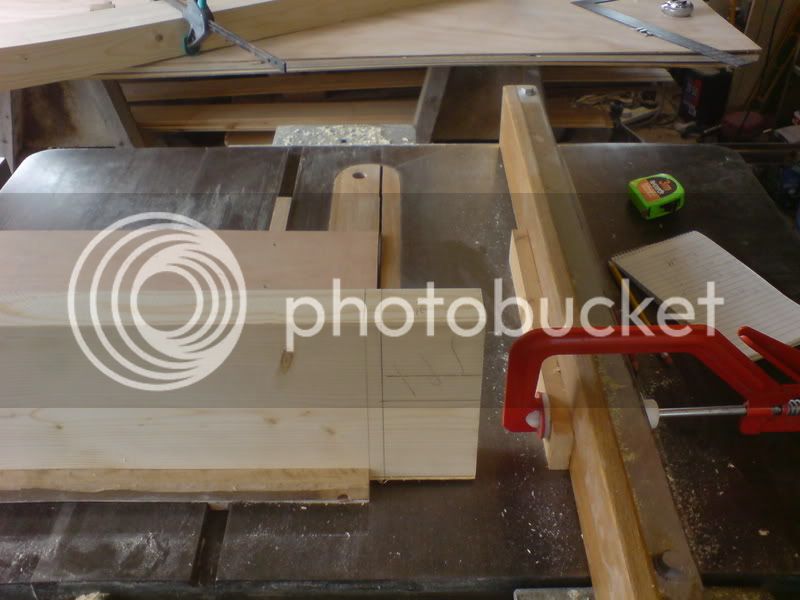
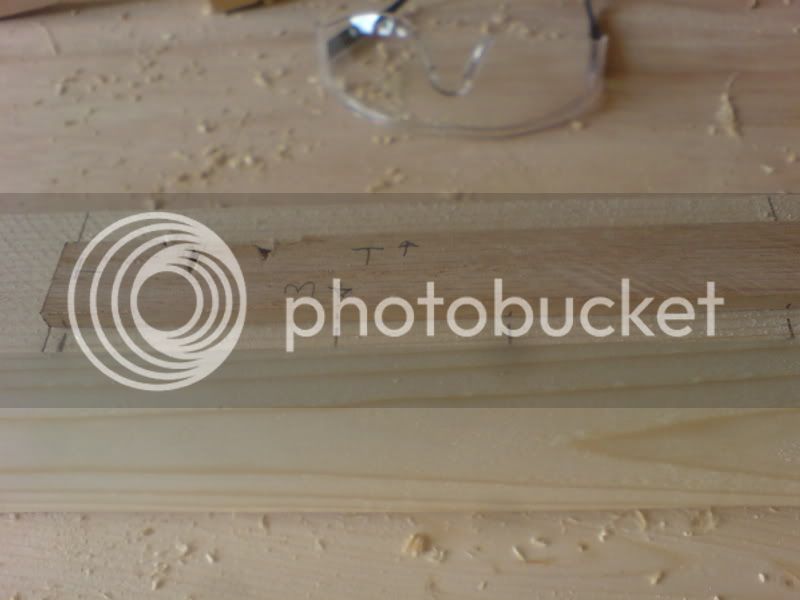
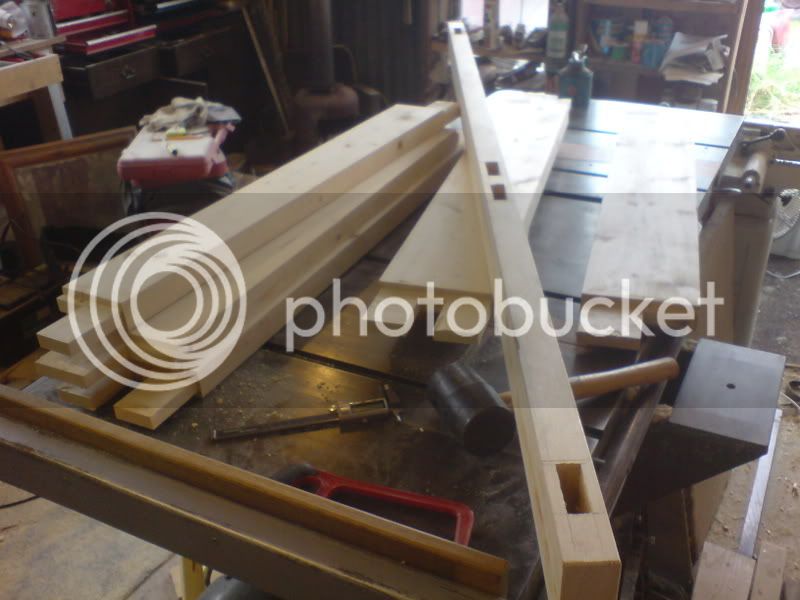
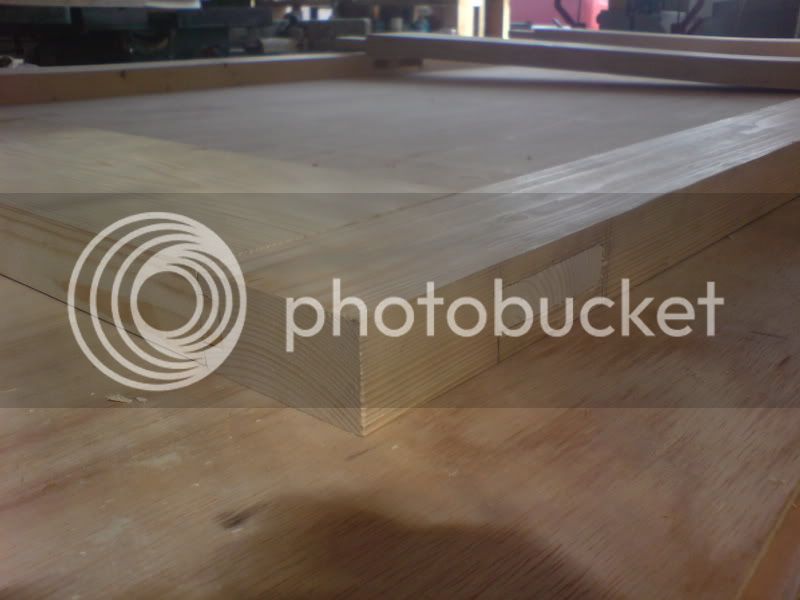
all the rails and all the styles clamped together - I started marking out the M&T's
DSC01997.jpg


1st cuts of the tenons done on the band saw
DSC01998.jpg


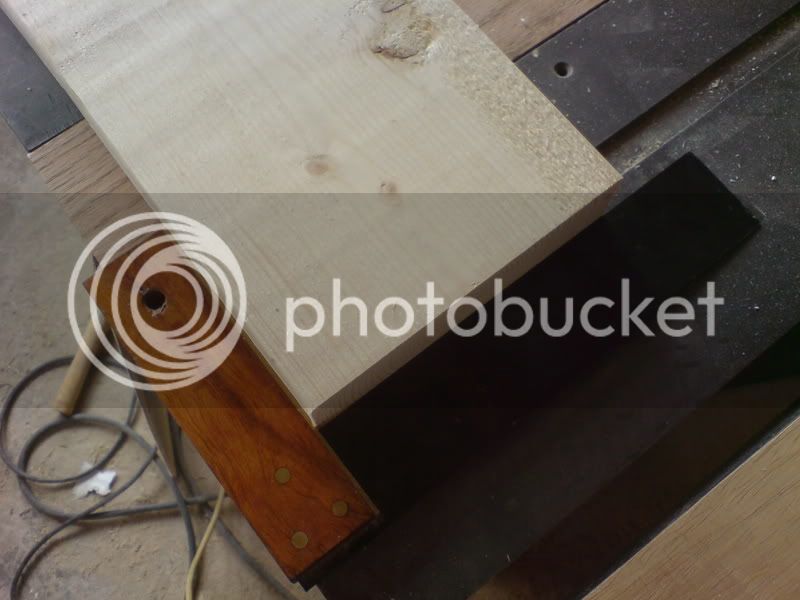
Shoulders cut on the TS
DSC01999.jpg


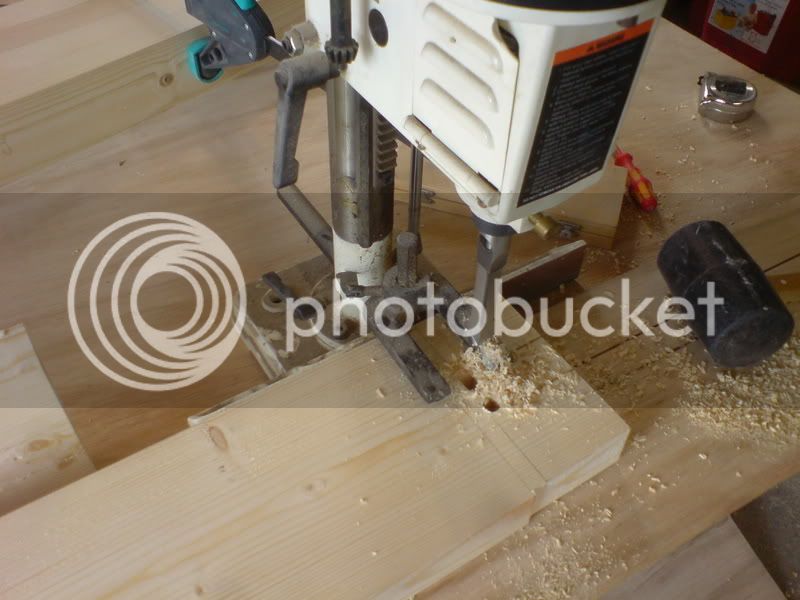
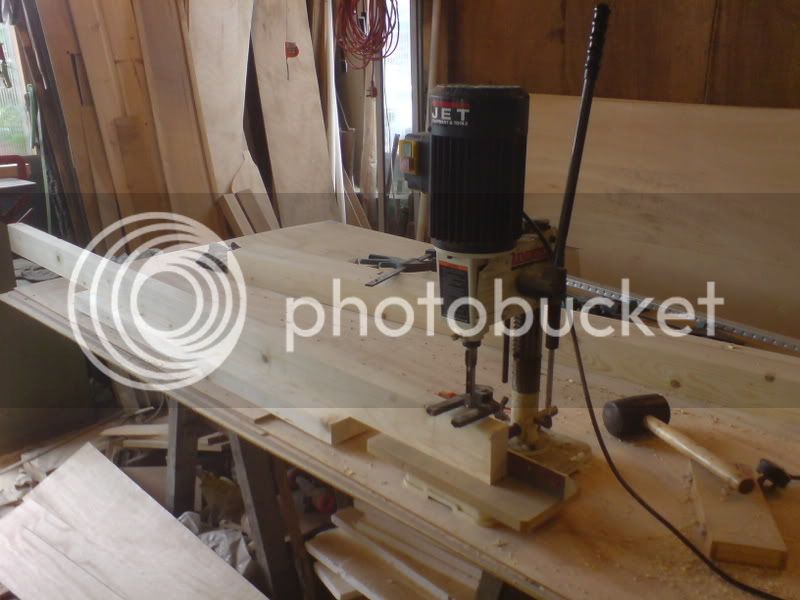
I cut the center out of the mid rail double tenons with the morticer
DSC02000.jpg

DSC02001.jpg


nearly done -
DSC02002.jpg


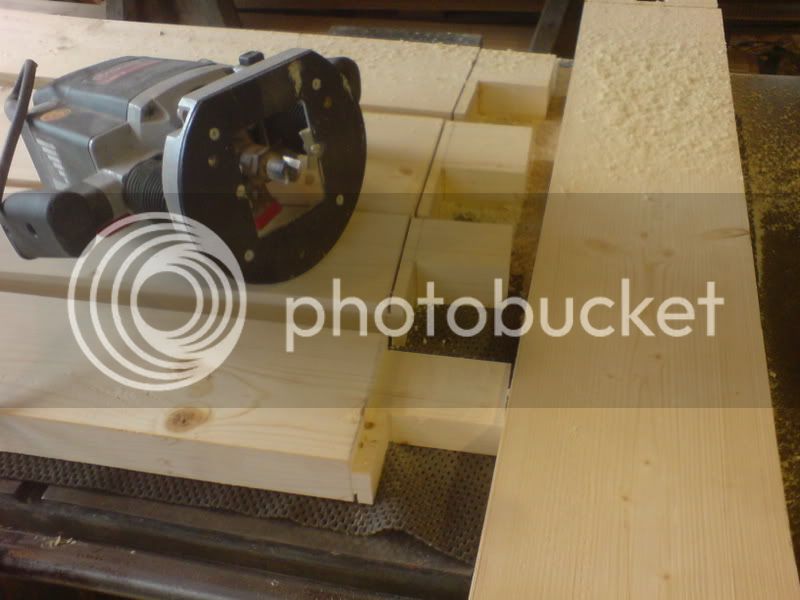
cheeks next, with the router
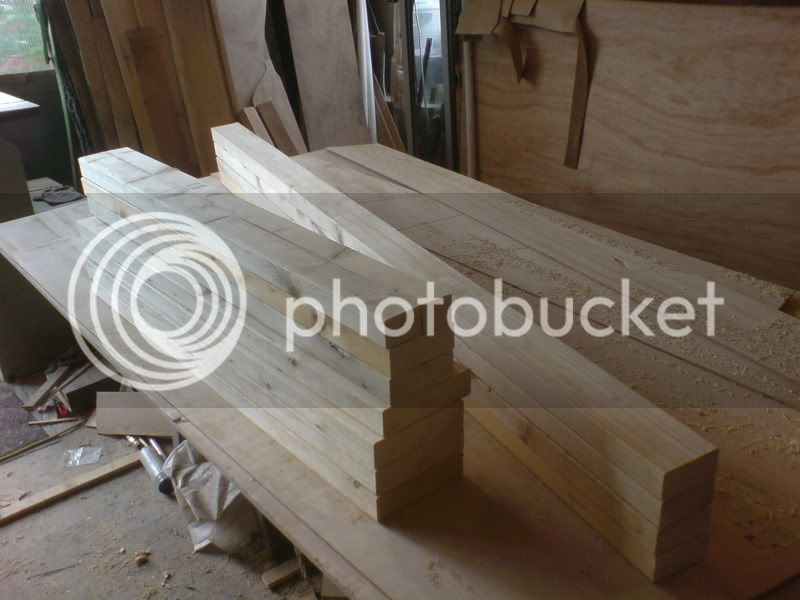
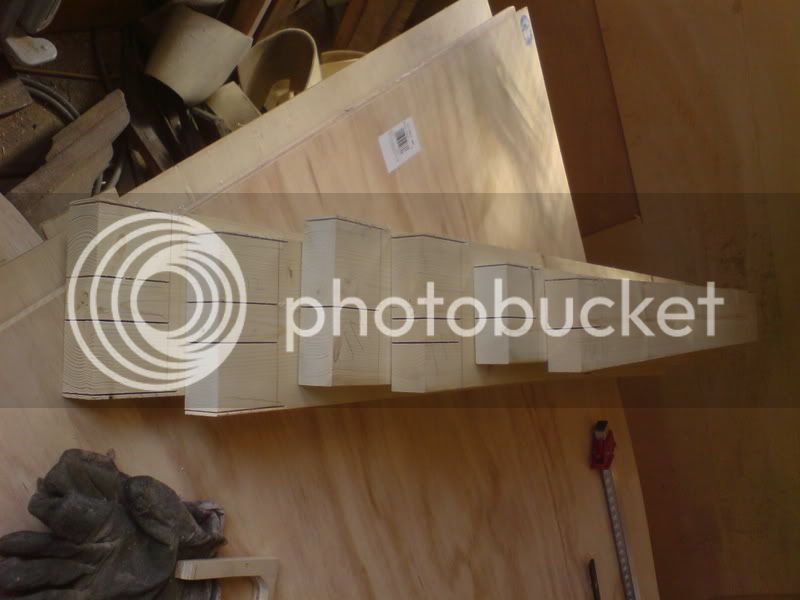
DSC02007.jpg

DSC02008.jpg

DSC02009.jpg


all the tenons done
DSC02012.jpg


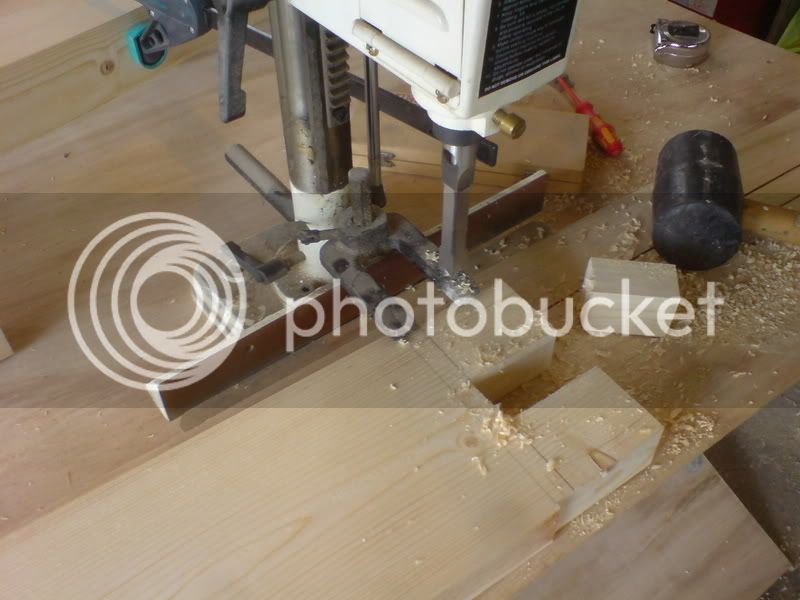
MISTAKE !!! I nearly cut one of the haunches off - wrong line
:roll:
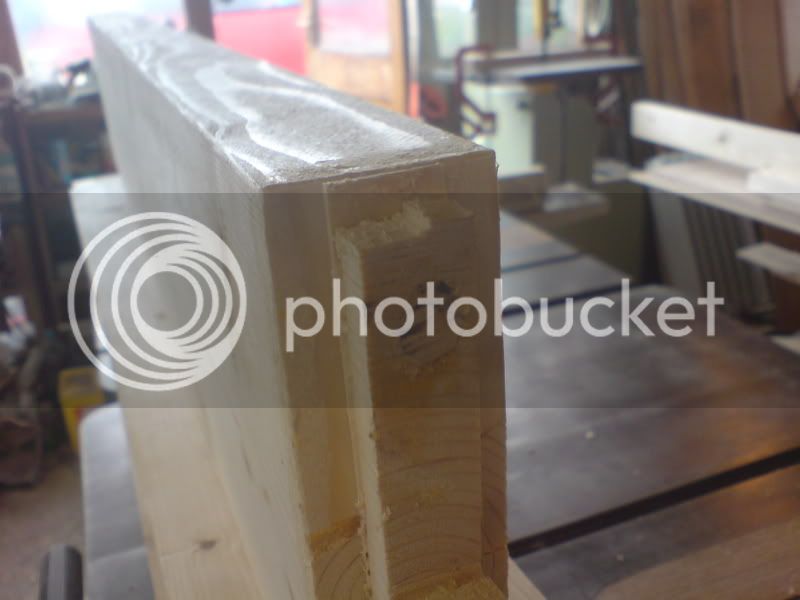
so I repaired it with a slice to fill the kerf cut and a dowel to strengthen the haunch. theory was , its there to stop the rail twisting later on, so it should do the job
DSC02022.jpg

DSC02024.jpg


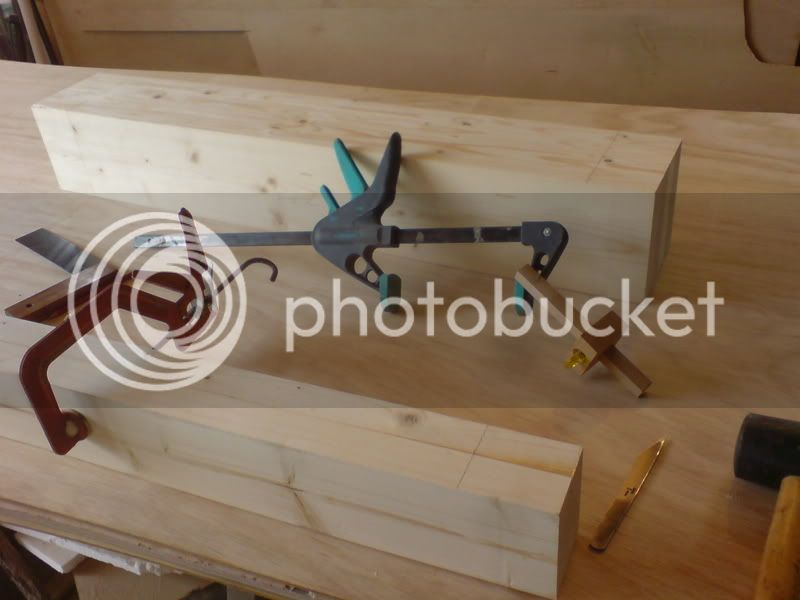
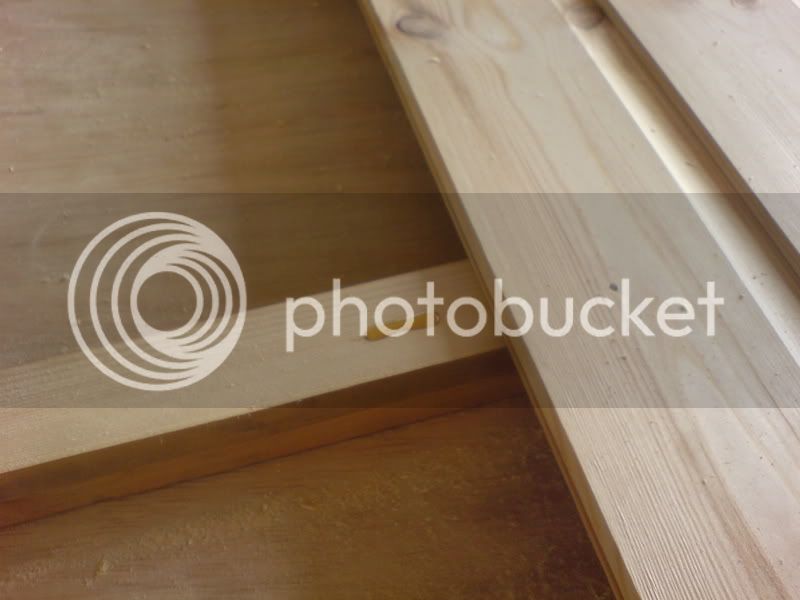
with a mortise gauge and a rod, I transfered the dimensions over to the styles.
DSC02026.jpg


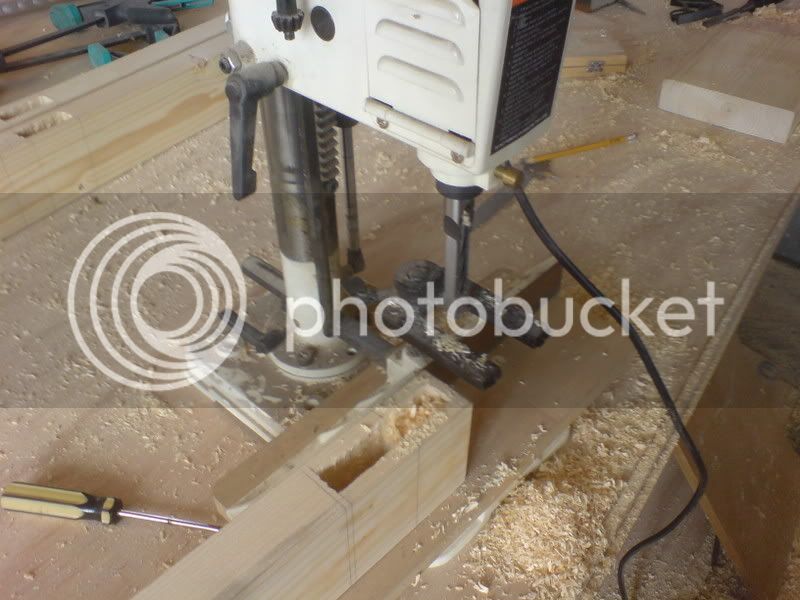
and cut the mortises
DSC02023.jpg

DSC02028.jpg

DSC02029.jpg


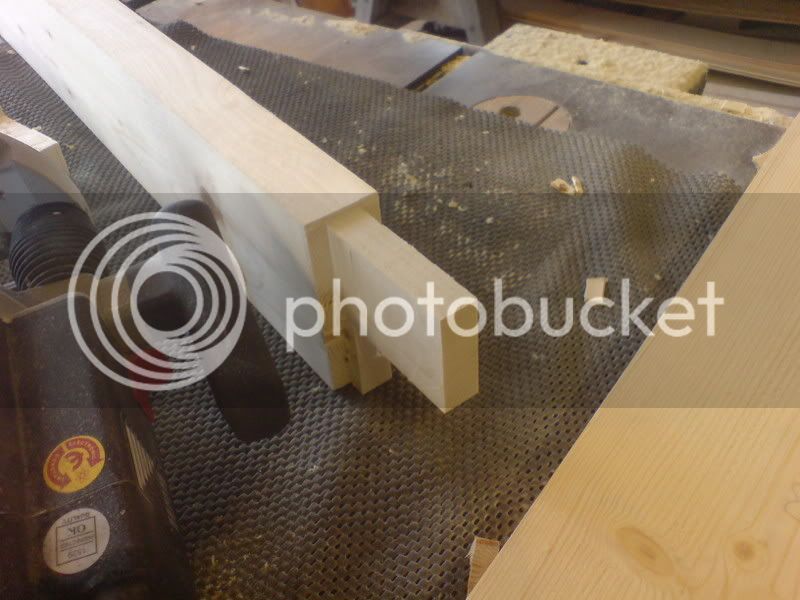
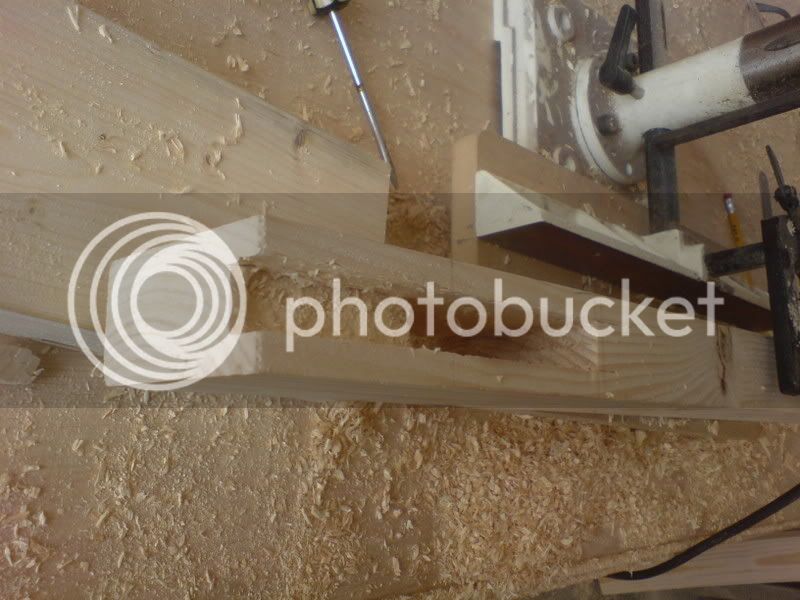
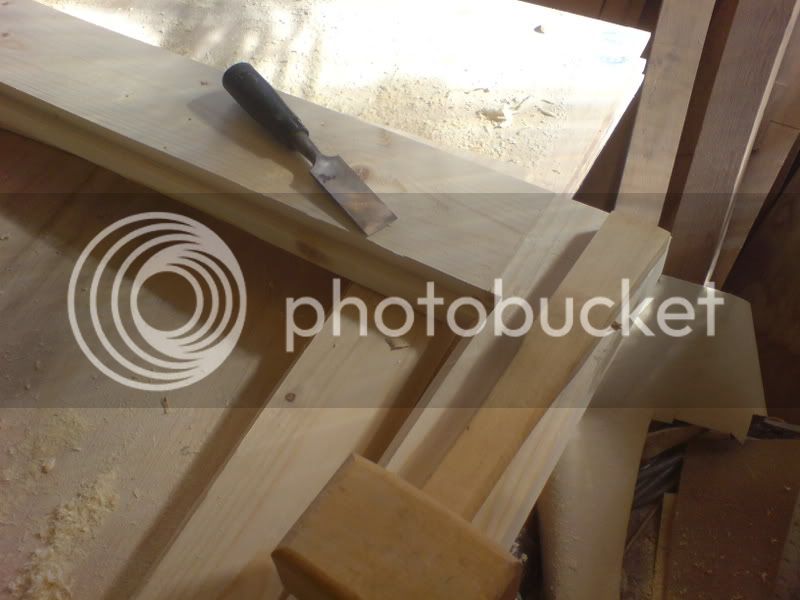
I cut the last bit out of the end with a chisel to keep it neat
DSC02030.jpg


DSC02025.jpg

DSC02027.jpg


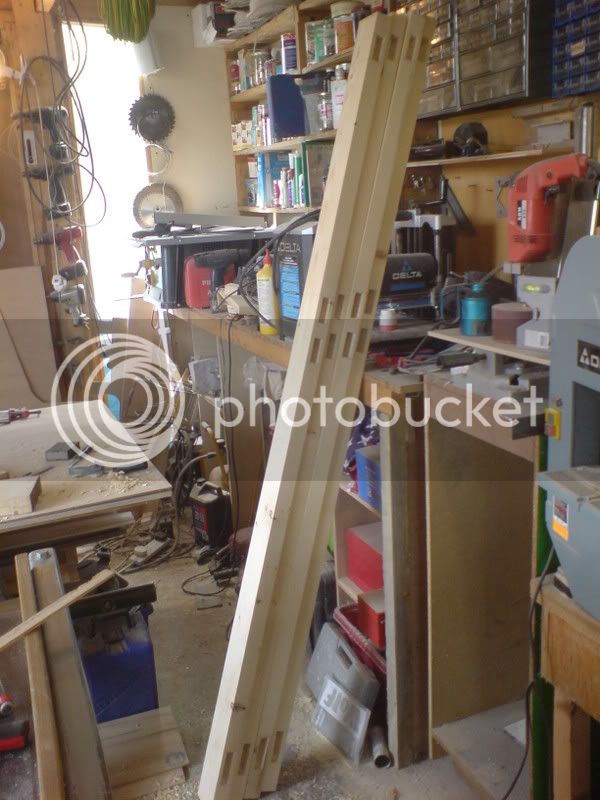
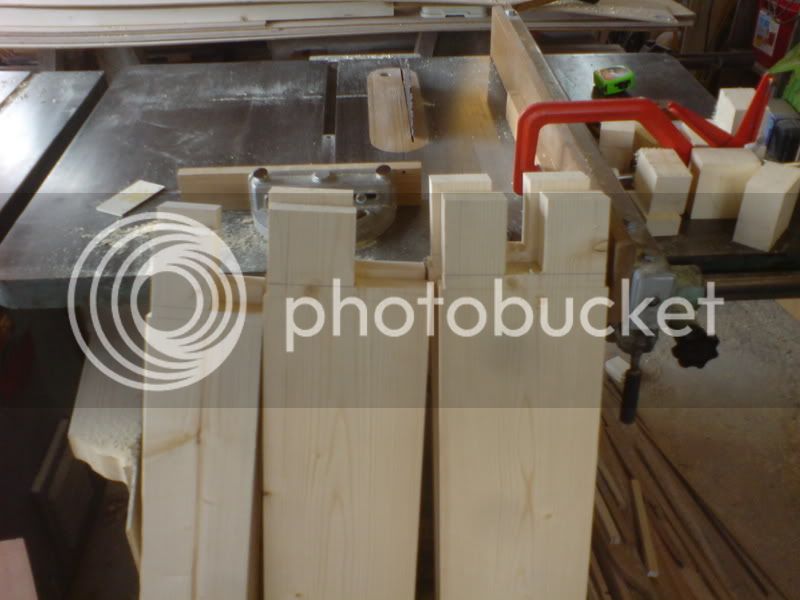
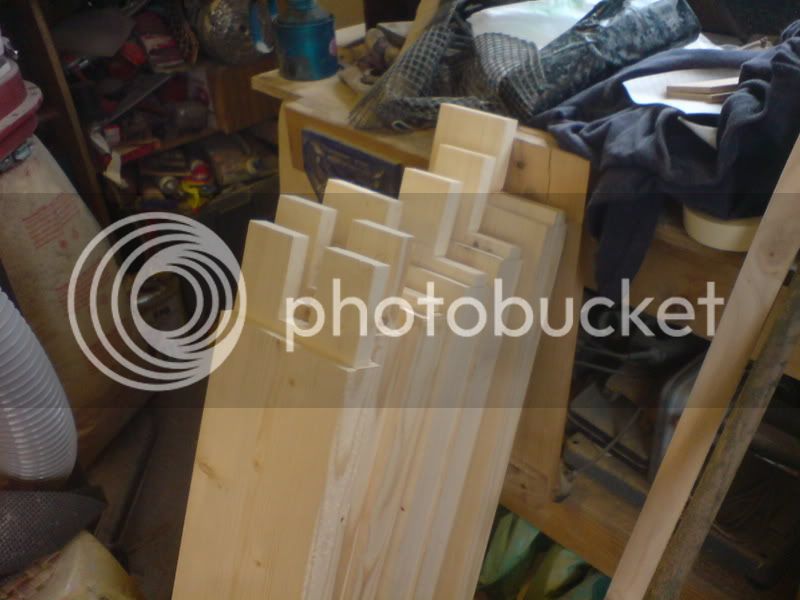
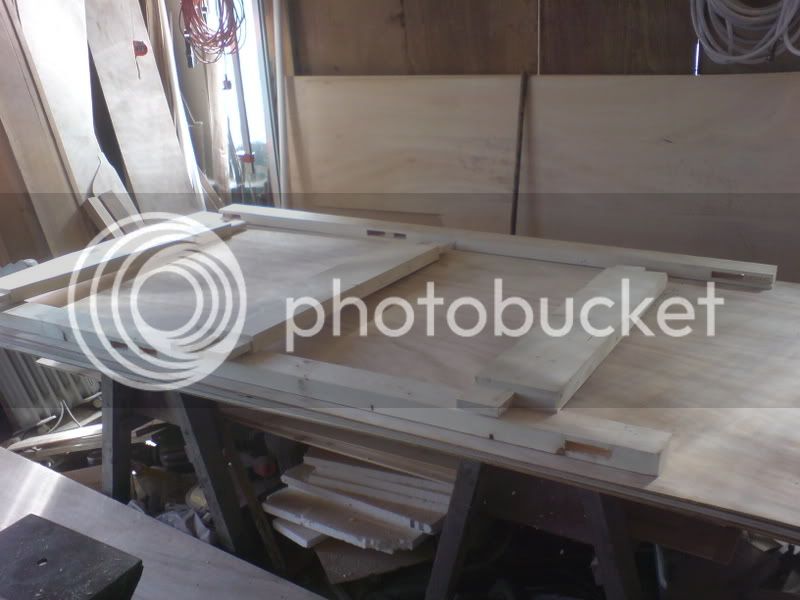
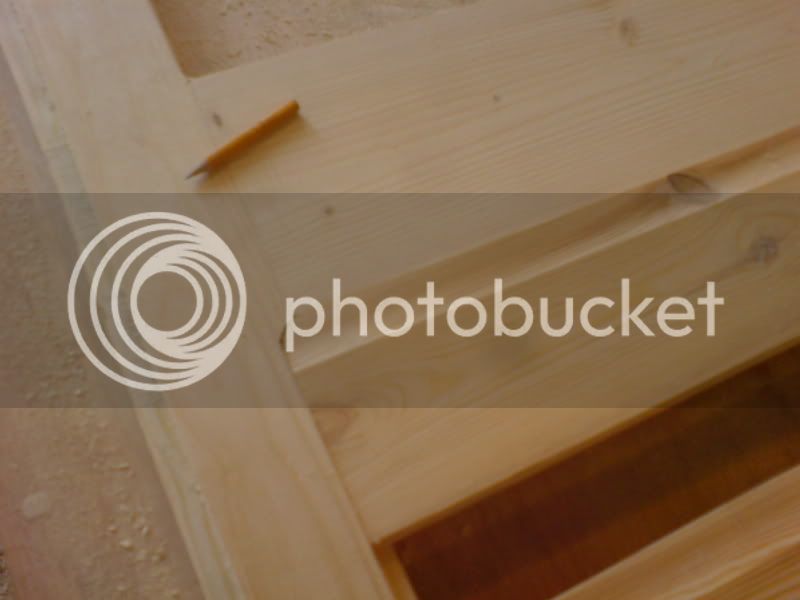
well that's all the joints done
DSC02032.jpg


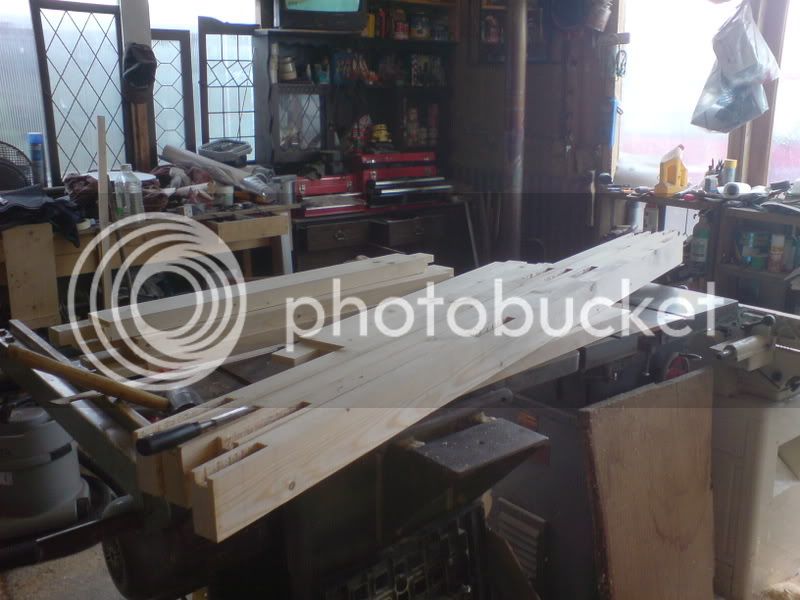
a touch up with a block plane and chisel before the dry fit
DSC02035.jpg


DSC02033.jpg

DSC02034.jpg


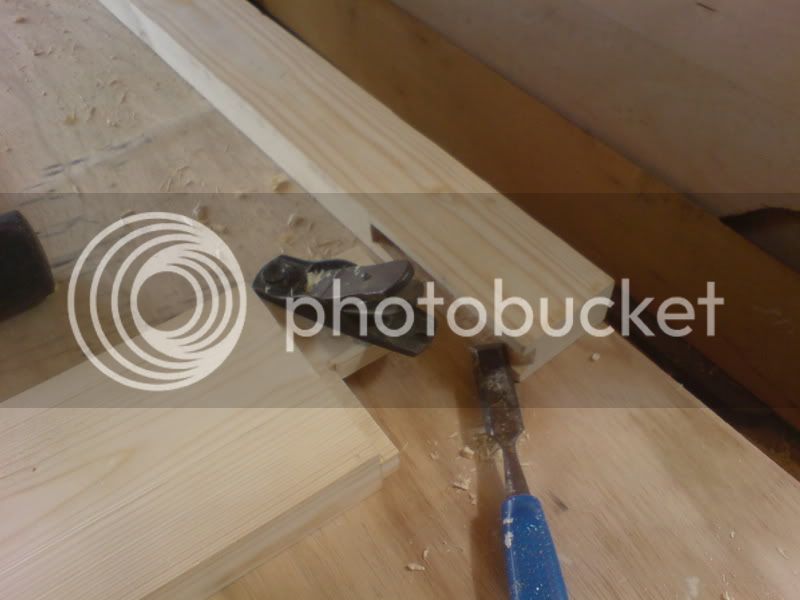
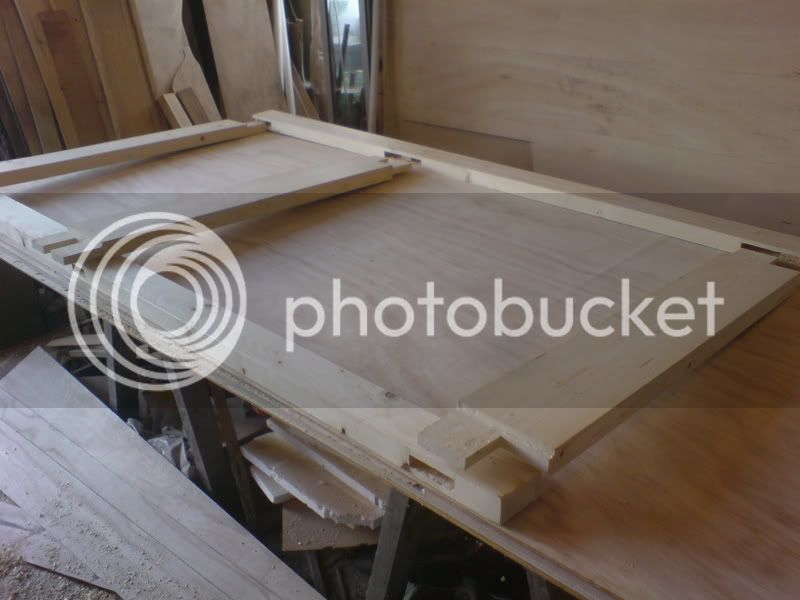
All ready for clue up . I'm using PU, so need to work fast !
DSC02039.jpg

DSC02040.jpg


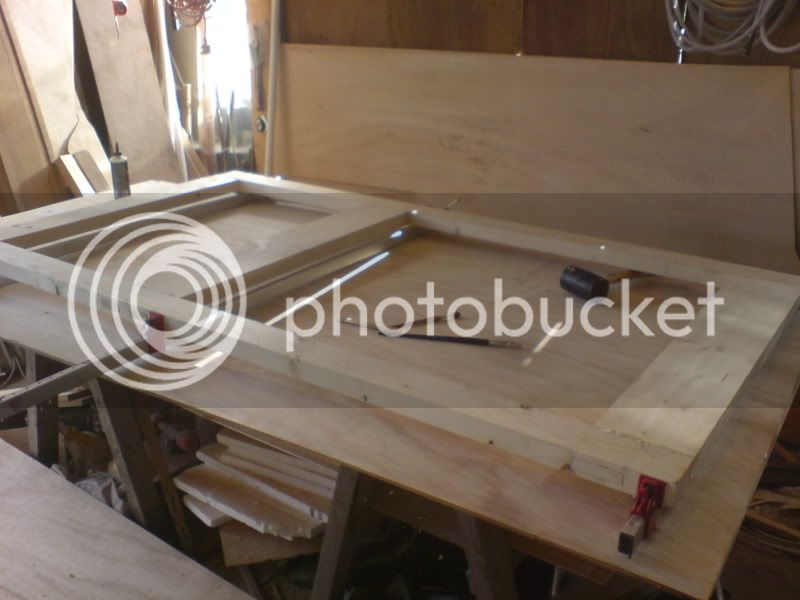
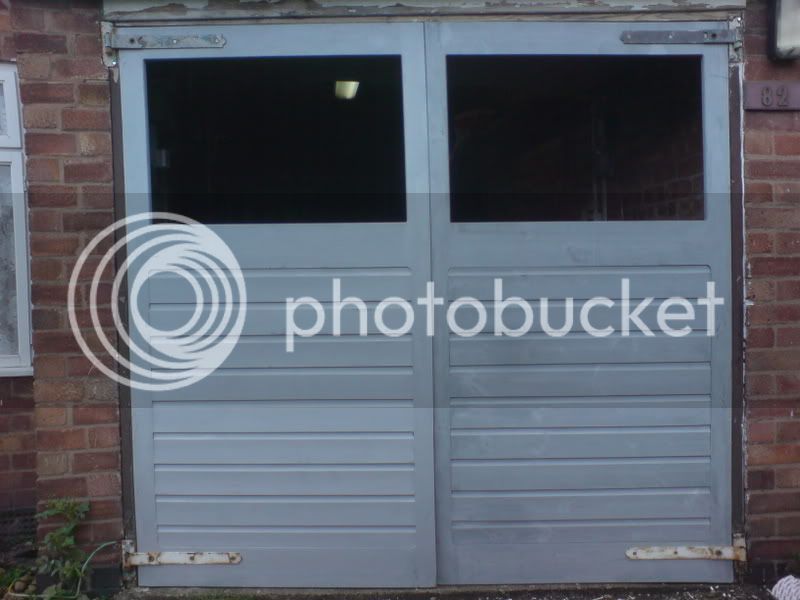
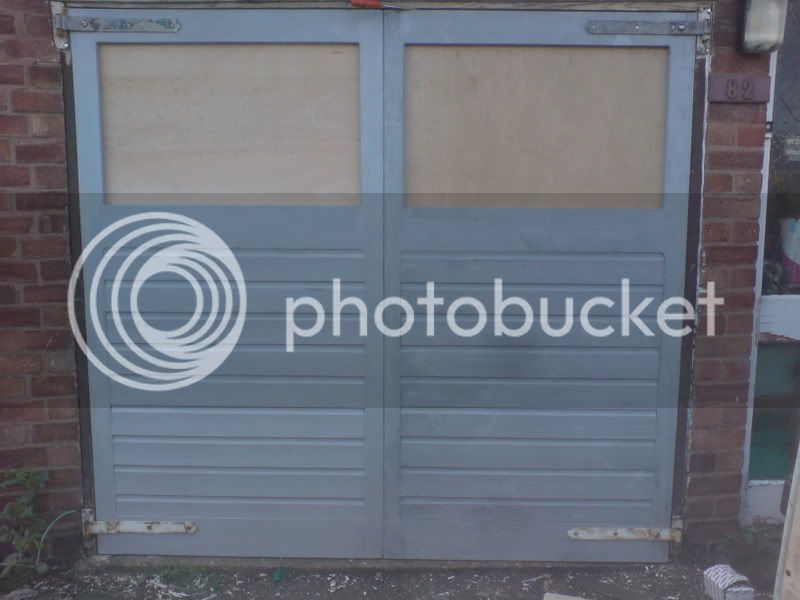
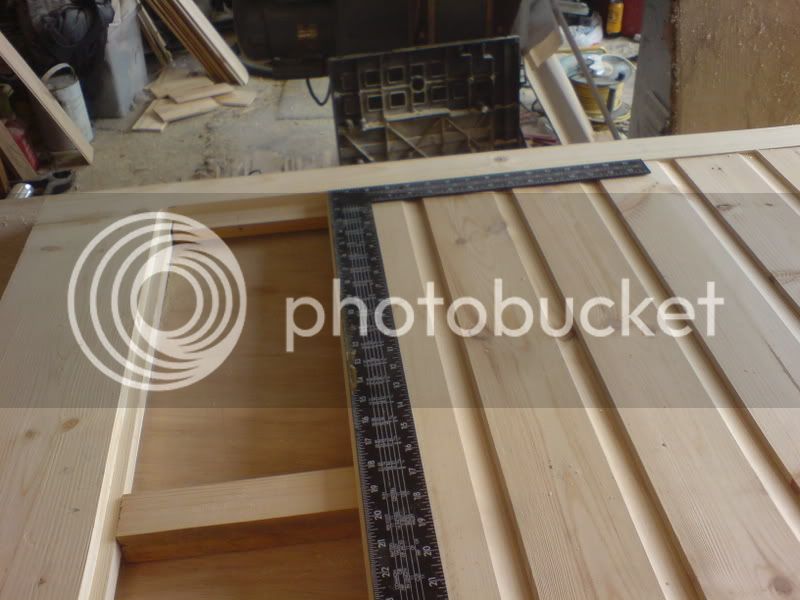
after the glue had set up, I routed out the rebates for the windows boards and panels
DSC02047.jpg


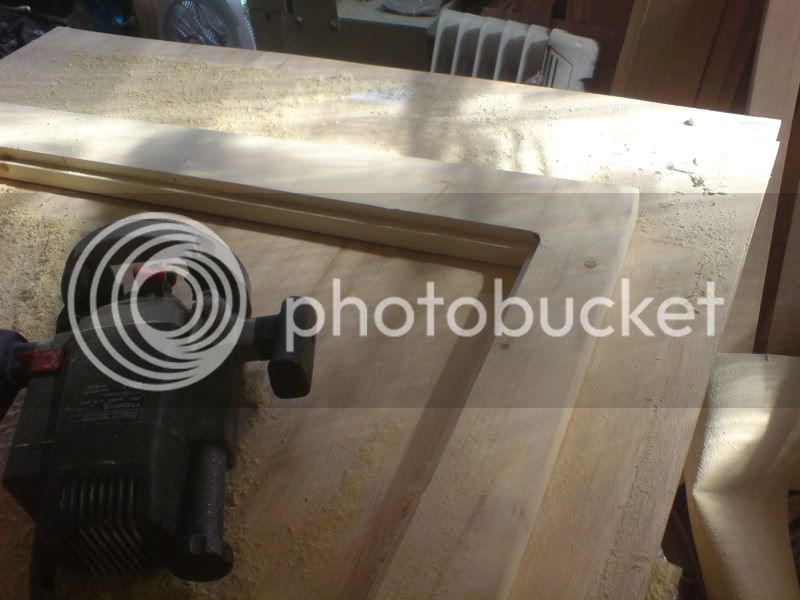
squaring up the window corners with a chisel
DSC02048.jpg


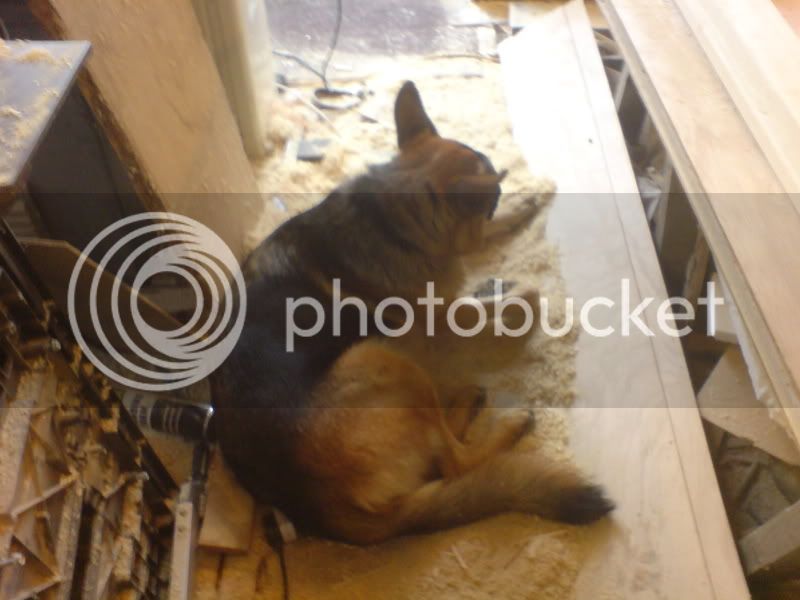
it started chucking down outside, so the dog decided to join me and Norm inside
DSC02050.jpg

DSC02051.jpg


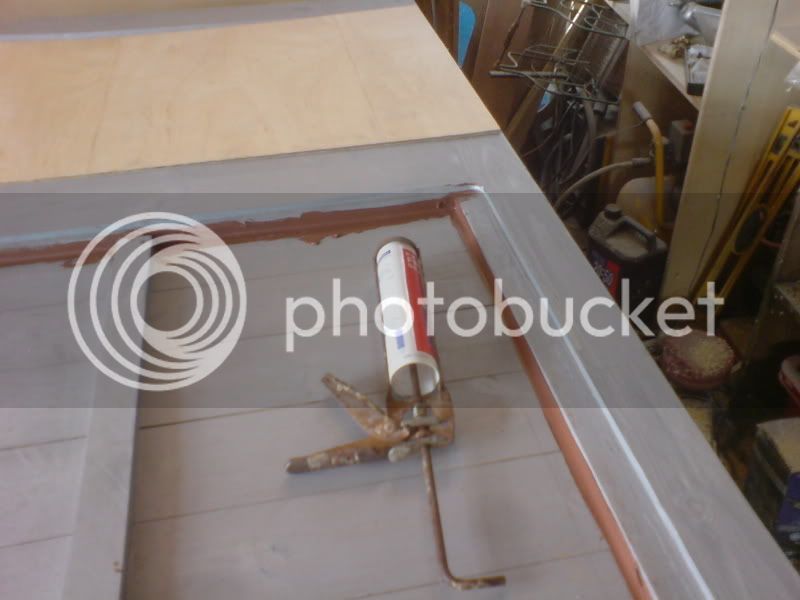
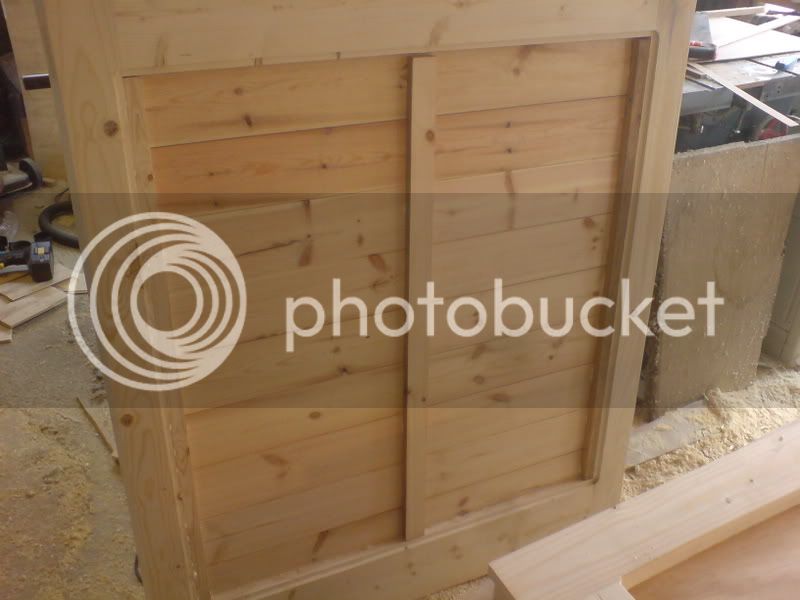
I rounded over the top and bottom ship lap boards and fitted them with a dab of PU and panels pins each. Leaving a gap at each lap for them to move.
DSC02054.jpg

DSC02055.jpg

DSC02056.jpg

DSC02057.jpg

DSC02058.jpg

DSC02059.jpg

DSC02060.jpg


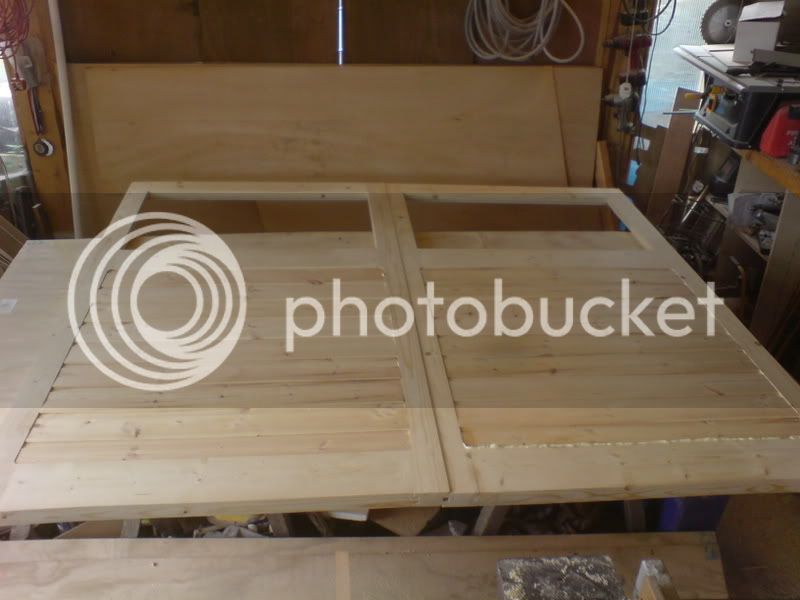
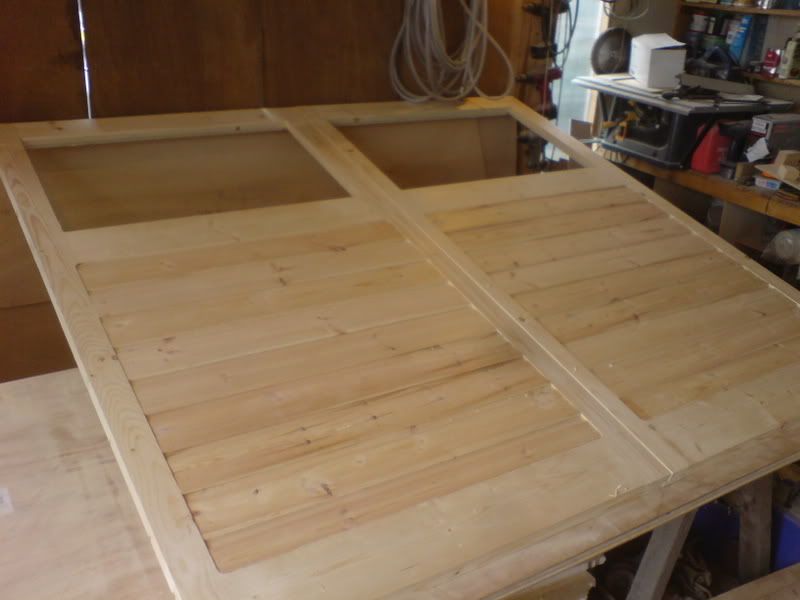
The inside of the door will have a ply panel PU'd in and to the middle baton, thus locking it all together front and back. I've left it off so I can treat and paint inside the cavity.
DSC02061.jpg


after some sanding, they are ready for the wood preservative . orrid stuff !
I dont take any risks with it.... door open with fan blowing clean air at my work area.... plenty of safety gear ... and when finished, straight inside for a shower and clothes in the washing machine. workshop cannot be entered again for 8 hrs !
DSC02064.jpg

DSC02066.jpg


It does show up the joints well tho :)
DSC02068.jpg


well thats it so far - the 8 hrs is just about up and I'm ka nak erred !

off to give them a coat of primer in a min before bed !

sorry for all the typo's at this late hour !
 
You're a night owl Tusses. I can't work past 4pm ;)

Coming on nicely. Where did you get the shiplap? Looks like good stuff. Also what brand preservative did you use?
 
WiZeR":1cuxyl36 said:
You're a night owl Tusses. I can't work past 4pm ;)

Coming on nicely. Where did you get the shiplap? Looks like good stuff. Also what brand preservative did you use?

Only because I HUGELY underestimated how long they would take to make. I gave myself 2 long days -- boy was I wrong !

Ship lap and treatment came from my local timber yard - Coventry Timber Products.

The ship lap isn't as good as I have used in the past, but not too bad.

The treatment is the stuff you use in building repair for rot and worm damage.

I thought about pressure treated wood, but in my experience, the treatment doesn't penetrate 100% of the wood, so after cutting and planing you have to go round again anyway !
 
Good looking doors. :)

If these were for my shop I would put insulation into the cavity on the doors, before glueing the ply on the back, every little helps. 8)
 
Thanks dave.

I was thinking the same thing about the insulation. it will be air tight, so it will act as double glazing with a 15mm gap.

If it were mine, I would do it tho.
 
Well - I am really disappointed with myself - but I'll come to that in a bit.

so ... carrying on..

I sealed the inside of the ship lap with FLEXIBLE frame sealer, to stop any chance of any water getting in.

DSC02069.jpg


Then I added the ply panel, glued in with PU . this should keep it square


IMG - oops ! must have forgotten to take that one - IMG/

and off I went to fit them.

1st we held them in place over the original doors - just incase I had made a major cock up and made them too small or something.

Nope - perfect :) I am happy at this point.

now - he wanted to keep his old frame to save money. fair enough, I mesured so these would fit !.

his frame is squewed ! the top and bottom lines are out to each other, so the doors dont line up properly in the middle !
bottom sticks out more on one than the other.
DSC02071.jpg


'Thats OK' he says ! 'The other doors did that too'

He is more than happy with them !

anyway , he goes off for a bit - GOOD ! I dont like working with anyone else !

I fiddle and fussed as much as I could with the hinges and got them 'reasonable'
DSC02072.jpg


when they are closed, bolted and locked they look ok. (with the bolts holding them in alignment.

Now - getting back to the 1st bit. Not happy :( 1st off I wasn't happy about using cheap pine, which was his choice. I posted here (and there) about opinions on pine. most said ok as long as it's not from a shed!. s few said only use redwood, and I think one said rip each piece in half and glue it back together to make it more stable. needless to say - I went with the majority and off to my timber yard to pick the best they had (which is still not as good as I would have liked!) I wish I had a good supplier of good softwood - I will continue looking.

anyway - I sticked them up and left them for a couple of weeks in the workshop. After this, one was a bit twisted. I didn't have time to go get some more and wait a couple of weeks for it to stabalise ! so, I straighened it on the jointer and thicknesser. it came true, so I carried on.

All was ok until the doors were complete. I planned to get them painted before they went out in the damp , planning to keep them stable !.

but - as I was SOAKING them in wood preservative It dawned on me that this is'nt the best thing to be doing now ! I hadn't considered the water content of the wood treatment until I was brushing it on.

Sure enought - all my hours of sanding went out the window as the grain rose like the Himalayas ::) I did wonder if the shiplap panels would move with all this soaking, as the PU hadn't had 24 hrs to fully cure, but it waas only fitting the door I noticed the center style on the right hand door had started to bow.

Well, my heart sank. It was only a slight movement - but it compounded with the frame being out. I pointed it out to him and said I would sort it if it got worse.

He is still happy as larry - I am beating myself up over using the twisted bit of wood ! Indeed - even just for agreeing to use cheap pine !

anyway - thats the way it is today. I am ordering the glass on monday and fitting wednesday, so I will see if it has got any worse .

I'll start another thread to see if there are any 'fix's for it.
 
Are the hinges just screwed to the casing or have you put a bolt through for security.I know that you can bore the centre of a screw out,but this makes any future adjustment awkward.

Dennis
 
the doors have a bolt, the frame is just screwed - but I used coach screws so it looks bolted
 
Nice work, Tusses. :) I wasn't sure if the horizontal T&G boarding would work but it looks great seeing it now. Haunches look a little wide (normally done in thirds) but I'm not complaining. Was it too wet at the time to apply all the wood preserver outside? ...Probably! :wink:
 
OPJ":1u8wfqof said:
Nice work, Tusses. :) I wasn't sure if the horizontal T&G boarding would work but it looks great seeing it now. Haunches look a little wide (normally done in thirds) but I'm not complaining. Was it too wet at the time to apply all the wood preserver outside? ...Probably! :wink:

I left the haunches 'long' ? because I didn't leave room for any horns. These are my 1st M&T's and so I read on the internet how they should be done and found that I should have had extra wood for horns !

well - you live and learn :)
 
Tusses

These are really good, isn't amazing how we are so critical of our own work but the recipients tend to be over the moon.

It's good to see a craftsman taking pride, even within the limits of his brief.

Dave
 
Tusses

I think you have done a good job there. But you want constructive criticism, don't you? Well...

You could, if you had so wished, have made the bottom rail thinner than the stiles and used a bare-faced tenon. You could then have had the clapper boards running vertically down to the bottom, aiding rain run-off, so that water does not get stopped in any horizontal surfaces.

It looks like you had a job on with the big tenons. You could have given me a call....

=D> =D> =D> =D>

All in all I think you should be proud of what you have done.


Regards
Steve
 
thanks all .

I was happy with my work - just not with the wood, which 'I' picked and made them with !

the tenons were about as big as I would like to make. but for my 1st set, I was pleased with them.

the door design, was really a copy of the existing doors, as he wanted 'pretty much the same as these' !

All the time I was making them, I was thinking about the rubbish wood and how there would be no extra work if I was using oak or some other nice wood, and the end result would have been so much more worth while.

At the end of the day - I've made a pair of cheap pine garage doors !
 
Using better quality wood would have been no guarantee that this would not happen.Be proud that you achieved what you set out to do, make a good cheap set of garage doors.You would have been even sicker if you had used an expensive hardwood, and it happened, which it sometimes does.

Dennis
 
fantastic job, i used to work at a garden center making fence panels and gates, i wish i could have got my head around m&t joints, i always use to end up useing half butt joint and lots of glue and screws!! but then again my boss was always rushing me :roll:
anyway my laymans view is.. it tends to be the bottom of the gate or door that rots first soaking up moisture, seeing as you've painted them could you not have used hardwood at the bottom to help longevity?
also theres no diagonal bar, do you not need one with m&t joints?
 
Tusses,

This is a brilliant build and I take my hat off to you for taking all the pictures and the time to post them on here...I love to see other peoples work as it gives me ideas and helps me visualise things...It is also great that you have shared your feelings on this....as someone mentioned, we are always more critical of our own work than the "customer" is....and this also goes the other way in they don't always appreciate the amount of work that has gone into something..
Someone has a line in their signature about "I may make things for other people, but how I make them is my own" - I think this is great and very true..
I have a question if I may regarding the Shiplap and that lower panel (Something I have been thinking about in relation to building a luxury Rabbit hutch) - You have used that cenrtal batten and a dab of glue to hold the shiplap in place..and am I right in my understanding that the shiplap is not attached in anyway at the ends..but held in place in a rebate? That central batten..I couldn't see how that was joined to the bottom and middle stiles..could you please clarify that for me....
Once again, this is an excellent job and thanks for posting..it really helps us new guys to learn stuff.
Cheers
Timmo
 
Thanks again people :)

cornucopia - good idea about the different wood just for the bottom rail ! I still dont think he would want the added expense tho

:roll:

as for the cross brace. I have replaced that with the solid ply panel on the inside behind the shiplap (the pic I forgot to take ! ) The panel should stop the doors from sagging , just as the brace would have.

Timmo

The shiplap IS fixed at each end and to the center baton. I thought as I typed, that it wasn't that clear - but I was V.tired by then !

The center baton isn't fixed top and bottom, execpt when the rear play panel went on. The ply panel was glued with PU all the way round the edges and down the center baton, which in effect makes a type of torsion box of the whole lower door.

I'll get a pic of the inside of the doors when I go to fit the glass on wednesday.

once again - thanks all for your encouragement .

I am glad I took the photo's, because it meant I could go back and see exactly where the problem occurred ! The doors were straight, right up to the point I soaked them with the preservative. Maybe the MC will equalize and the style will come back straight ?
 

Latest posts

Back
Top