Corneel
Established Member
Jacob, I really don't understand why you are still arguing against this technique. It's completely in line with your ideas of doing good work with simple tools. Any old Stanley with thin iron can quickly be transformed into a supersmoother. You could sell your LV low bevel thing AND your Ros.
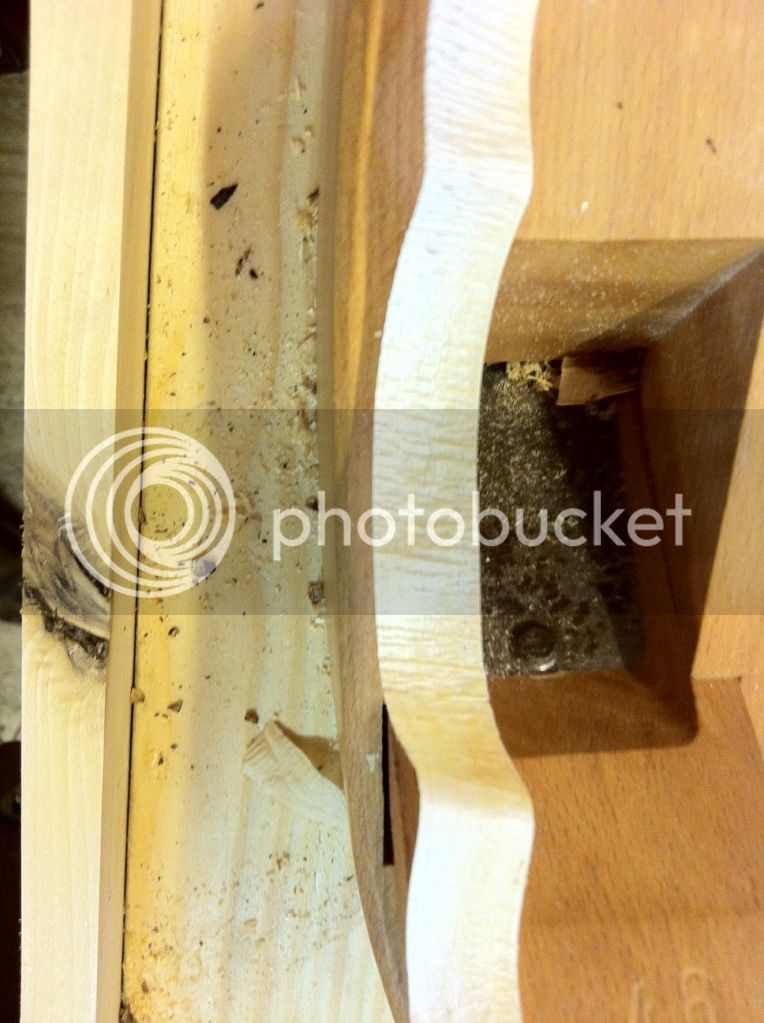
It's very easy too. Hone a narrow microbevel, something like 70-80 degrees, on your cap iron. Then turn the iron with capiron into the light so you can see the reflection of the narrow line behind the edge. Do this before you fully tighten the screw so you can still push it forward. Then move it forward as far as you dare. Tighten te screw.
That's all.
Then experiment. Grab some gnarly stuff from the bin. Full of knots is good. And wonder about how easilly this stuff gets smooth. Don't take thin shavings, make them thick, just to wonder even more.
In a lot of circumstances you won't need this uebersmoother. So you could dedicate just one of your old Stanleys or Records to this task with a straightish edge. Maybe clip the corners to prevent tramlines.
Another advantage of this setting is the increased support of the edge. No chatter anymore, not even with a cheesy UK 1980's Stanley blade.