Dovetail saw restoration - WIP - Finished

UKworkshop.co.uk

Help Support UKworkshop.co.uk:

This site may earn a commission from merchant affiliate links, including eBay, Amazon, and others.

carlb40

Established Member
Joined
17 Dec 2012
Messages
2,347
Reaction score
0
Location
birmingham
This is something i started last year. Picked up a 10'' Dovetail/ Tenon saw from ebay for less than a fiver :)
No name just the usual warranted superior on the medallion. Plus the usual cheap beech handle.

IMGP4835.jpg


IMGP4836.jpg


IMGP4837.jpg


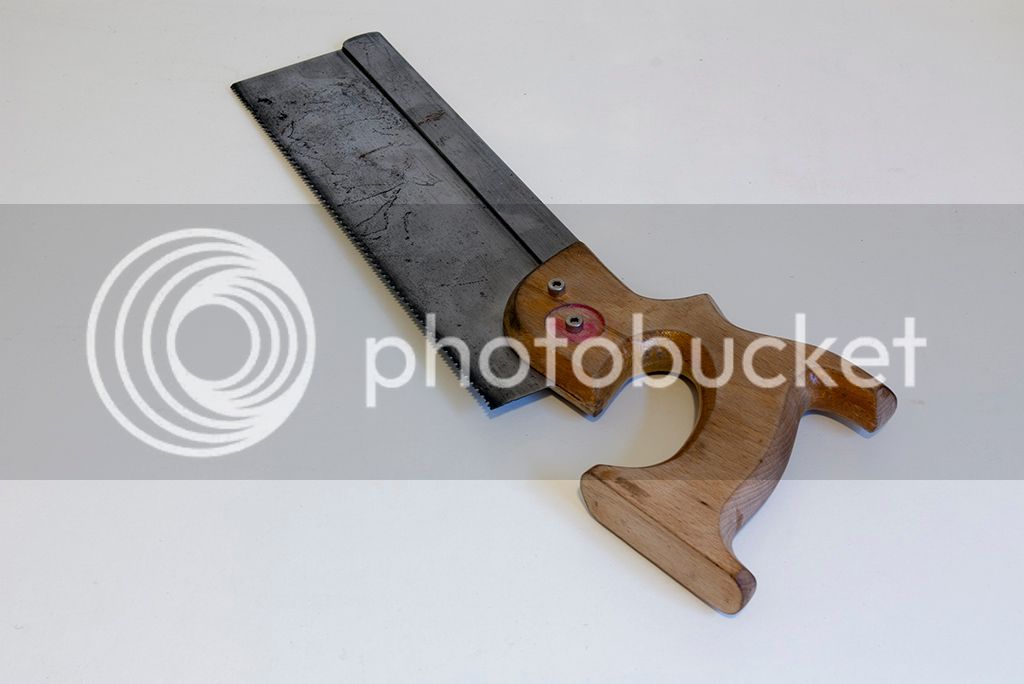
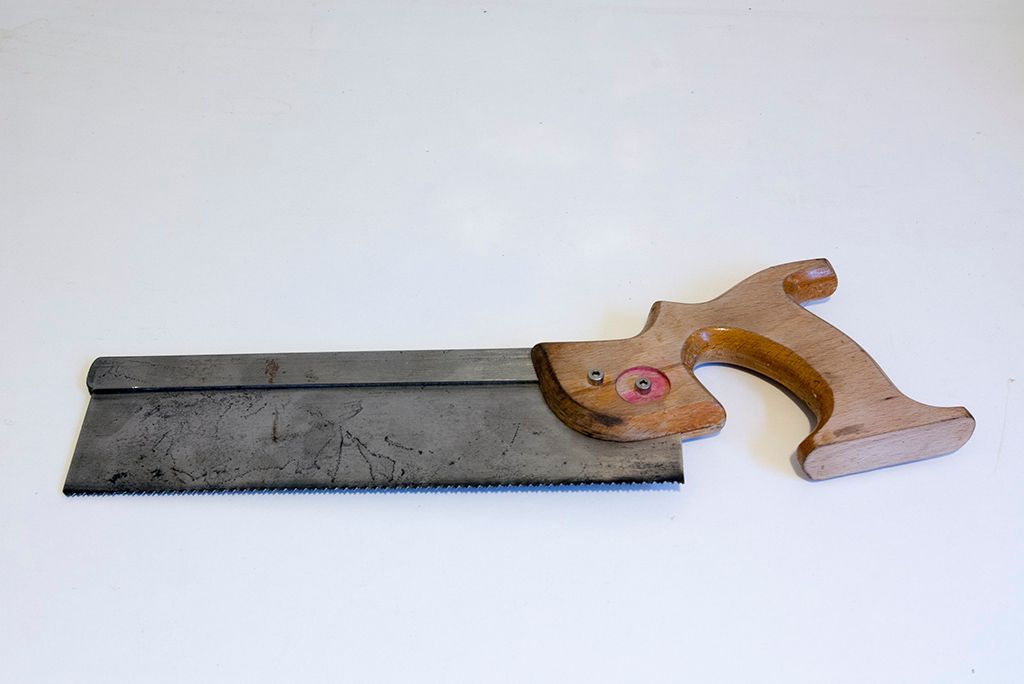
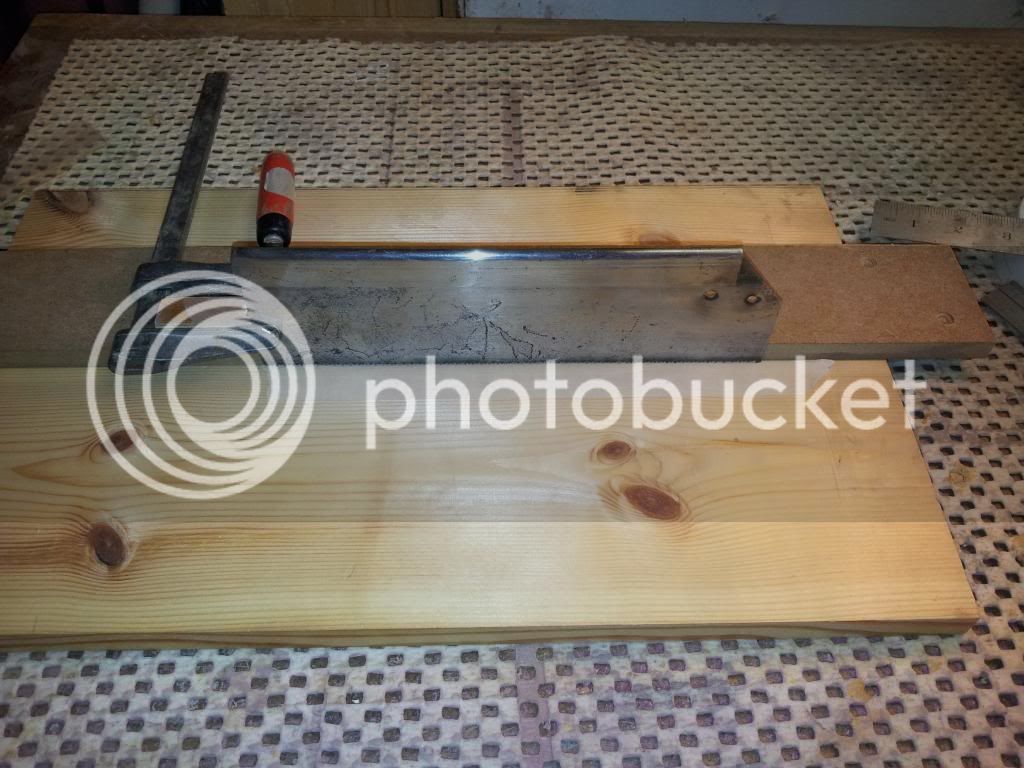
After removing the rivets/ medallion i dropped the blade/ spine in some oxalic acid for a bit to remove the rust. Then took various grits of sand paper to the blade/ spine.

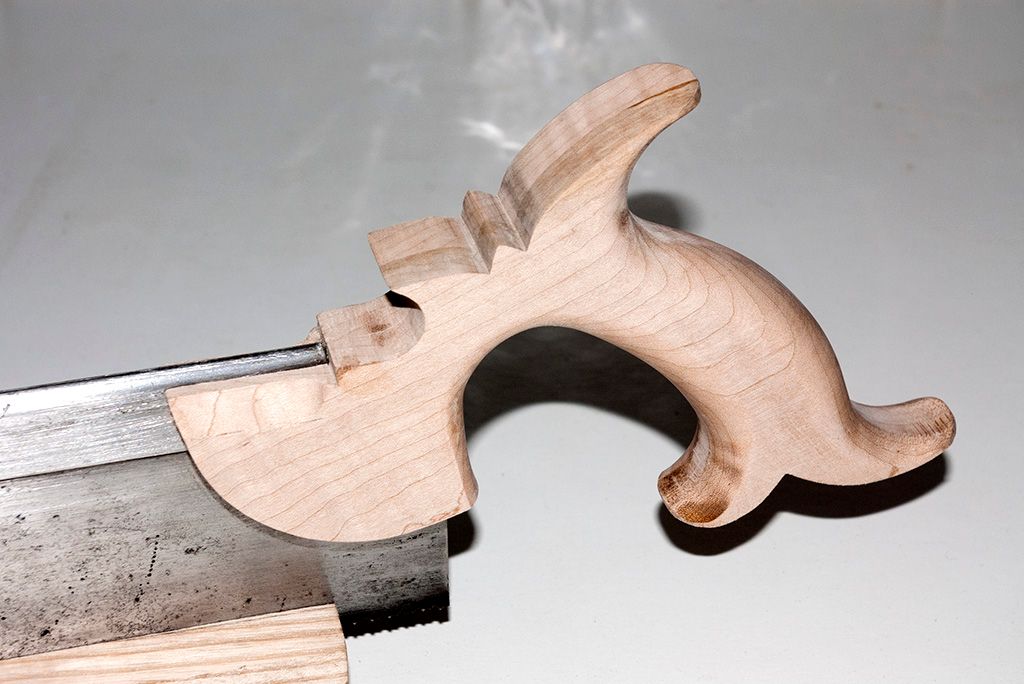
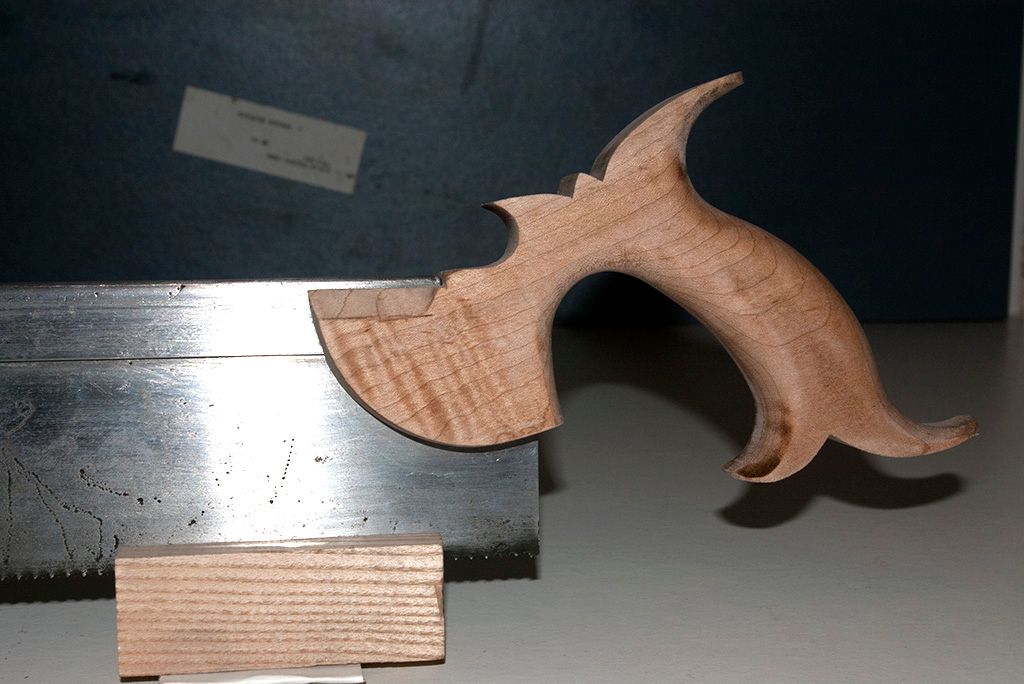
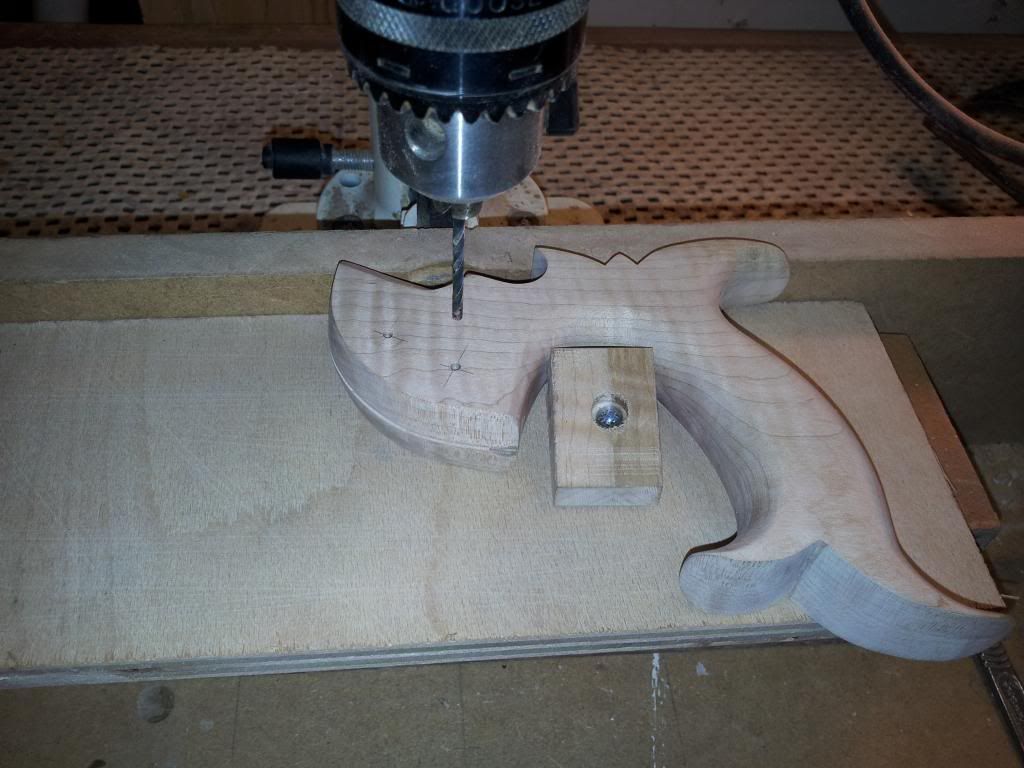
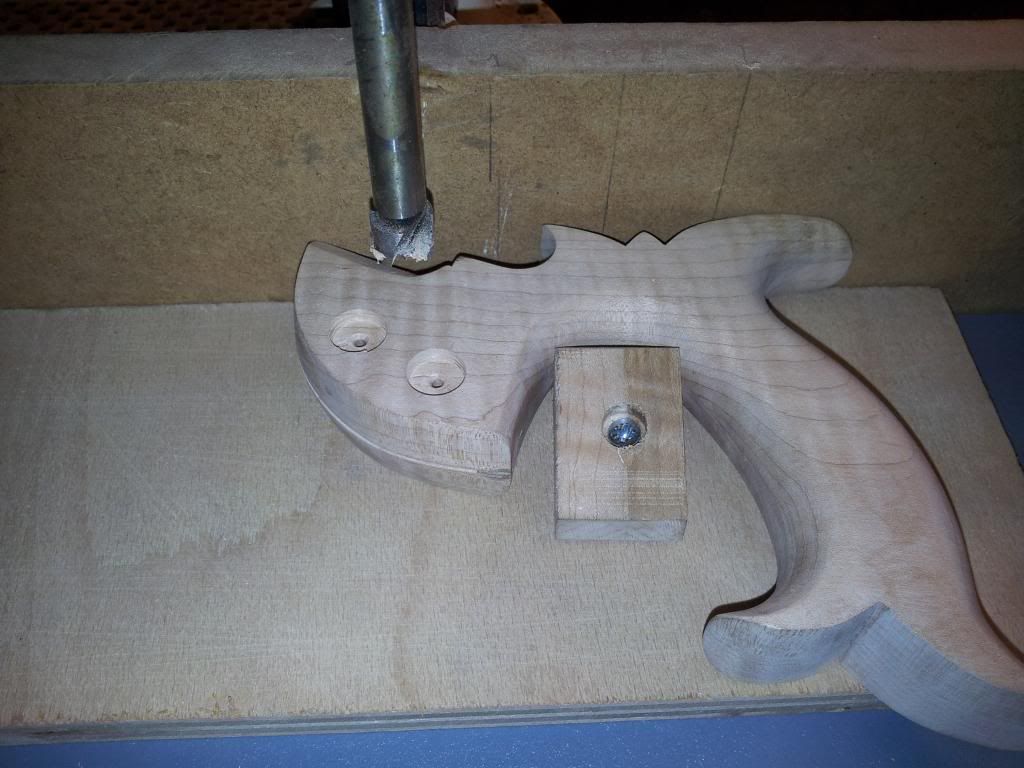
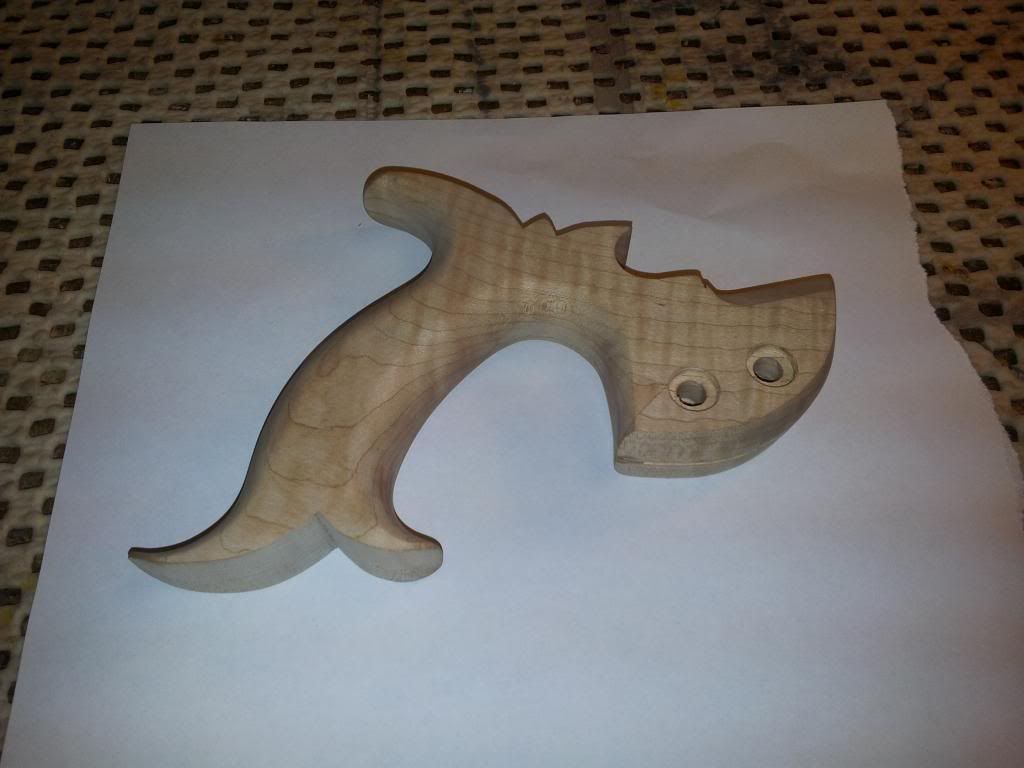
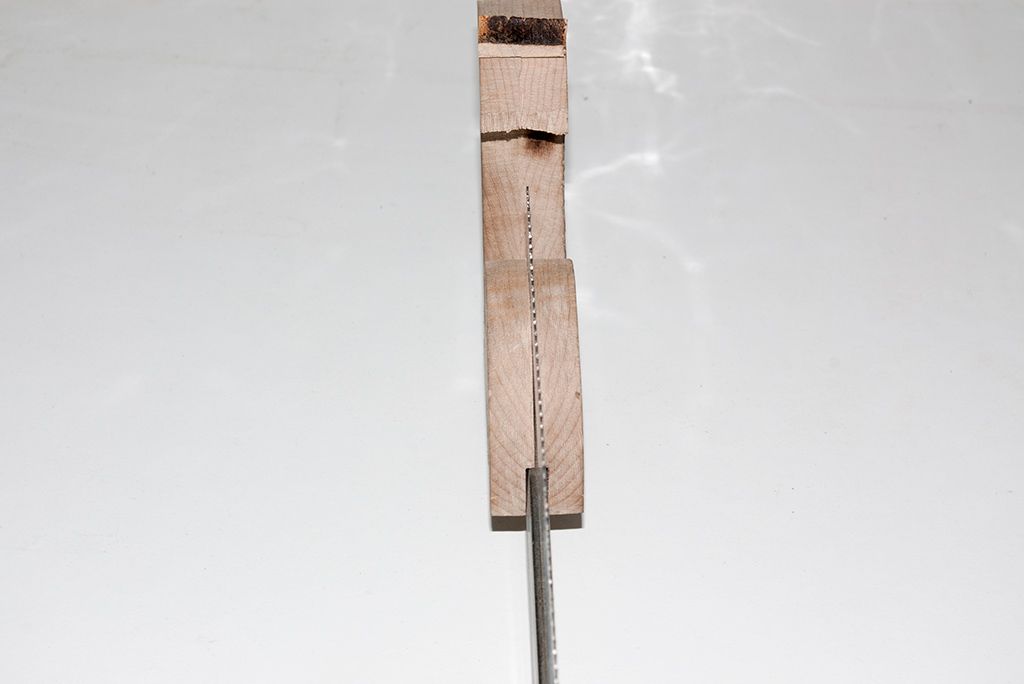
After buying a piece of curly maple on ebay, i used a piece of it for the replacement handle. I had to laminate 2 pieces to get the thickness. After printing off and sticking the template to the blank, i did a bit of drilling/ sawing.

IMGP4831.jpg


IMGP4832.jpg


IMGP4834.jpg


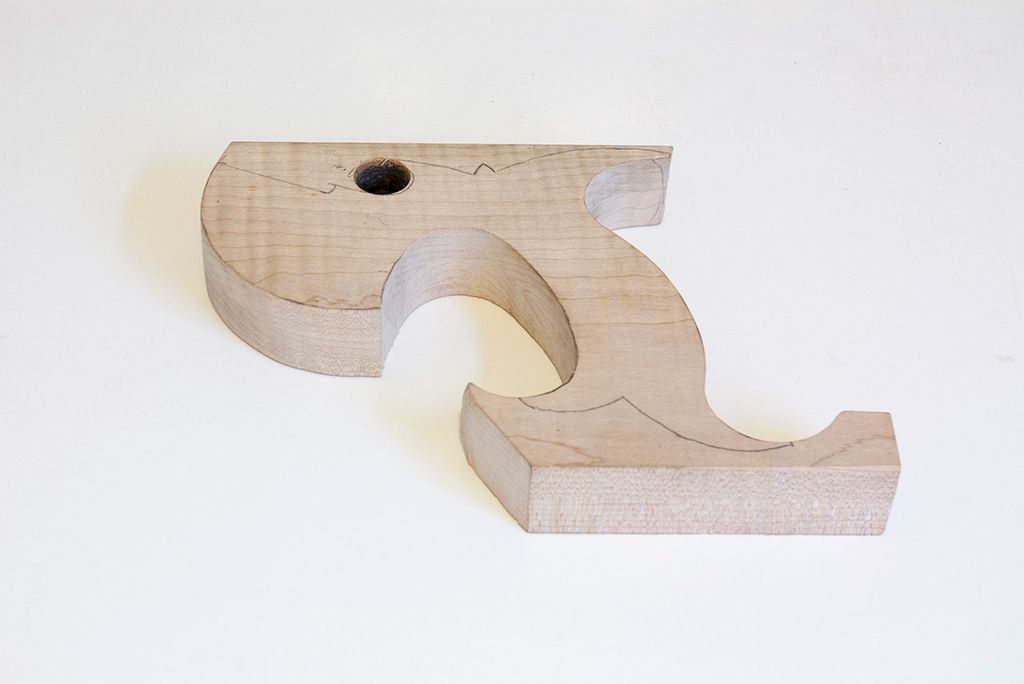
As you might be able to see on the last pic i had to do a repair. I had used my TS to do some cuts, but went a bit far and cut into the handle section. #-o
So i carefully made and glued in a small splice. :oops:

Then it just sat as i got busy at work so things fell behind.

Then enter today. As my toolbox WIP is slowing down due to glue ups etc. This was restarted.

1 - To get it finished
2 - I need the saw for the tray build part of the toolbox WIP.

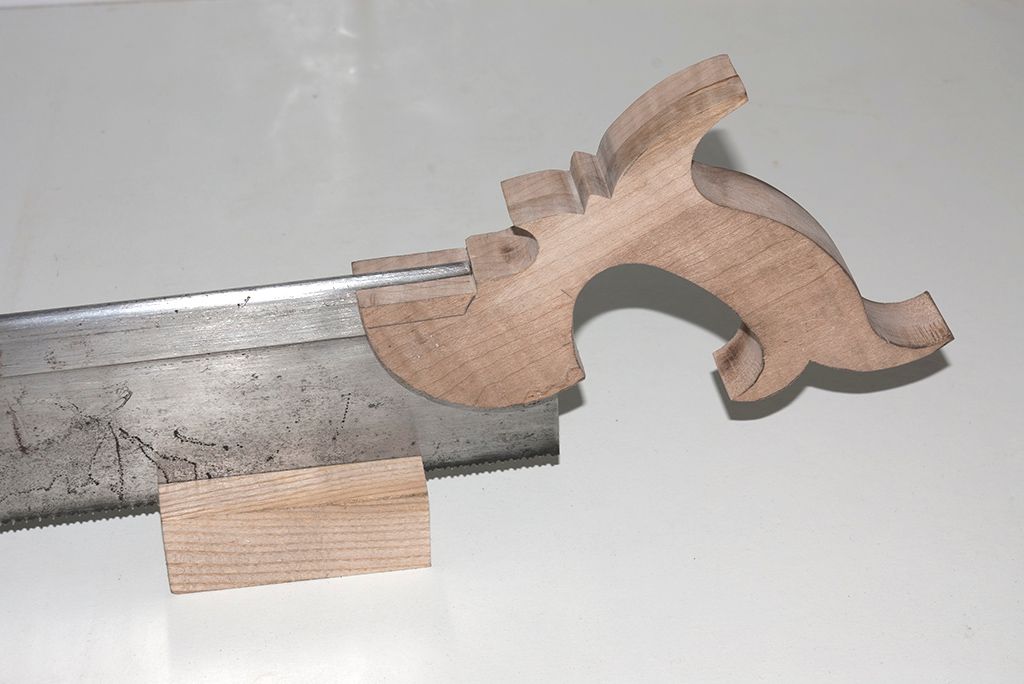
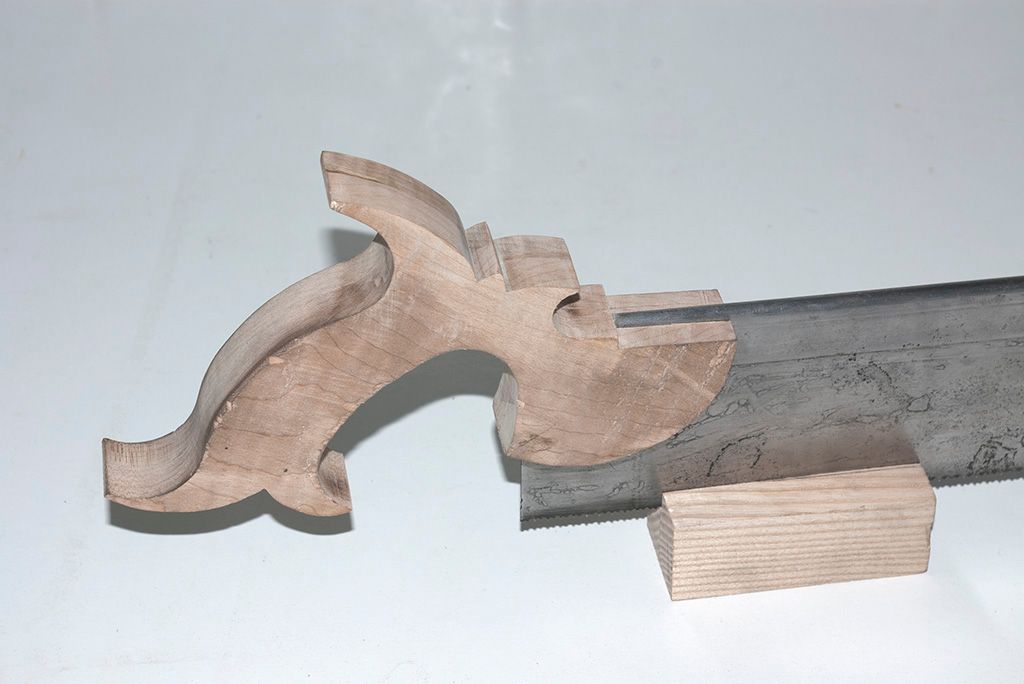
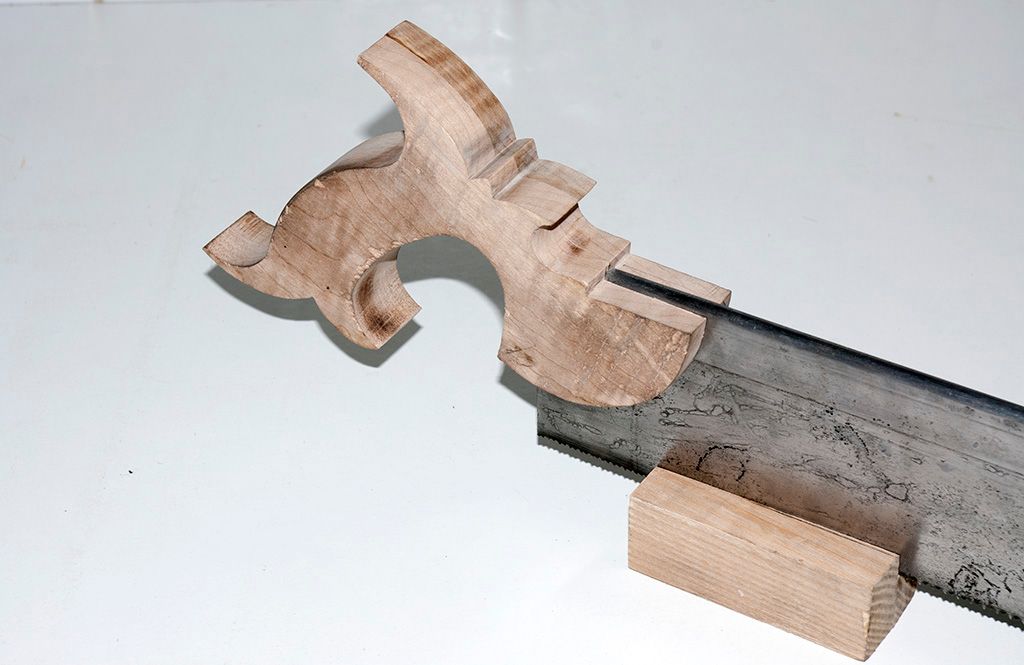
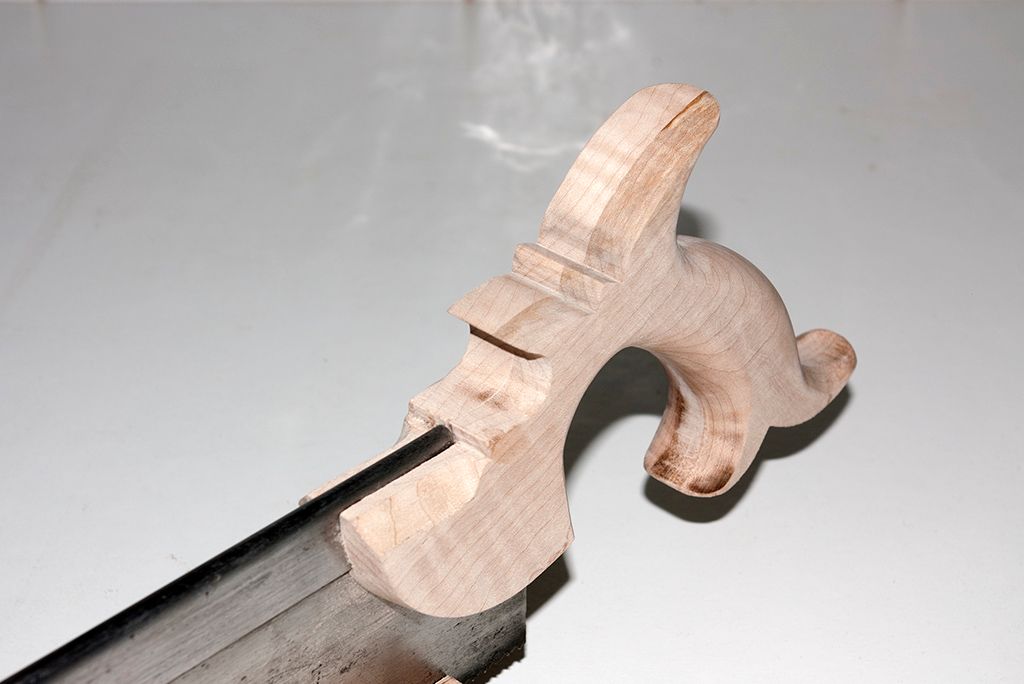
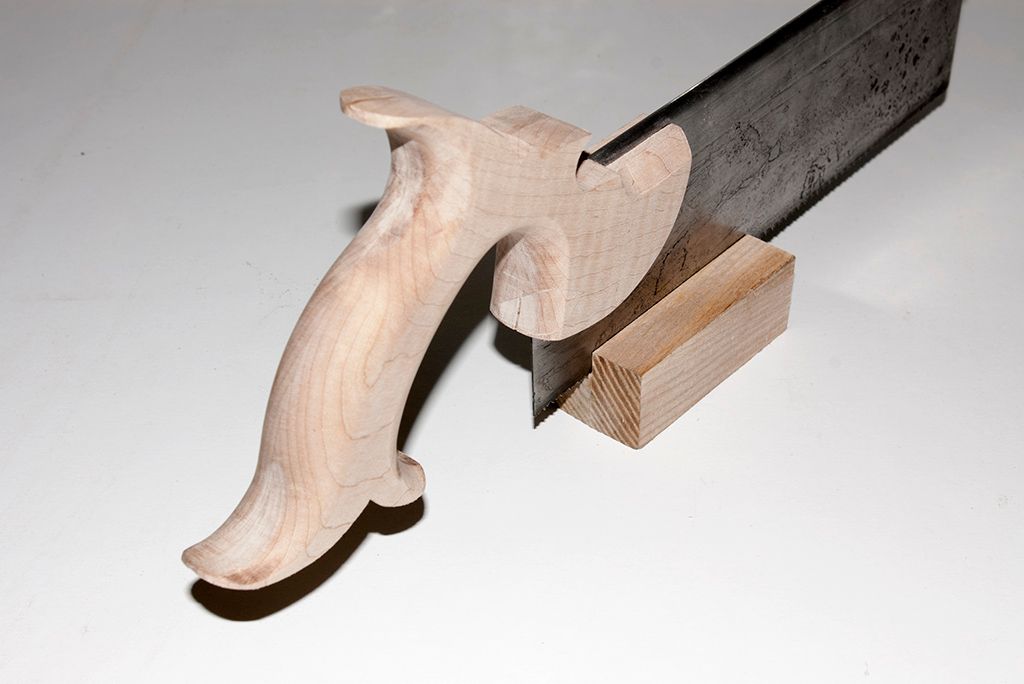
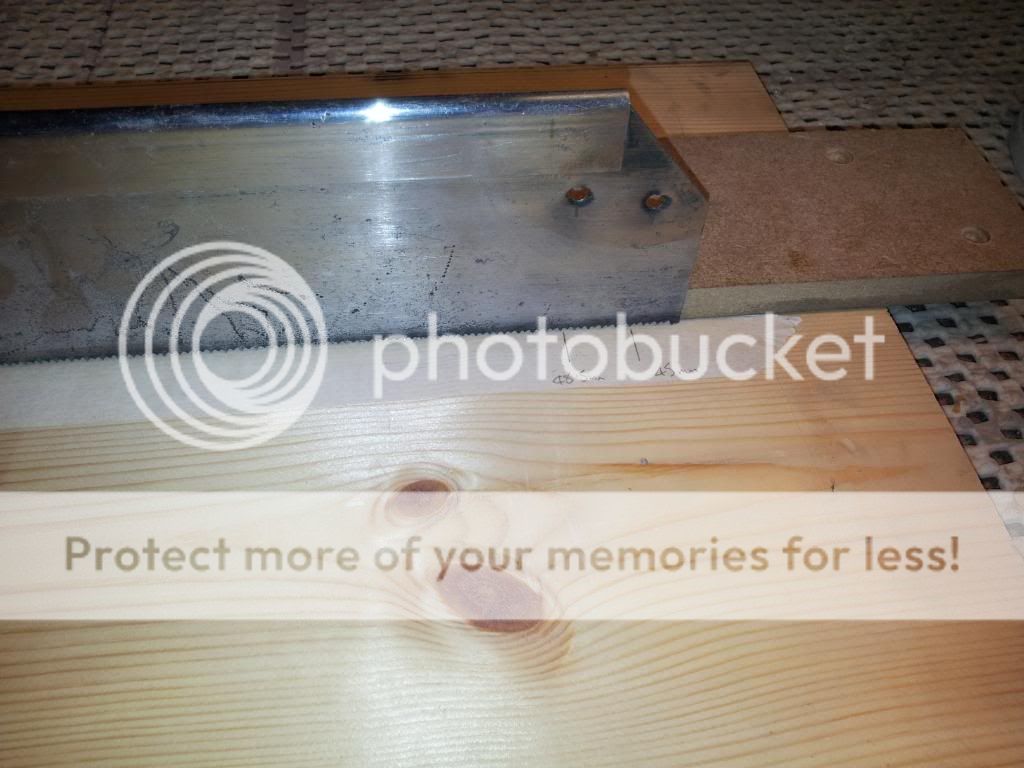
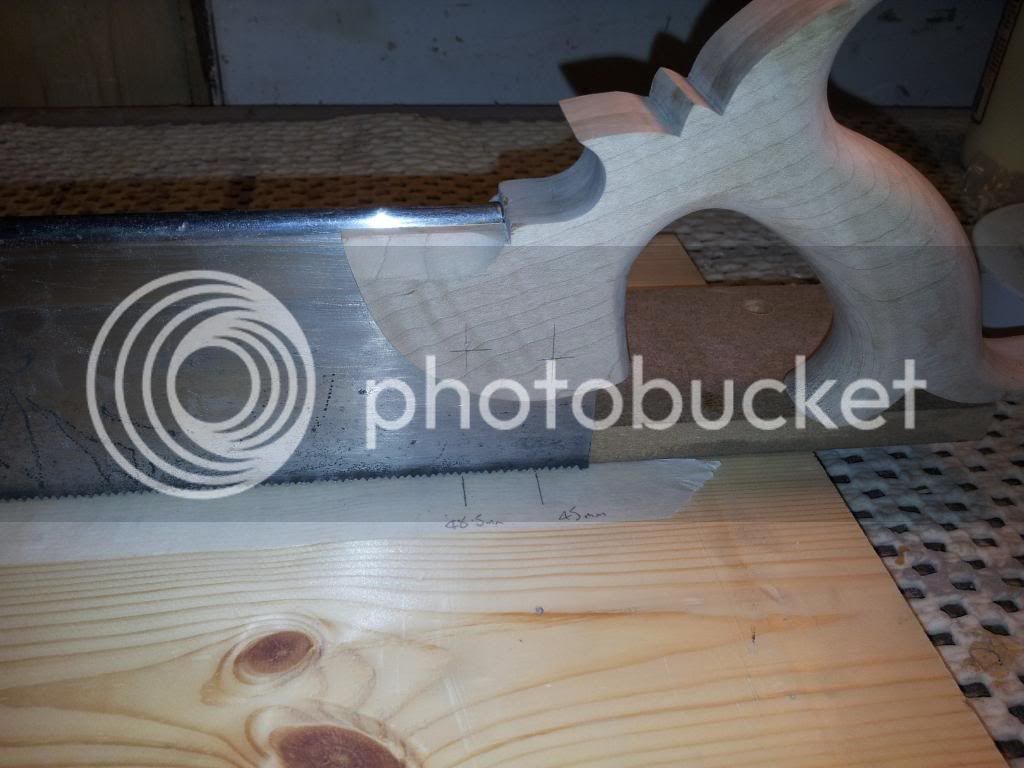
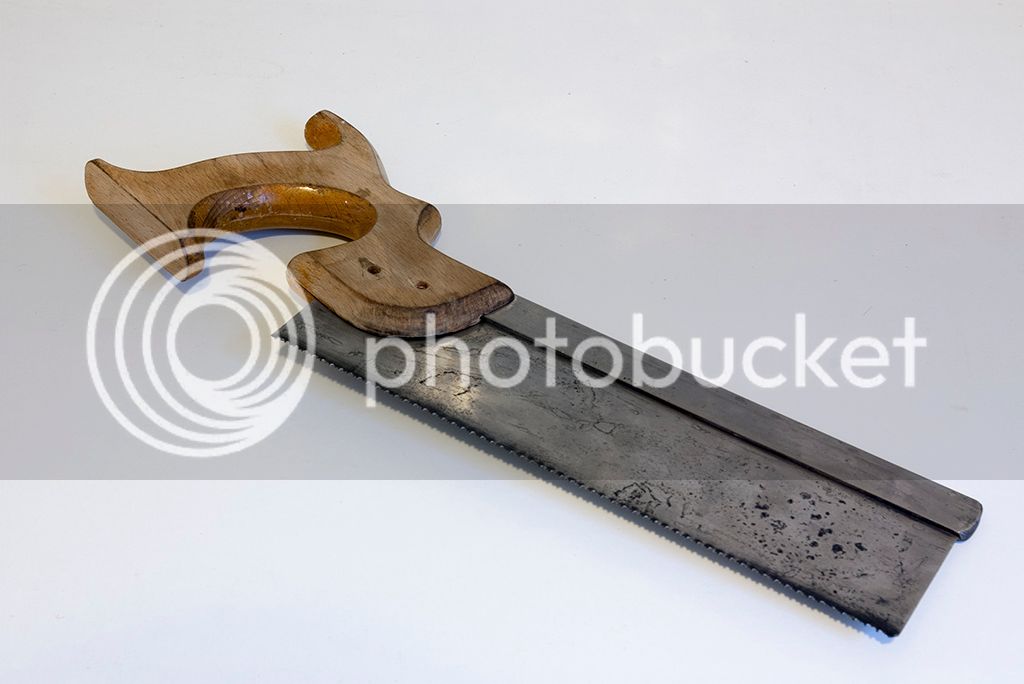
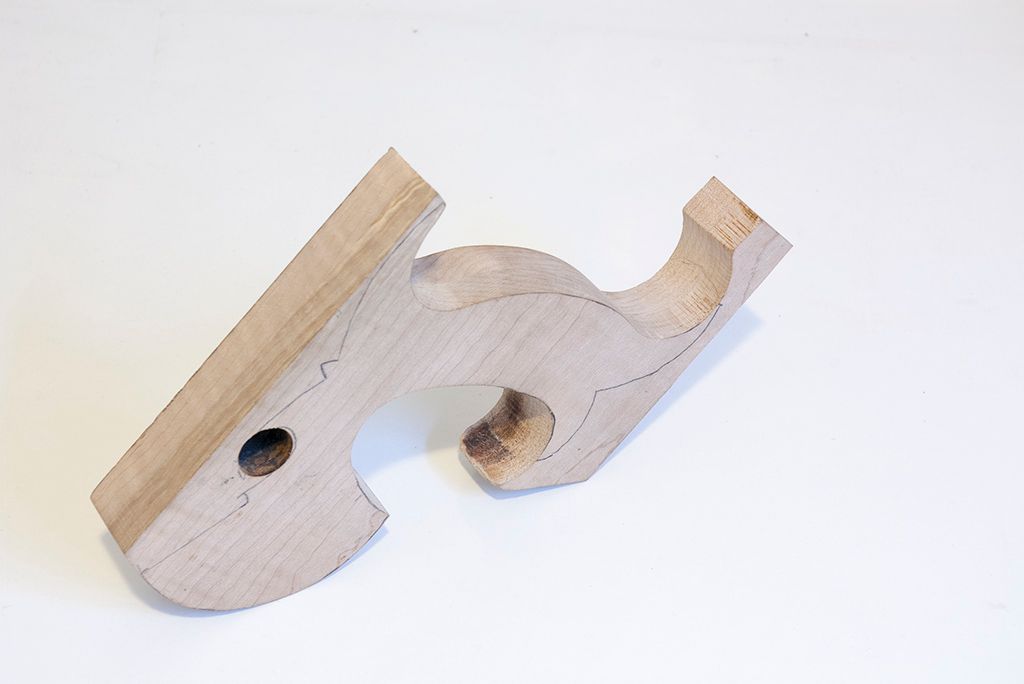
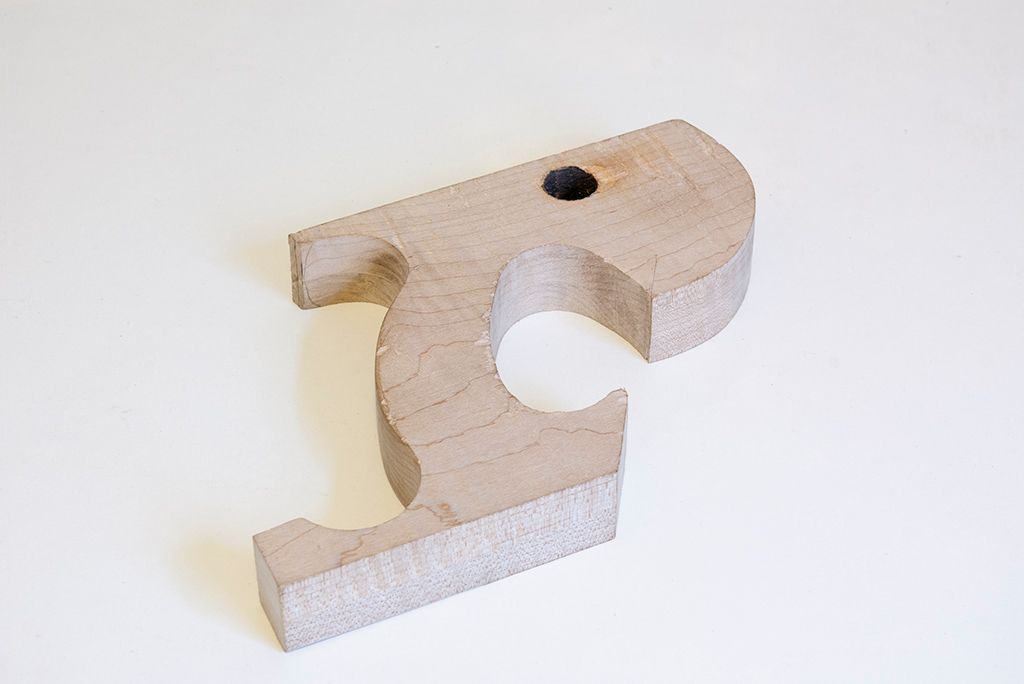
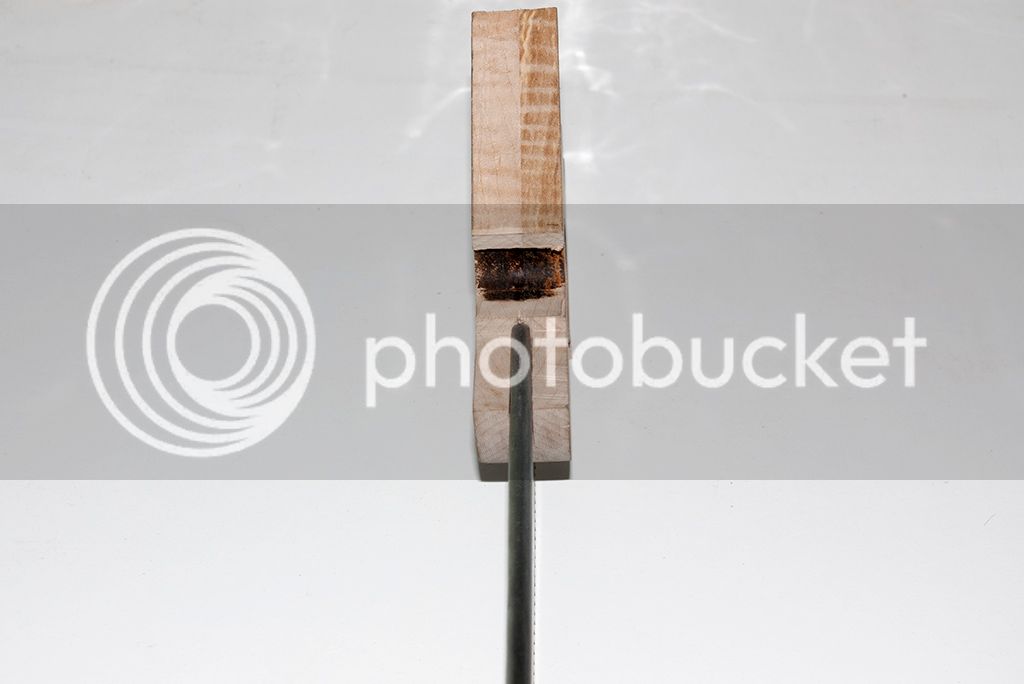
I marked up and cut the slot for the blade. Used one of my jap saws to cut the curf, fitted quite nicely after a couple of passes with the saw.

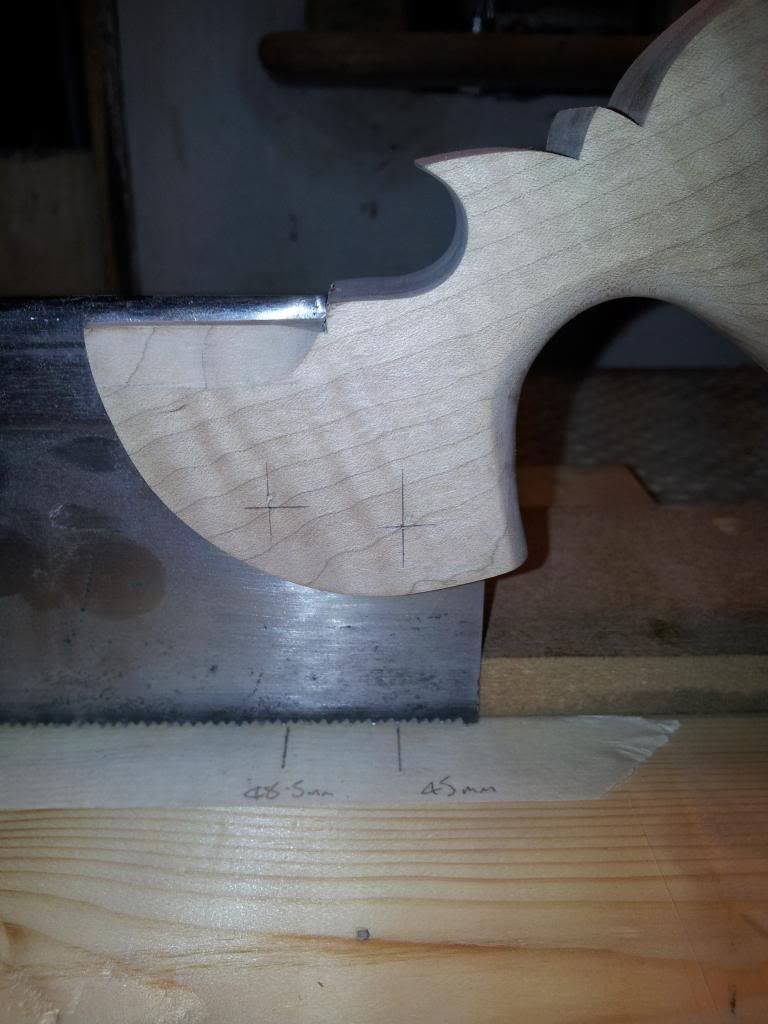
Then onto the spine. Marked out and carefully chiselled out the waste with a 3mm chisel.

IMGP4841-1.jpg


IMGP4843.jpg


IMGP4842-1.jpg


IMGP4840.jpg


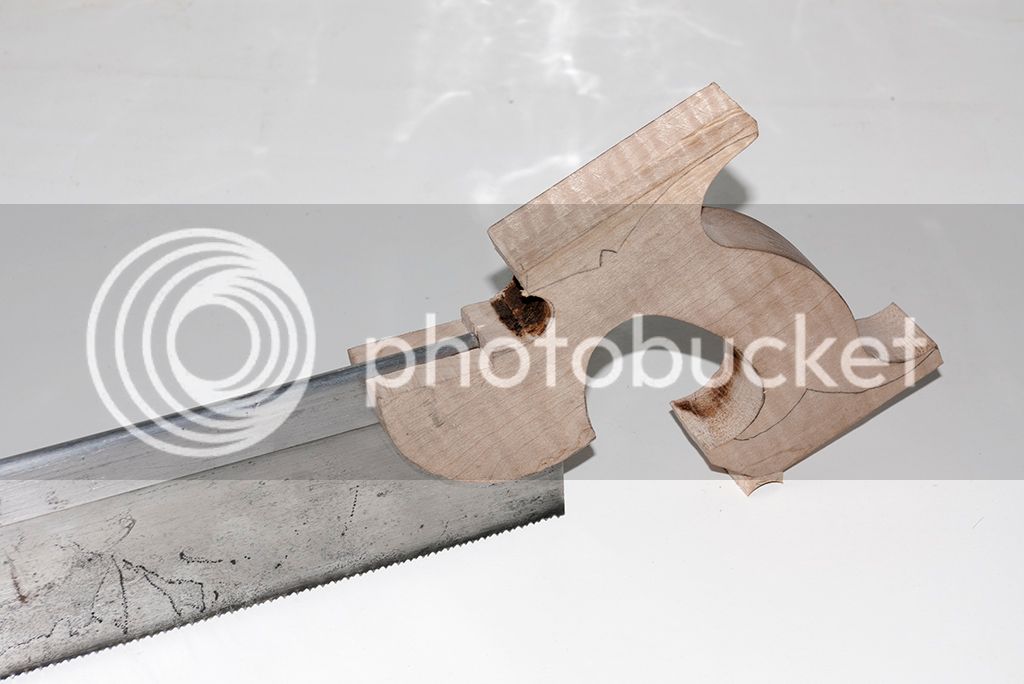
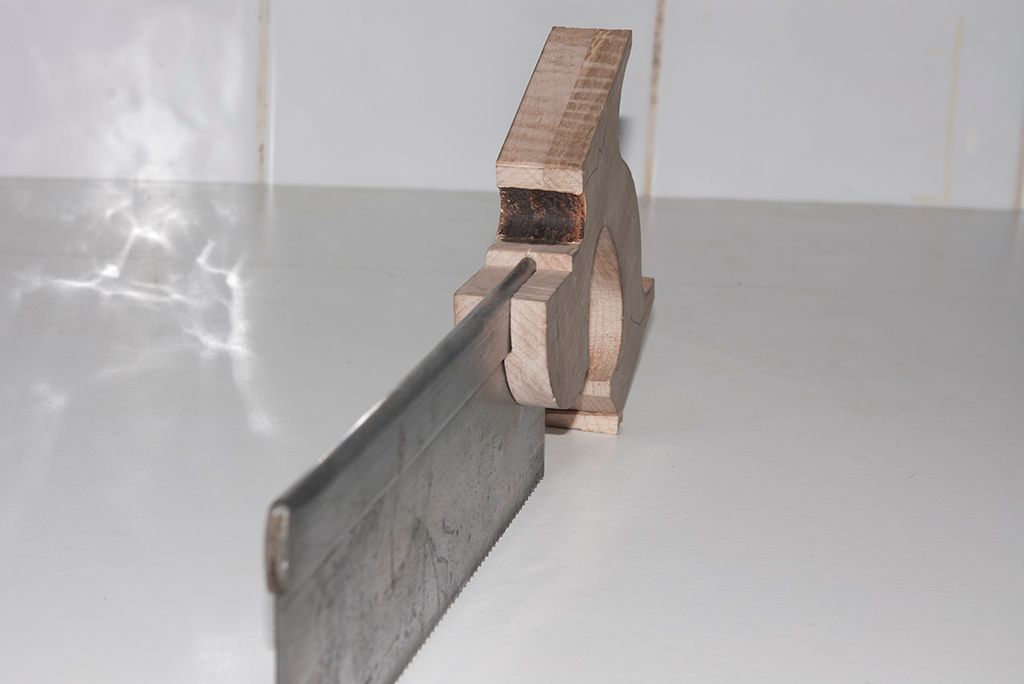
As you can see it still needs a bit of fettling to get a better fit. Don't worry Klaus/ Pedder and Mr Nielsen have nothing to worry about. :lol:
 
Yesterday i managed to get a bit more done. I finished rough cutting to size and started a bit of sanding/ filing to the lines.

IMGP4844.jpg


IMGP4846.jpg


IMGP4847.jpg


After getting a bit frustrated with the filing etc i called it a night before it all went pear shaped.
 
Forward to today. I spent most of it filing/sanding and routing the round over on the grip. I also enlarged the little pointy bit in the top of the handle. The way it was last night it looked a tad lost.

Also chiselled the bevel at the front. That was done by first setting my marking gauge by eye to what looked ok and then marking along the top on both sides. Then setting the gauge to the line in previous pics and making the face. I then just drew the diagonal line to join the 2 points up. Plus i just drew a line at the rear at the end of the upstand is where the spine starts.
I then carefully chiselled down to the lines, and with the bevel down formed the cove part of the relief.

Sanding is a pain, having only various grits of wet and dry and no cloth backed papers. So i decided to make my own. I cut a section of duct tape and popped it on the back of the wet and dry, then cut that into strips. I was then able to do a left / right pulling sanding motion without the paper snapping. :)

IMGP4848.jpg


IMGP4850.jpg


IMGP4851.jpg


IMGP4853.jpg


Apart from the rounding over with the router, all the rest is hand sanding/ filing. Including the bevel on the lower forward part that gets bolted to the saw plate. So far it is sanded to a combination of 80/120 grit.
The next few days will be a lot more hand sanding :shock:

And finally one with a quick wipe of meths.

IMGP4854.jpg
 
Looking really good - I'm enjoying watching your progress with this.
 
No pics. But today was spent sanding the handle through the grits up to 600 grit. It is now nice and smooth. I just need to order a couple of drill bits for the brass handle bolts. Once they are here and i have drilled the holes, i can start to shellac the handle. :)
 
You have made some very good progress so far Carl. Looking real good for your 1st handle build. If you need some further help Isaac Smith from Blackburns Tools. has put together a very good tutorial index on his blog that covers each step of the backsaw making process. Scroll down to - Saw build along index.http://www.blackburntools.com/blog/

Stewie;
 
Well today my drill bits arrived, well the replacements after royal mail were nice enough to lose the first set sent out. :twisted:

So it was the scary time to drill the bolt holes :shock: Made even harder as they are supposed to be drilled before any shaping is done. :lol:
Found this tip by someone doing their own handle for an old blade.
As you can see take one piece of masking tape, clamp saw plate into position so it doesn't move.

20140129_162530.jpg


Use a square and mark vertically down on the centre of the hole and then measure the height to the centre of the holes.

20140129_162812.jpg


Then put the handle back on, making sure it is in the final position. And using the square transfer the marks / measurements onto the handle. :)

20140129_163034.jpg


20140129_163052.jpg


Once that was done it was the scary time of drilling a pilot hole straight through the handle where the bolts are going. :shock:
20140129_164449.jpg


As you can see i made a little jig to keep the handle in place during drilling.

Then it was a case of drilling the 1/2 inch hole for the bolt heads
20140129_170826.jpg


Then the 6mm holes from one side and 7mm holes for the other side.

20140129_172755.jpg

So there we have it all drilled.
And the surprising thing is, the saw handle holes line up with the saw plate holes. :shock: \:D/ \:D/

After applying the first coat of shellac i noticed 2 lines which i think are my knife lines from marking out. So tomorrow back to sanding again. :roll:
 
Thank you Melinda. I have done the blade already :D I did it after i made my saw vice, but need the handle on to see if it cuts ok.
 
Back
Top