DBT85s Workshop - Moved in and now time to fit it out

UKworkshop.co.uk

Help Support UKworkshop.co.uk:

This site may earn a commission from merchant affiliate links, including eBay, Amazon, and others.
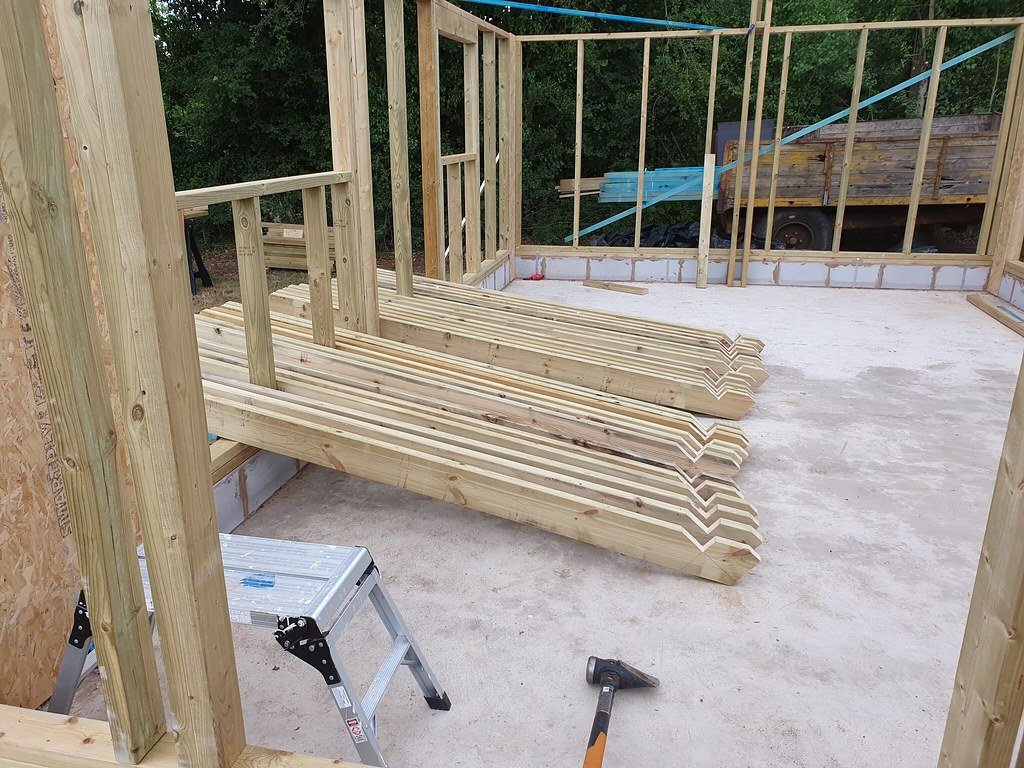
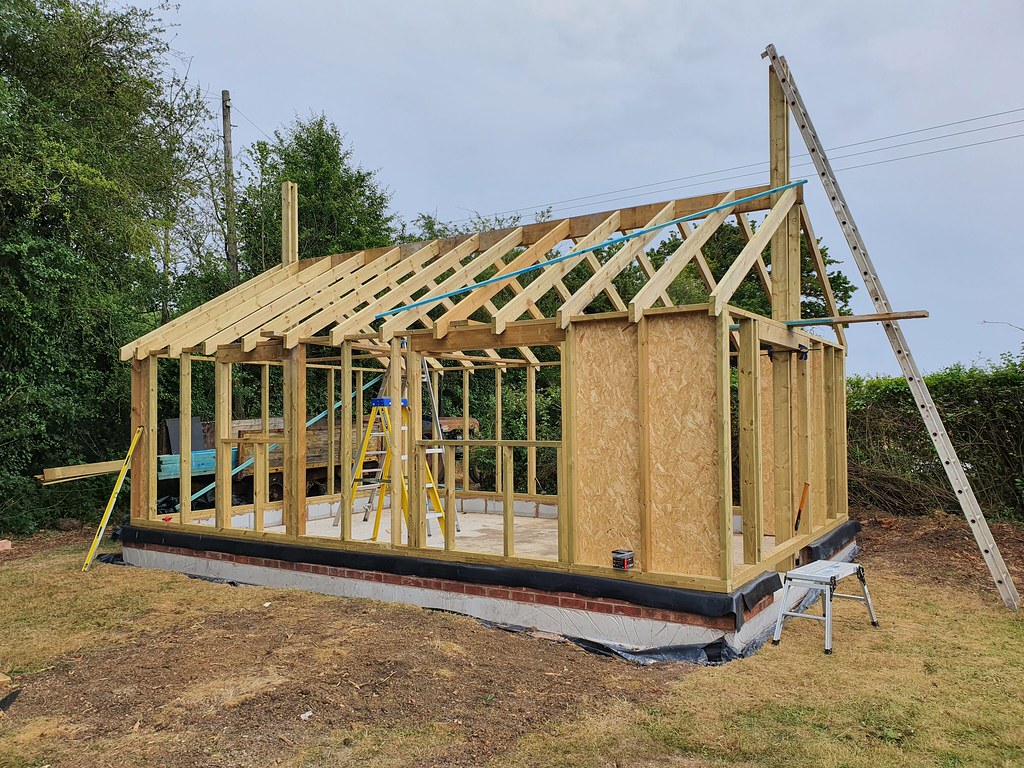
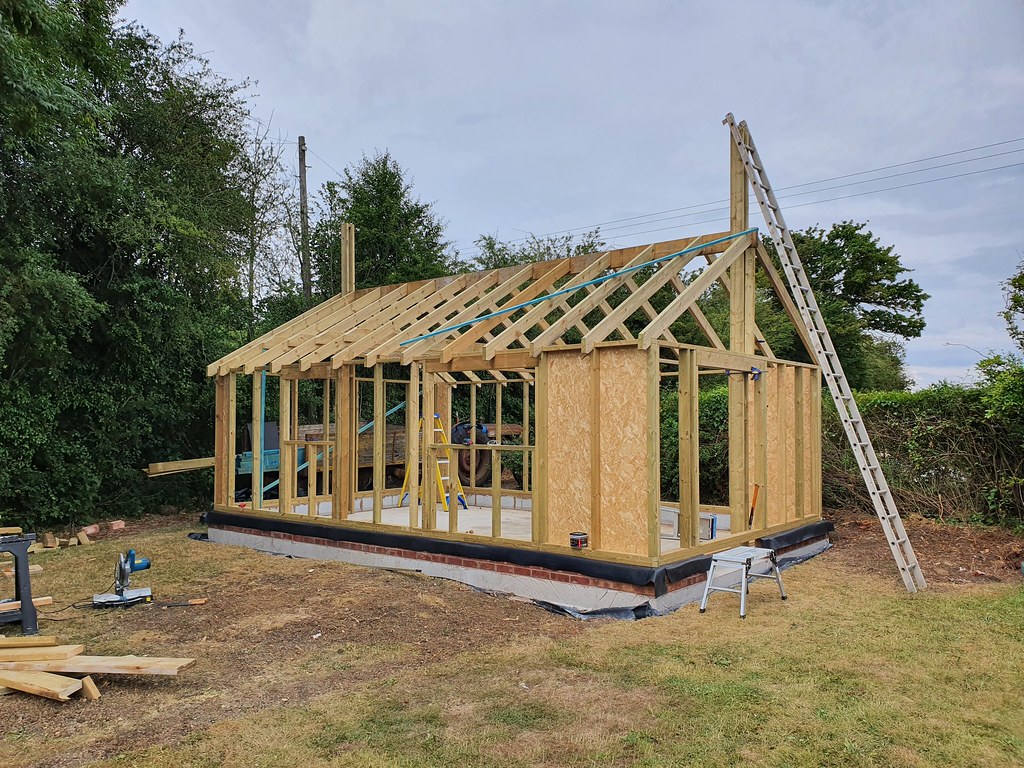
Excellent. Now, whip that rafter down and don't let it anywhere near the ridge again until it has a partner. Offer them up only in pairs....it can make a significant difference to the location of the ridge beam.

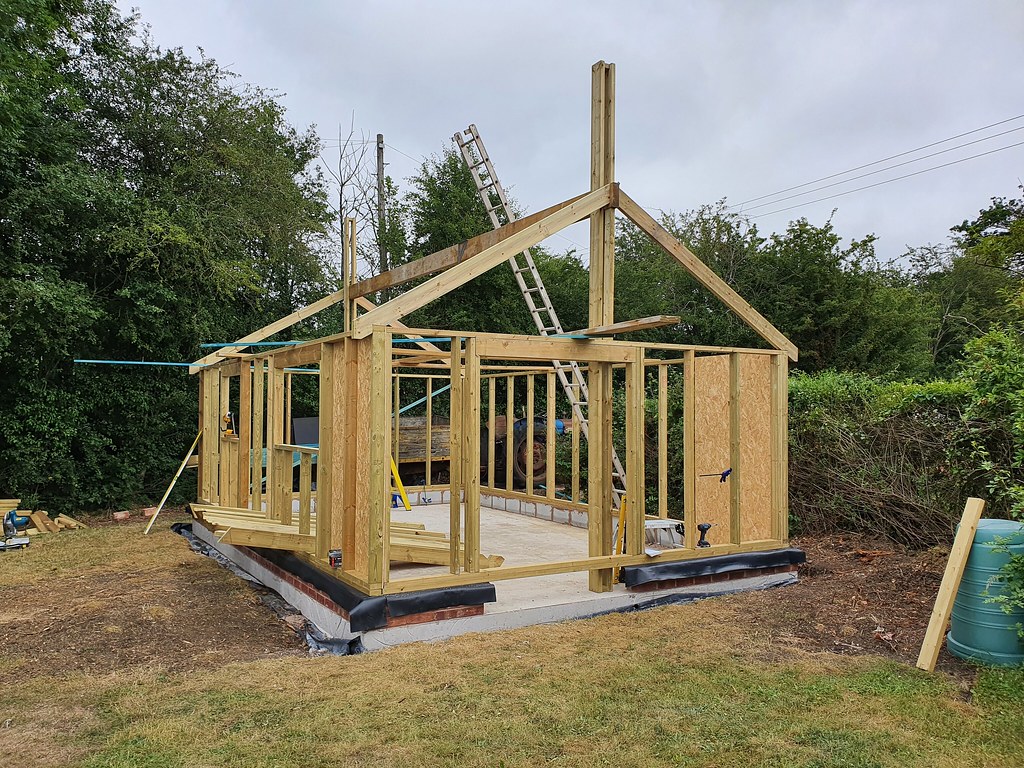
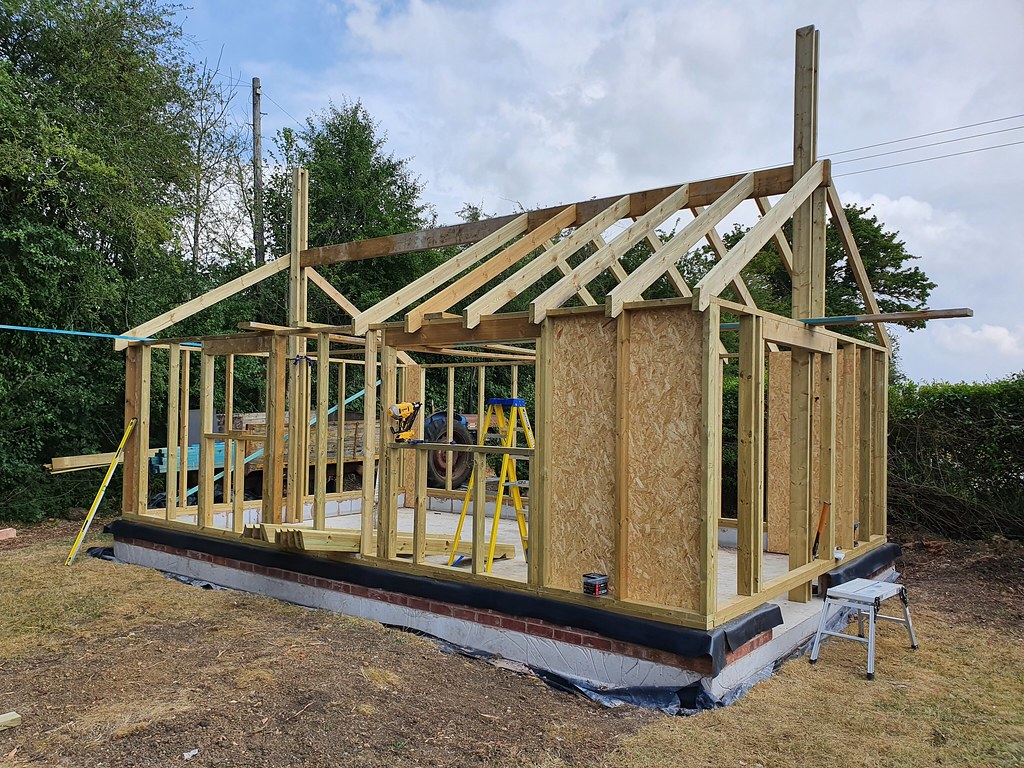
Before you get that far, if you intend to put the rafters up and then add the ties afterwards (it's hard to think of another way you might do it), then you must temporarily tie the wall plates the right distance apart. Marking up a batten with the correct dimension taken from the end of the building, and then nailing it place in the middle, is the easiest way. In fact, as you've got a joined plate you might want to put 2 temporary ties in place, either side of the join.
 
Yeah thats the plan Mike. I've offered this up both sides to be sure I'm not way out and then it's come down to help cut the others.

I do have some timber long enough to span the width so that I can tie the 2 sides together before putting the ties in. They were actually in place until we put the ridge up last night.

Not a fan of using a circular saw I have to say. same I need it all day now once the rain stops.
 
So after off again on again off again rain and thunderstorms all day, plus me spending too long trying to make up a damned OSB template to make life easier, I eventually got all 26 rafters cut to size. Had I not bothered trying to make the template I'd have been done by flippin 3pm.

50013761382_261e84b9ee_b.jpg


If the weather holds off tomorrow then the rafters will go up.

3.6m is quite high when you're down at 1.8m looking up at it squinting because of the sunlight.

Mike, I'm guessing here that the aim would be to get 2 rafters up at one end, nail them both to the plate and then give the ridge a bit of a slap about to set them both equally wherever they want to sit? The ridge would need adjusting up and down to get them to sit at the top of the ridge as the posts its sitting on right now aren't exact.


Sheptonphil":10opj9kd said:
Cracking Progress, really taking shape. Making me tired watching this. :D
Its making me tired watching it back!
 
DBT85":99g0c3f5 said:
......Mike, I'm guessing here that the aim would be to get 2 rafters up at one end, nail them both to the plate and then give the ridge a bit of a slap about to set them both equally wherever they want to sit? .....

That's it exactly. Remember to mark your rafter positions on the ridge before you start, both sides. Make sure you know which side of the line the rafters sit, too. Have you got safe access to the ridge, with a scaffold tower?
 
MikeG.":beo1reak said:
DBT85":beo1reak said:
......Mike, I'm guessing here that the aim would be to get 2 rafters up at one end, nail them both to the plate and then give the ridge a bit of a slap about to set them both equally wherever they want to sit? .....

That's it exactly. Remember to mark your rafter positions on the ridge before you start, both sides. Make sure you know which side of the line the rafters sit, too. Have you got safe access to the ridge, with a scaffold tower?
I shall. I'll mark it like I marked the plates, a line with an x on the side to be a rafter. If I can see an x I got it wrong.

There is no tower but I do have long arms. If it feels remotely like something I don't feel safe doing I'll stop. Not dropping that far onto concrete, I don't bounce like I used to.
 
how many nails and where am I aiming them? 1 skewed through the seat into the top plate from either side? another from the plumb into the plate?
 
Yes, two per foot. The ridge is slightly easier in that you can get one in direct through the top into the ridgeboard, and then you've got a lot of wood to work with, and little in the way of short grain to worry about. You can skew nail the bottom edge from both sides, or, with a normal thickness ridge (45mm) you can nail through the ridge at a slight angle into the rafter on the other side. I think your ridge is thicker, isn't it, so that would make it ineffective. The aim with the rafter ridge nailing is to help prevent twisting.
 
Productive day again today.

I started off by getting my first 4 rafters marked up at the gable ends and toe nailed in place and settled on both sides of the ridge. Then I could rest my very long ladder against the ridge with its foot against the block wall. With both ends nailed up I could work out how I was going to mark out the ridge (listen people, do it BEFORE you lift it). With the tape measure clipped over the end of the first rafter I could get up and down the ladder to mark each rafter position on both sides. I did at least manage to do both sides at the same time.

Gable rafters up
50016450403_ecd34aae9b_b.jpg


With everything marked up I got 4 more rafters up to a working height and settled into my system for mounting. Rafter up and roughly in position, clamp over the plumb cut and the top plate to pull it tight while I cracked the underside of the rafter with my hand to jiggle it enough to settle the seat and then nail it on. Same on the other side and then repeat.

Setting out ready to start the rest
50017238332_bb1d2702f3_b.jpg


With 4 done I got yet another ladder out and got up there to nail the rafters in place at the ridge. Just rinse and repeat till it was done!

Halfway there
50016449773_4bb4265f2c_b.jpg


26 rafters completed
50016976226_db5e81ce01_b.jpg


With them all up and out of the way I started cutting my larger rafter ties from my old formwork. These are 50x200 so oversize for the job at hand. I cut up a pair of battens as a gauge, clamped them to the rafter with the other end on the floor, then lifted each tie up, clamped one end, screwed the other, then the other. I have moved more ladders today than I care to remember. The ties are only double screwed at each end for now. Once all 7 are done I'll stick a homemade M16 bolt through each end.

4 of 7 rafter ties in place
50016449133_c76ea10d20_b.jpg


A decent days work
50016975751_66755f1f8c_b.jpg


Tomorrow those ridge supports can come down as I need them to cut the last of my rafter ties. Then I'll work out what I'm doing next.

I've enough offcuts to do my noggins but not enough to make something to close off the eaves like Mike did on his.

Saying that, I'll have a fair bit of 200x50 and 150x50 offcuts that I could rip down.
 
Superb! There's no better feeling in DIY, I reckon, than getting a roof structure up. That looks just great. Well done.....you must be thrilled.

The problem with trying to mark up a ridge before you put it up is that you then have to get it aligned perfectly, sliding it back and forth until it is in the right place. The next best approach, I reckon, is to sit a batten on your wall plate as you mark that out, marking the batten at the same time. You can then sit it on the ridge , pin it in place, and transfer the markings without bothering with a tape......which always comes unhooked at the most inconvenient moment.

To others using a ladder for the task......be careful! It inherently pushes the ridge slightly out of position, but more importantly, you always have an unfixed timber beside you as you climb up, and the temptation to grab it can be very dangerous.
 
Have you got one of those right angle drill attachments? Because otherwise you are going to have issues drilling the bolt holes, I reckon.
 
MikeG.":zjurqx5o said:
Have you got one of those right angle drill attachments? Because otherwise you are going to have issues drilling the bolt holes, I reckon.
Why Mike? I've got 610 centres. Loads of room.
 

Latest posts

Back
Top