Carriage clock wedding gift

UKworkshop.co.uk

Help Support UKworkshop.co.uk:

This site may earn a commission from merchant affiliate links, including eBay, Amazon, and others.

Allubo

Established Member
Joined
20 Jan 2013
Messages
52
Reaction score
0
Location
Snarestone
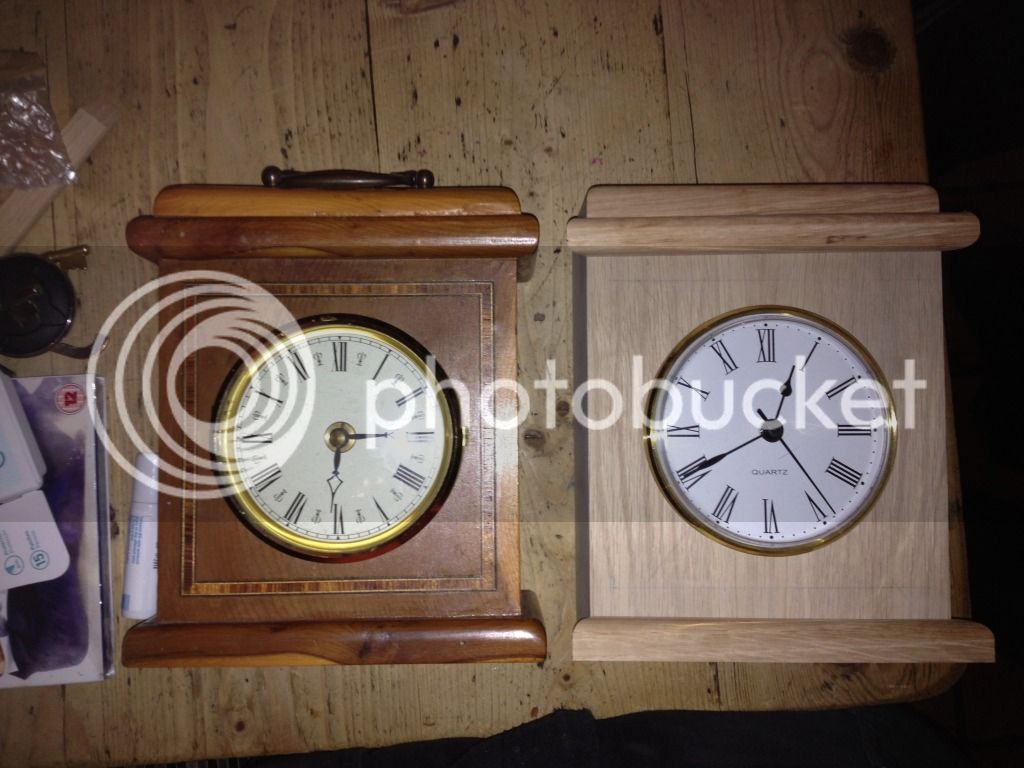
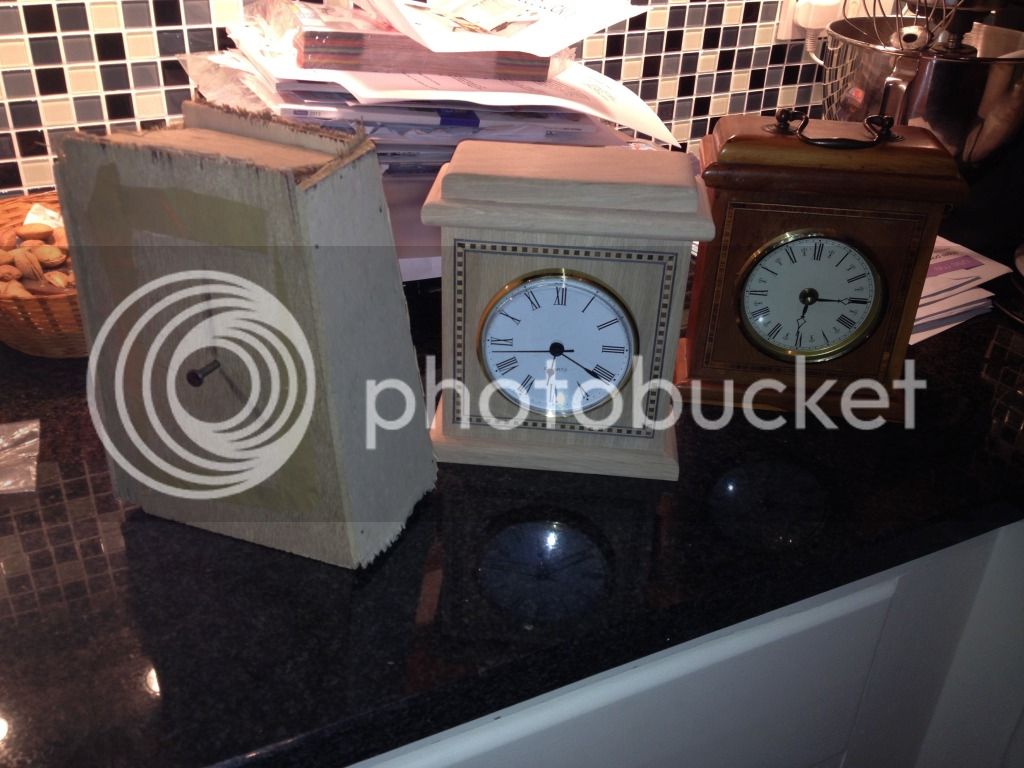
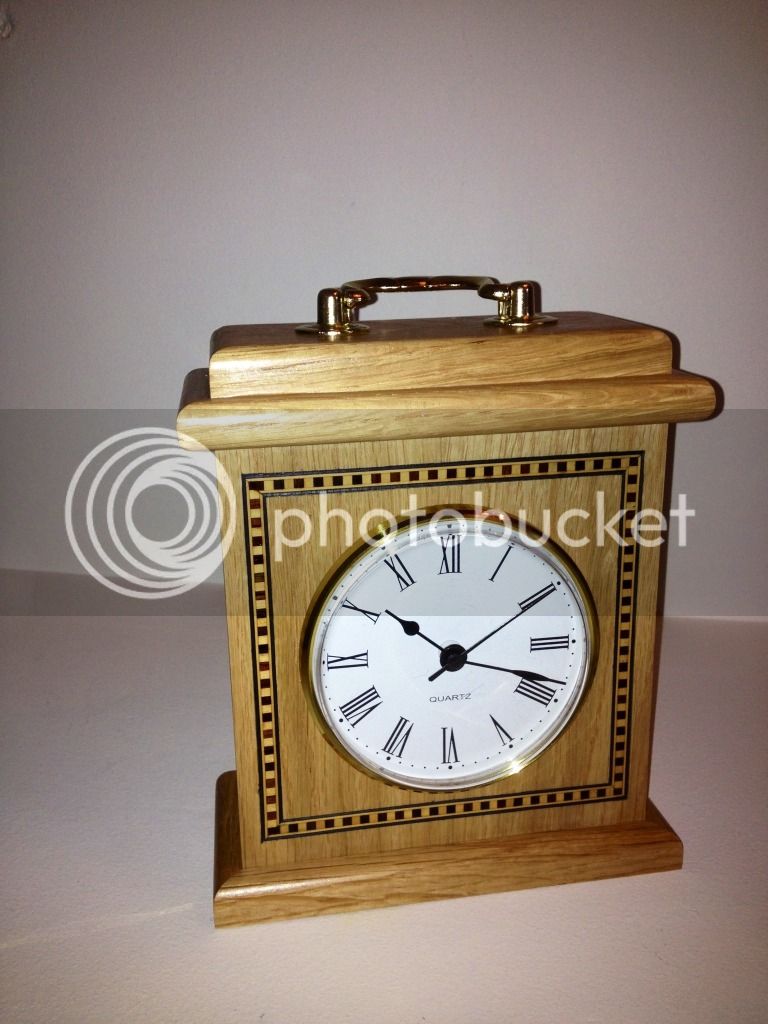
Back in march I made a carriage clock commissioned by a family friend for his granddaughter wedding, he had one made for his daughters and wanted the same thing for her. Although not really my thing, I did enjoy making it and it helped the guy out at short notice.

The piece was made mainly from solid oak with a veneered front, I basically looked at his daughter version and copied it's methods with a few adaptations, mainly thicker material and a sliding back panel rather than those nasty spinning things you get on the back of picture frames.
59BEE372-D325-4231-AE13-5DFA02336837-1817-0000023DF86E00F0_zpsde007d1e.jpg


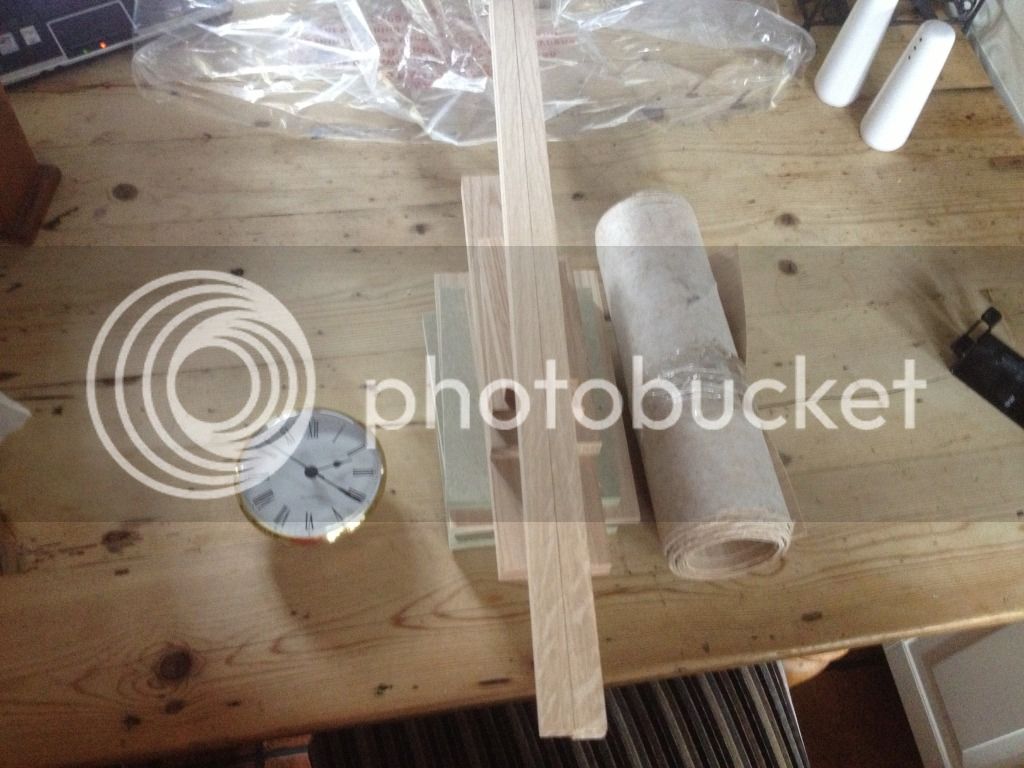
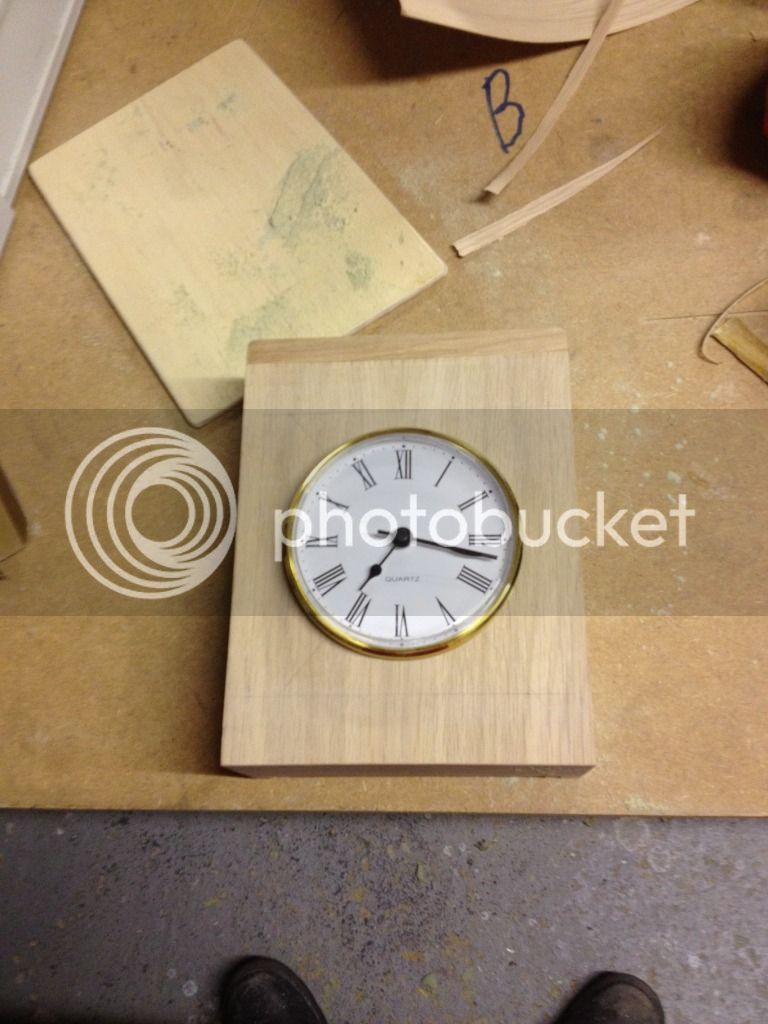
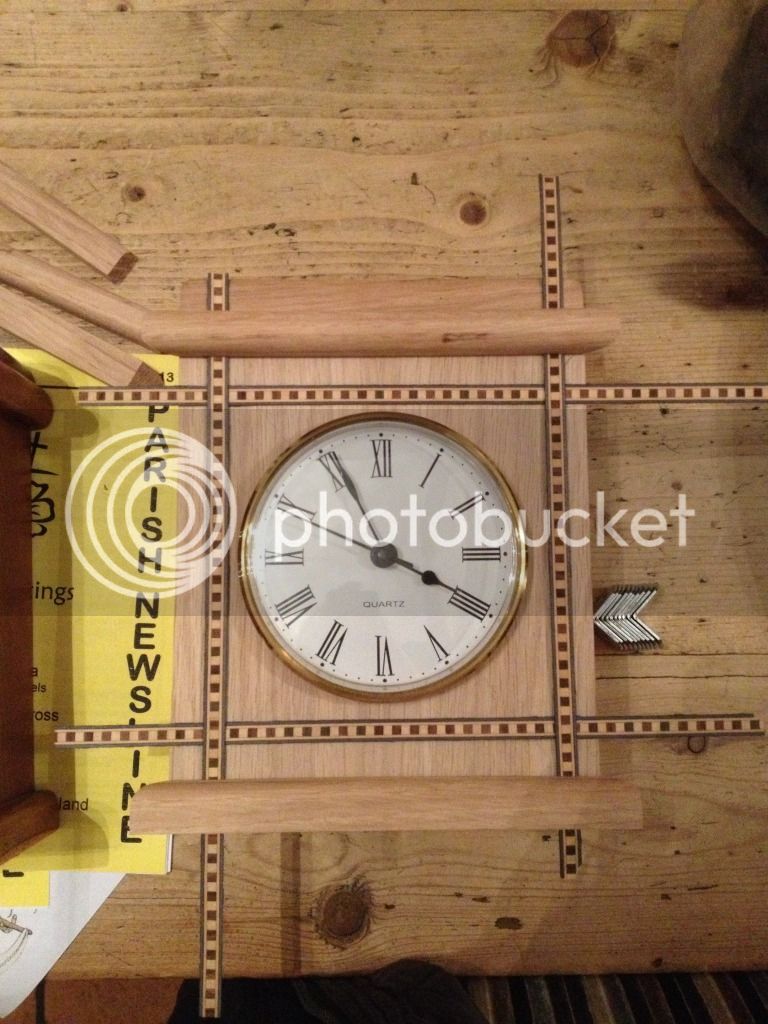
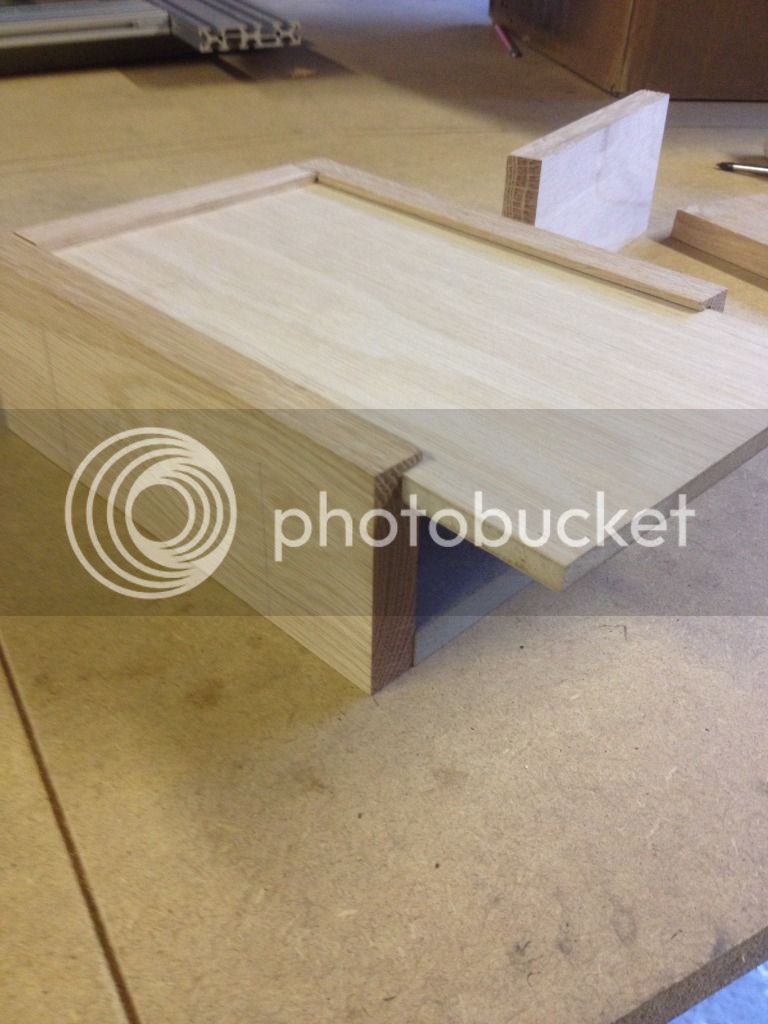
I started by cutting the front panel and side panels and assembling from there.
AA1194DF-BF18-4C1D-B268-7DF82BFF5534-1817-0000023E01715C0B_zps52bed412.jpg


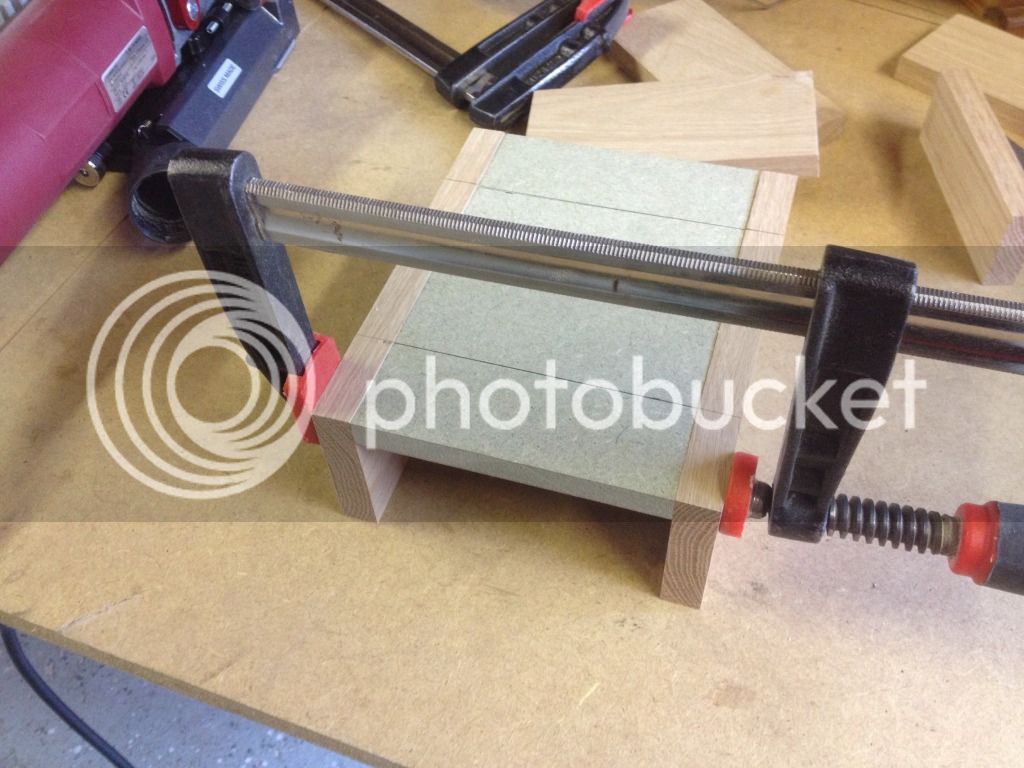
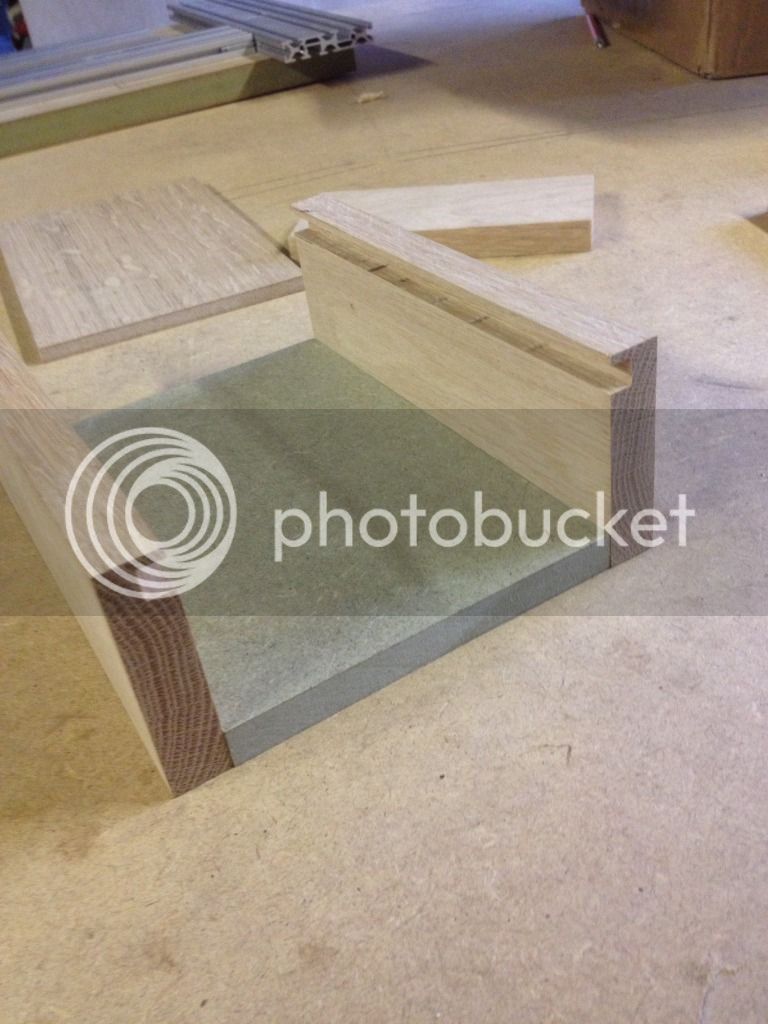
Dry fit to check everything's nice.
D87804FB-B69F-4734-A5B8-12C44D6438DA-1817-0000023E0866F614_zpsd3967286.jpg


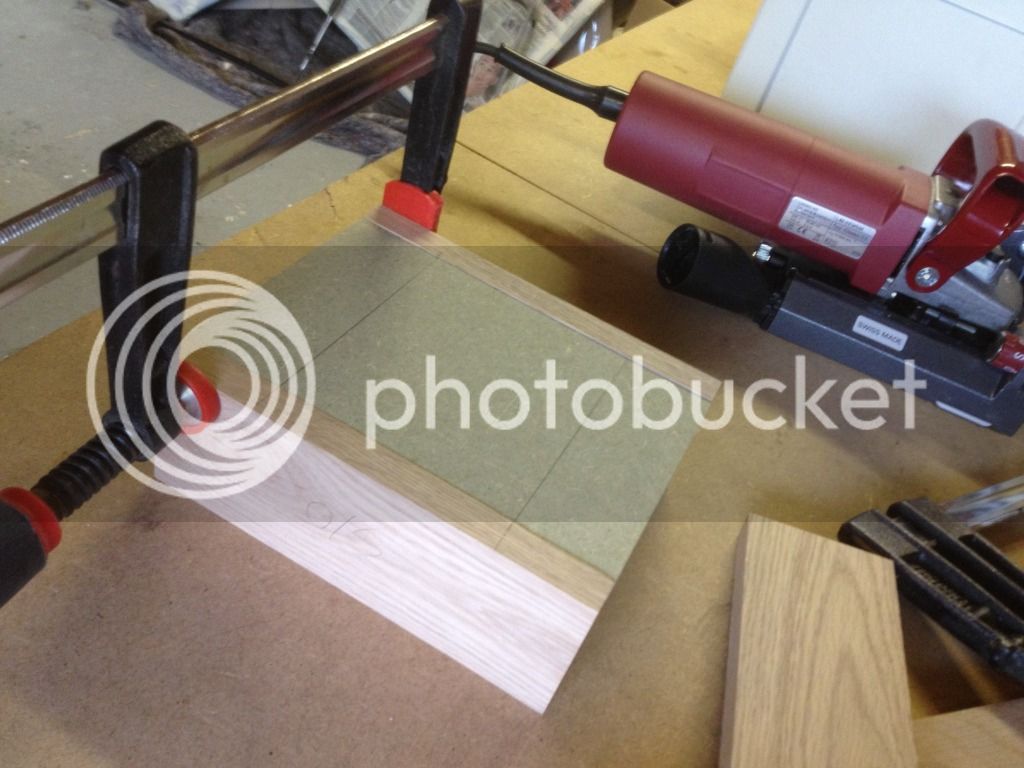
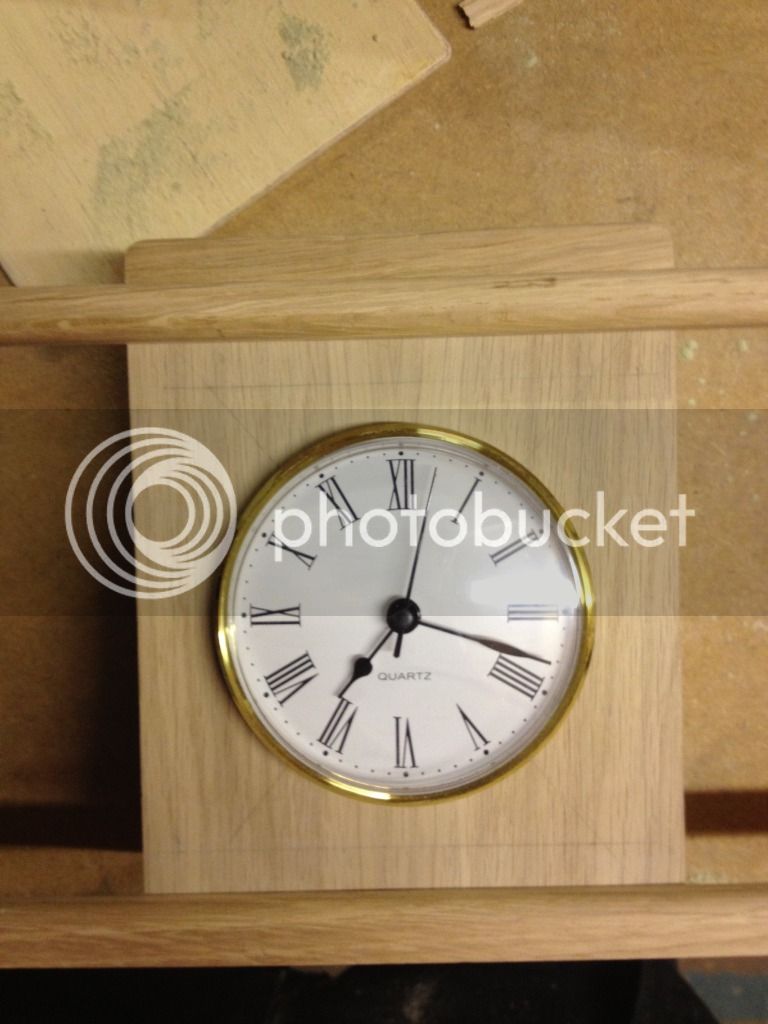
2 biscuits along each side and a groove along to long back edges and one on the top panel for the removable back.
6E914A2C-6CE8-4B02-A4BF-E637CEA805B1-1817-0000023E12FFDA08_zpsbbd910b0.jpg


FC11A859-3BA1-4EE0-B99D-E1FD98482D9F-1817-0000023E19E53C39_zpse7bbdd90.jpg


859C4B16-A650-4BB8-A1B3-BAE9883CE208-1817-0000023E1FF0D723_zpsfa01231f.jpg


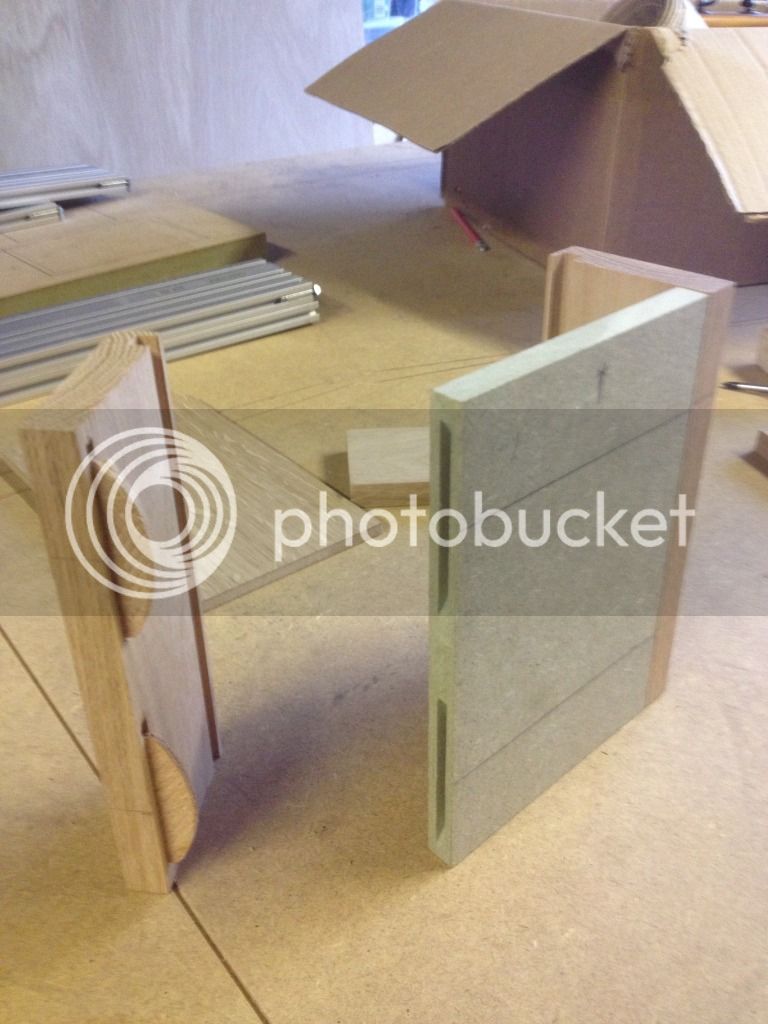
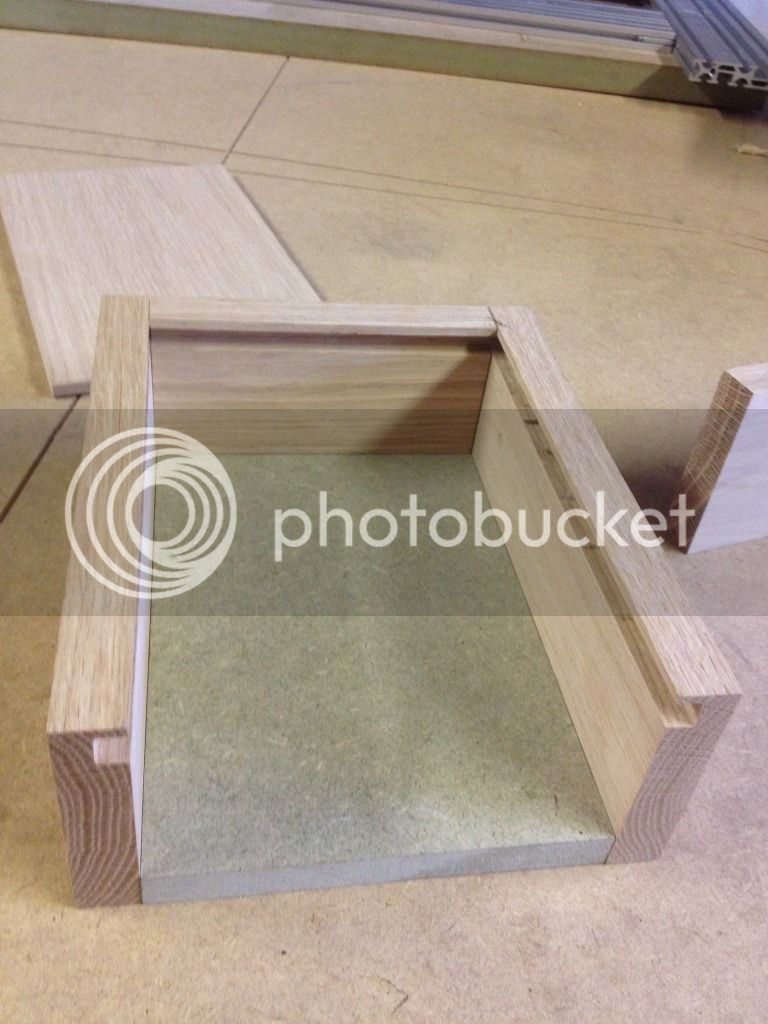
Left the back panel oversize for the time being.
402607FC-72D8-4C87-A69D-AAFC56714EE1-1817-0000023E283232CA_zps3cec9a65.jpg
 
I post veneered the entire front, again just copying toe original piece, I used 12mm mdf I stead of ply though. Veneered in the bag press with a board over the top to keep it flat.
982D16E1-2761-4D36-869C-341144049AEA-1817-0000023E390BE1FC_zps8f4c11cb.jpg


Bigger shot.
DB4EF135-F5CD-40F3-B4D5-5B7C7F2120D0-1817-0000023E4055A308_zpsab1fcd12.jpg


Veneered and secondary top panel added.
FF7A6869-3067-41C0-A36A-BC13D69E54FD-1817-0000023E47884047_zps4ff92baa.jpg


Mocking up the beading.
AD2D2725-80EF-4CDE-9782-6C37BFA6E158-1817-0000023E4D9F997E_zpsca0fd00e.jpg


Trial fitted next to the original yew clock.
E59BB7B9-D509-4E5B-9E5A-3CD141CFE2D9-1817-0000023E555A1C18_zps288e0aed.jpg


Mocked up with inlay.
25CA02C1-DF58-4FC2-B5C9-66BF3C0ED50A-1817-0000023E5B1D4FE0_zpsc9279107.jpg


I routed out the grooves for the inlay and then clamped it in.
69F3B027-B13A-4A15-AAB9-D4276705BAED-1817-0000023E61808F58_zps1d99747a.jpg


Sanded back.
D9D06198-D918-4563-8A5B-12A6633DECC8-1817-0000023E80835A99_zps43721721.jpg


I mitred the beading a work with a mitre guillotine for accuracy then glued it with PVA with a dab of mitre mate to hold it.
08AB2EE2-4352-4C67-95C9-A8D84D887934-1817-0000023E90F3A8A6_zps3b8e3bd0.jpg


My other bro thought he could do better. ( I quite liked it)
C1DCA220-0467-4572-9E2D-A2CB1D2856E4-1817-0000023E9A204643_zps1bedace9.jpg


And finished in a precat lacquer.
43FF60A0-5589-414E-BF62-46107A25D626-1817-0000023EA2D0A991_zps6c250724.jpg
 
Back
Top