


Glynne
Established Member
Being primarily a box maker, I'm always on the look out for different timbers, effects etc to use as box lids so having bought some amazing burr oak, I was a bit stumped as to how to build this into a box given that many of cavities went right through the wood.

Having seen a lot of coloured infills on Facebook, Instagram etc. (sources for ideas rather than posting) I put out an enquiry to http://www.easycomposites.co.uk/#!/resin-gel-silicone-adhesive and received an amazingly detailed and helpful reply within the hour about using brass powder which I thought would work well with the burr oak and the brown oak for the rest of the box.
The advice is that for metal powders, you need to use at least 50% by weight of the powder to the resin mix but in practice, I used about 300% - the only restriction being that your resultant "sludge" has to be sufficiently liquid to flow and settle. As the powder will settle in the mixture, you need to "overfill" any cavities so as you can sand off the cured resin surface to reveal the metal infill.
You also need to seal any through cavities so as the resin / powder mixture doesn't seep through - obvious now, but it was only when I thought I was using an awful lot of mixture on a test piece did the penny drop! Once cured, the filler can be sanded as normal.
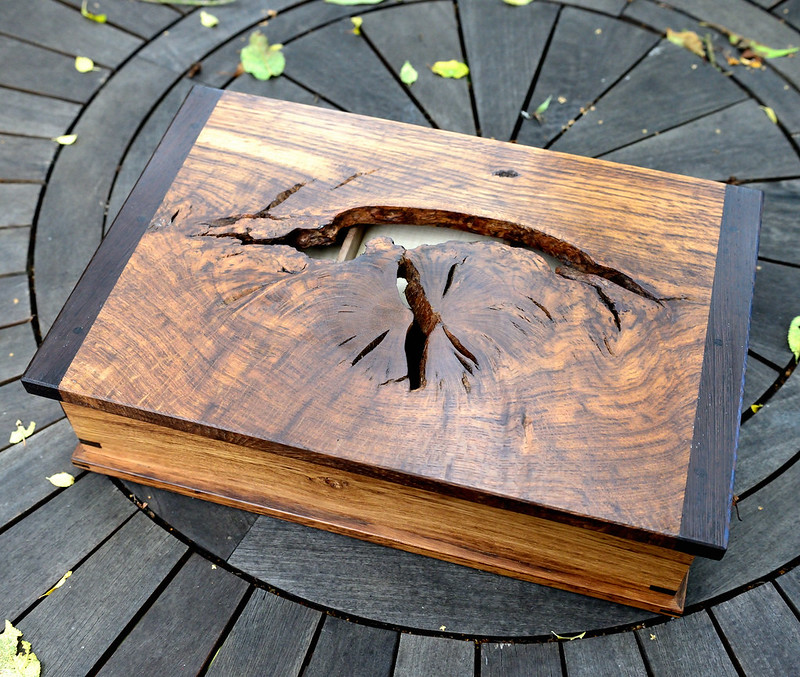
The end result where you can see the through cavities: -


 In terms of the rest of the box, brown oak and with steamed beech trays (dovetailed). Hinges are Neat Hinges (no longer sold - I did contact Ian Hawthorne), Button catch (Ian Hawthorne), brass inlay (Original Marquetry). Lined with pig suede (Andrew Crawford) and finished with sanding sealer and wax only.
I will post on Instagram in due course only the box is a present for someone who follows me so I have to wait for a couple of months!
Having seen a lot of coloured infills on Facebook, Instagram etc. (sources for ideas rather than posting) I put out an enquiry to http://www.easycomposites.co.uk/#!/resin-gel-silicone-adhesive and received an amazingly detailed and helpful reply within the hour about using brass powder which I thought would work well with the burr oak and the brown oak for the rest of the box.
The advice is that for metal powders, you need to use at least 50% by weight of the powder to the resin mix but in practice, I used about 300% - the only restriction being that your resultant "sludge" has to be sufficiently liquid to flow and settle. As the powder will settle in the mixture, you need to "overfill" any cavities so as you can sand off the cured resin surface to reveal the metal infill.
You also need to seal any through cavities so as the resin / powder mixture doesn't seep through - obvious now, but it was only when I thought I was using an awful lot of mixture on a test piece did the penny drop! Once cured, the filler can be sanded as normal.
The end result where you can see the through cavities: -
I will post on Instagram in due course only the box is a present for someone who follows me so I have to wait for a couple of months!
")