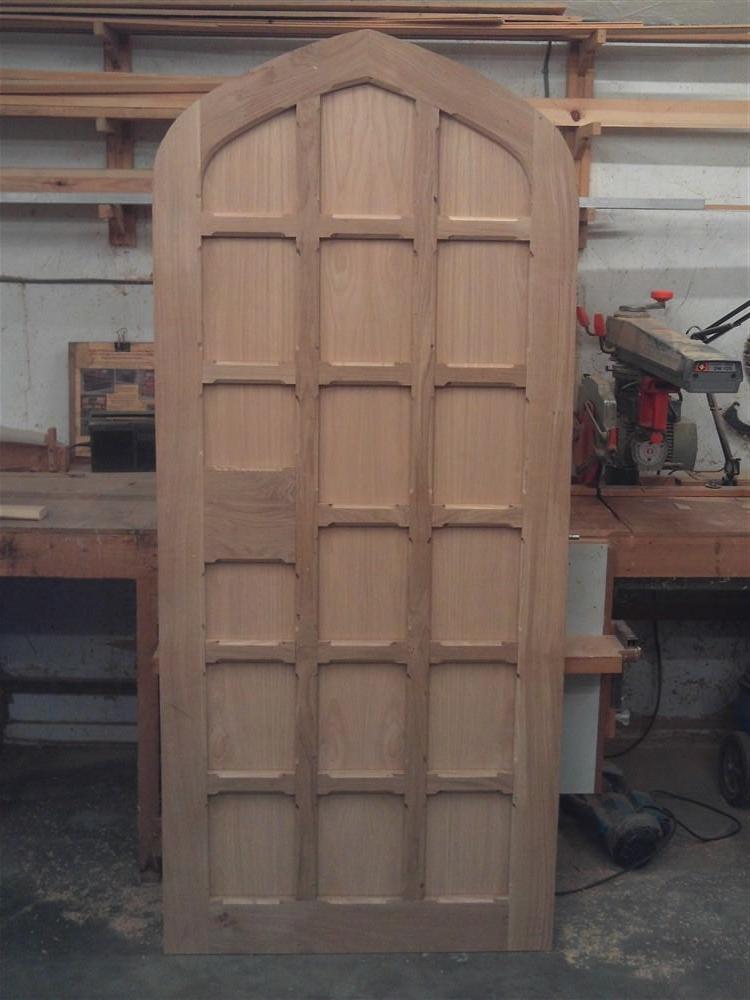
I’ve made a number of arched gates and doors. I personally laminate the top arch out or either two layers or three layers the latter used in higher quality work. The normal position for the joints would be on one layer at 12 o clock, and in the next at 10:30 and 2:30 (45 degrees) and then if you add a third layer 12 o’clock again for a gate I would stick to two layers. The laminations make the arch less prone to twist or move.
I always have the tenons going into the arch horizontal, not only do I personally think does it look better but it reduces the amount of end grain that is exposed. If you run the verticals (styles) through you have the end of the styles exposed at the top of the arch.
For a gate I would run the rail tenons right through. However on a quality door I would run the tenons through on the hinge side and use fox tenons into the latch style. These are blind tenons which are also wedged. On a gate you can just as easily draw tenon into a blind mortise which is easier!!
You want a rebate running all the way around the frame to take the vertical (assuming it’s to be planked) planks. The planks should be V tongue and grooved with the V on the ‘show’ side (I normally V both sides) The central plank should have a double groove rather than a tongue and a groove. The planks on either side then tongue into the central plank. The reason for this is that should any repair be needed in the years to come is makes getting the planks off easy. Nail the planks on, do not screw.
I would add a couple of braces. These rise from the hinge side and should be butted onto the rails, they must not touch the stiles. You can screw or nail them to the rails, either is more than adequate. Here is school of thought that you recess the braces into the rails. However, from my reading of the ‘old ways’ and also what I was taught is that this adds little to the structural integrity but does add more work.
Cascamite glue would be my first choice. It has long opening times making assembly easy and is totally water proof. It dries clear and you can hide any small gaps in your joinery by rubbing a little saw dust into it to make it a filler.


