jlawford
Established Member
Hi all- first post!
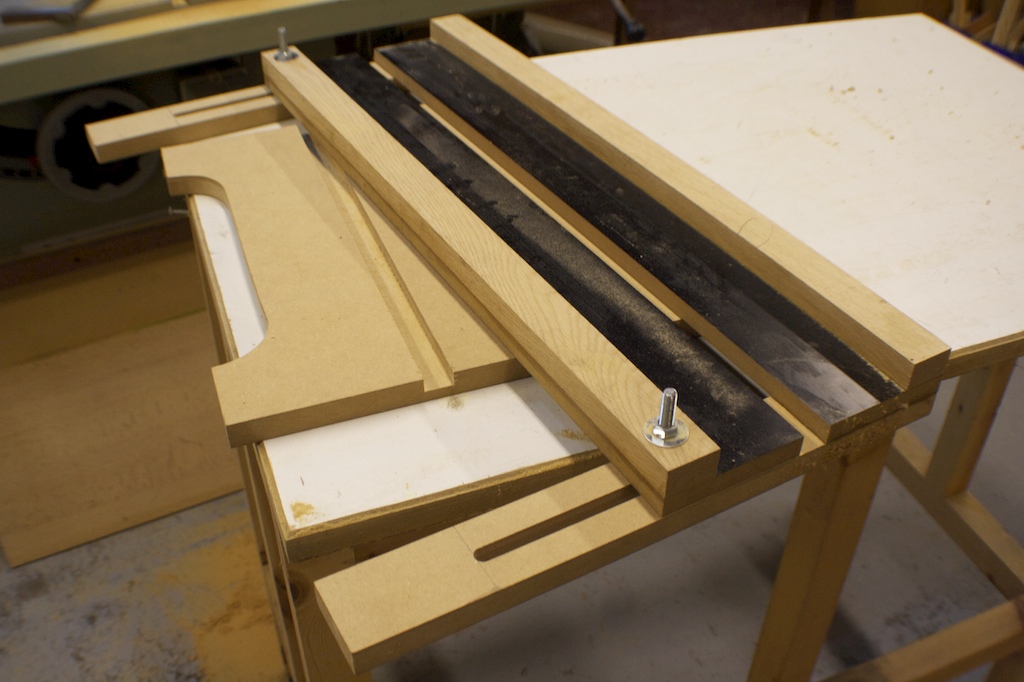
Thought I'd share the adjustable housing joint jig I finished this evening. There are plenty of designs online (mostly American); I used the plan on woodsmithshop (I can't post links yet) but it's fairly simple to construct.
Oh, and I've owned a router for a week and this is the first jig I've built.

I've ordered some threaded stud plastic knobs to replace the bolts, and will set in tee nuts instead of using loose nuts.
Needed to cut deeper on this test but it fits well.
The router cuts bang on 90 degrees square! Well pleased. Overall look and finish could be better but it works.
Thought I'd share the adjustable housing joint jig I finished this evening. There are plenty of designs online (mostly American); I used the plan on woodsmithshop (I can't post links yet) but it's fairly simple to construct.
Oh, and I've owned a router for a week and this is the first jig I've built.
I've ordered some threaded stud plastic knobs to replace the bolts, and will set in tee nuts instead of using loose nuts.
Needed to cut deeper on this test but it fits well.
The router cuts bang on 90 degrees square! Well pleased. Overall look and finish could be better but it works.