a diagonal laminate box.

UKworkshop.co.uk

Help Support UKworkshop.co.uk:

This site may earn a commission from merchant affiliate links, including eBay, Amazon, and others.

devonwoody

Established Member
Joined
11 Apr 2004
Messages
13,493
Reaction score
25
Location
Paignton Devon
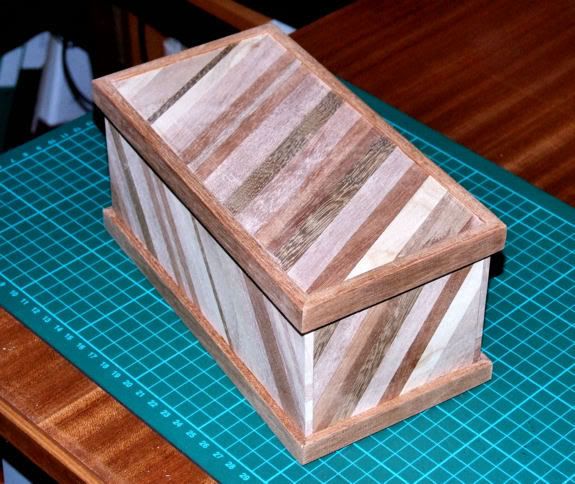
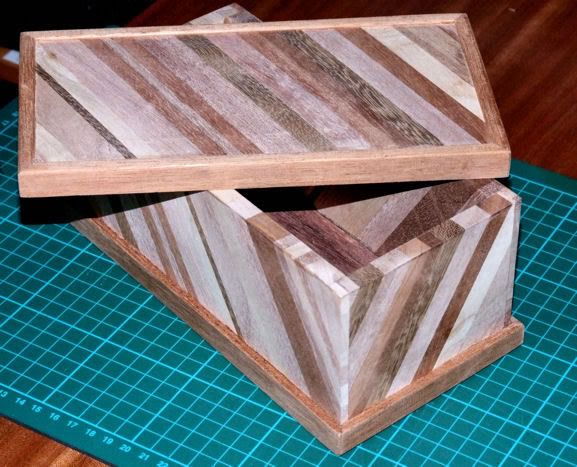
Is this going to be a box to far?

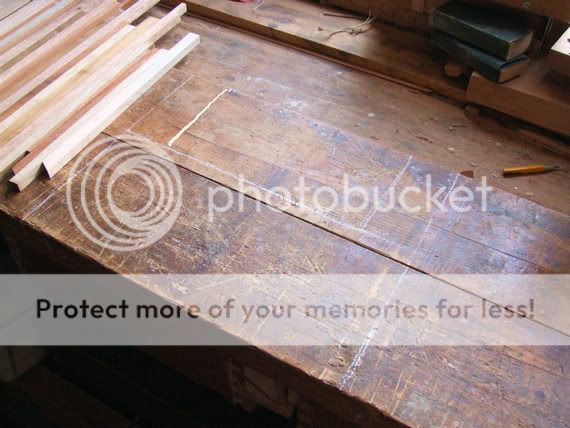
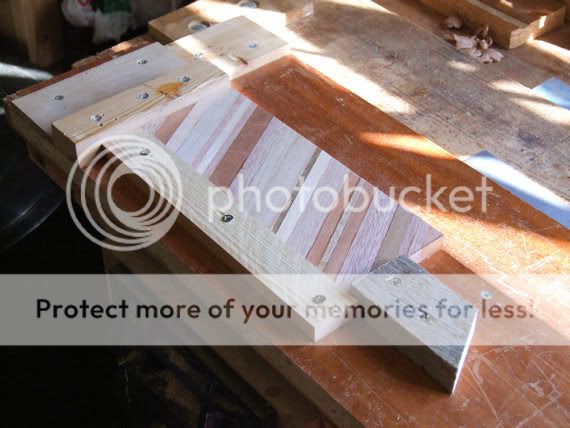
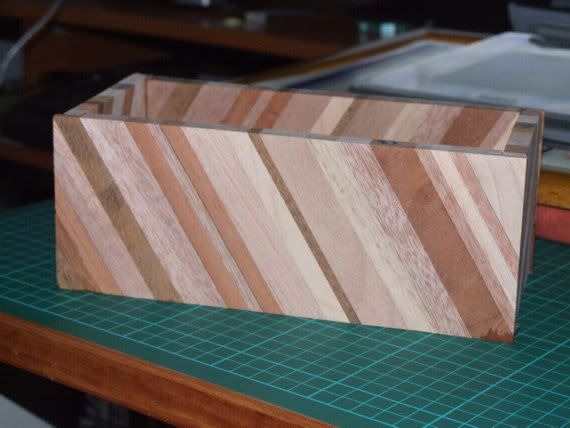
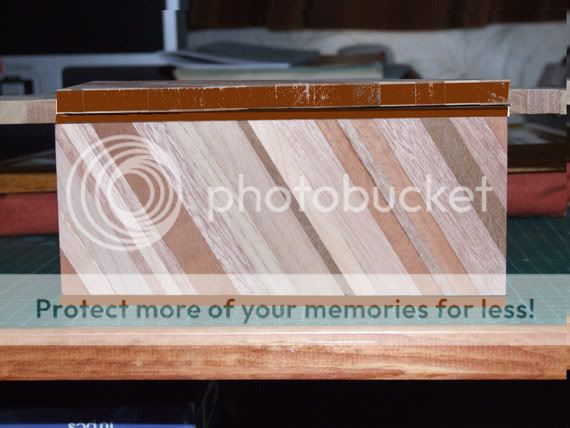
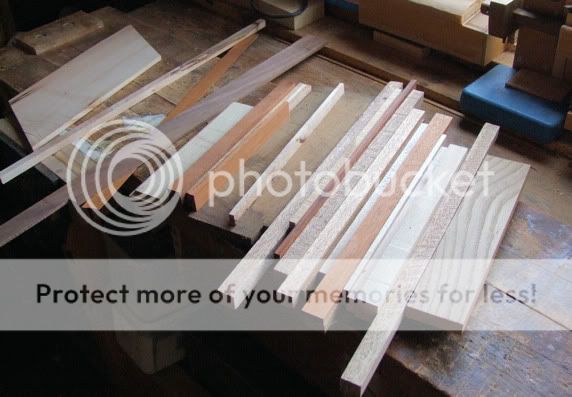
I have caught the laminating bug, so I have placed a couple of boards on my bench to represent the area I have got to amass for this new box.
1-2.jpg


The area I am aiming for is 2 pieces of 9"x3" and 2 pieces of 4"x3" and one piece (for the lid) of 9"x 5"

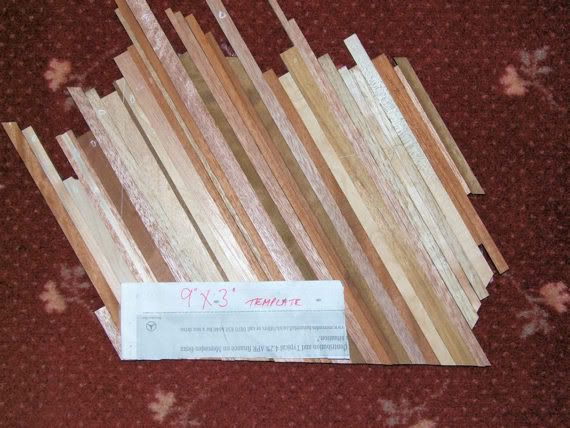
The scrap pieces laid over former size boards.

2-4.jpg


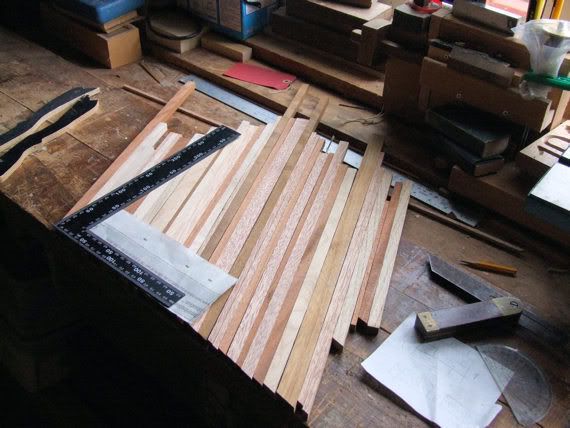
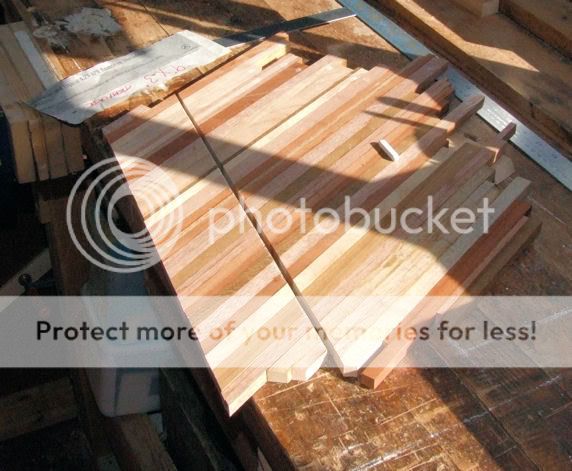
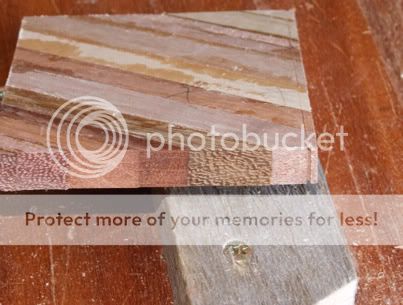
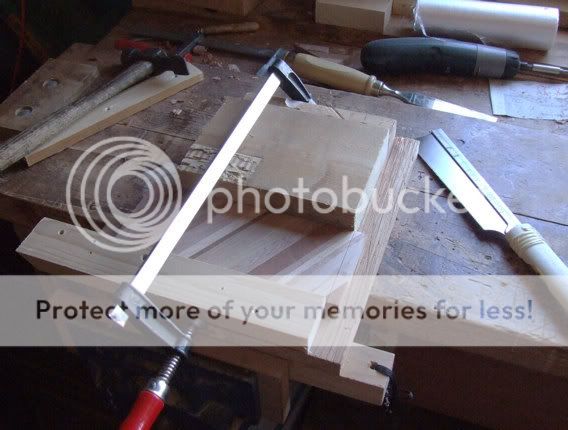
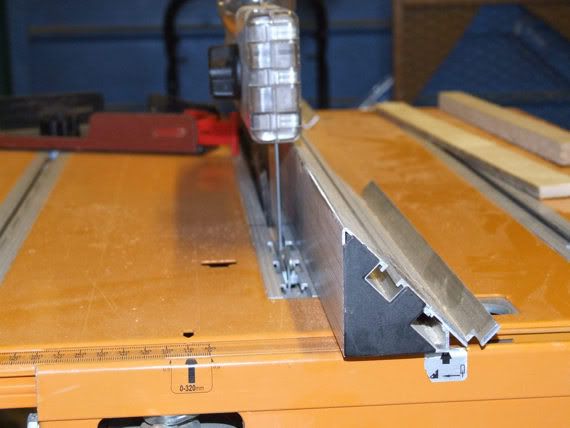
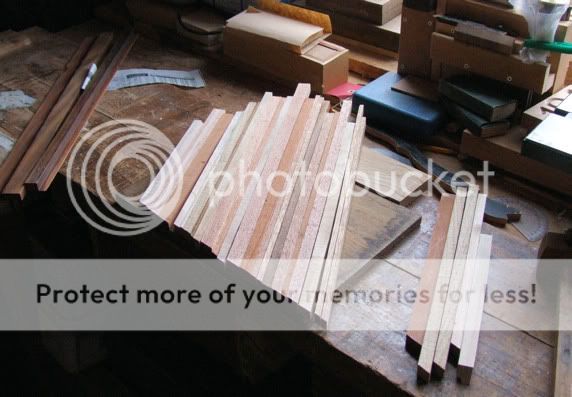
The progress first day preparing strips to make the diagonals.

3-2.jpg


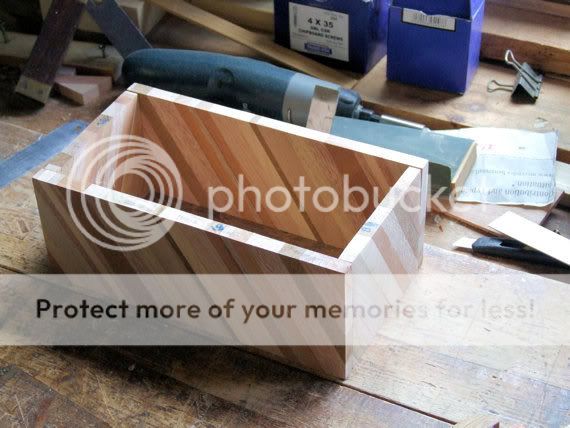
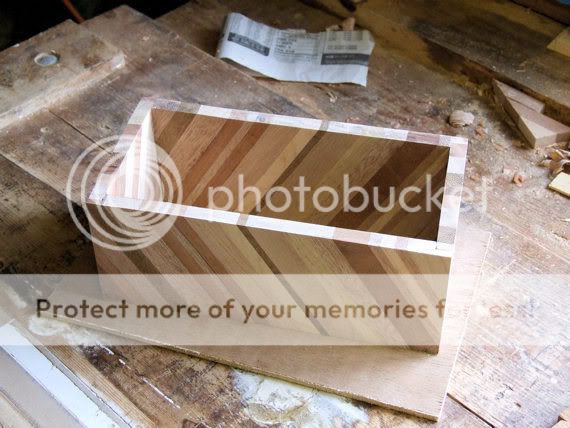
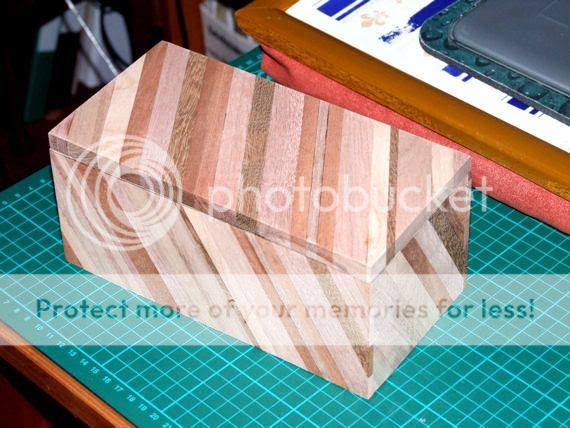
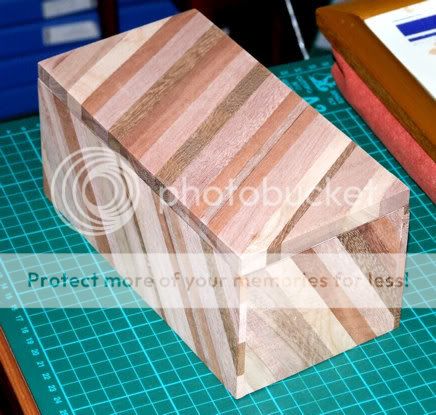
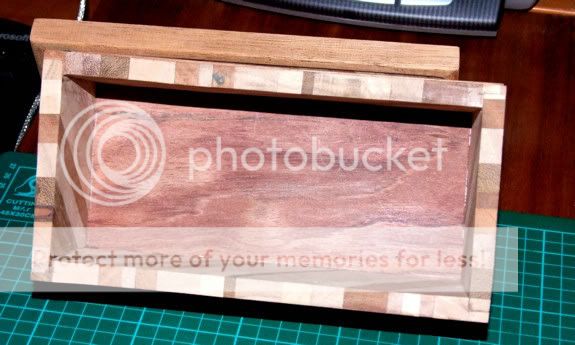
haven't decided yet how I shall joint the corners when above boards have been sized, any suggestions?
 
redrew the area mass in chalk on my bench to display laminate size required.
4-3.jpg


This morning I have prepared 33 pieces on the machinery, bandsaw & P/T to thickness and random widths. I also lost another six pieces that failed to plane cleanly, (these pieces most probably were why they were in the scrap box) Without machinery it would have been a really tedious job.

5-3.jpg


Next to do is gluing up the strips, most probably ten strips at a time and then do a further glue up with these sections, then cut them to the dimensions mentioned above.
 
I've got the 33 strips all glued up.

6-3.jpg


Now I come to my first problem, when I cut off the lengths I require, a front and a back, the diagonals will not match to the face surface, the diagonal strips will face opposite directions, and ends will play tricks as well. :?
I will obviously have to compromise some facing aspects.

Anyhow its raining cats and dogs and humidity must be over 80% in the workshop and the lumbago is acting up, cant even go for physio, it would daft going out in this weather.

So get out some woodwork books and look up some jigs or something.
 
3rd session today on box.

I have the panel glued up and cut the first length off for a front & side on the bandsaw, (look at the sun )

7-3.jpg


The first piece (front) is put on my shooting board and locked up with pieces of batten to stop any movement caused by grab.

8-3.jpg


A side piece is being shewn because the bandsaw is inclined to give a ragged edge so I have touched each side of the timber with the bandsaw and then used those marks to make a scored line on both sides, this did stop and break back on cut.

9-3.jpg


(these days I have got my old bandsaw tuned to cut accurately and it definitely comes down to blade quality.

I have got all the pieces cut to size and edges cleaned up on the shooting board or beltsander.
However facing surfaces would not clean up nicely, the wood grains do not run in a consistent direction so I am having to use an orbital sander.

10-3.jpg


The 4 pieces have now been surfaced and I am thinking I shall do half but joins again ( There is a lot of break off on timber edges to try any other corner joins)
A spline or biscuit would make box too wide for remaining timber for lid unless I have a plain top. Might be a good idea because it might be too busy with diagonals on top lid as well. Whats the verdict?

11-3.jpg


__________________
 
hi woody,

may i suggest that the top might look good if it was chevroned, but only a suggestion i hope yo don't mind me saying.

woodbutcher
 
woodbutcher":10yjswaf said:
hi woody,

may i suggest that the top might look good if it was chevroned, but only a suggestion i hope yo don't mind me saying.

woodbutcher

Yeah the thought as crossed my mind and if I could get a square edge I would most probably go that direction. Because of the grains running every direction things tear up a bit, still could put a backbone down the cente line and call it herrinbone.

Things have been a bit hairy this afternoon, the workshop warmed up and the timber started bowing :oops:
 
Taken the easy way out for corner joints gone for the half butt. Dovetails of anysort would have looked too busy, timber is only 10mm thick so not much meat around for biscuits or splines and mitres would have had broken edges.

So to ensure a square saw hand cut I knocked up this idea, more timber out of the scrapbox (and one piece must have been part of a roof at one time looking at the nail plate pattern). Simple but it worked for me.

12-3.jpg


Pleased to say the timber settled down from the extreme heat in the workshop yesterday, and returned to its original condition. However I think making up a board like this must be an unstable method if climate conditions can so easily upset its stability. (all of the timber has been around my workshop over 4 years and some I know was used for my window frames over 20 years ago, (sapele)
 
Glued the box up last evening and got it out this morning.

13-3.jpg


The ends will be cleaned up later today but all is not well with regard to having a lid.
Laying a straight edge on long front and rear panels there is bowing, so a drop in lid (my usual) would not be practical, might have to go for a drop over lid :oops: Unless anyone as any suggestions.
 
Cleaned up the box ends this morning and the joints have turned out quite satisfactory.

14-3.jpg


However there is bowing along the long sides of box so I am going to do a drop on lid. The timber for this will be a lid frame plus a panel with veneers using this mahogany type batten. (dont know where it came from :eek: )

15-3.jpg


However I have now had my first kick back on a table saw (5 years) and I am glad it was on a triton because with the triton fence on the left hand side of the blade the kickback sailed past me at mark 1 or 2 and I never want another one. I can tell you there is no way you can jump out of the way(even the best slip fielder (cricket) in the world would never catch this object going through.
A photo showing the reason for the kickback, I wanted an 8mm moulding and the blade guard does not cover the blade because of the fence position.

photo taken at rear end of saw table.

16-4.jpg
.
Next job to prepare the lid frame on the router table .
 
DW, for ripping narrow strips you want a push shoe like the one Noel showed in thispost. I made one following his advice and it works a treat on my Triton.
 
Thanks George for the link, I am definitely going to make one of those adapted for a left hand fence.


Right decision time.

I have placed the remaining slab of timber on top of box and personally I dont like the appearance a lid like this gives.

17-3.jpg


In addition I have done a computer simulation of what it could look like if I still proceeded.


18-2.jpg


So I await the forums opinions whether to continue or create another lid from my veneer stocks.
 
hi woody,

i would suggest that you put a darker solid border around the top of the box, then do the same to the lid section this will give a break line which will take the eye away from the cut edges , if that makes sense.


woodbtcher :)
 
hi woody,


yes that's what i mean it covers the cut ends and gives you some straight grain to work with. :lol: :lol:


woodbutcher.
 
Got out to the workshop this evening (blue skies arrived) and cut the lid board to size, sanded and laid on top of box to get effect.

20-1.jpg


21-1.jpg


So should I stop here or have a go at embellishing the lid as has been mentioned above?
 
Finished.

22-1.jpg


Lid drops on. (because if hinges had been fitted screws would have partly gone down the grain and might pull out)

23-1.jpg


Base is a veneered ply, I think it is purple heart.

24-1.jpg


The diagonal laminated strip box has taken 7 days of approx 3 hours per day to complete, over 2 days were required preparing the waste timber.

If doing this design again I would chose 5 different species of hardwood and make up a cutting list. In addition I would mark the grain direction on each piece so that there is no tear up perhaps when cleaning up at a later stages. It would also be attractive if diagonals aligned but would need much concentration in keeping to pattern.

Will finish with shellac and wax polish over the weekend when glues have matured.

Thanks for all comments and your viewing.
 

Latest posts

Back
Top